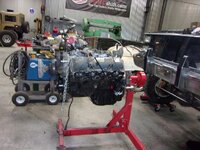
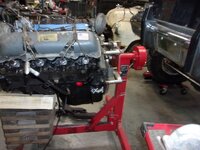
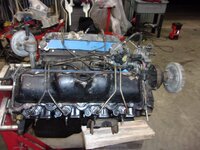
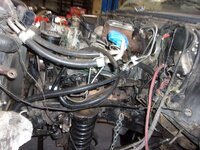
Bloverlanding in a Blazer

VetteMod - Corvette Restoration, Modding & Performance Forum

Help Support VetteMod Forum:

nice work, I always wondered how quickly a person could fill up a bigger shop. I am sure I would suffer the same fate. its like old people and mice all they need is a little tunnel to get around everyting else is fair game for "treasures"
 
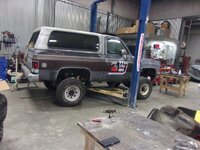
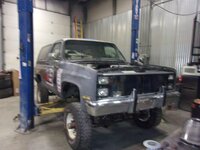
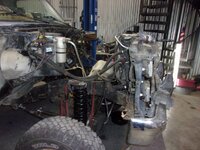
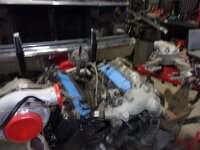
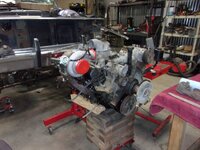
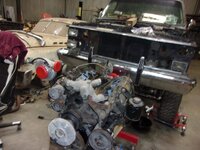
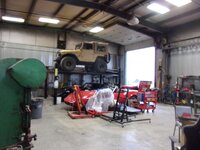
In all fairness to myself, I have a Blazer mostly dismantled - once it's back together and the extra parts stored away again... I'll have quite a bit more room - but it is true, chaos fills whatever space you allow it.
 
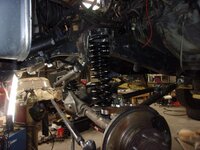
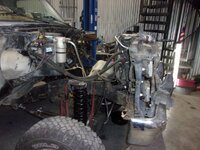
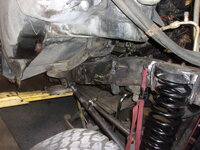
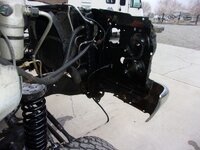
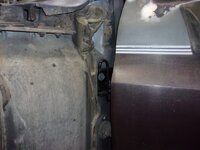
lots easier to work when the inner fenders are out
LoxXVfgh.jpg
2kusm8gh.jpg zz0.ep1b2smk10ozz
wgBSxXoh.jpg
it was not fun
BRnMfMPh.jpg zz0.3a3ll7t2ihxzz
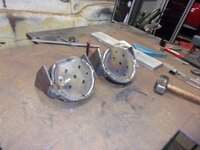
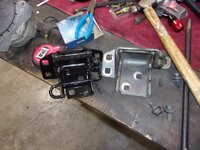
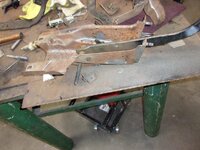
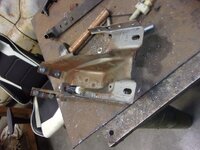
truth is I didn't like the schedule 40 brackets, so I rebuilt them
lUSxkcvh.jpg
NJW0cCRh.jpg
and tail is now draggin
PXGHRBZh.jpg
8hbv9QLh.jpg
 
Oops - wasn't planning on getting this far tonight
p6OJkLFh.jpg
tonight's plan was get the clutch pedals installed
ntgwoKah.jpg
then brown santa arrived, so I got distracted
VUjYZPyh.jpg
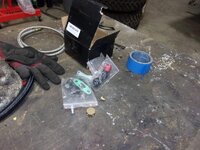
figured out what the 'kit' was missing....
P9WUCFqh.jpg
elbows, the pan fitting was supposed to be steel... ah well
xUpea7Vh.jpg
the good news is what was sent, fits... which is actually kind of an exception
P9WUCFqh.jpg
back to work
well, maybe I should put the new throwout and slave cylinder on... then realize I need another part that I thought I already had
q6fzTOgh.jpg
to put the master cylinder (that I don't have) in place... I needed to remove the fender and get after all the stuff that was stored on the fender
BfNXgGRh.jpg
cece241h.jpg
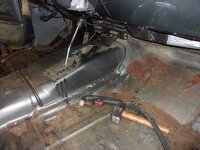
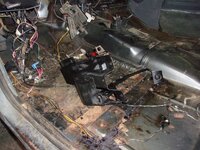
I did have success, I put another hole in the floor
0yPMJMFh.jpg
what I didn't realize was that after removing the inner fender, the fender was held on by 3 bolts...so it came off.. need to anyway but it wasn't in the plan for tonight
p6OJkLFh.jpg


and never fear, there is Corvette content coming with that red one that's on the lift... bear with me... we'll be there soon
 
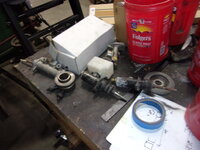
I have every master cylinder but the right one
UjEOyNx.jpg
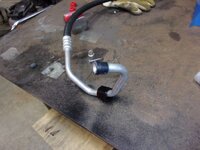
I ordered the right one - forgot GM went to hydraulic clutches in these in the 80s... so I ordered a replacement and the correct line to make it all work
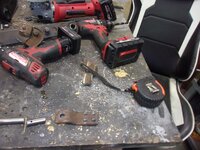
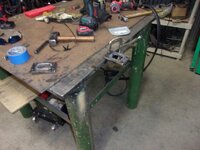
this poor table, as much as I am leary of HF stuff, this one has taken the abuse .... but not to clear it off to abuse it again
RSf9ujQ.jpg
500 lbs lol
oDoc1pW.jpg
and it carried the truck there for a minute
0AXNNH8.jpg
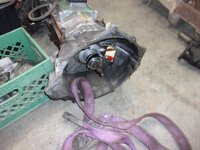
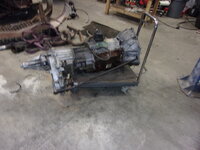
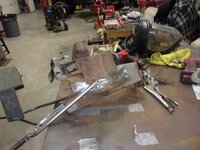
strap it, lift it, move it
lCs6nfW.jpg
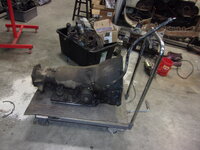
the hole is in the wrong spot so moving it around... I abuse my trans lift even more
CDE1j2B.jpg
I need to clear the lift, to do that means making space - so I might as well do two things at once, and get the trans in the truck
 
i dont what surprises me more the size of the transmission or the size of the coffee containers, maybe everything is bigger on that coast
 
As an Amazon Associate we earn from qualifying purchases. Product prices and availability are accurate as of the date/time indicated and are subject to change.
as the sun sets on other projects
u56j2M8h.jpg
time to get back onto completing this
ocEYs7ph.jpg
but first, time to block the motor up - this stand does not give me warm fuzzies on its strength
Hk6y2mSh.jpg
I was reading somewhere about someone getting some lines crossed on their 6.5... didn't think much about it but decided to check while on these... good thing I did those front two were wrong
NJdgKLih.jpg
these were fine but I spent more than a little bit of time on them because those two lines that weren't right had been Bubba modified
GqhAAguh.jpg
people who know 6.2/6.5 motors will see how f**kd up lines to 2 and 4 were
89mYQpjh.jpg
close, but as long as they don't rub, they're good.... I'm also not quite done because I need to tie lines together to prevent them from contact. Do I know where all my other 6.2 lines are? yep, I scrapped them just before I moved in May *d'oh*
fpXJuOrh.jpg
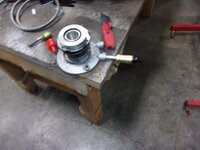
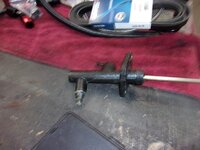
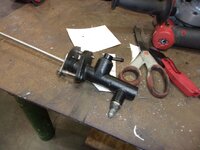
also started on the clutch.... a 83 c10 master cylinder... just need to figure out the thread pitch and get an AN adapter
4v9CjBxh.jpg
strangely, the easy part was getting the adapter to the throwout.... it interchanges with pretty much any manual transmission circa the 90s
wp5on68h.jpg
PSG8F8lh.jpg
as part of 'clearing the shop out' I figured I might as well put the right top on it and the 'other' top outside
rfkTNCTh.jpg
have I mentioned how much I love the crane?
ZgDq7kmh.jpg
 
tonight's fun and games - install the EGT sensor
EpKHnpEh.jpg
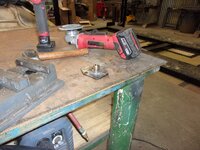
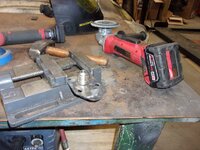
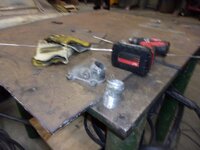
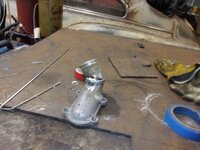
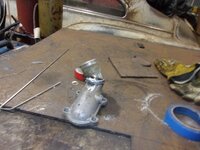
weld the oil return to the blank where the mechanical fuel pump installs
qdFeyseh.jpg
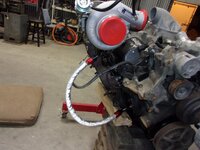
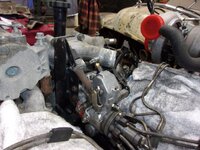
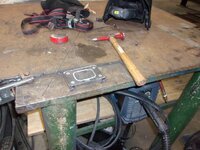
and build a CAD template for the oil feed - explanation - the oil feed for the 6.5 TD (van edition, aka h1 hummer edition) is in front of the oil drive. Can't use the drain, for obvious reasons) but might as well use the feed for the new turbo since it avoids the perilous route that the stock system uses on trucks.
qdFeyseh.jpg
 
while Paul was working on his motor or on polishing my C3 - I spent a few minutes on the Blazer
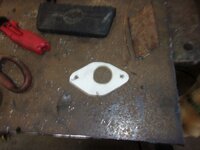
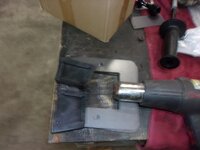
cardboard becomes steel
Y8iByReh.jpg
then welded
izFPA0eh.jpg
carefully weld with just a touch proud so it compresses the rubber seal in the block
ahULCSAh.jpg
view of how it runs
MxnbABch.jpg

truth be told, I'm probably not going to do much painting.... why? my plan is wear the axles to knubs and make this my go-to-go-anywhere rig. The bare metal, yeah, a bit but nothing like the '40. If it needs to be show-worthy, it'll get pulled apart again and just painted.... body gets paint because I hate driving cars that look like crap... but it will be pretty understated - and likely a refresh of what it already looks like.
 
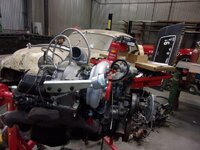
motor is pretty much ready to drop in - just need to get some fuel hose and finish the oil drain
LKACpDbh.jpg
rpLR6P7h.jpg

of course the problem is when? I might be able to sneak a couple hours tomorrow during the day - but the week gets really busy until Thursday.... then I need to finish the Corvette and get it into the trailer.
 
first order of business was pressure wash in a windstorm - I'd like you to note that left gate looks functional.... it won't at the end of this post
but it's being pressure washed because I am not replacing the core support for 2, 2x4" rusted out pieces of metal. SEMA quality? no. Care? no.
xGMEmCFh.jpg
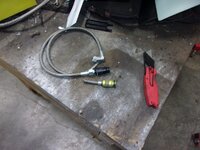
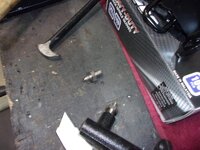
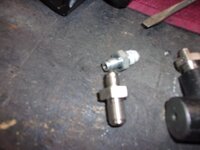
I ordered 12x1.0mm to - 4 an, the receipt even says so... the only bright side here
R9YSaCAh.jpg
is that I can weld
P5N4mmzh.jpg
iAjJPFkh.jpg
and works
9YOpXiFh.jpg
then onto door hinges... should be simple, right?
iCam2WYh.jpg
no but I won....
RCtLhsjh.jpg
for a diesel, they said... uh, no... again, some modification will be required
YEnl39Mh.jpg
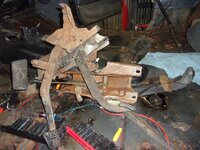
evening was going bad enough that I figured I might as well swap pedals
hiLwlnSh.jpg
you know, the engineer who decided to bolt these things in two directions - I don't care if he saved Mother Theresa, that bastard will burn in hell longer then the devil
7JCe9fGh.jpg
just have to take out a few parts
PryILWXh.jpg
this is pedals mostly out
PryILWXh.jpg
didn't get an out picture because of what came next
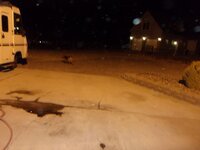
about 5 minutes after this picture the gate blew open (broke the hydraulics) and mini-terrorist went off to visit the horses.... of course, I didn't know any of this for about 30 minutes
eLPm05eh.jpg
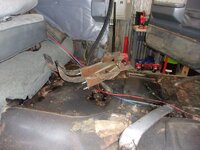
I was busy trying to remove the first part GM put into the truck after the keel was laid.
 
I think you're right about the pedals, it looks like you have the just about strip everything off the firewall in any GM car just to get the assembly out. Sailor language required for the job!
 
there was some judicious cutting done... adapting the clutch to the 86 tree
psEMHMuh.jpg
and more chopping
3lgUwL9h.jpg
clamping
eRBzrGPh.jpg
rewelded and now waiting for new bushings.... they're worn and it'll be a cold day in Hawaii before I pull this apart to fix it
on to the next bit... a brace
a8rAckUh.jpg
this holds the master cylinder to the firewall
qNHGjEHh.jpg
and paint...
1z3OZl3h.jpg
 
sorry FGZ... there's little left of the 'other' brake tree... that said, I might have another... but... not quite sure where
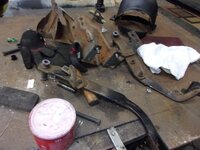
BQV9rU8h.jpg

note to self - pull the master cylinder before trying to put the tree in...
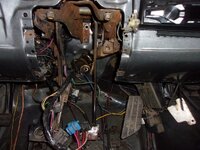
Cl4vfRmh.jpg
fun how the master cylinder just blends into the firewall..
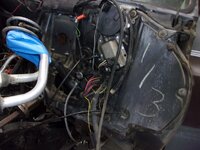
MA9xdTth.jpg

to make the old fit in the new - take the return spring bracket off
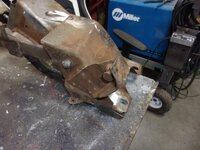
DlruplUh.jpg
then the part off the clutch arm
eU3okFeh.jpg
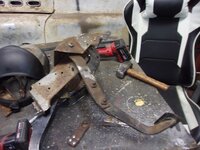
the hard part - connecting the clutch master cylinder... many parts were reused
but the benefit is the clutch arm bolts on - thus if I don't like the action of the throwout - I can move its pivot point
akHkgBuh.jpg
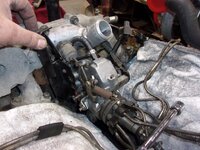
to remind - the problem - the throttle cable/cruise control solenoid occupy the same space as the dual thermostat crossover
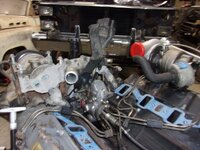
x9Ycsb7h.jpg
flipping it over solves several problems - but there are others... first of which the bleeder is now under the thermostat...
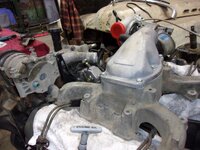
xiBOGtvh.jpg
plumbing this will be entertaining and I'm likely going to re-aim the inlet so that the throttle position sensor has room to rotate. In addition, there will be provisions for bleeder lines from the back of the head to the crossover (along with another bleed port).
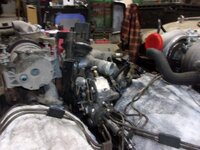
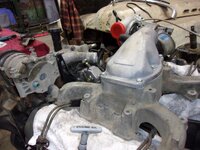
despite my stupid camera not opening its lens... this is the dual thermostat crossover for a 6.5 - clever solution, actually, I'm going to make it even better but here is one of the ways to make a Detroit diesel survive.
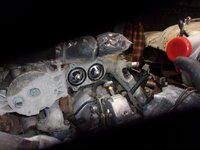
IuFRjRkh.jpg
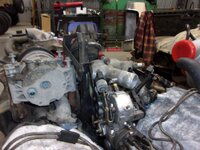
now the fast idle solenoid hits (and I'll truly need to figure that one out)
pWUqJtBh.jpg
getting close to a solution
mXtuvgxh.jpg
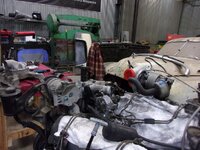
this gets the throttle cable to attach and leaves just figuring out the cruise control (which I'll probably just move up
xcI6hMhh.jpg
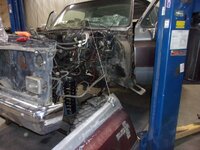
all clears so far
xiBOGtvh.jpg
 
nothing warms my heart more then household electrical wire ties.
fN3A4Nzh.jpg
now the tree is back... in black
jHALmOIh.jpg
and installed
2bWEnwQh.jpg
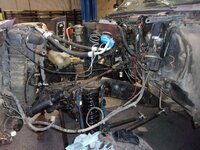
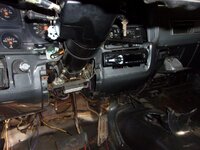
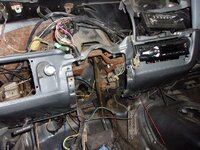
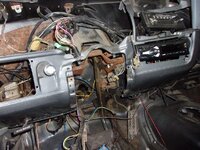
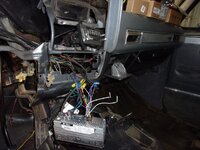
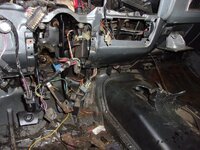
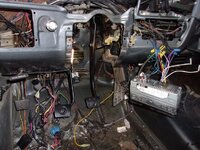
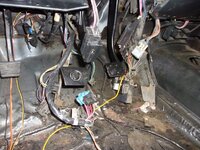
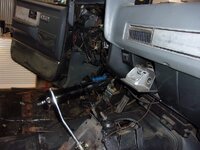
then time to remove the wiring nightmare....
SP9j8Egh.jpg

an overview is the prior owner added a bunch of extra grounds... and had bare wires dangling under the dash... oh Bubba - you obviously stopped with Corvettes and went to Blazers...
now let me whip out this big thing... and steal bolts off it
R5SDAehh.jpg

the 6.5 crossover - will work fine but I'm going to add a flex joint in an attempt to save exhaust seals
MVakK5ih.jpg

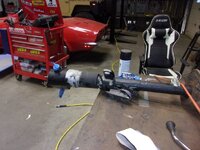
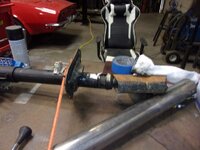
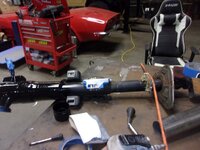
The steering column would be back in but I'm replacing some parts - and they haven't yet arrived (won't be here until next week)... if I remember, I'll show how one threads the cruise control wire back down the column... it's not fun. then convert it to manual
 
worked on 3 things tonight... throttle bracket, turbo oil return and coolant (which is related to the throttle bracket


I welded the wrong bung on the oil return... the right one
SQNQyx8h.jpg
ijnKX2ph.jpg
all ready to go
CY8PDrTh.jpg
after moving the fuel bypass line... it works
6qWkiXQh.jpg
cut at 22.5 degrees
x7r0Ulfh.jpg
reweld the piece back on
O4fMw8ih.jpg
not pretty but it will do
O4fMw8ih.jpg
installed.. we have clearance
yu92PELh.jpg
 
that looks like a fuel pump blanking plate, does it matter where you return the oil to in the sump?
 
that looks like a fuel pump blanking plate, does it matter where you return the oil to in the sump?
as long as there is a way to the pan, it doesn't matter. For the 6.5 diesel, you could put a tap in the pan - but if it's already on, that makes a mess.... this you just weld the adapter to the plate, seal it and bolt it on.... very little problem or mess.
 
so it was finally time to get the shop more reasonably organized... and get the Suburban inside to work on it
qfshoqFh.jpg
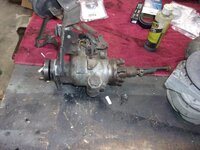
injection pump is bad - so going to use the one that came with the H1 motor
3phxDFwh.jpg
so in the front shop, the Sledanette is gone and in its place work space and Paul's C3
1uCNJyBh.jpg
yysm3JSh.jpg
in real work, filling everything
a1ibf7bh.jpg
yes, I tied it up
olKCbseh.jpg
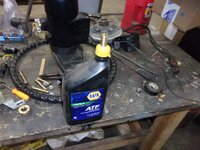
how to fill a transfer case - a hose adapter and drill bit
2204KbTh.jpg
I told myself there was no way my flexifunnel would reach down to fill the transmission
and yet it did
lYYr6eKh.jpg
kQJmFoih.jpg
and since I can't find the adapters - time to make something far more hokey
lxSMBtBh.jpg
 
back to the Suburban... need crows feet wrenches...
usBXBHNh.jpg
believe it or not, these help me with the blazer too
fsOCyLyh.jpg
and now I realize I need to take another picture again... stupid camera...

onto something else
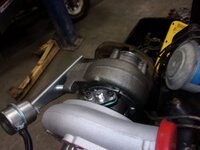
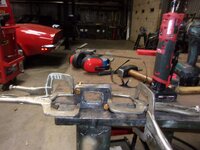
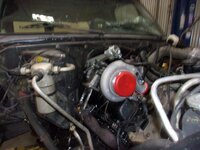
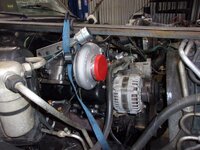
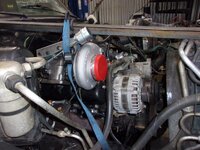
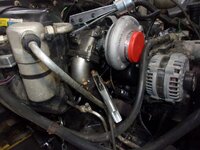
time to blow out some flanges so i can move the turbo
nd4f3RRh.jpg
there is a lot of grinding
cFYtjMgh.jpg
jmgCDXEh.jpg
somewhere in this neighborhood
fgo1uBOh.jpg
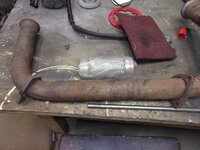
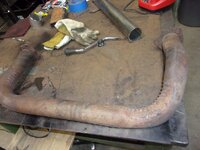
ordered a 90* 2 1/2" schedule 40 stainless pipe
and that's it for tonight
 
In today's story, we're talking wind
NyUbcNBh.jpg
swinging or flapping dog doors blow open on our slightly-breezy 40 mph wind days... so now we have an electric door.... but what does this have to do with the Blazer?
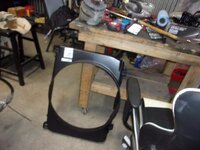
I need to make this windmaker fit
gH6mO55h.jpg
but first, 24v isn't going to do, so find a core that fits
7CJkFKUh.jpg
first with the CAD
EpdmVrzh.jpg
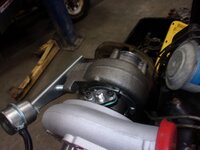
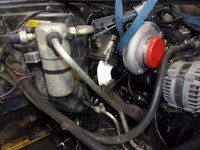
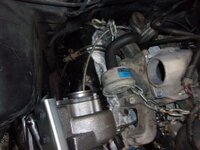
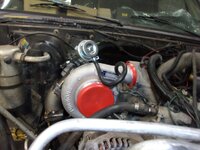
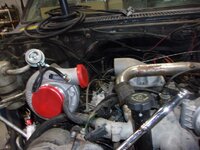
then positioning the turbo where it should fit
gH6mO55h.jpg
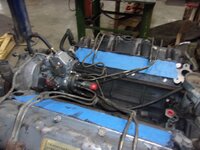
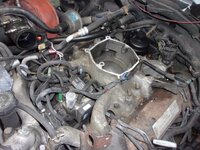
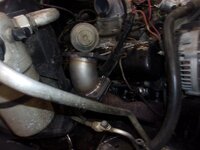
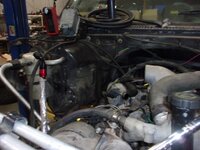
to be honest, I don't know - this is the crankcast vent - and that hole to shoot the exhaust down looks very tight
ATXyNwWh.jpg
it does clear the hood
1RrdRjNh.jpg
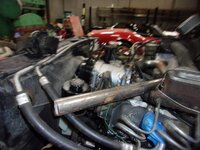
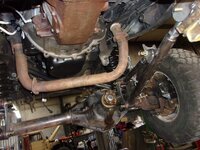
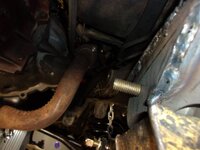
schedule 40 stainless bend.
5xXWkvZh.jpg
so that's it for today, I also spent the day on my wife's JunK ... what did you get done today?
 
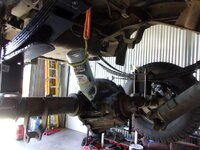
for today's fun... getting rubber covers on pedals
9JO37RLh.jpg
easy, no?
2dOL9G9h.jpg

time to sand and paint... and no, this is NOT a SEMA build - this is a truck I'm going to drive the tires off
Dh8Hk5ch.jpg
a bit of paint
9eCgRidh.jpg
lBEE4J2h.jpg
and now for that great game of "where do I plug this together... it works in 3d because not only do you have to know where the plugs go but also how to route them.. otherwise the column won't fit
5LLFCUxh.jpg
 
more boring stuff....
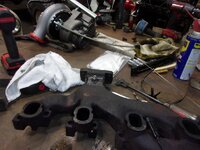
this one doesn't work with the 6.2 manifold... at least not as it sits...
jXknC9ah.jpg
hold that thought, though, need to get a few more things dialed in.. like the offset for the turbo
QduBom5h.jpg
and get the wiring routed to figure out how much stock I'm buying in DEI this time
jXknC9ah.jpg
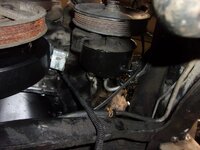
with my attention span we finish with connecting the power steering pump
ifVA5ZDh.jpg
 
okay, play time is over... I was a bit annoyed to notice this, now... I have others so it would have been easy to fix... thankfully, it doesn't leak
yteUAheh.jpg
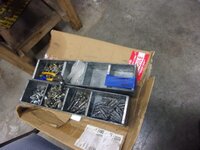
ebrake stuff from the swap meet... don't need it for this build but it is good backstock
xAVl4Nuh.jpg
will probably only use the rod ends but traction kit paid less then one heim price for all of it
rCt74N1h.jpg
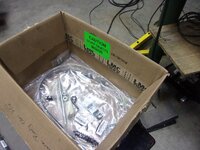
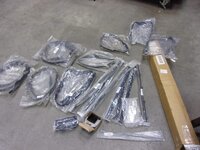
I always buy sheet metal stuff, especially when it's $10 for the entire boxes
mrURRVnh.jpg
and found rubbers for a suburban... so there are some extras... who cares, it's not like I won't own another
4sjNFkHh.jpg
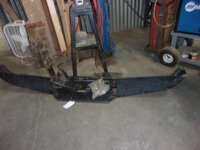
and the piece de resistance (or something)
AdrgAHth.jpg
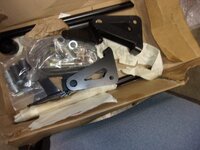
I paid nearly swap meet retail for this, but it's for an 86 - so it has all the brackets and such. There will be substantial modifications and additions to it... but the basics are here
AdrgAHth.jpg
more backstock.... wonder if I can get LMC to trade for the right ones?
5Exbr4kh.jpg
 
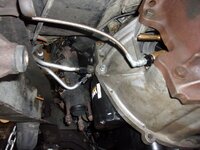
oil lines part 2
flare
GCLGTEBh.jpg
use liquid steel as a shim
ib19ytCh.jpg
and it's now adapted.
ld6kdAQh.jpg

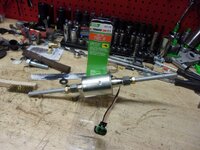
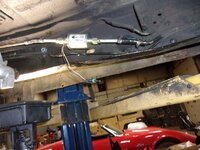
electric fuel pump install - apparently another 'fix'
kUGoHSah.jpg
to install this
9vsHoyrh.jpg
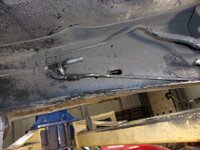
for some reason this ragged edge was under the hose
eD2sIOdh.jpg
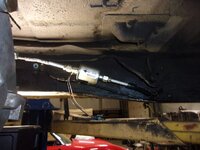
but with a trim and a flare - pump fits fine
6S5lRseh.jpg
and clamped
Zv8OBKoh.jpg
 
reconsidering my life choices... there's so many considerations doing this... it will fit, but wow what a pain.... and I love it.
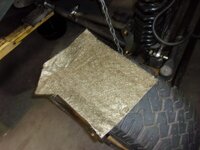
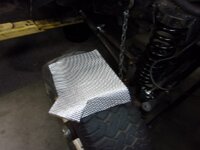
of course, having to screw with heatshield doesn't make me happy
XseBSfhh.jpg
form and fit
KN2g5ENh.jpg
but it's necessary
feCTMJWh.jpg

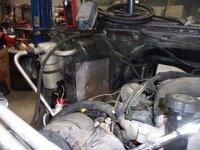
time to figure out the upper coolant tube
O8Zb8QNh.jpg
more bits
7HFQspjh.jpg
there are issues because that is where I planned on running the pressurized line for the turbo
UguZqIgh.jpg
it would be a bit annoying to have to remake the intake to a flat plate and round hole
Q6xbU94h.jpg

oh but wait, there's more
Joo1jS6h.jpg
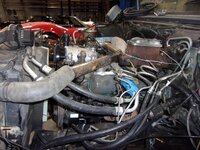
what you can't see is the 2 1/2 hole that needs to be there for the turbo's exhaust
Ql38isrh.jpg

you have no idea the temptation to put the turbo where the muffler would reside... it would solve some problems. That said, that means there would be another 2 1/2 tube that would need to fit up through that nonexistent hole

I wish I had a muffler shop tube bender....
 
Back
Top