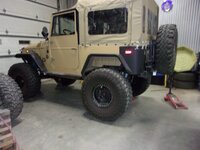
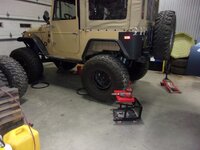
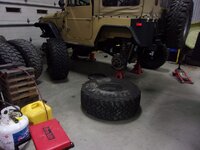
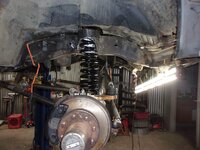
Bloverlanding in a Blazer

VetteMod - Corvette Restoration, Modding & Performance Forum

Help Support VetteMod Forum:

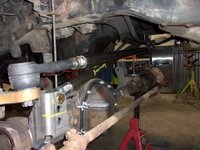
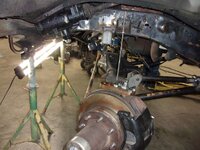
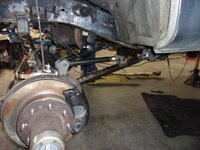
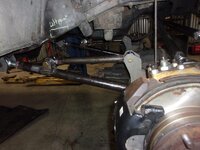
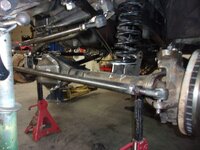
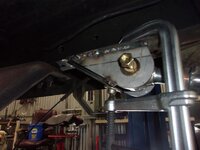
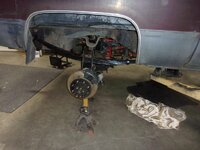
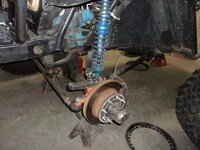
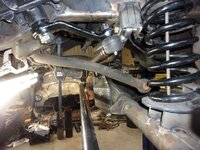
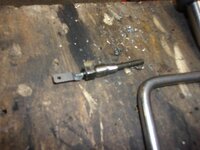
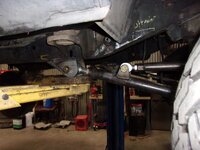
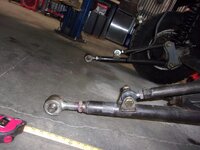
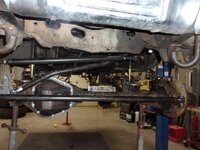
the problem of getting the wrong parts.... explanation - the tie rod end was for the wrong truck, and smaller.... the bigger one is the right one, but now it interferes with the panhard mount...
4p6o5jRh.jpg
at least the new parts work....
udmjKOmh.jpg

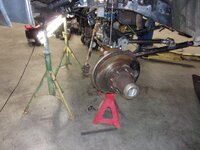
at least it turns..
JPzO2L0h.jpg
RIF5aech.jpg
UdwRgWVh.jpg
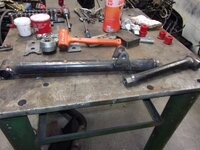
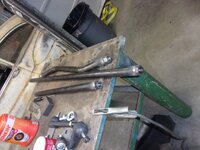
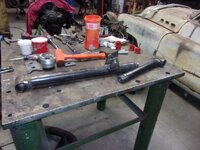
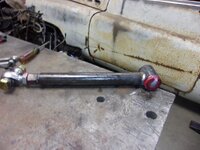
time to weld up the other control arms
5wwjh0qh.jpg
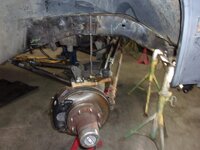
and assemble the other side now that it's cool - also note the panhard mount is much shorter.... which may be a problem later - the panhard should rotate on the same plane as the steering cross shaft. Because this kit is for a leaf spring, the angles are not the same. Fortunately it's not a high travel suspension so it should be fine.... but this is a reason why I haven't painted the parts yet.
p7iQhhuh.jpg
 
today's construction
s1nkvtjh.jpg
time to reassemble the passenger side radius bar
wcD6eSXh.jpg
L7t9ZBCh.jpg
and install
83RCqK3h.jpg
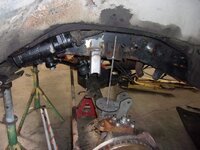
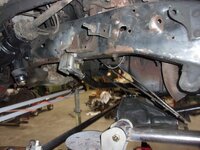
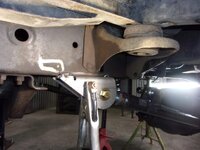
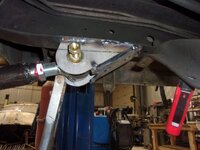
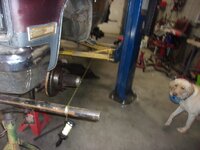
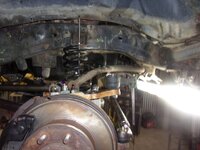
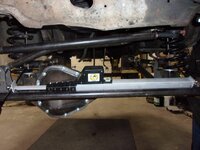
rotten picture, but now the panhard bar doesn't hit the differential or the cross bar
pxrQA35h.jpg
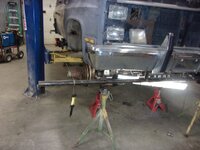
steering and panhard
cQ3vZ5xh.jpg
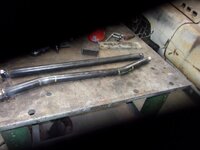
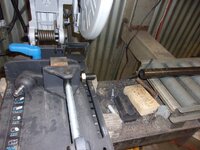
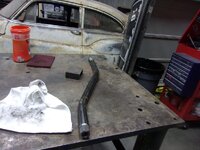
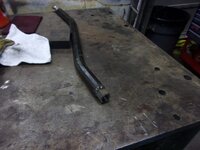
key to all of this was buying the dies to bend 1 1/2 tube
qf1FhXYh.jpg
 
The right tool make the job go so much smoother. Loving the progress. Solid Axle Swaps are pretty popular on 80-96 Broncos, I've looked at a few of those as well and I like your approach on the Blazer. This will make a great go anywhere rig.
 
The right tool make the job go so much smoother. Loving the progress. Solid Axle Swaps are pretty popular on 80-96 Broncos, I've looked at a few of those as well and I like your approach on the Blazer. This will make a great go anywhere rig.

I like the radius arm suspension for things where high flex isn't as important. Now, it's pretty easy to order up the bits to build-your-own.
 
As an Amazon Associate we earn from qualifying purchases. Product prices and availability are accurate as of the date/time indicated and are subject to change.
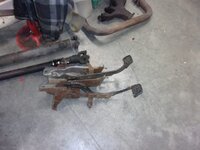
story time. .On ebay, these pedals are $395.00. I've paid less for a running/driving squarebody. Thankfully my new home is 2 miles from a wrecking yard - $40 and problem solved.
bTOfT88h.jpg
panhard in place
csUjFRFh.jpg
 
if you're curious, this really isn't the right way to fix the threads in the cross shaft
ojIFUUvh.jpg
but it works
2BYxm7Mh.jpg
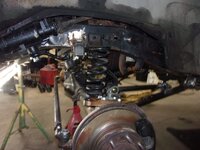
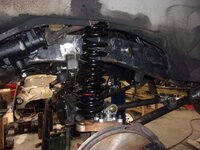
I think I bought these springs for the back of the FJ40, and cut them because they were way too tall... now to find them again and get another set because I bet they work just fine for this application
v9HB07Yh.jpg
 
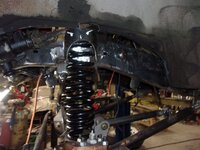
ugh, springs are 3 weeks out. The problem is this, I'd like the tallest spring possible and to do that would mean cutting a spring perch into the frame..... or maybe not. Probably tonight I'll put it on its own weight with some kind of temporary method of holding the spring in place.... wish me luck
 
Time to make the new pads permanent
Px3iwYVh.jpg
align
GxbgsgJh.jpg
level to the other pads.... I change pinion angle with the blocks
4e8We8Ch.jpg
done, much better... even fixed the brake calipers so they're on correctly
a4SCiTIh.jpg
Alignment time
csbBuhQh.jpg
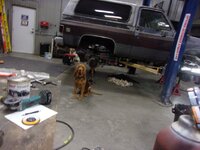
suddenly I have 'help'
APe4dZeh.jpg
hmm... too long
w1w7ZWJh.jpg
welded
WpvAk9ah.jpg
Luigi says it's balls-on now... and when the Lab results come back, you pay attention to it
7ZpBkC3h.jpg
 
i am always amazed at how quickly you make stuff happen.
it helps to have a heated shop
and a Lab... they're pretty pushy about getting stuff done

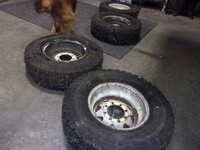
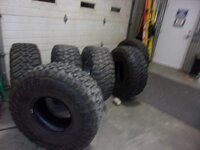
I've had these tires/wheels for at least 30 years.... and one was flat! I want a refund
mDrYXBkh.jpg
ice....
HzaUAWqh.jpg
poor FJ40, I don't treat it well at all
UUJ6DbGh.jpg

first time sitting on tires....very, very old tires
yFig5SJh.jpg
cute, huh? 33s
H63wIE1h.jpg
it didn't fall apart, weird, that's what the san fran sailors say would happen
Ku4wd2Hh.jpg
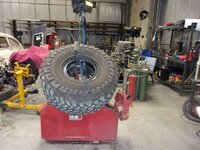
now time to get the tires swapped
BBcO9RFh.jpg
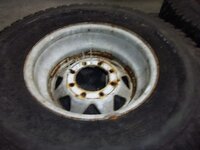
first step, take the bead locks off
W66Ucqyh.jpg

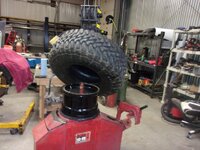
tomorrow I drag my tire machine into the shop and break the inner bead the 'easy' way.
n9bwG6Xh.jpg
 
Ice is a pretty common theme right now - today's ice was it took a sledge to break this out of the ice outside....
0t2yUSIh.jpg
why did I break it out?
Fvybbrbh.jpg


in other news... I think I have a die to bend this, it's actually pretty close and if I got really creative, I could cut it and make it work
CSA7vNeh.jpg
bend it down then step back up to get a bit more clearance for the steering cross shaft.... I really don't need much. The other way would be cut it, flip the bend and sleeve the cut - or use my divider and put splines on it.
Fsre0vfh.jpg
the other side would be perfect with those changes
swkB0qlh.jpg
6b8gEeyh.jpg
ready to go to the tire shop for a dismount, mount and balance for the Blazer
QxyYuOth.jpg
 
do you have a lot going on there, can you modify the drag link length for the sway bar to make it fit?
 
Okay, back to Blazers... or more specifically Diesels

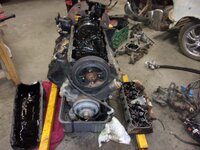
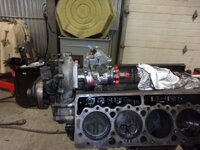
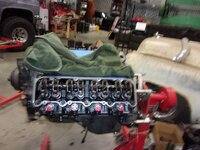
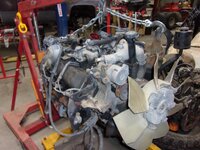
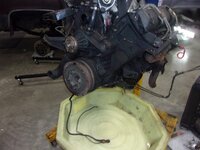
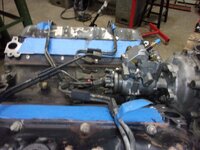
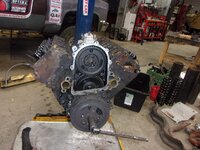
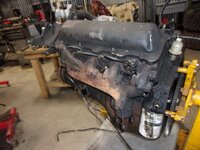
finally got the motor pulled down. the tl;dr is I'm going to run it...
the not-so-clean under the turbo still worries me
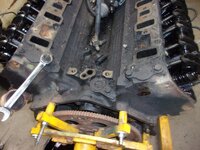
h8O5kbAh.jpg
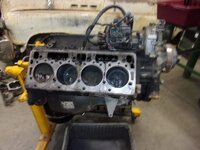
Overall, it's not terrible, there's still cross hatching on the cylinder but it wasn't running right
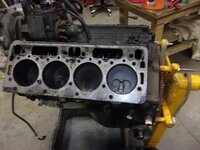
TQfPu7Vh.jpg
bottom end looks good
iJO6mtKh.jpg
number 8... yeah
9OBumzJh.jpg
somehow water got inside in August/September in San Diego....despite the seller's assurance that it was stored indoors.... the risk one takes when they buy on ebay. I probably would have been better off just rebuilding what I have - HOWEVER, let's not forget I do not have a qualified machine shop, so the hell this is may pale in comparison to that pandora's box.
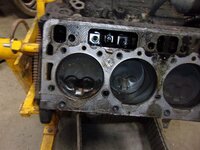
OkrCXNZh.jpg

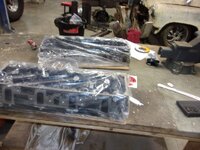
an explanation. Usually the critics are point on right with GM's stuff. GM beta tests on its buyers - which is utter crap, but is what it is. The point is that over the years, the product becomes quite good for what it is. The heads
8x7mS4Hh.jpg
are a perfect case-in-point. My dad went to rebuild a 6.2 but gave up when, after 3 sets of heads, there were no heads without cracks. Strangely GM even suggests that there are 'run them' cracks and no-go cracks.... but, in the 20 years since the first 6.2, GM started developing better heads culminating in these aftermarket heads that fix everything wrong with the older heads. And they cost less then it costs to simply rebuild a set of heads... for new castings.
and that's a foretaste of what you'll see here.
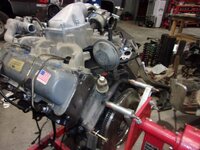
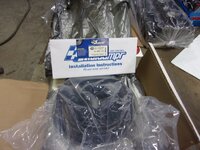
Fluidampr makes a SFI certified balancer for these motors... they're the foundation of building a motor that can handle 30 psi of boost. Stock, 10 psi and you start lifting heads and blowing head gaskets.... that is if you don't break the crank because the balance ring spun on the balancer.... not cheap, but a lot cheaper then replacing a motor due to broken crank...
WzdLChVh.jpg
to this I add ARP studs. The 'right' way would be replace the pistons with lower compression pistons.... however, even with all the updates, these motors start coming apart after 725 lb torque. Then you need billet cranks (they have them).... in this case, I want 350 hp and 525 lb torque. For what I'm building - that should be sufficient.

what you won't see, though, is a cooling system update - because the 99 motor has it already. GM started with (by memory) 30 gpm cooling pump. The motor would hot spot at idle. They then came up with the 67 gpm pump for the turbo motors... with about the same result. Then came the mamma jamma, in 1997, they split the water system (to allow simultaneous cooling on both sides - effective dividing the cooling into 2 banks of 4) and put a 137 gpm pump on the motor. That pump solved the cooling problems - to the point that the uparmoured H1s didn't immediately melt down in the sands of the Middle east.

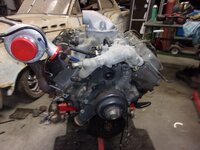
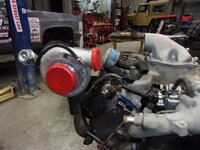
also, to be seen later will the the turbo upgrade.

 
All the flares are there but not going there yet... onward with the engine
one day turn around on the injectors
aUV10L6h.jpg
time to do a lot of cleaning
bDSwrB4h.jpg
1SRMw9lh.jpg
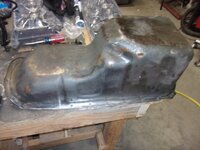
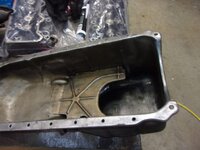
oil pan cleaned and re-flattened
aLDmO5zh.jpg
good thing I measured the oil pickup... wayyyy off
UgNIYk0h.jpg
fits now
uxD5ID5h.jpg
I'm not sure on which filter adapter will work - but cleaned the other one just in case
zQwqkxzh.jpg
injection pump is on but one bolt down....
v3IDsUhh.jpg
 
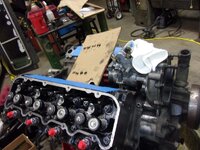
We start here.... last night I set the heads in place after running a thread cleaner through the threads on the block
c8SmVnLh.jpg
and install the Fluiddamper
kSAI52Lh.jpg
then install the injectors and pushrods
FrgT8S4h.jpg
and rocker arms
7eCfcmth.jpg
then flip it on its side to tack the oil pickup in place
yPe3tPth.jpg
z3Ut0wzh.jpg
then toss the oil pan on (not the same as what was on there before)
n8oTmYVh.jpg
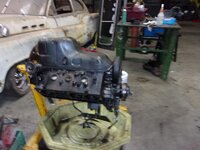
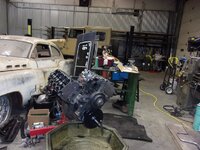
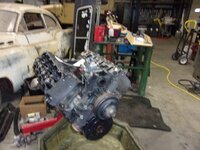
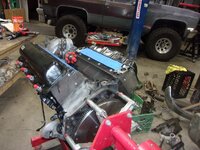
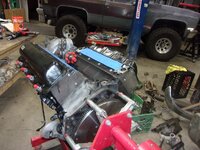
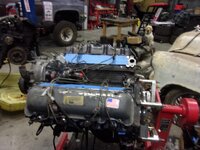
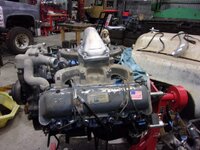
still need to bolt the valve covers down, but starting to look like a complete motor
3B4zLaLh.jpg
then went down the rabbit hole to determine how important a damper on the output shaft on the transmission is to all things
3B4zLaLh.jpg

explanation.... the OEM equipment for manual is dual mass flywheel. The manufacturer of the flywheel suggests using a damper from the 1991 through 2000 Cadillac Suburban - but not if the flywheel is in a truck of more then 15,000 GCVW... it's $450... thinking it's pretty easy to pull the transfer case if there are harmonics... but according to the internet, leaving it out affects nothing.... we will see.... I have to pull the NP208 when I find a NP205 so if there are harmonics and they need to be solved, I'll solve it then....
 
sometimes it just floors me how little I can accomplish in 2 hours (my normal 'shop time')
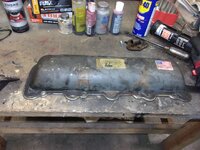
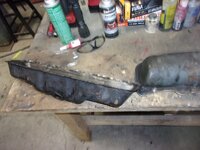
tonight... I cleaned valve covers. Wait, you say, you cleaned them yesterday. Well sure, the scrap ones.... didn't know they'd be scrap until I took a wire wheel to get the silicone off.... not even someone else's fault...

so onto the 'new' (now clean) ones
XmTcaMvh.jpg
then started cleaning another and wondered... why is there a vent? was there a vent on the H1 motor...
5VOR795h.jpg
now it's 11 and I'm looking for that answer

yes, yes there was
OYrvqcrh.jpg
 
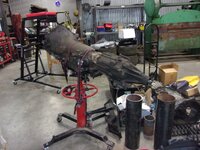
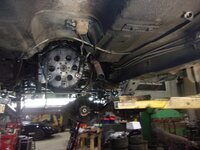
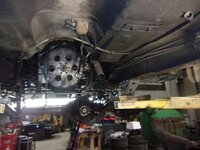
time to pull the trans
but first, picture for posterity (and so I can remember where all the brackets go)
azC4rAE.jpg
E6EAGVwh.jpg
AgXHbAlh.jpg

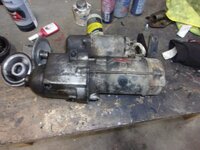
pulled the starter, this is the spendy version ....
P4KoHQGh.jpg
just forgot one bolt and one cable... the cable was frayed so I don't feel bad hacking it
bmkHvUXh.jpg
I win
akDH5ksh.jpg

tomorrow, motor (I hope)
I45yoYNh.jpg

this will make a good 'for sale' picture .... or maybe
I45yoYNh.jpg
I'll play the theme song to Raiders of the Lost Ark where Harrison Ford is arguing the ark needs to be in a museum while it's put into a box then rolled back in a faceless warehouse...
T0p4p1dh.jpg
[video]https://youtube.com/clip/UgkxKcaVReMYmTXXog_MIZ-twg1W_fBTdtUY[/video]
 
time for the missed-wire-stress test, aka the 'how to do an Exxon Valdez for fun and profit'
3D2ASgEh.jpg
yep, have a perfectly good forklift behind me and I use this... and bend it more... no promises about whether or not I'll risk the new motor with the cherry picker
t8y1dc1h.jpg
look, greasy hole
ViiLd1Vh.jpg
more greasy holes
ahvWx9vh.jpg
I am going to scrap this, however, all the brackets and such will make life simpler on the new motor... so those come off. Also, I think it has a relatively new injection pump... score
xLS3iMTh.jpg
 
more assembly
if anyone is interested in the difference between a 6.5 with PCM and a 6.5 without (the same as 6.2s)
oKzjUUWh.jpg
Ct3yWich.jpg
getting closer
1B1yV0bh.jpg
and a bit of an annoyance.... the new glow plug had messed up threads... thankfully I didn't force it, but ran my thread cleaner to test the head, then tested this .... it jammed...
LpkWgrVh.jpg

ah well.... still a ways to go, and this isn't the fun stuff, I need to finish the assembly then get to installing the turbo
 
oil cooler adapters... the 6.5 is bigger...
kN9Ve89h.jpg
the only downside is I bought new oil lines for the 86, not the 99 H1... no biggie, I'll AN them
I would love to know how they managed this - it's a rear, driver's seat captive nut....
SgeinvFh.jpg
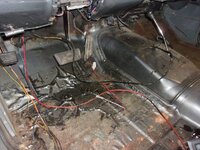
and while we're at learnin' who thought that fence-wiring down the driver's seat was a good idea
4Ujgg2Uh.jpg
time to find out what lies beneath
kRPzqFrh.jpg
not bad
HbOoRPGh.jpg
xcHkwh3h.jpg
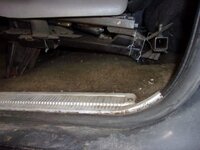
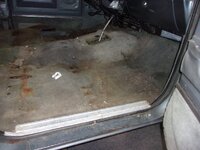
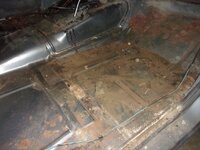
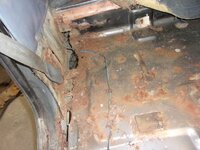
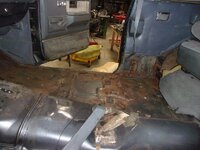
If you live on the east coast, look away.... it's terrible, terrible rust
9PxkZ2Vh.jpg
h9x2oKfh.jpg
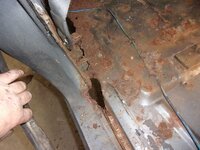
I know, terrible (not really).. this is actually a very common problem with this generation of K5 Blazers
W2qStWah.jpg
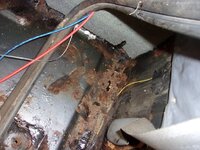
but still, if you're on the east coast, this is what floors look like
baR1qykh.jpg
 
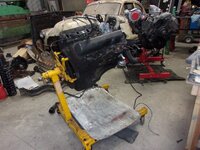
The 6.2 in scrap form. I'll hang behind the shop in the scrap bin for a little bit but ultimately what you're seeing here is a new Kia.
Ue1qMioh.jpg
strangely the exhaust bolts came out without too much trouble... 200,000 mile motor but a 34,000 mile motor couldn't come apart
qnV0EsSh.jpg
uBpfXq3h.jpg
test fitting time again
2fZfqUph.jpg
vacuum pump fitted
2RXxVY7h.jpg
lots of little things to do, but this is the general idea
hyVDj9qh.jpg
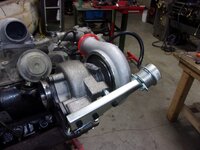
Happiness is large turbos
FJ0yH7sh.jpg

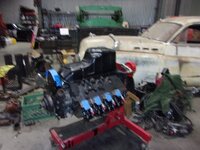
7 months is what it takes to fill a shop 8x larger by volume
vzUFNNLh.jpg
Paul's Corvette is back for its BBC
0bCQpvSh.jpg
 
Today was more about cleanup
SPsK0Cmh.jpg
nowhere near done, but gained a lot of room
gA39hSmh.jpg

Did, however, get the front axle moved forward
jeCJEm3h.jpg
VbxjHHth.jpg

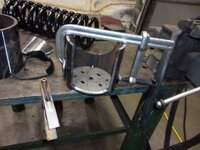
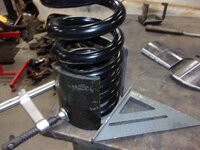
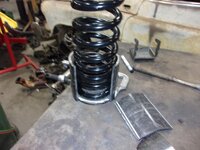
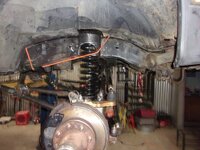
next up, spring pockets.
 
tonight's task - start with the spring perches
wyrZq8Gh.jpg
level and align
5CXNwJPh.jpg
love this measuring tool.... glad I bought when I did.... omg they're expensive now.... like 4x what I paid
hF4gDRJh.jpg

at least the idea
rDC8FiEh.jpg
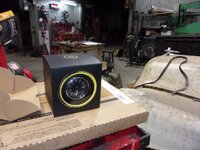
some parts came in, such as the pillar gauge pods
ZuFPvO8h.jpg
egt gauge (so I can drill and tap the exhaust also the manifold bolts... early, even
HpOoVlCh.jpg
 
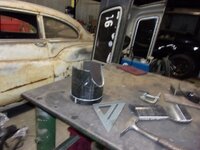
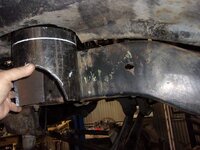
Spring pockets.
tthGUDFh.jpg
does it work?
ZZx2LQOh.jpg
works fine on the passenger side, driver's side, decisions are being made
hPskA9jh.jpg
with some mods...
vf2QJXeh.jpg
the schedule 40 tube is a bit larger - I need that space - so a bit of shaving and it's fine
P7k7N1Xh.jpg
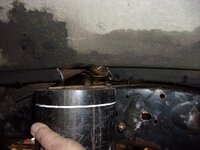
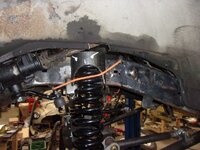
rather then being an inch above the frame (optimal), it'll be even with the frame top...
dBWbqOUh.jpg
and it works... though it seems a bit angry
UhYeQJGh.jpg
passenger side too
A0xButUh.jpg
3 pods, 3 gauges, tach, EGT, boost
c86vE4Lh.jpg
 
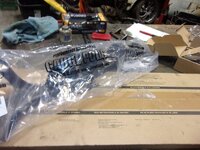
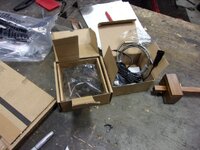
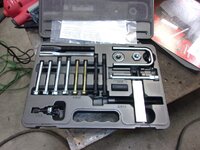
today's side fun. I need 2 of those hooky things... bought this kit to replace the chinese junk I've been suffering with.... but the whole reason to purchase... yeah, I got half the parts I needed... damn
G4ZYVYyh.jpg

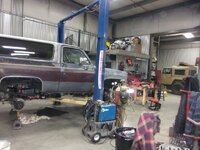
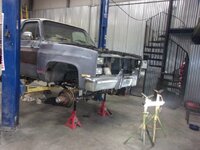
in news, one tack holding it in place... that I'll need to knock apart... no worries, this is still in the fitting stage. still finding it hard to believe that it's all going to fit, but there it is right before my eyes so I've gotta believe it.
DevFhurh.jpg
passenger side is better and might get burned into place
LGf1ZPrh.jpg
 
Back
Top