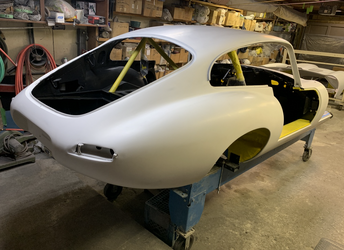
ROOF REPAIR
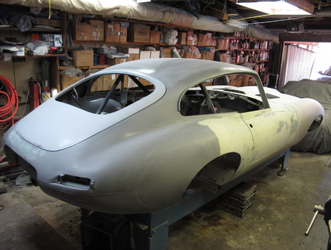
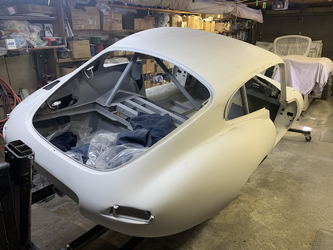
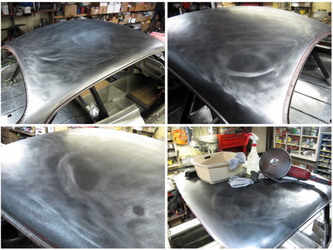
I knew the roof wasn't perfect. All the defects were reveled after I removed the paint, applied some guide coat and block sanded it with a long board.
I suspect the roof was sat upon at some point because I had four creases, one in each corner.
These were repaired using my shrinking disc, applying heat then cooling with a wet rag.
Epoxy Primer and Body Filler
With the metal work finished, (I hope) it's on to body work.
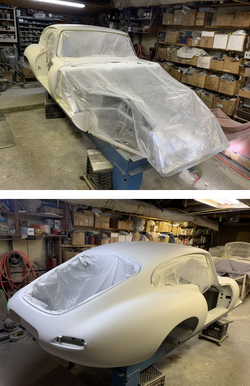
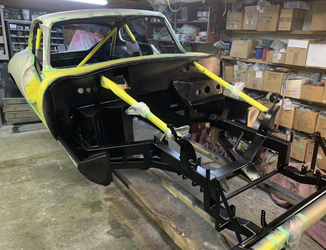
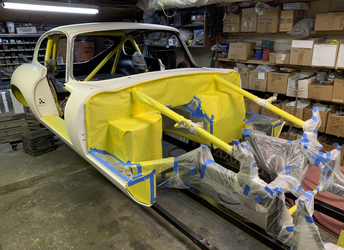
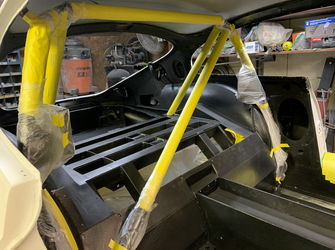
First step was to put the car in epoxy primer. I'm using the RM EP 369, the same product that the bonnet was covered in some time ago.
Body filler choice is Evercoat Rage and Rage Ultra. I'm using a triple beam balance to accurately measure my filler to hardener 2% ratio. I've been getting some great body work tutorials on YouTube from Sylvesters Customs channel.
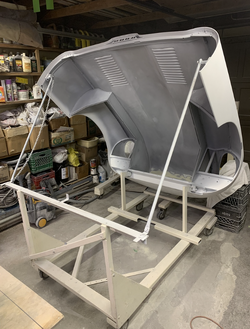
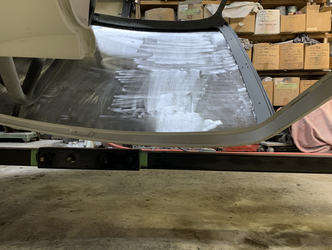
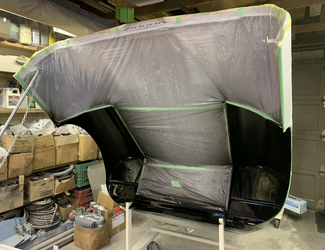
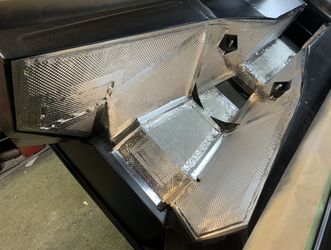
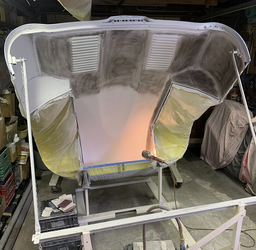
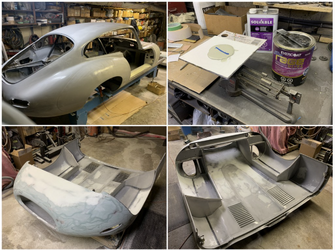
My first area to work on was the underside of the bonnet, probably the most difficult spot. Hard to reach, concave curve. The underside of the front pan was much easier.
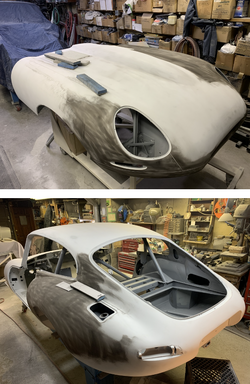
Epoxy, mud mixing, first filler:
Body Working the Bonnet
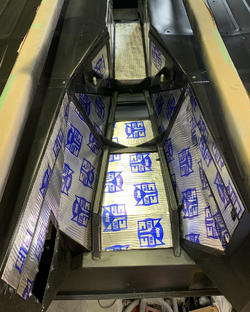
With the underside of the bonnet finished, I moved on to the firewall and portions of the frame.
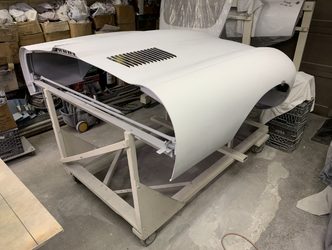
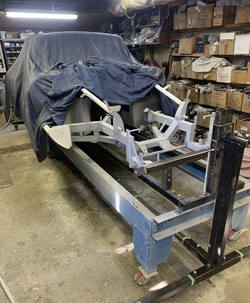
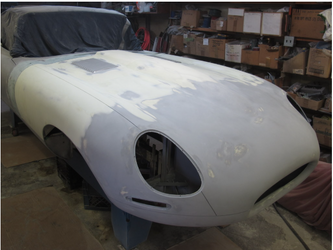
Next, the bonnet went back on the car so it could be completed. It had previously been roughed in years ago and now was the time for it to receive final shaping and leveling.
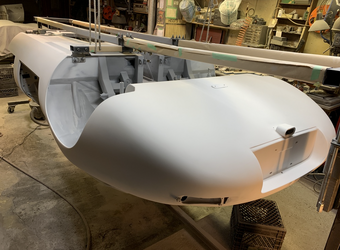
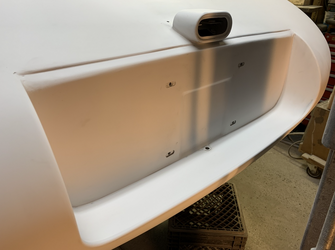
After finishing the front section of it, I shot it with some epoxy primer as a test, and then continued on to the rest of it:
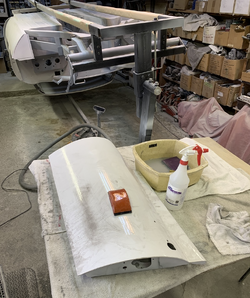
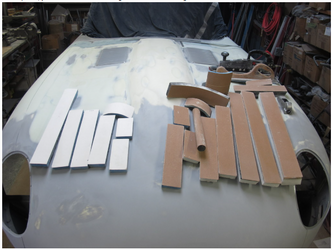
I've amassed quite an arsenal of sanding tools, mostly sanding boards. They vary from doubled up ¼" acrylic, 1/8" ABS and 1/16" Lexan. Each has their own flex characteristics, to work the complex shape of the E-type bonnet.
In this photo, you can see the brown 80 grit and the white 120 grit:
More Body Work
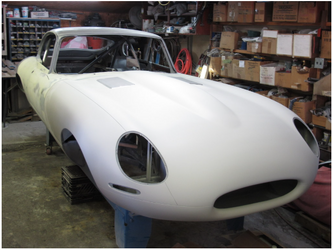
After finishing the entire bonnet to 120 grit, I shot it with 2 coats of Evercoat Super Build. That will be blocked out then epoxy primer applied:
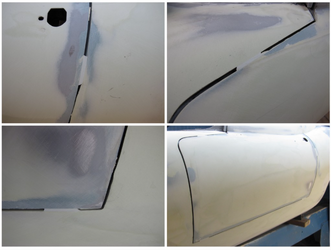
I installed some of the rubber door seals to final fit the door position. This was locked in by putting filler in the gap to prevent the door from moving while block sanding:
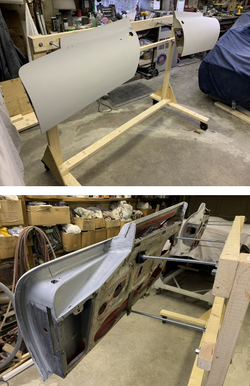
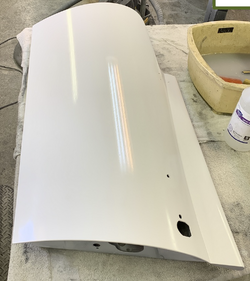
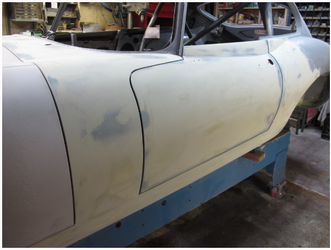
Cowl and doors straight edge finished and gapped:
TO BE CONTINUED
I knew the roof wasn't perfect. All the defects were reveled after I removed the paint, applied some guide coat and block sanded it with a long board.
I suspect the roof was sat upon at some point because I had four creases, one in each corner.
These were repaired using my shrinking disc, applying heat then cooling with a wet rag.
Epoxy Primer and Body Filler
With the metal work finished, (I hope) it's on to body work.
First step was to put the car in epoxy primer. I'm using the RM EP 369, the same product that the bonnet was covered in some time ago.
Body filler choice is Evercoat Rage and Rage Ultra. I'm using a triple beam balance to accurately measure my filler to hardener 2% ratio. I've been getting some great body work tutorials on YouTube from Sylvesters Customs channel.
My first area to work on was the underside of the bonnet, probably the most difficult spot. Hard to reach, concave curve. The underside of the front pan was much easier.
Epoxy, mud mixing, first filler:
Body Working the Bonnet
With the underside of the bonnet finished, I moved on to the firewall and portions of the frame.
Next, the bonnet went back on the car so it could be completed. It had previously been roughed in years ago and now was the time for it to receive final shaping and leveling.
After finishing the front section of it, I shot it with some epoxy primer as a test, and then continued on to the rest of it:
I've amassed quite an arsenal of sanding tools, mostly sanding boards. They vary from doubled up ¼" acrylic, 1/8" ABS and 1/16" Lexan. Each has their own flex characteristics, to work the complex shape of the E-type bonnet.
In this photo, you can see the brown 80 grit and the white 120 grit:
More Body Work
After finishing the entire bonnet to 120 grit, I shot it with 2 coats of Evercoat Super Build. That will be blocked out then epoxy primer applied:
I installed some of the rubber door seals to final fit the door position. This was locked in by putting filler in the gap to prevent the door from moving while block sanding:
Cowl and doors straight edge finished and gapped:
TO BE CONTINUED