Bloverlanding in a Blazer

VetteMod - Corvette Restoration, Modding & Performance Forum

Help Support VetteMod Forum:

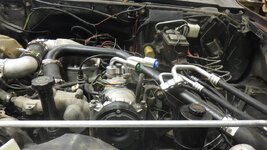
Would it be easier to leave the fenders off for a bit more time.... probably but more likely probably not
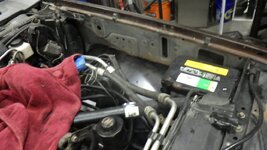
for example, routing lines is paramount now
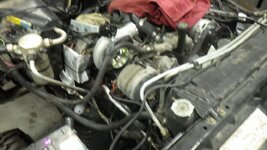
8Vb7kOTh.jpg
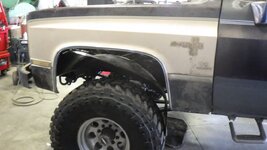
Inner fender the outer fender....
W588YpDh.jpg
maybe more importantly is finding that I need to do a bit of Neanderthal on the core support the bottom is about 1/2" off - and nothing is lining up
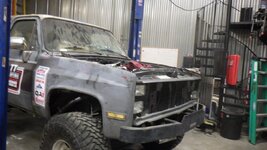
us9esaBh.jpg
however, and maybe more importantly, the batteries now have boxes to ride in
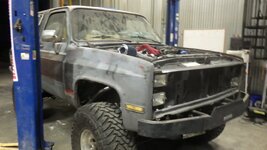
bfF6yzKh.jpg
uuLY4r0h.jpg
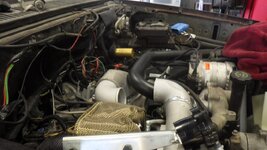
and I can start considering airboxes
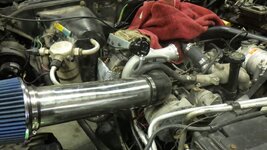
mqtW1NIh.jpg
 
i like it!!! nice job on the sway bar links.

what is the insulation you have next to the turbo pipe (on the body)

thanks bob
 
DEI exhaust wrap

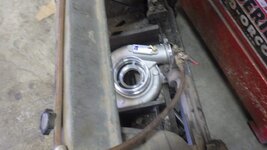
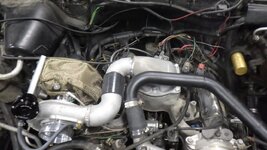
time for turbo connections
TPJQr0Ah.jpg
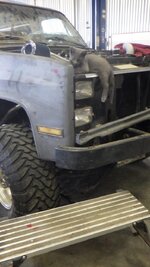
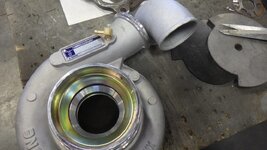
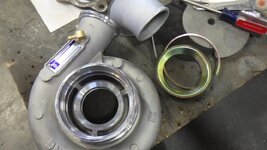
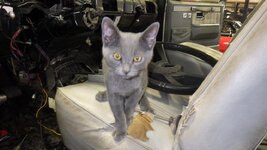
but wait, time to remove the scaling kitty.... FGZ, that package I'm sending to Hawaii may include this thing
CcHCSrLh.jpg
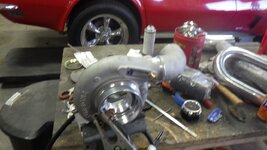
so that silver thing is to quiet turbo noises.... yeah, someone designed something to make turbos quieter....
l8Bogdsh.jpg
like that's going to stay
UHqWy5Mh.jpg
ugly weld on metal of indeterminate origin
WErGtAWh.jpg
time to void warranty
G7eQ0beh.jpg
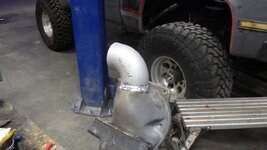
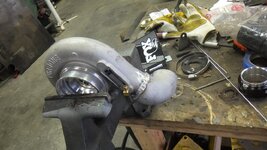
then weld on elbow
R8GdcNph.jpg
basic layout - but I need to extend a tube
hGllP6hh.jpg
weld better because metal better
RvT5Bg9h.jpg
I haven't decided whether I'm using this swap meet special... it's electronic...
TuLDbfZh.jpg
 
how is the DEI attached to the engine side of the well body panels? a landau adhesive?

could i use that as koosie cup for the SU float bowls?
 
how is the DEI attached to the engine side of the well body panels? a landau adhesive?

could i use that as koosie cup for the SU float bowls?
wire and screws. I've tried the glue method - it never works for long.

technically it's supposed to keep things from getting too hot through reflection, would it be an insulator? probably not.
 
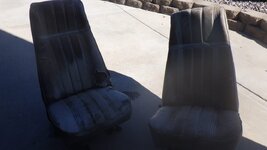
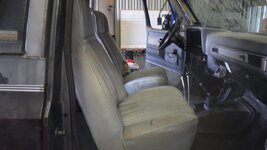
So I bought some brown seats today - mind you, this is after the first rinse that took the dust off
w7dZsTph.jpg
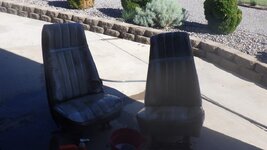
round 1 with grease removing soap
obpqZ5sh.jpg
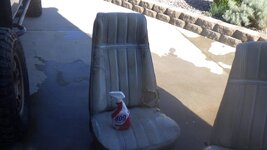
round 2 and 3 with 409 and purple power
vFD3pFEh.jpg
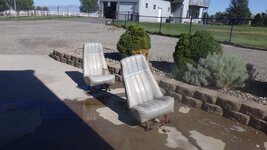
hmmm... not brown
ItDTqluh.jpg
they'll work
5nnqGZ3h.jpg
 
As an Amazon Associate we earn from qualifying purchases. Product prices and availability are accurate as of the date/time indicated and are subject to change.
nice, for the sedanettte (why keep me waiting???) you need those GM seats with the integral seat belts in them
 
the is the most important picture of today - clutch works great. had to pry on the throwout while my friend cracked the lines at the master.... not pretty but it works
f01FdcMh.jpg
then I couldn't shut the truck off when I got it into the shop... had to pull the plug and disconnect the battery
Faq6MwZh.jpg
when I got this, the ignition switch was temperamental - thought it was the switch (and, for those playing along, I commented then that the switch looked new)... it was the barrel, not it works like new
fntq5Rjh.jpg
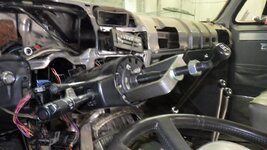
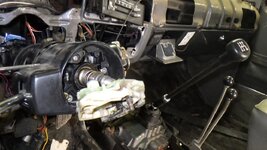
then onto the billions of things left to do... focus now is the electronics so I have gauges and start the floorboard fixes
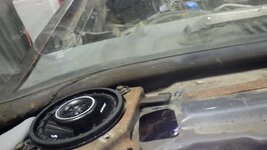
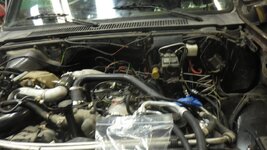
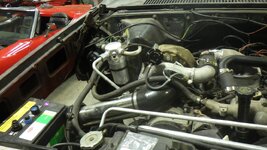
and then I show you a picture of a speaker
sb8Ff3Vh.jpg
seemed like it was a good idea to replace them since I had to remove one to run the wires for the pillar gauges
4GQvKzfh.jpg
this is not helpful, he thinks he is, but he is most certainly not
FHVcnNNh.jpg
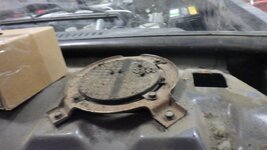
time to start thinking what this is going to need to be/do when its done. sealed for sure but do I just make the top removable? do I rely solely on the rubber boot to keep crap out? (no)
rb7KMt8h.jpg

but in that vein, I should consider what the center console will look like - stock? I'd rather be able to walk into the driver/passenger side but I'm not giving up storage....
 
tonight's update. Wiring.
spastic cat

I hate everyone.

in other news, because I'm not a YouTube sensation, I'm going to have gauges, a working speedo and insurance before it hits the street.... I know, I know, but I've never pretended to be an actor and I'm not going to start now
 
not a lot of time to work on this - had to put my lawn stabber together... but I digress
BRMNPtth.jpg
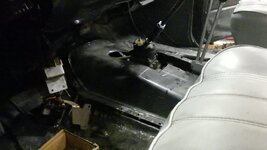
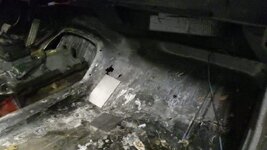
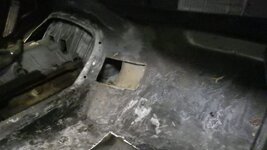
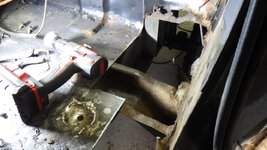
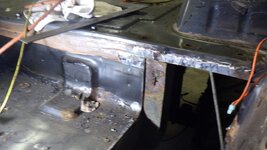
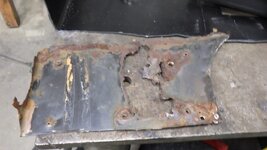
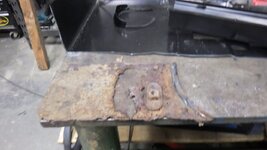
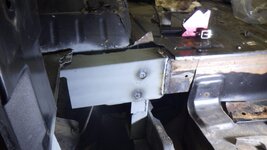
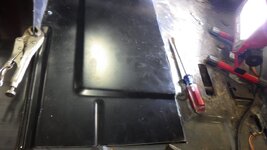
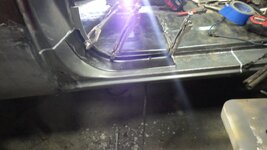
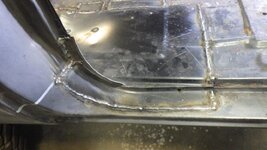
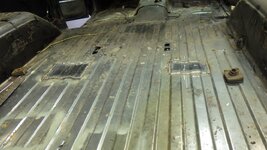
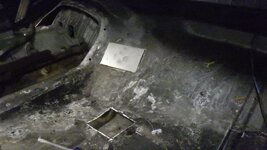
to remind, a few holes in the floor
Ehc7Zlvh.jpg
thus I make bigger holes
moDD1tyh.jpg
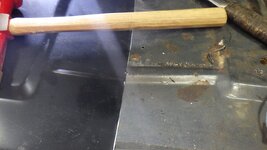
I honestly think someone went at the floor with a pickaxe... not sure why... but it is what it is
3uijW8oh.jpg
also started putting a/c pieces on....
Q7pu0M9h.jpg
justTH4h.jpg
I need to do some adjustment to the hard lines
GqJJIiYh.jpg
as far as I got
7edwqWWh.jpg
 
because a day isn't complete without breathing grinding dust
VmZJKBmh.jpg
it's a lot of work to make an interior which floats
EW36U49h.jpg
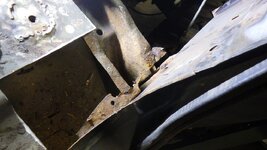
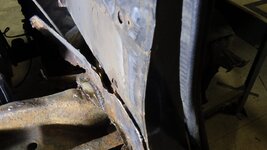
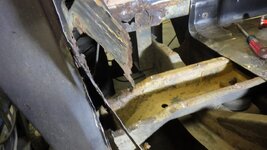
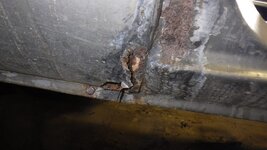
this is a new one on me... look to the right of where I cut through the brace... it failed at the bend...
kwvP2Moh.jpg
in addition to this really weird rust/fail
4TUDOw3h.jpg
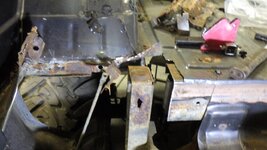
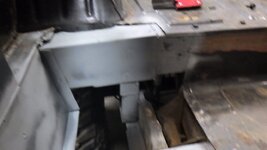
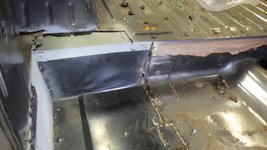
cut the rest of the problem area out
uiilH2wh.jpg
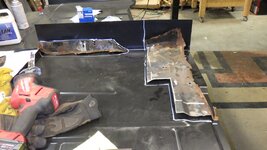
mark out templates
GIiXmcSh.jpg
first test fit
x9DsYroh.jpg
 
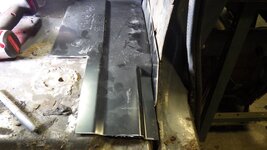
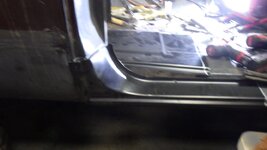
driver's side done
Rc5CiUbh.jpg
onward
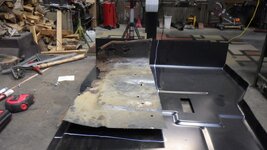
chop out a too large piece to start the process
B7CUftTh.jpg
funny when you think you cut out a huge part then wonder if it was big enough when you offer it up
FMxwDTjh.jpg
and it's ugly
ox6BN27h.jpg
now removed
lJTqNiAh.jpg
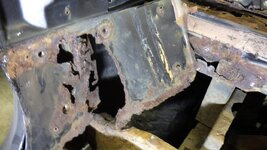
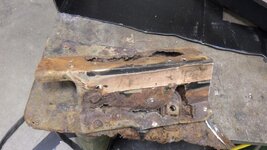
more rusty panel removing
a1zBGtMh.jpg
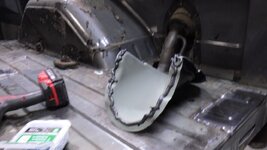
going to simply build a new section
D92UCNZh.jpg
removed
V6EylZSh.jpg
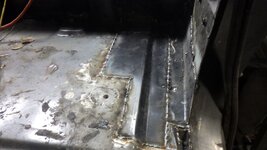
still pretty easy to build - though I'm now questioning the how it happened... whether it was from water thrown forward from the wheel or leaked down. I'm starting to think the leak down isn't possible due to how the toe kick is made...
8HTdU2yh.jpg
thinking I may just section in a few pieces... the only problem with this part is the skin, everything under it is fine - which means it's a lot less work to just do the top
dLknvgth.jpg
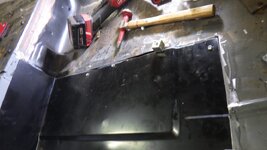
rather then section this in, just section in the upper part and do a bit of bodywork
0wZIZNHh.jpg
 
I have a 97 Tahoe with the usual (lots of) rust. I haven't checked the floor pans though.
 
I have a 94 with no rust in it... a lot of dents, but not rust


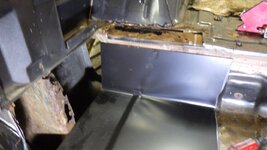
continuing... fitting
MzBggTxh.jpg
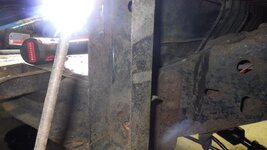
welding
NAGkI6Ch.jpg
painting
z8pDk3Ah.jpg
next layer
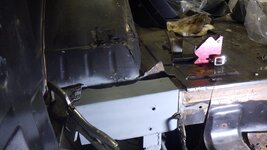
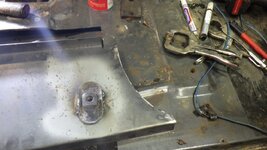
weld on seat belt nut and backing plate
8qWM0uDh.jpg
after an hour of fitting
LS6gfFAh.jpg
and I got here... i had to rebend the rail so it fit...
rWA1eyxh.jpg
oh china
2jFjkcNh.jpg
 
weekly update
[VIDEO]

first, make it fit.... and I didn't cut enough - so there were some 'strength' patches
qKAncUVh.jpg
a couple spots to weld left on this side
tTsaI0Sh.jpg
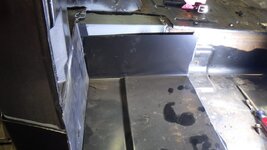
trim a patch, install a patch
rMAPSFGh.jpg
and the only rust on the inside (that you could see) is now patched up
ghuXyS9h.jpg
 
well, patching on the inside is done... next up is clean the undercarriage and undercoat it then paint the frame..
uYCuohmh.jpg
sealed and screwed in the gas filler cover
GViy1dBh.jpg
probably didn't need to seal it because it's going to be sound deadened and then raptor lined (or Durabak).

and now it gets kind of put off to the side.
SEMA is in 2 weeks (unbelievable), and I will use it to get ideas on what the inside is going to look like. I also am probably (and internally fighting this) going to rewire the truck. It has substantial electrical gremlins and a lot of corrosion... not to mention I'm adding a lot of circuits for the camper portion of this build.... but that's another thing to review at SEMA.
in the meantime, I'm going to get as far as I can with the Corvette so I can get questions and such answered while there.
 
where am I? well
here
waPchmyh.jpg

M8KuG6sh.jpg
 
hmmm, black widow
UFyWp6Qh.jpg

the memory of one
1vwmfp7h.jpg

it's my shop, no freeloaders!
today's fun included finishing this
UsGsGqCh.jpg

now maybe they can do more then hikes
iqs3XXQh.jpg

moving on
first step place piece
GXla5wph.jpg

then read instructions
don't have a flat table but I do have shims
x76j0E2h.jpg

and string
x76j0E2h.jpg

DpmjTAgh.jpg

then a few tacks
l4LwCzdh.jpg

then new test fit
Flj6AcQh.jpg

then remove some foam that got onto the parts from the packing
YEDL7w0h.jpg

I'm sure that's good for the atmosphere
then a bit of random assembly... still haven't decided what I'm doing with the center stripe here - I'm tempted to leave it white
mQixVGoh.jpg

and paint wiper arms
berlebeh.jpg

then put new motors on the regulators
YA0t5I2h.jpg
 
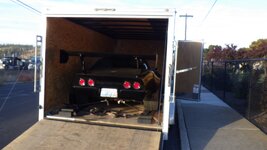
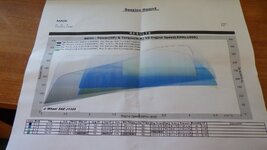
so I went here
rwNs0qp.jpg
rwNs0qp.jpg

with this
2PER6Xp.jpg
2PER6Xp.jpg

and had this result
JsHgTNZ.jpg
JsHgTNZ.jpg


I don't get it.... the "X" instead of photo? usually IMG posts just fine but no longer?

and two burned wires.... so that leaves me 2 things to do. 1) get off my lazy tush and build the sidepipes, and 2) replace the valve springs because it fell on its face at 6200 rpm. Mind you, these are the highest quality comp cam springs available but, apparently, racing and time cause them to lose tension... welrd, no?
 
Last edited by a moderator:
I was able to edit the links using the the "insert picture". Imgur is "approved" here so I don't know what the problem is.
 
Back
Top