denpo
Carburated Nihilist
Ahoy everyone.
It's been a long time since last post. Project is still going on, just a little less free time. My new job is quiet demanding.
So, I can say that now I'm ready for gluing the front clip, finally.
Before that I had a couple of things to do, thing that would be much harder to do once the front clip back on:
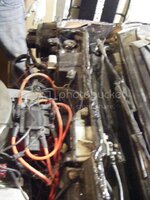
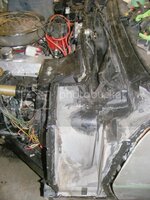
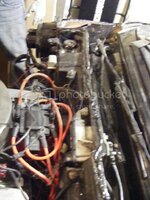
-I sorted out all my engine bay harness, rearranged my 12v main line since the alternor is passenger side now.
-Soldered a relay on the ignition line, for the security system to come.
-Installed the heater resistor, yup I forgot that one when I built my ac delete box.
-Wrapped the header that is the closest to the aformentioned ac.
-Installed the steering wheel.
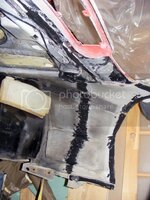
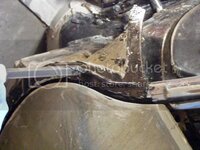
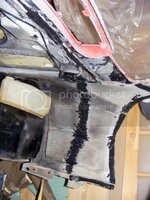
-I had a bunch of crack in the front clip bracket support to fix.
-While I was at it I started glassing my fender alarm keyhole.
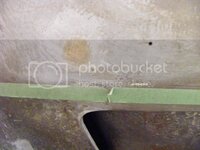
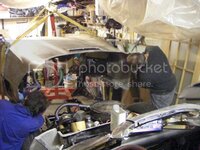
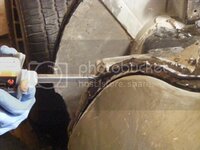
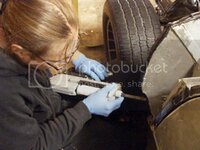
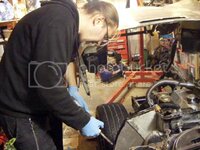
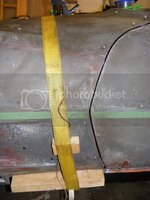
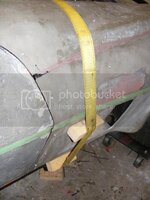
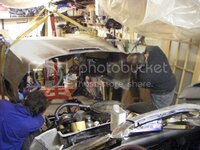
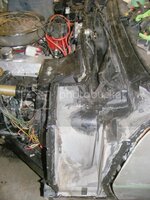
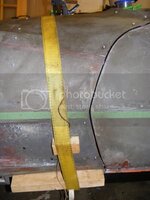
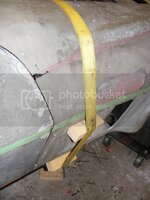
Now the front clip is properly installed, with alignment holes drilled.
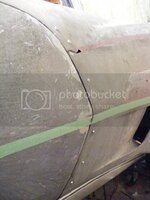
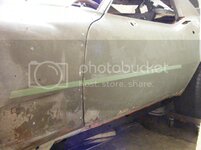
I got to admit this haven't been easy. Turned out the front clip was hanging 1" higher on the passenger side (measured a the wheel arches).
After measuring everything several time I came to the conclusion that the front clip outer and inner fender had been glued that way on the donor car.
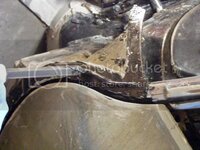
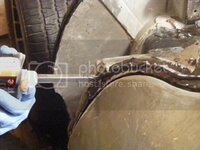
A little cutting on the inner fender and the piece that join the radiator support to the bumper, and everything lined up, beauty file, front bracket, bumper assy, everything. Now I'm sure.
Taping the beauty line was very helpfull, as well as installing the rocket panels.
I my quest to make everything was right, I even reinstalled the whole hood lock mechanism.
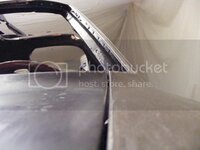
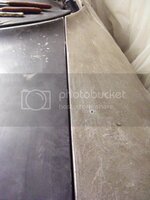
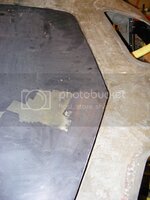
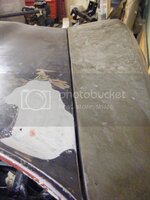
The curves are lining up nicely, a good surprise for part coming for different donor cars. It was good to hear the sound of the hood popping open, sound from a distant memory when my corvette was in one piece.
So, here's a tip for you. Take it for what it's worth.
Let say you're aligning the hood locking pin, and of course you to it wrong at first. The hood get stuck for good.
If by chance your headlights and your radiator are not already installed, you can remove the hood by unbolting the base of the hood hinge, it's tight but doable. Then pry the hood open by the front, just enough to you can slip you arm in and unbolt the pin support.
You already know how I know don't you?
Maybe next weeked, If I can grab enough helping hands, I do the big jump. A question of days now.
I also started to install my remote door lock system
I forged a piece out of some stainless 3/16 rod.
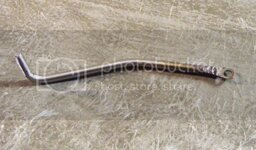
No need to modify anything.
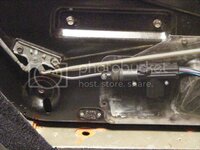
While kinda slow in the garage, I kept on working on related projects.
First one it the led taillight project.
I went a long road since the first homemade prototype. After searching for part I realized most of the material was already there, ready to be repurposed.
So I found those boards :
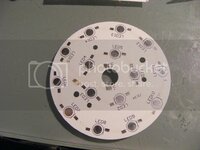
A bunch of dollar each, aluminum plate (for heat dissipation), and connexion for "1w" high power led. You can see I started to scratch the copper connexion.
The circuit is initially 15 led wired in serial.
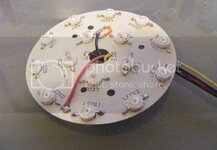
I hacked it into three lines of 5 led in serial, one in the center for the turn light and the backup light. 2 on the outside for the break/running light combo.
I soldered led of the actual color (red, orange and white) since I'm gonna try to replicate the classic bubble cover in some sort of clear resin.
Went you do those don't forget to put a dab of thermal paste a the back of each leds.
Here is the buckets I just received (and after cleaning/modification)
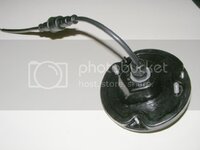
It's still missing a seal where you can the bare metal on the picture, but it's gonna be all water proof eventually. The cable are outdoor led cable, cheap robust and very well sealed.
The heart (and the brain) of the taillight system will be contained in a external box. I'm still exploring possibilities with the box design, but it won't be very long.
The second side project is a very special one. A handfull of people know about it so far.
Like everyone doing his own restocustomod, you want the car to be yours.
So I decided I wanted my C3 to inspired by fighter jets, more specially the B2 bomber. Inspired is a big name, but I got a couple of mod ideas I hope turn reality.
Then I decided to give it a name, and it would be "DARK PATROL". May sound corny to some, I just love it. Choosed it 2 years ago, and haven't changed my mind since then.
Then, I decide to make a logo for my car. Took me a long time, more than 6 months. I made numerous prototype, none were convincing. Then, one night, I had an Epiphany, and it came very quickly to the current and terminal state :
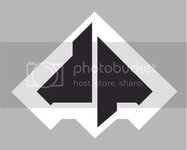
It has everything, it has the plane, the power, the military touch.
the logo is reversible, so I can put it on the nose with the plane pointing forward, it still read DP.
I made a 3D rendition of it, adding some slopes and bevel, so if I make a chromed version if would catch light nicely.
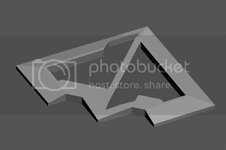
And it happens I have a more-nerdy-than-me friend who built his own 3D printer, and offered to make me a print of my 3D object.
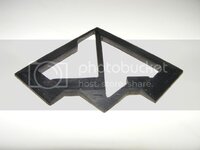
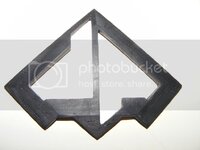
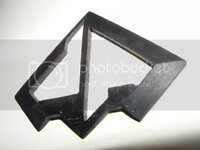
It's a rough prototype. It didn't came this way out of the printer, took a lot of sanding to get here and it's still far from perfect.
Since my object is really angular I think I'm gonna give CNC a try... if I can get reasonable pricing.
I just wanted to feel the object. It could make a good steering wheel emblem, it's about 2.5" wide.
That's all for today.
Happy thanksgiving.
It's been a long time since last post. Project is still going on, just a little less free time. My new job is quiet demanding.
So, I can say that now I'm ready for gluing the front clip, finally.
Before that I had a couple of things to do, thing that would be much harder to do once the front clip back on:
-I sorted out all my engine bay harness, rearranged my 12v main line since the alternor is passenger side now.
-Soldered a relay on the ignition line, for the security system to come.
-Installed the heater resistor, yup I forgot that one when I built my ac delete box.
-Wrapped the header that is the closest to the aformentioned ac.
-Installed the steering wheel.
-I had a bunch of crack in the front clip bracket support to fix.
-While I was at it I started glassing my fender alarm keyhole.
Now the front clip is properly installed, with alignment holes drilled.
I got to admit this haven't been easy. Turned out the front clip was hanging 1" higher on the passenger side (measured a the wheel arches).
After measuring everything several time I came to the conclusion that the front clip outer and inner fender had been glued that way on the donor car.
A little cutting on the inner fender and the piece that join the radiator support to the bumper, and everything lined up, beauty file, front bracket, bumper assy, everything. Now I'm sure.
Taping the beauty line was very helpfull, as well as installing the rocket panels.
I my quest to make everything was right, I even reinstalled the whole hood lock mechanism.
The curves are lining up nicely, a good surprise for part coming for different donor cars. It was good to hear the sound of the hood popping open, sound from a distant memory when my corvette was in one piece.
So, here's a tip for you. Take it for what it's worth.
Let say you're aligning the hood locking pin, and of course you to it wrong at first. The hood get stuck for good.
If by chance your headlights and your radiator are not already installed, you can remove the hood by unbolting the base of the hood hinge, it's tight but doable. Then pry the hood open by the front, just enough to you can slip you arm in and unbolt the pin support.
You already know how I know don't you?
Maybe next weeked, If I can grab enough helping hands, I do the big jump. A question of days now.
I also started to install my remote door lock system
I forged a piece out of some stainless 3/16 rod.
No need to modify anything.
While kinda slow in the garage, I kept on working on related projects.
First one it the led taillight project.
I went a long road since the first homemade prototype. After searching for part I realized most of the material was already there, ready to be repurposed.
So I found those boards :
A bunch of dollar each, aluminum plate (for heat dissipation), and connexion for "1w" high power led. You can see I started to scratch the copper connexion.
The circuit is initially 15 led wired in serial.
I hacked it into three lines of 5 led in serial, one in the center for the turn light and the backup light. 2 on the outside for the break/running light combo.
I soldered led of the actual color (red, orange and white) since I'm gonna try to replicate the classic bubble cover in some sort of clear resin.
Went you do those don't forget to put a dab of thermal paste a the back of each leds.
Here is the buckets I just received (and after cleaning/modification)
It's still missing a seal where you can the bare metal on the picture, but it's gonna be all water proof eventually. The cable are outdoor led cable, cheap robust and very well sealed.
The heart (and the brain) of the taillight system will be contained in a external box. I'm still exploring possibilities with the box design, but it won't be very long.
The second side project is a very special one. A handfull of people know about it so far.
Like everyone doing his own restocustomod, you want the car to be yours.
So I decided I wanted my C3 to inspired by fighter jets, more specially the B2 bomber. Inspired is a big name, but I got a couple of mod ideas I hope turn reality.
Then I decided to give it a name, and it would be "DARK PATROL". May sound corny to some, I just love it. Choosed it 2 years ago, and haven't changed my mind since then.
Then, I decide to make a logo for my car. Took me a long time, more than 6 months. I made numerous prototype, none were convincing. Then, one night, I had an Epiphany, and it came very quickly to the current and terminal state :
It has everything, it has the plane, the power, the military touch.
the logo is reversible, so I can put it on the nose with the plane pointing forward, it still read DP.
I made a 3D rendition of it, adding some slopes and bevel, so if I make a chromed version if would catch light nicely.
And it happens I have a more-nerdy-than-me friend who built his own 3D printer, and offered to make me a print of my 3D object.
It's a rough prototype. It didn't came this way out of the printer, took a lot of sanding to get here and it's still far from perfect.
Since my object is really angular I think I'm gonna give CNC a try... if I can get reasonable pricing.
I just wanted to feel the object. It could make a good steering wheel emblem, it's about 2.5" wide.
That's all for today.
Happy thanksgiving.




![Pampers Sensitive Baby Wipes, Clinically Proven, Fragrance Free, Unscented, Water Based, Hypoallergenic, Multi-Use, Hand Wipes 336 Wipes Total (6X Flip-Top Packs) [Packaging May Vary]](https://m.media-amazon.com/images/I/41KLBHu9CAL._SL500_.jpg)