Plastic Fantastic 2

VetteMod - Corvette Restoration, Modding & Performance Forum

Help Support VetteMod Forum:

..........

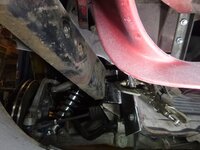
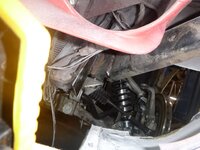
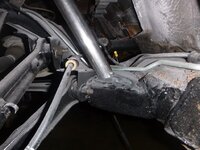
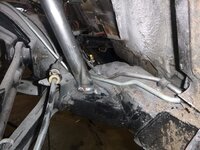
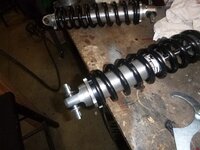
in other news, I got the parts from Aiden American so installed them
​​​​​​​h7vqzCkh.jpg
A1r6G23h.jpg

Pardon my ignorance, but I'm unclear what your change here was.

I'm trying to do a mod on my front shocks, and this post caught my attention.

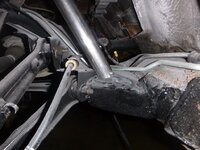
the bushing was too small of an internal diameter to put that cross shaft.. I didn't realize it was too small, so it became a two order, two week ordeal...


I'm still unclear here. Did you replace the bearing with a poly bushing?

My reason for asking is that I'm trying to replace the bottom rubber bushings on my Bilsteins, and I'm looking for options out there.
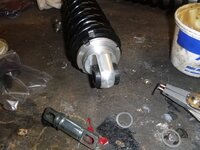
yes-ish... what appears as a spherical bearing in the first picture is more akin to a tube through poly. The difference is the inner diameter is larger to allow for the other rod to run through it
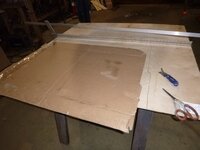
 
that is pretty cool, I have a hard enough time bending brake lines to get them as I want....what kind of leverage do you get to make the bend is it hydraulic?
 
As an Amazon Associate we earn from qualifying purchases. Product prices and availability are accurate as of the date/time indicated and are subject to change.
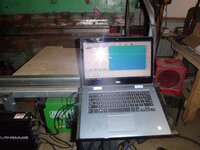
it works but it doesn't (the software).... the upper bar was 9" too long - but everything else was right....edited I think it didn't add the distance that you gain in a radius.... dunno, but onward
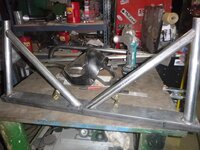
the first bar that was 9" too wide (welded it together so I could use it for test fitting)
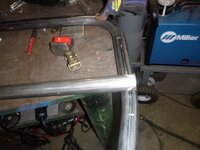
IOEfDcRh.jpg
seems to fit fine
qunFL6ih.jpg
gkeXrLah.jpg

new bar fits as the old one
66PhCZzh.jpg

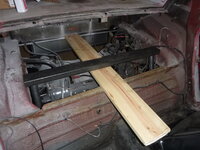
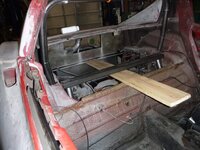
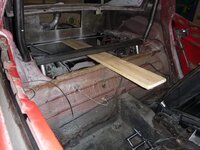
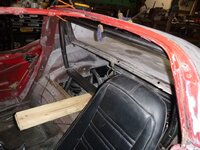
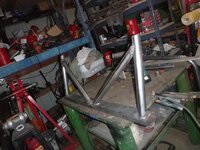
The new bar in the rear most position
KWgffoIh.jpg
bYRRXWAh.jpg

the more forward position
Mv59AEUh.jpg
Mv59AEUh.jpg
g7LHST5h.jpg

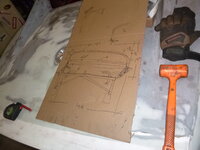
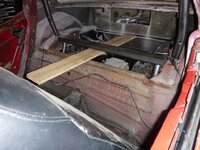
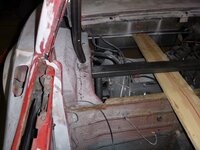
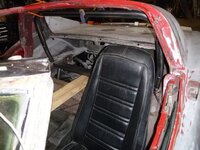
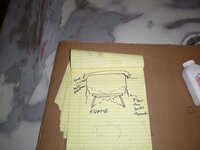
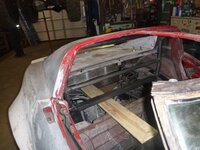
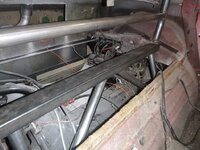
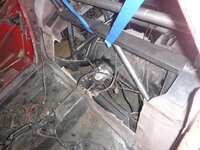
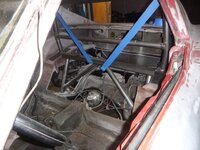
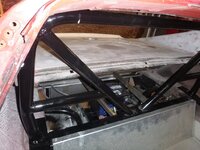
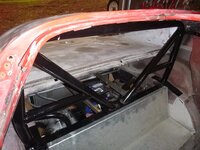
a drawing of where I'm going... I think... the bar above the floor will bolt through into the frame that is tied to the frame.edited It will also bolt to the seat-belt anchors
EqdrU9vh.jpg
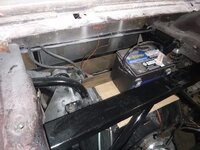
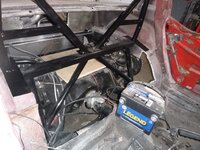
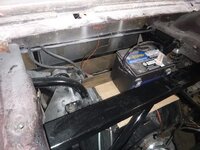
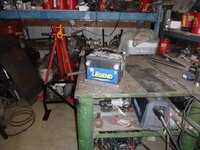
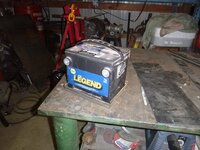
battery will go there (behind the passenger seat)
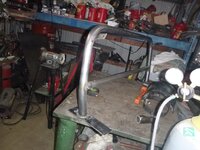
​​​​​​​sahqHCdh.jpg

I'll listen to input - however keep in mind it simply has to work as a belt anchor and tie the frame together.editededited

more pictures of where I think it's going to land - there will be a forward brace and cross bracesedited
IgeLStQh.jpg
I really do need to cross brace the frame - that that is a fight for another day

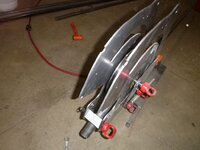
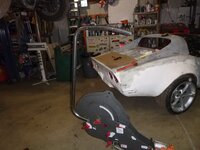
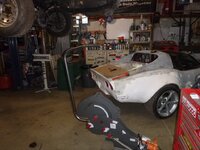
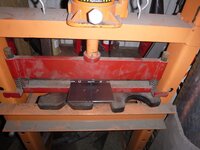
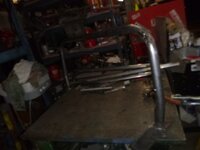
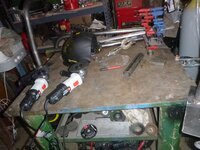
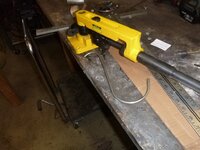
bender in operation
2p5LYmTh.jpg
siHowUhh.jpg
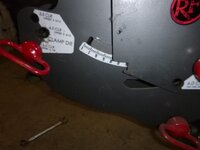
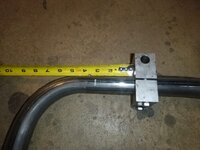
this is for posterity.... 3 1/2" to the start of the bend from the clamp on my bender....edited
T6Kybiuh.jpg
 
Not sure if you need to pass any roll cage regulations, but I think they limit the lean angle and also the lean direction of the main hoop.

If not, no problem.
 
it's more a seat belt bar that does other duties....

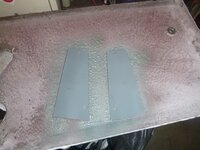
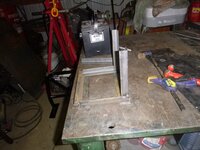
still learning how to use this.... would be awesome for these brackets
EdNrS9Vh.jpg

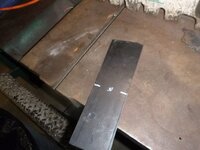
roll bar plates
tTkcgceh.jpg
with some bends
52xAR6vh.jpg
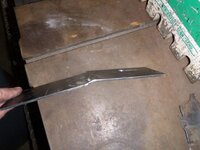
in my old brake - there are advantages to using this over the other brake - the other is good for repetition but set up would be longer (and potential for screw up)
AP4ahFih.jpg
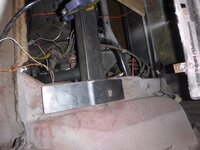
a couple more brackets... this ties to the seat belt anchors
​​​​​​​u2hJlEAh.jpg
 
got distracted by life stuff today, but went a little forward
tabs to bar
mQQYyDSh.jpg
fit then tack the bottom plate
6dpn4dbh.jpg

next up is the cross bars.edited I also bought the aluminum for the floor pan
 
frame brace
WBn8Y3Oh.jpg
2mbES6Ih.jpg

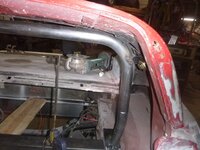
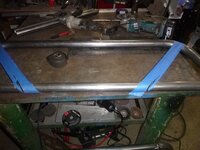
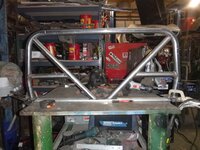
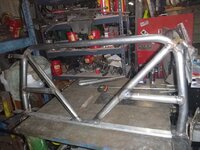
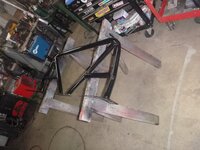
and weld the seat belt hoop up.... it needs a bunch more tubes, but figured I'd weld when I had a minute
56jhfaqh.jpg

it also didn't come out easily, which is fine - the tab will need to be pushed back to the to top then bolted in place.... anyway, that's it for tonight
 
Some say those kind use less space to run and you can use a magnet digital angle meter which is important to some. Your bender looks heavy duty.
 
Some say those kind use less space to run and you can use a magnet digital angle meter which is important to some. Your bender looks heavy duty.

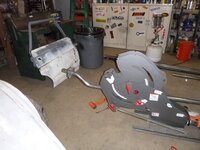
the biggest issue is multiple angles. You have the bend angle, but not all tubes are bent solely on the X and Y axis. By going vertical, you have 90* of freedom to work in the Z direction. With horizontal benders, the floor, often, gets in the way of the X axis....

second, being perpendicular to the floor is easier to do (for me) then parallel - especially when there's a lot of weight hanging in mid-air

third, follows the perpendicular - you can use a framing square to check but also you can look down to the pipe behind the machine to line up 90*


The biggest selling point for horizontal is it's a lot easier to feed the machine because you have freedom to slide the part back into the machine then put the shoes in place to continue a bend... trying to re-line up an under-bent piece is a challenge with the vertical machines.
 
Last edited:
since I have some enforced time off.... might as well make the best of it but working on this
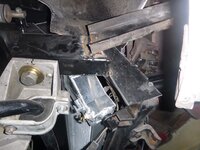
First some radiator support brackets
Yy3Cs9Qh.jpg
89yOfwKh.jpg
weld in place then give it a good cool downedited because I'm done after this
wW6vdHCh.jpg
3w95YBbh.jpg
zabhUHGh.jpg

then work a few minutes (again, cool down time) on the rear cage/support
f259Pqbh.jpg
ahlk4Weh.jpg

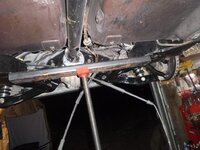
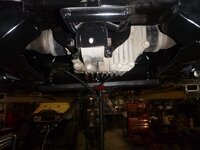
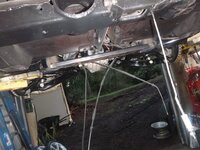
then start on this tie-together... I think I'm going to have a problem and have to shorten the driveshaft... ugh oh well.edited If I leave it this length, I'm pretty sure it'll never come back out without pulling the motor....edited
ZSfLYw1h.jpg
the other benefit of this brace is I can build the belly pan and have a good attachment point
oq3AuYhh.jpg

my big, hairy, audacious goal is paint the car at the end of these 2 weeks....edited
​​​​​​​
 
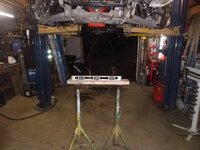
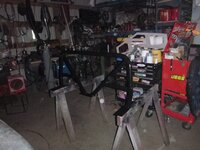
time to make it level.... and drag out the stands
FAQPv9ph.jpg
then weld it yesterday's part and this into place
aYSaQ0fh.jpg

hKgSrbGh.jpg

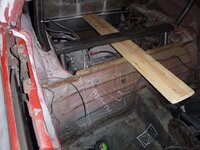
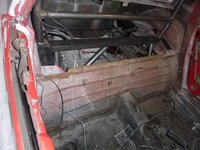
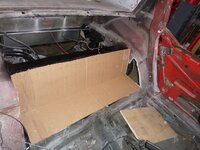
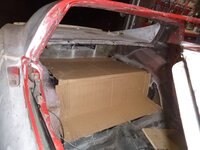
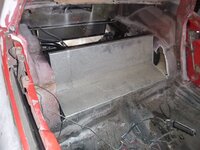
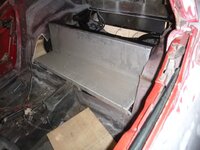
this creates the floor for the cargo area and also allows me to run cross braces that tie through it to the frame
 
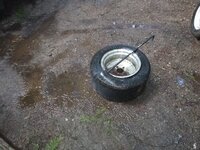
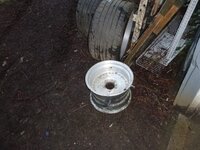
tire stripping earlier today
B6BJFnsh.jpg
easy
YaiJnQnh.jpg

time to weld the cross brace together
kSn6fZMh.jpg

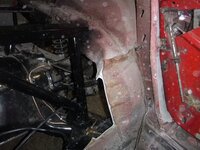
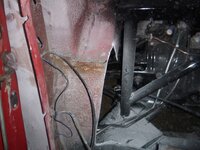
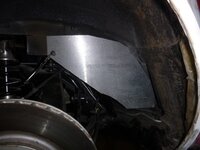
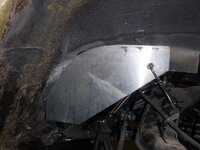
and remove this inner wall
hKluI8Qh.jpg

removed
Y66pb0Yh.jpg
I think the braces will look like this then cut the middle out so I can put the battery in the battery box (that will be behind the chassis brace)
D1rjTchh.jpg

I need another bracket solution... think the alternator is going to move to the other side
jc8XgnPh.jpg

my virus hidaway
​​​​​​​4LhzGl5h.jpg
 
let there be paint
4lwr94Ch.jpg

so the V... is so I can put the battery behind the brace
QbeEgLUh.jpg

chop chop
aFm9Sxfh.jpg

tack tack
851KWuQh.jpg

weld weld
FZ9yzZDh.jpg

paint paint
VFTjAO9h.jpg
knZZ9t9h.jpg

more chop chop
z0xLBu8h.jpg
lUmoQ1Gh.jpg

mostly it's there because I needed to weld the bar - but any extra space behind the seat is a good thing.edited tomorrow, floor
​​​​​​​
 
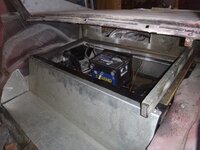
battery box issues
5gH4NCPh.jpg
and it can get through the hole...
872pRRXh.jpg

but I dunno, I've threatened before to put it in the engine compartment - but even there has issues (too close to heat)...
 
Battery -

Looks like (there is now a tray) you are settling on the location in general.
Any thoughts to:
1. Swapping out for a top lug style?
2. Moving slightly to left - offset some driver weight?
3. Putting lugs to rear - looks awful close to your cross-member. (tough to change out - again top lugs easier)​

Guessing a "tie-down" is coming soon too.

Nice C.A.D. work!

Cheers - Jim
 
time to make it real
but first, a brake repair
mrryT9Xh.jpg
PGEJXSfh.jpg

now I can bend
to be honest, I haven't decided if ribs are necessary
yaVuTZ5h.jpg

the tonight project is fill these holes
Q2PhmsCh.jpg

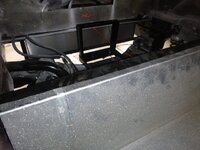
battery box
SrTpzCah.jpg
U91AFyjh.jpg
and there it is... means the 'floor' is a bit taller, but since that area is pretty much useless once the roll bar is in place.... no biggie
​​​​​​​MyJdtZJh.jpg
 
Back
Top