Plastic Fantastic 2

VetteMod - Corvette Restoration, Modding & Performance Forum

Help Support VetteMod Forum:

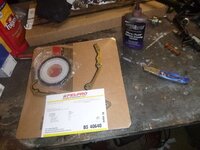
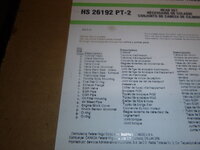
picture of head gasket kit that I think is poorly described (thought I was only getting MLS head gaskets, not a set)
a2QDUvz.jpg

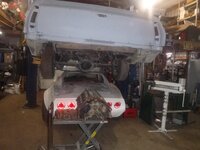
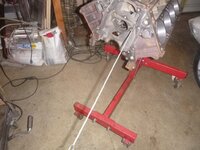
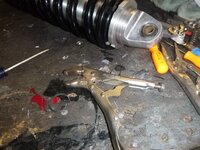
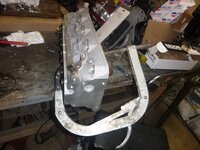
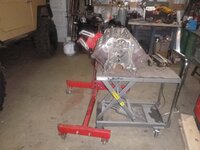
hmmm.... anti-gravity device is faulty
Y3Tr4WDh.jpg

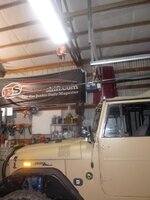
electric requires moving '40, which would mean opening the door (it's 20 degrees outside), and letting the heat out of the shop
vTcumzuh.jpg

wait, I have another option
5BjOWWWh.jpg

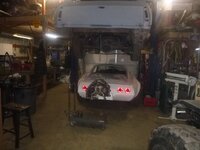
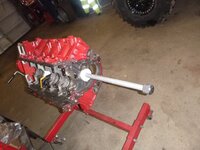
anti-gravity enabled
ximZLAih.jpg

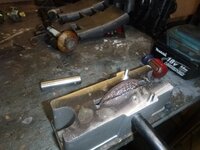
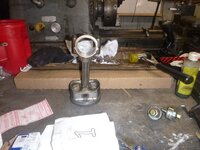
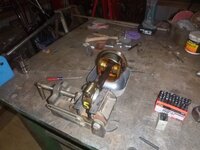
time to hit my thumb...err... mark rods
yZrtd9jh.jpg

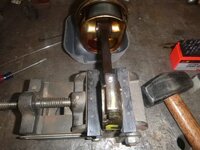
plan b, I'm still artistic with my dremel
cAEY0Sxh.jpg

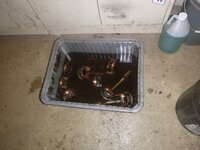
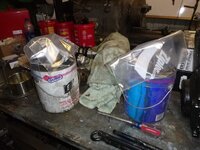
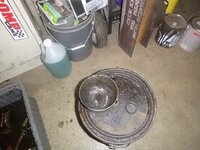
forgot about this catch basin on my washing cabinet.... filled with sludge but very little sludge in tank (win)
FV5jrIrh.jpg
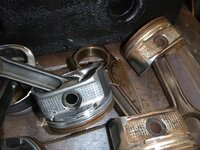
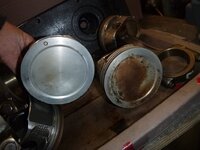
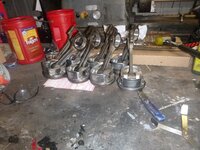
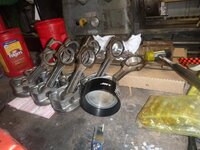
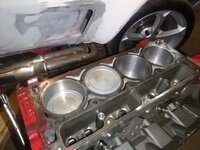
clean pistons
OvedU55h.jpg

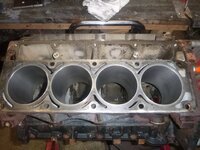
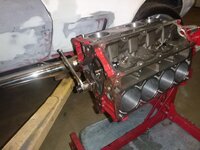
and honing
2aHuEhOh.jpg
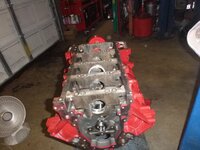
then clean oil passages
Tytn6yCh.jpg

which brings me to a question... why 2 holes in the cam bearings?edited there are not two galleys....
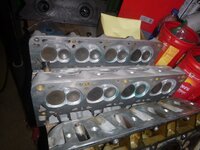
 
new, rebuilt heads arrived
igAa7Jmh.jpg

I'll leave these original size, sorry for the slow load times

two holes... why? only one oil passage
A60S0vd.jpg

here's the weld/connection point - I am guessing but it may be part of the problem of the wear because that would divert oil from the bearing - especially if it was tight up against the oil feed hole
eaoHMuW.jpg
slMeXk2.jpg
in this picture, you can even see where the oil was diverted out of the bearing
RYzac8s.jpg

this surface has a very rough texture
1uKk5ju.jpg

and then what about the high and low spots of the bearing? presumptively it's a round hole so why would there be pressure points (the shiny)?
d3h0OR5.jpg

anyway, puzzling and something I've never seen before
​​​​​​​
 
so I have basically 5 months to make this track-ready.... and we start today, slllloooowwwwwlllly
but it was a start
URN9fBmh.jpg
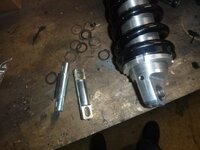
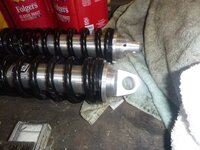
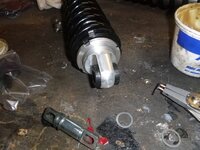
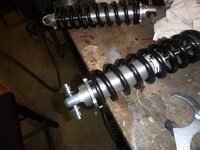
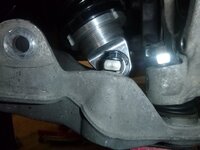
I need to put these in the front shocks
EAU9I9Bh.jpg
 
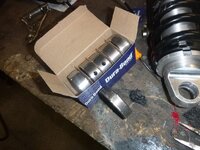
update .... compare the new cam bearings to the old.... thinking perhaps someone noticed there was a problem beside me
YJ4k4e8h.jpg
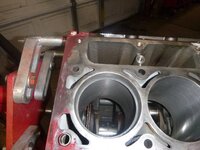
another coat of paint, I'm giving the paint a good chance to set up (it has been kind of cold for painting) but plan on slapping this together 'next'
​​​​​​​jw38DTgh.jpg
 
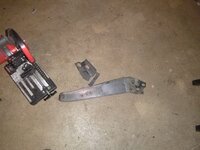
Oh were these a pain to get out
F7CFJoEh.jpg

then realized I didn't have the right bushings... so I ordered and went onto the next.... bumper
F7CFJoEh.jpg
02kdWsuh.jpg
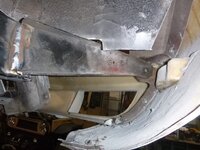
first cut a space
P63RPv0h.jpg

then cut and weld the old bumper brackets in place
QON7th5h.jpg
6BAa6g0h.jpg

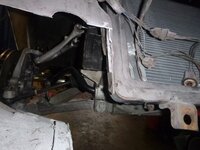
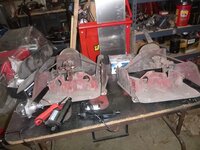
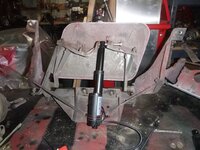
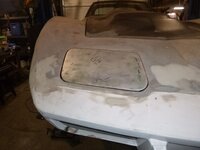
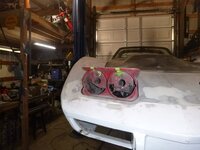
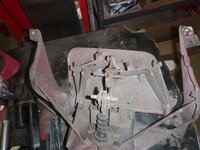
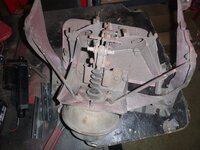
and the reason why - I'm keeping the pop up lights but making them lighter and not reliant on vacuum
first remove everything inside
fCotHFah.jpg

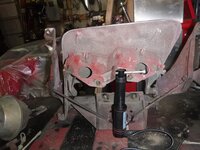
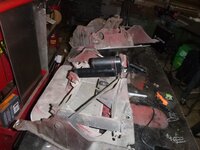
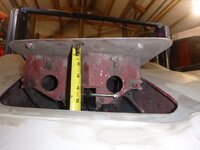
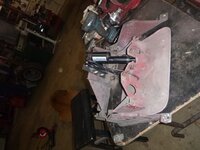
then start test fitting
ubnMXoRh.jpg
lxPwjhYh.jpg
this opens perfectly that if I was using the stock lights and bezel, it'd fit
r3BHSVnh.jpg

my hope is to build brackets so that someone could simply buy the linear actuators, cut a slot then put it in their car as well... and thinking very cheap, like less then $25 cheap (for the brackets - the actuators are $40 each)...edited
 
As an Amazon Associate we earn from qualifying purchases. Product prices and availability are accurate as of the date/time indicated and are subject to change.
that's a cool idea. and eliminates all low vacuum worries for sure

and the motors actuators are good to 225 lbs.... and it gets weight off the nose.... and the vacuum issue is no issue, best of all - I'm pretty sure I can run these with existing wiring. The stock, GM light switch has power in the off position - at worst it's one wire to the front, but I think there's power to the closed switch (which turns the light off when it's closed.... if there is, that's what will close the light.

the actuator itself is IP67 rated - that means dust proof and can be immersed in water. I expect it to have reasonable longevity.... but most of all, be rid of the vacuum. Open time/Close time is less then 3 seconds.

and the other thing - I want to put smaller lights in the space, thus the amount the light opens is adjustable.... that video of it opening is about how far I'm going to open it and it will get some combination of LED and projector headlights.... and the other goal, most other conversions are in the 450-750 range, if you keep your stock headlights, this should be less then 200 and likely closer to 100 with the actuators.... I really hope that if it works that I can sell to a supplier who would then put it in the market.... and final edition may eliminate the need to cut the bucket...
 
Last edited:
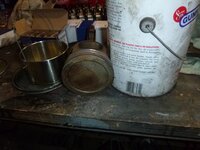
one of the videos I watched used carb cleaner to clean the pistons... as I'm not thrilled with the solvent method, here we go
lkQxn1Lh.jpg
CtigQFSh.jpg
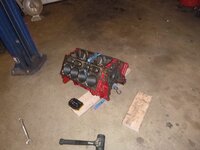
then time to knock cam bearings in place... what a pita
JWadAGhh.jpg
NMLECFuh.jpg
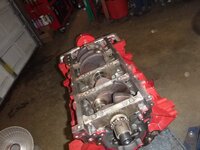
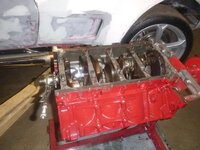
then slid the cam in place
6C96qX8h.jpg
and set the crank in place....edited
NNCR1yih.jpg
 
Pistons are coming out nice from the carb cleaner
XCK7Uyyh.jpg
H5efsC2h.jpg

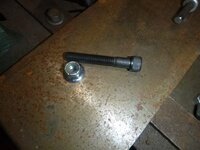
in other news, I got the parts from Aiden American so installed them
​​​​​​​h7vqzCkh.jpg
A1r6G23h.jpg
 
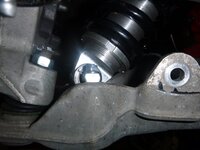
finish up the suspension
VMEy6pDh.jpg
tighten it down and level it up
ct29MMth.jpg
NhvnvR9h.jpg

so I can go onto the next 'big' thing
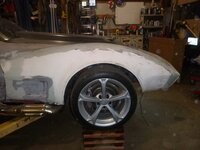
this side is good enough, not perfect, just good enough
z0i8sv7h.jpg
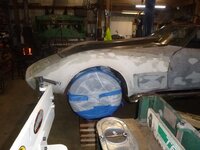
this side is terrible
oTfdJhEh.jpg
no going back now
ZcjBhBBh.jpg
first test fit
E4AEfSUh.jpg
second fit
mu9f9Fah.jpg
much better
D1hbwrSh.jpg

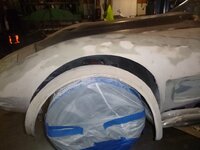
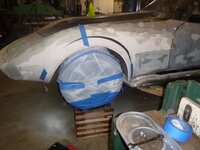
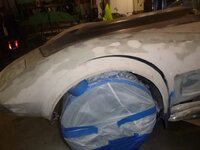
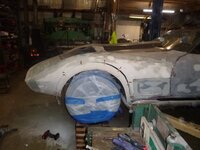
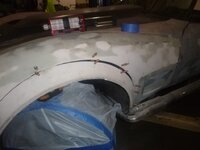
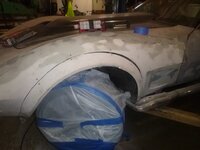
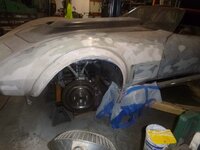
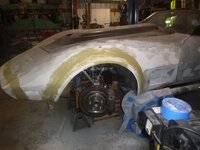
what they did wrong was not do the same wheel opening side to side, the left side had a hook at about 2 o'clock.... cut, slice, dice and move forward so it's a radius and it's 'fixed'edited next up a lot of epoxy

then onto this issue
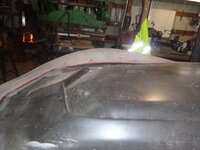
the hood doesn't follow the shape of the fenders... it's like they all got together and decided to use the one Corvette that was no other
i5OznGXh.jpg

​​​​​​​ah well, I have epoxy, fabric and I know how to use it....edited
 
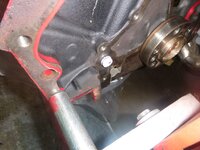
tonight's fun.... tighten crank bolts
4X8tKsHh.jpg
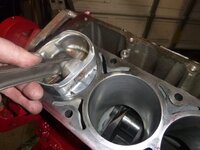
check the rings.... .018 and .019 2nd.... need to file fit to .020 and .022
WNCs3zMh.jpg
which stops that because my filer is broken....edited
how I keep the rings square
eyHM2OQh.jpg

got stopped now waiting for parts that may or may not arrive on Thursday (we have a snow 'event' - which usually means nothing gets delivered)
The C3 didn't get any love because the epoxy I have is not cold weather stuff.... so waiting on parts there too
 
no idea what that is

so I didn't want to wait until it warms up so I bought colder glue
d396CUdh.jpg

glue it, pin it, wait 40 minutes if 40 degrees
MzyQaHDh.jpg

and it's there
40lo2JYh.jpg

next up fiberglass the inside of the fender (which I am NOT looking forward to), then fill the seam and start body work.... and raise the scoop... and do the rear fenders.... and do the rear floor....edited
 
Panel Joining Tip

An idea I use - but, I bet you've started already:

  1. Layup a few pieces of cloth on a sheet of glass. Width, length, and number to gap-fill.
  2. Wet out and let kick.
  3. Remove from the glass
  4. Adhere to the inside. (Assuming adequate surface prep there too.)
  5. For added structural strength -- do several layers (follow-on ones wider of course.)
  6. Continue layup/smoothing of outside.
  7. Prep and paint.

The trick is to get just enough in that layup to remain flexible, but firm enough to support the outside, and tie the two together.

Less mess than welding overhead!

Cheers - Jim
 
I've never used glass to lay it out, I'll have to try it. On the top side I'm using West Systems epoxy and filler (which is basically glass dust) - but that requires starting on the inside, which requires a lot of sanding and then fiberglassing.... at least it's sub-40 degrees, which really helps get the fiberglass to set quickly but it's still an ugly mess (and yeah, I'm whining)
 
BOAT YARD TIP #2:

If you are just filling for fairing - and not adhesive/any strength - add talc. Yes - baby powder! Sands easy, even in epoxy, and smells kinda nice. Get the unscented variety. Cheap too.

Cheers Jim
 
for those who wonder if I have ADD ..... look LS

It's springtime
kJDMfrEh.jpg
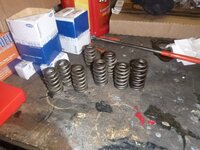
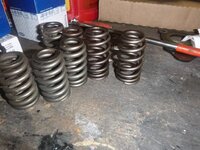
one of these is not like the others
ga4j6fXh.jpg
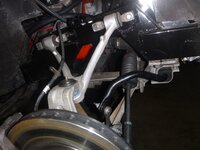
apparently they needed to replace a stock spring and used a similar spring to what I replaced the stock springsedited
D6U9NoMh.jpg
dog bone or bar bell goes this way
kSAIDMah.jpg
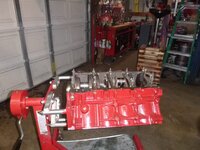
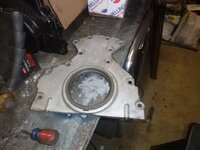
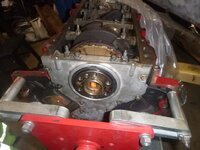
rear main installed
bNobUlzh.jpg
Rn93Ceqh.jpg
iX0CCnmh.jpg
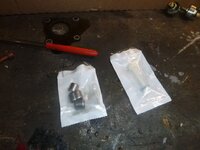
and head dowels
wChsRmYh.jpg
rings ground
​​​​​​​WOK09rGh.jpg
first piston ringed
PqS8en3h.jpg
the rest of the rings installed
0UBLnEEh.jpg
ring compressor ready to go
HEDSP0Oh.jpg
 
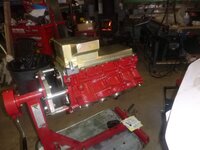
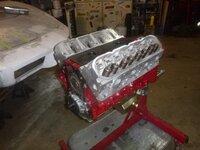
assembly continues
pistons in holes
OWsSMo1h.jpg
vrSujMrh.jpg
high dollar crank turner
wSXRghMh.jpg
pan test fit after installing the oil pump
mGtxGSHh.jpg
notice no oil pump spacing.... I did a check, GM doesn't say to space, and some guy on Corvette Forum, who owns Mastiffs, said he didn't space them either.
Mastiff owners know it all, so I went with it.
and you all think Google is my final authority
heads look nice on there, too bad I bought the wrong ARP bolts
9NbByrVh.jpg
 
round 1 - tl;dr, I may be scraping this off and doing it again tomorrow
O34Ej1zh.jpg
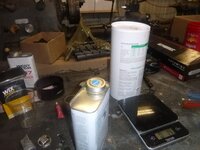
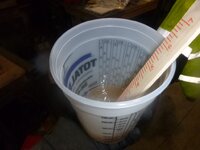
5:1 mix.... not sure that's right....edited
T6LYW49h.jpg
in theory it's supposed to be solid to touch in 40 minutes.... 2 hours later it's still squishy
I2d9VlIh.jpg

​​​​​​​oh well, good thing this isn't my day job.
 
.... at least it's sub-40 degrees, which really helps get the fiberglass to set quickly but it's still an ugly mess (and yeah, I'm whining)

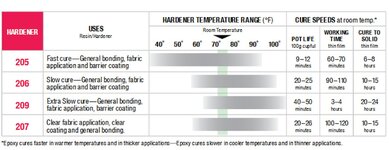
I see you've added a heater. Good idea. Actually, cold hinders the resin from setting.
How-epoxy-cures.jpg
When I was doing some boat work in SEA, I needed to chill the resin as it would "kick" quickly due to the outside air temp - was upwards of 98-100F! Chilling it let me get it mixed and on the project before having to toss it.

If you are using 205 hardener you've already got the fast cure.
12695e258f3890b8b.jpg


Hopefully you'll be pleasantly surprised when returning from the "day job!"

Good Luck!

Cheers - Jim

\thum_12695e258f3890b8b.jpg
 
I know some might question doing the outside first.... *shrug*
dM9h5uZh.jpg

fixed
dM5WnRKh.jpg

once I finish fiberglassing all the holes I made putting the suspension in and doing the fiberglass inner fenders then I'll be onto final fitment and hopefully paint soon after
​​​​​​​
 
I'm really glad you fixed the fender flare to center the wheel. That was going to bother me forever. Nice work.

Pappy
 
Back
Top