My '76 restoration (long post)

VetteMod - Corvette Restoration, Modding & Performance Forum

Help Support VetteMod Forum:

Here diagram that show what I did on the seams.

Initial state : fiberglass and the pink factory glue

glassing1_zpse4308d98.jpg


Remove the seams

glassing2_zps90afc50a.jpg


Grind the border

glassing3_zpsa9061275.jpg


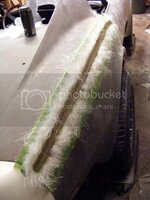
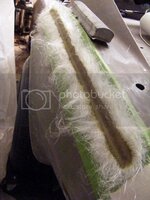
Form the groove with epoxy+fiberglass powder

glassing4_zps0c3094e3.jpg


Glassing, several layers

glassing5_zpsa0ec7ec0.jpg


Then sanding

glassing6_zps16670f4c.jpg
 
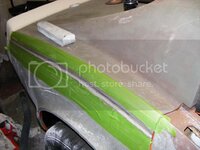
I too noticed the use of painter tape but didn't really understand it's use. All of my glass work was a total mess compared to what smart people were doing.

Can you explain how to exploit the tape?:confused2:

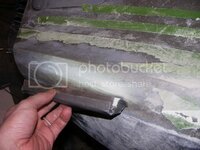
Steve, do you see in the diagram above how the tape tells me when to stop?
Without you'll never now if you left too much, leaving a hump, of ground to deep, forming a "crevice".
When you start grinding the tape itself, you know you have to slow down, make sure your sanding block stays flat again the tape.
Grind until the tape is all gone, when you just start sanding what was under the tape, you just a the right level.

I hope I don't sound, too professorial. :huh2:
 
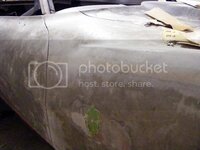
Front fender seam, passenger side, done :

fenderseam11_zps426949e4.jpg


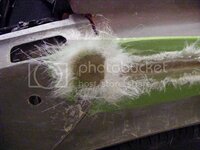
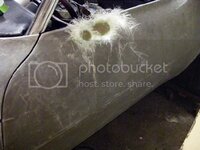
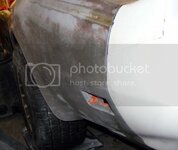
I started actual repairs, like this big scratch:

glassingholes2_zpsd461a548.jpg


This parts was filled with bondo, ground it out, replace with fiberglass :

repair_zpscb4c2215.jpg


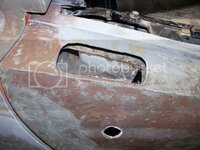
This one was cracked

rockerpanelsupportrepair_zpsc4fe2aa3.jpg


Now it's hole filling time !

glassingholes6_zps689ddc1d.jpg


glassingholes3_zps84538b52.jpg

glassingholes1_zps4a894478.jpg


glassingholes4_zpse1c3ff68.jpg


glassingholes5_zpsad9811d4.jpg


Rear fender is ready for glassing

rearfender_zps611f3aac.jpg


I'm moving really fast, and Sovan will come help me this week's evenings.
I expect the bulk of the bodywork to be done this week.
 
glassing, full force ahead!

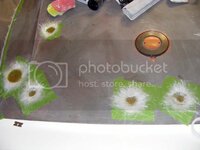
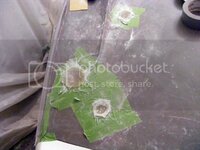
(Almost all) fender holes glassed

glassingholes9_zps740150a1.jpg


glassingholes8_zps8e851ce1.jpg


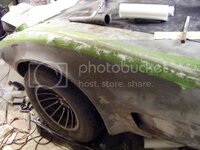
The fender crack repair is on its way, still need some work to get the wheel arch right.

repair2_zps261f5a36.jpg


The rear fenders will get sanded tomorrow

glassingholes7_zpsdbeb1650.jpg


rearfender2_zps4dd0aa44.jpg


Next in line to be glassed off : T-top carrier, antenna and mirrors holes.
 
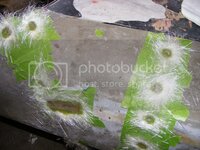
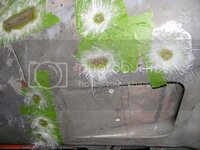
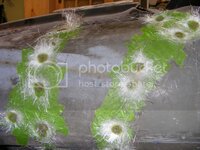
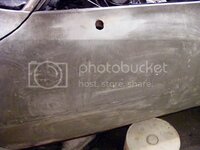
:shocking: ANY idea why those odd holes were drilled in the front fenders??

WTF was going on there???:beer:
 
:shocking: ANY idea why those odd holes were drilled in the front fenders??

WTF was going on there???:beer:

I'm no expert, but I suspect it's related to the crash damage the front clip had. Maybe they drilled holes to help realign the two fender parts before applying tons of bondo. Just a guess.
 
As an Amazon Associate we earn from qualifying purchases. Product prices and availability are accurate as of the date/time indicated and are subject to change.
:shocking: ANY idea why those odd holes were drilled in the front fenders??

WTF was going on there???:beer:


Making sure the front clip stay put until the glue set.
Some are also emblem holes, better have to drill one when needed rather that having a holes without emblem.

glued_driver.jpg


gluef_passenger.jpg
 
Repair of the corner of the door :

rearfender4_zpsfbfd6396.jpg


Rear seams done :

rearfender5_zpsda71e374.jpg


rearfender3_zpsc4b22d83.jpg


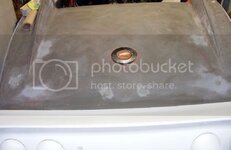
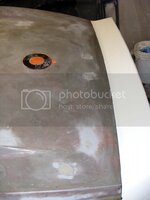
Taking care of rear deck holes :

reardeckholes1_zps5c98a750.jpg


reardeckholes2_zpsa44681fb.jpg


reardeckholes3_zps6c0acb1e.jpg


Redoing the mirror area:

mirrorholes2_zpscdede0da.jpg


mirrorholes_zps36ec2c5a.jpg


Now some experimentation :

hedgesharpening_zps29f781cc.jpg


I'm gonna try to recut a sharper fender line, that's gonna be tedious.
 
You're nuts, hard working, but completely nuts :clap:

Thanks Aaron.

Not that much itching surprisingly, too tired to care anyway.


so you're exhaustipated :D

exhaustipated: too tired to give a ****


great work, you're getting closer to primer and paint....

Lol.
Yeah, closer to paint.
I'm almost done with the repair, now come the custom things :

-Shaving down front bumperette
-Rear window mod (just got a quote for some laminated glass, 150$, not bad)
-Bumper glassing

I'm also contemplating the rear fender flare like it's explained here :
http://www.corvettefever.com/techarticles/corp_0906_c3_corvette_fender_flares/viewall.html
It's getting trickier, but 1" of more flare would be exactly what my turbine 275 needs. hum......

Too bad I couldn't find a 3 piece front spoiler, that would have been a nice addition.
 
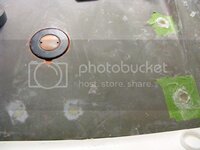
Rear deck is now hole free!

glassingholes10_zps2545672c.jpg


The bumper in now glued on, used the infamous 3M 3115.

Fitting is good, minimal glass work

rearbumper3_zps9ca85034.jpg


rearbumper2_zpsabbe5ee4.jpg


rearbumper_zps7e1ba949.jpg


Finished the repair on the door handle :

repair3_zps261b2957.jpg


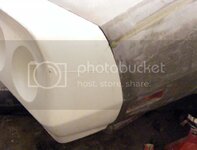
I've shaved off my bumperette. That was a PITA, 3 cutting disk and a lot of nasty smoke.

shavedbumperette_zpsa176d2fb.jpg

Also made a rough cut on the bumper cover, but I think I will do the glass work once installed, so I can take advantage of all the space I can grab.
I will just had a backing layer on the top.

shavedbumperette2_zpsd65bcbad.jpg


And now, the edge sharpening experiment.
I haven't had much time for this, it's all hand made, takes ages.

sharpfender3_zpsfaa2028f.jpg


sharpfender1_zps3377a4fa.jpg


sharpfender2_zpsff39fd47.jpg


A couple of air bubble, I think I can soak them out in resin.

I will leave them like this for now, wait for some primer to reveal the overall shape, and will adjust from here.

Tomorrow I start glassing the rear bumper, and fab custom bracket for the front bumper cover.

I got estimate for the custum rear window, in 3mm tempered glass, 75$, that kinda seal the deal, I will do it!

16554d37c1f8370f6.jpg
 
Oh, and I still plan to got make a scoop mold out of Michel's LT1 hood.

I'm thinking maybe you should make Michael some fiberglass body armor. :amused:

Is that some payback? Oooh that sounds like it will itch
Body armour? I was thinking to wear my old hockey equipment but it would look a littl odd in the garage.
Ouch , it will itch LOL

Hey there's a rule in my garage, .
Whenever guys come to work in here, (Fast Phil or Denpo) they were warned to always keep an eye on me working.

IF you see me duck, dont ask questions....just duck! Something is about to fly across the shop!
I guess the rule is there for a reason....
 
Oh, and I still plan to got make a scoop mold out of Michel's LT1 hood.

I'm thinking maybe you should make Michael some fiberglass body armor. :amused:

Is that some payback? Oooh that sounds like it will itch
Body armour? I was thinking to wear my old hockey equipment but it would look a littl odd in the garage.
Ouch , it will itch LOL

Hey there's a rule in my garage, .
Whenever guys come to work in here, (Fast Phil or Denpo) they were warned to always keep an eye on me working.

IF you see me duck, dont ask questions....just duck! Something is about to fly across the shop!
I guess the rule is there for a reason....

even if you wear goalie gear, you can still get whacked... don't ask me how I know this.... I will say this, though, which might inform. I went to school in France, (near Geneva), and hockey was a pre-requisite to attending the college. I'm not the smallest guy in the world, nor the largest, but to the teams we were playing against I was King Kong sized. For some reason, I ended up with the unfortunate (and wholly undeserved) title of "enforcer"... not sure why (though the whole guy-flew-into-the-third-row-after-a-little-check might inform on this) anyway, mid-way through the season (runs from June 1- May 30), the other teams started complaining about alleged injuries (I'm innocent, really)... so my team made me goalie.... which isn't the best place in the world if the people you're playing against feel like some of their minor scrapes, contusions and sniffles were attributed to you... really, they needed to find themselves some big boy pull-ups and learn how to skate.
:crap:

It probably also didn't help that when I blocked, I'd ask how they got their white flag so clean, what with all the use it got.... :)
 
Last edited:
I went to school in France, (near Geneva)
You're talking about my homeland there. I was born and grew up in a village halfway between Chamonix and Annecy.

Well I dont want to keep highjacking Denpo's thread with my hockey stories.
LOL
But we will make a mold... of a hood not a body armour.
Derail it at will my friend. Chair ridden as you are for the moment, I'm sure everyone will be glad you'll take some recomfort messing with us.

Bought some gelcoat last week, I'm dying to make a long LT-1 hood.
 
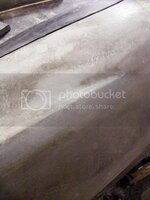
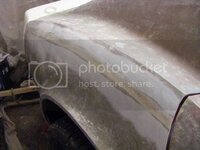
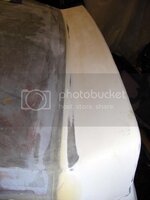
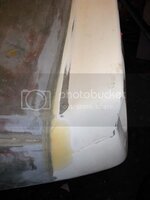
Front fender edge done. Still a bit rought, but couldn't wait to show them off :amused:
Overall impression is good, the body looks much more defined.
But it's still a shoot in the dark, until I get a smooth uniform coat on top of that. Too many 'lines' in the body to really tell if it's classy or goofy.

sharpershark6_zps575994f0.jpg


sharpershark7_zps3c68d023.jpg


sharpershark8_zps9f1159b4.jpg


sharpershark4_zps5717112e.jpg


sharpershark5_zpsd06582b7.jpg


sharpershark1_zpsac1088b3.jpg


sharpershark2_zpsc2f22b42.jpg


sharpershark3_zpsd2775b50.jpg


By the way, I'm looking into redoing the central body line, and possibly sharpening it a little bit.
But I just don't see how to proceed, it's a very open angle over the flat surfaces.
Any hints/tricks/idea?
 
how sharp do you want it? were it me, I'd run a wire down the center and use it as my guide or do 1/2 at a time and use a straight edge

what you've done so far really highlights your skills as a craftsman - nice job
 
how sharp do you want it? were it me, I'd run a wire down the center and use it as my guide or do 1/2 at a time and use a straight edge

what you've done so far really highlights your skills as a craftsman - nice job
Not sure I understand you technique.
Was I did was to put my painter tape 3/16 away from the edge on both side and when sanding I kept the tangential of the curse a the tape border.
I didn't really have to use a guide, the crest formed itself nicely and straight.
Today I start glassing the rear bumper and doing the sharpening on the back fender line.
I had to remove all my rings, my finger are swolling so much I was afraid I couldn't remove them later.
 
Rear bumper finally glassed, took longer because of the sidetrackings.

rearbumper6_zps187d087a.jpg


rearbumper5_zpsaa7af671.jpg


rearbumper8_zps522b4008.jpg


rearbumper4_zps2bfed9c2.jpg


rearbumper7_zps306eb27c.jpg


Now, I'm dealing with a major mod, the rear window.
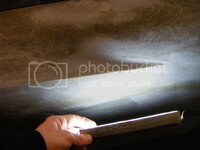
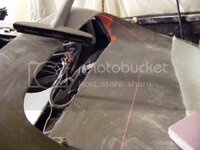
I wanted to have the exact cutting line, so I came up with this ghetto laser level.
A toy laser, a dc motor, some hot glue, wire and old 9v battery.
ghettolevel_zps1600c838.jpg


Did the job as intended :
ghettolevel2_zps00c7b521.jpg

Of course the system was wobbling like hell, but once held, with patience, you finally manage to put the laser within your cutting plane.

ghettolevel4_zps2e28c2be.jpg

I tried 14" and 12" cutting line, and chooses the 12".

ghettolevel3_zps57e460f0.jpg


All I need now it the guts to start cutting. Still looking around to make sure I didn't overlook anything.


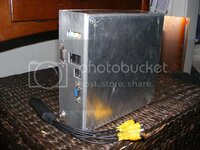
Another side project, the inboard computer. The case is done :

carputer3_zpsc2b8331f.jpg


Shows it's hand made, but sturdy and functional.
 
Back
Top