SBG's C3

VetteMod - Corvette Restoration, Modding & Performance Forum

Help Support VetteMod Forum:

cold plugs tend to look like that when there's no blower or turbo in front of them.... :chinese:

anyway, on with clutch work
the problem, the throwout bearing isn't moving far enough to fully disengage the clutch.
solution
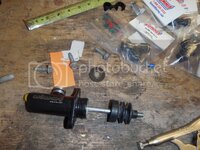
replace the master cylinder - and while I'm at it, fix a leak (ug)
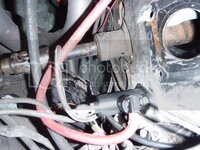
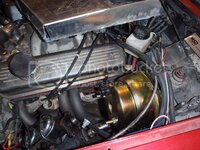
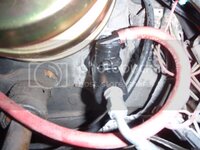
see where the red hose goes into the master cylinder? it leaked there
PC060001.jpg

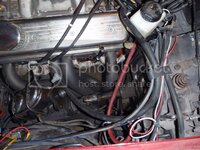
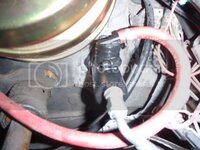
much better, and with a clamp
PC060002.jpg

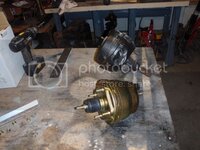
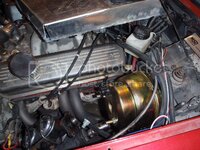
I also found what's probably a problem - the booster rattles, and it doesn't work very well.... bet it came from me clearancing it for the clutch master cylinder? naw, err... probably, but it didn't work well before - granted, pounding on it made it work worse.... but still, trifles

I'm waiting for a 7" dual diaphram, should be here just after the next boat from China arrives

while I'm waiting
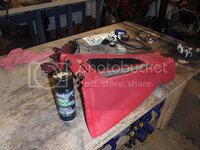
PC060003.jpg

PC060004.jpg

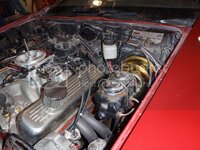
PC060005.jpg

PC060006.jpg

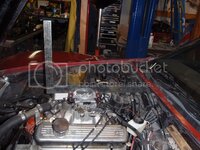
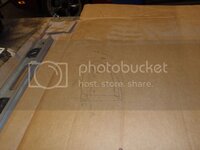
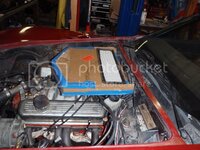
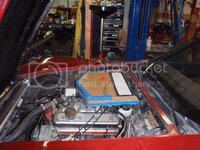
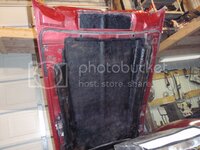
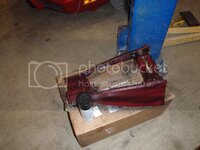
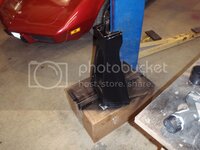
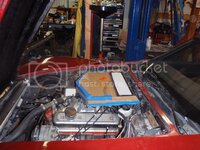
a bit of cardboard fab.... I figure I'll let the ideas gel until Sunday, then make it out of a more durable metal. The air filter is from an 09 Jetta.
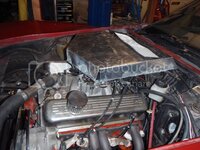
 
valid question - Here's how I scientifically came up with the answer - I measured the one for my old 06 GTO, it has less square inches of filter area than the Jetta one.... also, if I'm wrong, I gave myself room to put a second filter in it.
 
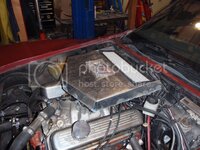
and more durable metal
PC090002.jpg
you can see where I'm drawing cold air from
PC090003.jpg

the raw edge will have rubber to seal it to the hood

stopped here
PC090004.jpg

tomorrow, radii the corners, finish the edges and polish it.... then put the sticker on it
 
Booster arrived tonight
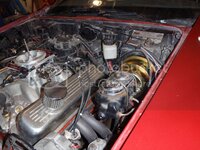
and it fits perfect - it's a universal fit, so that was a pleasant surprise
PC100001.jpg

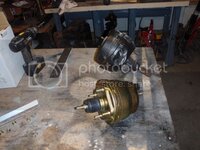
compare to old one
PC100002.jpg

it clears without beating
PC100003.jpg

forgot to take one picture, I had to make a spacer so the rod engaged the brake piston
but it fits well :)
PC100004.jpg

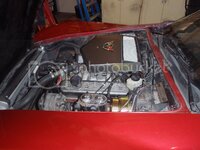
and despite my crappy welds, the box looks fine
PC100005.jpg
 
As an Amazon Associate we earn from qualifying purchases. Product prices and availability are accurate as of the date/time indicated and are subject to change.
Booster arrived tonight
and it fits perfect - it's a universal fit, so that was a pleasant surprise
PC100001.jpg

compare to old one
PC100002.jpg

it clears without beating
PC100003.jpg

forgot to take one picture, I had to make a spacer so the rod engaged the brake piston
but it fits well :)
PC100004.jpg

and despite my crappy welds, the box looks fine
PC100005.jpg

The 'Vette sticker tops it off nicely... nice job! Now for the smoke test.
 
SBG, Why in hell you have to be some 3500 miles away, damnit man....I want to drive your car, mainly due to the new brake booster, I need get with you on back channel or maybe another thread on that change out....

everyone rags my ass over my Hydro Boost changeout, which finally cured the problems on MY car's braking.....

and So I am curious about the total change in booster appearance you have there, that tells me the guts are somehow different, and I want to know how the brakes work, .....

:twitch::fishing::smash:
 
It's a 7" dual diaphram "hot rod" or "universal" booster. I paid 60 bucks incl. shipping for it off ebay. Of course, you could order a Corvette one, same box, much higher price.


and

I wish I was 3500 miles away so I could drive my Corvette.... I hate putting chains on the Corvette - so all it does is sit and look pretty in garage.
 
It's a 7" dual diaphram "hot rod" or "universal" booster. I paid 60 bucks incl. shipping for it off ebay. Of course, you could order a Corvette one, same box, much higher price.


and

I wish I was 3500 miles away so I could drive my Corvette.... I hate putting chains on the Corvette - so all it does is sit and look pretty in garage.

I sent you a email over this, as the conversation maybe boring to others.....

I want to know your driving/BRAKING performance impressions....particularly since the exterior is totally different appearing, the guts have to be different too, .......:thumbs::eek:
 
It's a 7" dual diaphram "hot rod" or "universal" booster. I paid 60 bucks incl. shipping for it off ebay. Of course, you could order a Corvette one, same box, much higher price.


and

I wish I was 3500 miles away so I could drive my Corvette.... I hate putting chains on the Corvette - so all it does is sit and look pretty in garage.

I sent you a email over this, as the conversation maybe boring to others.....

I want to know your driving/BRAKING performance impressions....particularly since the exterior is totally different appearing, the guts have to be different too, .......:thumbs::eek:

life, the weather and everything have prevented the full test drive with the FAST efi.... and I'm still waiting for that, but I'll update driving impressions with the dual diaphram MC...
 
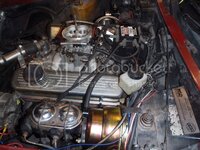
Hmmmm... I may have found the idling/misfire problem
PC160001_zpsb1ef1d1e.jpg

fixed

PC160002_zps13e7cad4.jpg

I do need to replace several boots, and was planning on a rewire tonight... but somehow I managed to order straight boots rather than 90*.... ah well, blizzard tonight, probably not Corvette driving weather tomorrow.
 
while I'm stewing the answers above.... more progress on another couple issues.
1) the clutch is a man's clutch - seriously, a man who can push 400# to disengage the clutch.... the fix is a different master cylinder - for those counting, this is number 3. 1st was 7/8, 2nd 1", now 5/8"... as this thing is beginning to seem like it needs a zipper - I figured I'd help myself out (hard to hold the bolt inside the car while ratcheting on the firewall
PC250001_zpsfd5795ff.jpg
that was round 1, round 2 came with bolts both the same length

out with the new
PC250002_zps430eb30a.jpg

in with the new
PC160002_zps13e7cad4.jpg
which looks exactly like the old.... and 5/8" was the right choice..... thus, if you're going hydraulic, 5/8" to the GM pivot point is a good feel. Do not use the short master cylinder because it does not push enough fluid

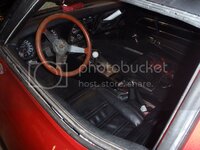
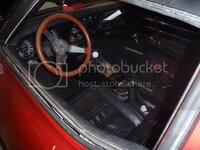
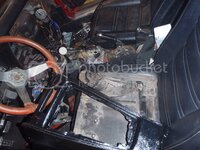
2) carpet work
I finally ordered the last major pieces for the inside - so it's time to start buttoning this up
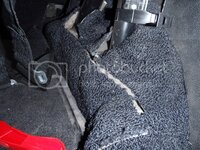
before
PC250003_zps8f23c68b.jpg
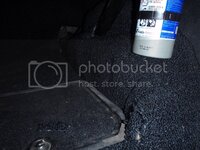
after
PC250006_zpsecbaf814.jpg
 
new differential
PC270001_zps7fd4212d.jpg
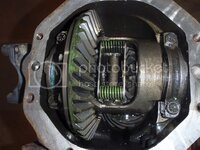
2.73 gears..... posi is in good shape, needs a left yoke; or simply a shim....we'll see which one I go with....

So I dinked with the car tonight, working on tuning it.... I've come to the conclusion I think I made a mistake by putting the 1.6 ratio rockers on it.... it won't idle under 1400 rpm, even with the rockers at 1/8 turn past zero lash..... ah well, I can fix this pretty easily
 
it's 20 degrees, and paint is coming out in spurts.... oh yeah, and I won't get more firewood until tomorrow night

anyway, so I painted a new part in front of the heater :)

P1020005_zpsc1aa2495.jpg
P1020006_zps1eb14524.jpg
P1020007_zps6696fb92.jpg
 
it was one of those "a billion little things, but nothing to show for it".... if you don't count the hole in my yard from playing with my skidsteer :D

anyway, looks like going backwards, but it's actually forwards
P1030001_zpsdbf0c794.jpg

the wire is a more organized mess
P1060001_zps44d7bfac.jpg

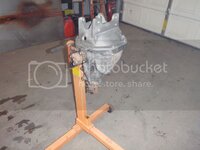
and I got the other differential on the stand and verified what I need to do to it to make it operational
P1060002_zps43b50aa0.jpg
 
worked on the Corvette tonight
Bubba was busy on my car. Okay, the Corvette is a 75 with a whole bunch of 77 bits on it - and for the most part, it looked relatively solid.... but lurking underneath were these wires
P1070001_zps4e8c5449.jpg

I was working on the motor and caught the glimpse of a spark near the fuse box.... further investigation noted these wires wrapped together (they're wires for the alarm) that were twisted together. Then I spotted a black wire, no worries I think, but closer inspection noted a fuse on it then an orange wire going into a large block of red wires.....

my car is now 3 oz lighter, and 3 bubbaectomies better.

Also
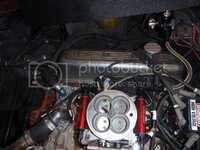
I love the FAST system, however, I don't love the fuel lines go straight out of the throttle body - fixed that tonight as well
P1070002_zps946a3581.jpg
and in my fixes I also pulled the plugs (dang it's running rich), and reset the gap.... I really need to pay closer attention to what I'm doing - two plugs were gapped at .060, when those were closed back up the miss went away....
 
C3 Corvettes have a suspension that dates back to the mid-60s.... at the time, they were ground breaking, now, they're just breaking.
In the Corvette world, there are two major companies with different rear suspensions - Greenwood, and Gulstrand (latter not a company, but a design). They both look roughly the same - but they both were designed for racing in specific classes. They were/are quite successful - however, after a bunch of study and a lot of review, I'm going to try something a bit different.
This isn't a drag race 'vette, nor is it an SCCA car - rather it's a car that's transportation and the occasional autocross.

So here's the suspension as it sits
composite spring - 420#, adjustable lower control arm
P1100001_zpsbc9f7cfd.jpg

The reason for the update now is this car is flat out scary because (probably the left side) clip is missing in the rear diff... the problem is the driveshaft is the upper control arm. For Mr. Polyester - that's fine, but having an upper control arm that moves 1/4" to adjust for suspension travel is not something that is pleasant to drive in its perfect condition....

So the update is to put an upper control arm in place. the question is.... how much camber gain should I have on the rear wheel? (that's set by the difference in length between the upper and lower control arm).

I'm rebuilding the trailing arms - while I'm at it - but the bushings look to be 40 years old and I have johnny joints to replace them
 
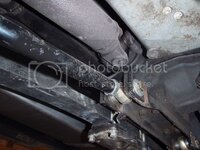
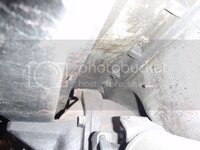
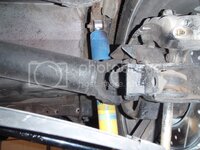
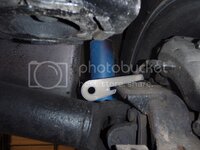
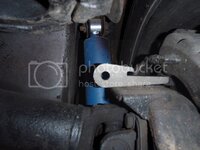
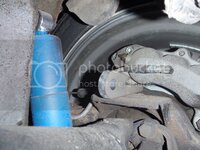
pictures of the suspension now
P1100002_zpsbb97b16e.jpg
P1100003_zpsc1da90db.jpg
P1100004_zpsda00e444.jpg
the soon to be installed trailing arm side bracket
P1100005_zps0d022a76.jpg

or maybe this way
P1100006_zps378b04c2.jpg
as you can see, they're pretty stout
P1100007_zps1bda31c6.jpg
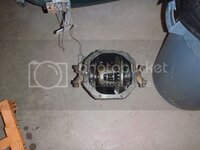
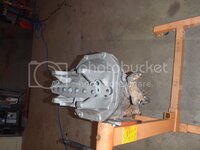
so here's my other diff, you can see how much the 'arm' moves with these pictures (and the clip that holds it all together)
P1100008_zps31a67139.jpg
P1100009_zps89d89e39.jpg

I'll repeat this thread on my plastic thread - the point of this thread is to get input into the idea of simply removing the clip and installing an upper control rod
 
I guess that solve the twitchy rear end mystery you post a few weeks back. A few more miles and it looks like the clips would be gone anyway.
 
I guess that solve the twitchy rear end mystery you post a few weeks back. A few more miles and it looks like the clips would be gone anyway.

Yeh, 18 years ago, I went to Yogi Bear, a popular vette parts supplier at the time, dunno if still around though, and he exchanged my tired old output yokes for some he remade with hardened ends on them been in the car since with damn nearly zero in/out play....:smash:
 
I guess that solve the twitchy rear end mystery you post a few weeks back. A few more miles and it looks like the clips would be gone anyway.

actually, that rear is a replacement for the one that's still in the car - but it has the same problem as the one in the car (just a better gear ratio)

secondary question - why only the left side?
 
The guy was big on nascar and only took left turns?

I guess that solve the twitchy rear end mystery you post a few weeks back. A few more miles and it looks like the clips would be gone anyway.

actually, that rear is a replacement for the one that's still in the car - but it has the same problem as the one in the car (just a better gear ratio)

secondary question - why only the left side?
 
I guess that solve the twitchy rear end mystery you post a few weeks back. A few more miles and it looks like the clips would be gone anyway.

actually, that rear is a replacement for the one that's still in the car - but it has the same problem as the one in the car (just a better gear ratio)

secondary question - why only the left side?

:surrender: My bet, one side was already replaced.....:eek:
 
Back
Top