You are using an out of date browser. It may not display this or other websites correctly.
You should upgrade or use an alternative browser.
You should upgrade or use an alternative browser.
SBG's C3
- Thread starter SuperBuickGuy
- Start date
SuperBuickGuy
Well-known member
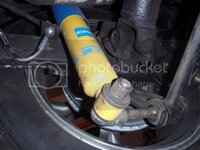
partially removed and hitting the tab for the brake lines :cussing:
MYBAD79
Moderator
Should work out ok if you push the shock off the shock mount first ... I moved my brackets to the inside of the arm too, same problem 
SuperBuickGuy
Well-known member
I'm a lazy cuss, so I hate taking things more apart than I have to (of course mostly that means I have to work twice as hard and twice as long... but being lazy ain't easy)
SuperBuickGuy
Well-known member
hood scoop
Hood scoop
I finally decided on a C4(ish) hood scoop - adds about 1 1/2 " of cowl space without completely blocking the window... so - time to install
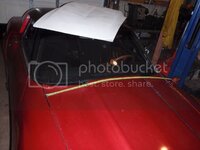
Measure, the centerline is absolutely the most important thing you can find
When you have complex shapes, finding the center can be a challenge - sometimes you have to come up with a tool to measure...
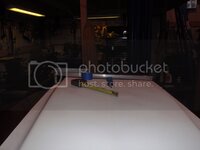
what seems to be the center, isn't
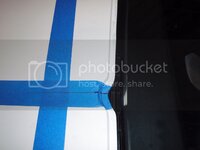
center mark the hood
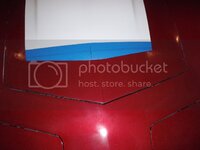
(incidently, this will cure the a$$ and foot marks in the hood - woohoo)
using a calibrated eyeball, I penciled out where the first cuts would be
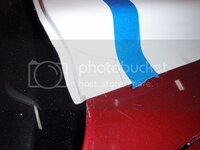
as an aside, I used blue tape because this is a porous fiberglass scoop - if I marked it with anything, it'll suck into the scoop and bleed through when I paint it
and cut
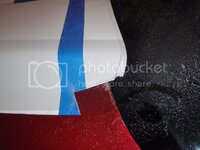
out come the zip screws, and down goes the scoop
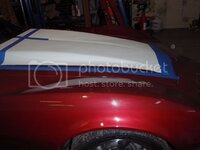
looks good, and most importantly it's centered and the horizon is the same on all points
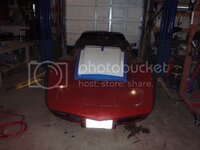
no going back now
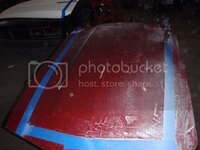
I briefly thought of plexiglass in the hole, but no, only hemis look good under glass
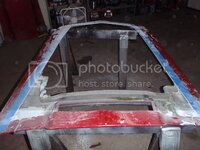
so it's cut small, time to trim
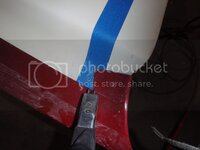
took a break and eyeballed what the cold air will look like
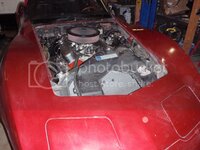
looks the same as above, no? actually, no, the scoop is now screwed down where it belongs
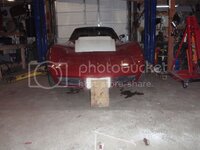
side view
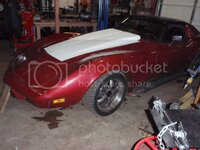
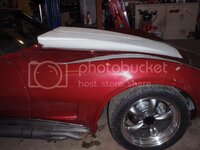
I'm certainly no Dulcich, but I like how it's turning out.... of course, this was the easy part - making it solid is going to be a bit more difficult.... except I'm going to try something a bit new(er), and epoxy a lip to the hood, then epoxy the scoop to the hood. Once that sets up, I'll fill the gap with resin then bondo the top.....
Hood scoop
I finally decided on a C4(ish) hood scoop - adds about 1 1/2 " of cowl space without completely blocking the window... so - time to install

Measure, the centerline is absolutely the most important thing you can find
When you have complex shapes, finding the center can be a challenge - sometimes you have to come up with a tool to measure...

what seems to be the center, isn't

center mark the hood

(incidently, this will cure the a$$ and foot marks in the hood - woohoo)
using a calibrated eyeball, I penciled out where the first cuts would be

as an aside, I used blue tape because this is a porous fiberglass scoop - if I marked it with anything, it'll suck into the scoop and bleed through when I paint it
and cut

out come the zip screws, and down goes the scoop

looks good, and most importantly it's centered and the horizon is the same on all points

no going back now

I briefly thought of plexiglass in the hole, but no, only hemis look good under glass

so it's cut small, time to trim

took a break and eyeballed what the cold air will look like

looks the same as above, no? actually, no, the scoop is now screwed down where it belongs

side view


I'm certainly no Dulcich, but I like how it's turning out.... of course, this was the easy part - making it solid is going to be a bit more difficult.... except I'm going to try something a bit new(er), and epoxy a lip to the hood, then epoxy the scoop to the hood. Once that sets up, I'll fill the gap with resin then bondo the top.....
427Swede
Well-known member
Great work! That should work just fine!
Maybe apply a few strips of woven glass from the lip and into the underside of the hood to add a bit of strength? Should be fairly easy.
/Daniel
Maybe apply a few strips of woven glass from the lip and into the underside of the hood to add a bit of strength? Should be fairly easy.
/Daniel
denpo
Carburated Nihilist
Great and fearless work.
To each his own Aaron, still I have a hard time to understand the urge to get the field of view cluttered. You really need the hood clearance?
mrvette
Phantom of the Opera
Great work! That should work just fine!
Maybe apply a few strips of woven glass from the lip and into the underside of the hood to add a bit of strength? Should be fairly easy.
/Daniel
Be advised, My hood is a patch on BB style scoop also, and over the years it developed a recurring blister on the left side, about 1/2 was the length of the scoop, took about 8 years to start blistering on the top, I found out after several attempts to fix it, that in fact it was WATER working it's way into the wedge area of the TOPSIDE, from the scoop opening in the rear, the damn water found a minor crack path and so between heat/humiditiy/engine heat, cold down to 17f it forced a way out the surface....
SO eventually I gave it up, and sadly painted the entire hood.....to have it happen yet again.....so this time I want ape shit on it, dug it out again, and this time, cleaned it all up on that wedge V between the pieces of glass on the inside top, but to do that had to remove the center section of the old OEM hood, so out came about 30 lbs of glass, it was very much lighter, anyway.....then I could tip it on it's side, blast out the dirt, using carb/brake cleaner and air jet, then loading up the entire perimeter with fiberglass/ epoxy liquid making damn sure it was full up to the top, THEN I reglassed the hood surface, been fine since.....
I recommend this fix after you get the thing glassed in and before you paint it, ditch the excess glass under the scoop, ALL of it
I set the hood on a couple saw horses, and in a nice breeze shot the glass dust down wind of me, never even got dusty.....using a edge grinder....
:clap:
SuperBuickGuy
Well-known member
I'm considering using epoxy and light gauge aluminum to make this stay down - heck, they put truck bedsides on with it - it should hold for this.
Denpo - yes, I need the clearance for the next mod something with a little boost
Good advice about keeping water away and grinding.... I hate grinding fiberglass. My worst was a fiberglass scoop on a Buick hood - couldn't keep the front point from cracking... argh!
Denpo - yes, I need the clearance for the next mod something with a little boost
Good advice about keeping water away and grinding.... I hate grinding fiberglass. My worst was a fiberglass scoop on a Buick hood - couldn't keep the front point from cracking... argh!
JeffP1167
Well-known member
SuperBuickGuy
Well-known member
bet it was a pain getting the fiberglass shards out of your yard 
I was doing so good until that last lip, then the cutting began :devil:
I was doing so good until that last lip, then the cutting began :devil:
JeffP1167
Well-known member
bet it was a pain getting the fiberglass shards out of your yard
I was doing so good until that last lip, then the cutting began :devil:
Nope, let the lawn guy do it.
1Michel
Well-known member
I briefly thought of plexiglass in the hole, but no, only hemis look good under glass scoop ...
Or Ferrari's engines
SuperBuickGuy
Well-known member
I briefly thought of plexiglass in the hole, but no, only hemis look good under glass scoop ...
Or Ferrari's engines
To someone overseas, that statement may seem a bit obscure; sorry should have included two pictures to explain... I'm referring to a specific car, and a woman


Miss Linda Vaughn
SuperBuickGuy
Well-known member
I'll be hacking fiberglass for awhile (and yes, wore a mask)...
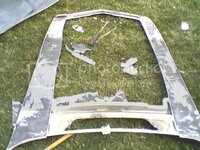
the problem

after grinding.. and note, where the grinding goes to the outside is a crack that needs repair
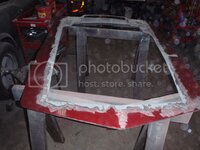
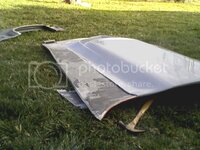
epoxy some pieces to hold the front level
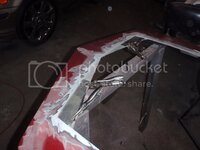
and a couple more down the sides
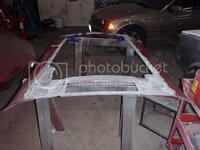
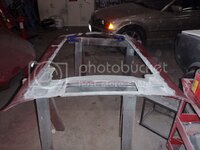
now I know why the heater wasn't warming, there was a bad smell, and where the heater control line is.... and now I see the line that someone else was trying to find its terminus
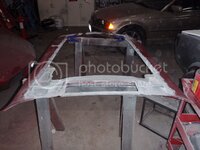
so an hour later, the epoxy (5 minute) still wasn't dry so desperate measures were employed
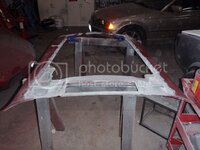
also did a bit of work laying out the cold air intake
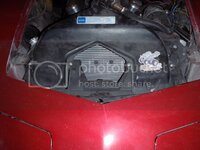
I'm relatively certain this stuff came from a Corvette top end I bought awhile ago
and I think it'll work just fine on the early generation (with a bit of trimming)
so remember the top-rail fix? I'll be cutting it competely out to do this
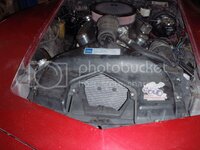
the problem

after grinding.. and note, where the grinding goes to the outside is a crack that needs repair

epoxy some pieces to hold the front level

and a couple more down the sides

now I know why the heater wasn't warming, there was a bad smell, and where the heater control line is.... and now I see the line that someone else was trying to find its terminus

so an hour later, the epoxy (5 minute) still wasn't dry so desperate measures were employed

also did a bit of work laying out the cold air intake
I'm relatively certain this stuff came from a Corvette top end I bought awhile ago

and I think it'll work just fine on the early generation (with a bit of trimming)

so remember the top-rail fix? I'll be cutting it competely out to do this

bobs77vet
Well-known member
looks good.... i think half the battle is the challenges of doing work, from equipment that breaks or unanticipated heat issues..
SuperBuickGuy
Well-known member
It's rare to have heat issues in Washington.... today I had my propane furnace on blast to heat the area enough to get the resin to dry...
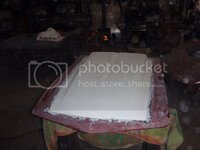
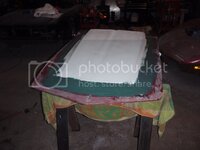
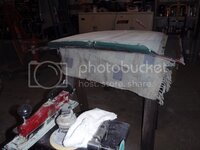
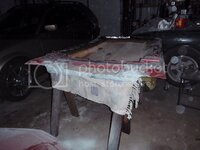
yesterday, I glued the scoop down so I could fiberglass it into place
First, tape the seams and remove the screws.
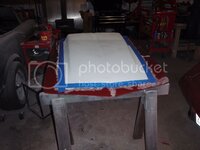
now I can flip it over without the screws holding the scoop in place
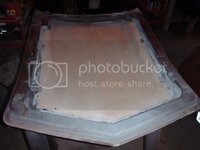
pre-cut some fiberglass
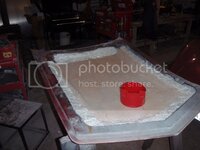
and goop it all down
Buddy the dog is unconvinced about the whole scoop idea - he's more of a NCRS kind of dog
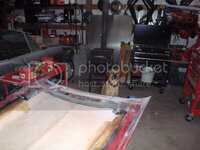
made a template for the rear block
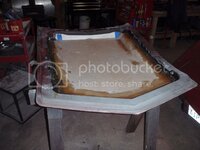
yesterday, I glued the scoop down so I could fiberglass it into place
First, tape the seams and remove the screws.

now I can flip it over without the screws holding the scoop in place

pre-cut some fiberglass

and goop it all down

Buddy the dog is unconvinced about the whole scoop idea - he's more of a NCRS kind of dog

made a template for the rear block

SuperBuickGuy
Well-known member
mrvette
Phantom of the Opera
That green goop you used there, IF that is the same shit that the guy used on my hood scoop 16 years ago, I can assure you it's near grenade proof, that shit won't quit......only precaution is to fill the inside V wedge completely with some sort of epoxy/glass thin runny compound to nothing gets in there and messes up the joint from the backside....
:bestwishes:
:bestwishes:
SuperBuickGuy
Well-known member
That green goop you used there, IF that is the same shit that the guy used on my hood scoop 16 years ago, I can assure you it's near grenade proof, that shit won't quit......only precaution is to fill the inside V wedge completely with some sort of epoxy/glass thin runny compound to nothing gets in there and messes up the joint from the backside....
:bestwishes:
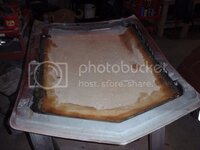
then I got lucky. I taped on the top seam, flipped it over, then glassed from the backside - the resin filled to the tape...
next step
I'll knock the 'shine' off the fiber filler with 120 grit, then use glaze to get it close For the final, I'll simply use high-build.... it's going to be black for now, and I may, actually, have it carbon wrapped along with the t-tops

