Rookie's First Restoration Attempt...

VetteMod - Corvette Restoration, Modding & Performance Forum

Help Support VetteMod Forum:

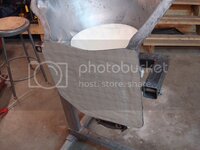
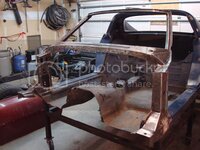
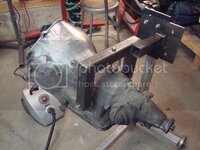
I HOPE THAT IS NOT A 3 WHEEL stand there, that tranny out to one side like that WILL make very tippy if so.......better stick a cross bar on it and TWO wheels up front, before you wind up wearing that tranny on your toes....

:flash::cry:

I know what you are saying...my dad said the same thing to me. I plan on modifying the engine mount so it is not so tippy. Until then, I just put a load of weight on the other side of the stand...works fine. It supports its own weight even without the counterweight on the other side.
 
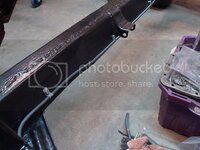
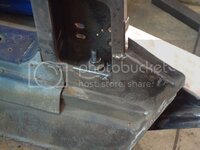
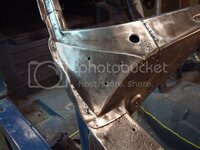
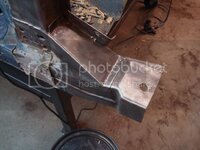
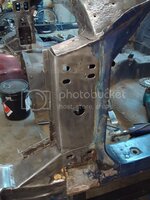
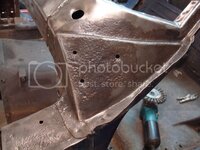
Nice welds, Did you use a mig?:1st:

I used a MIG.

Can I pick your brain and ask what type of welder you have and what size wire you used? I just bought a Miller 135 110 volt and was wondering if it capleable of doing what you did.

Thanks,
Danny

Most of the time it is the operator of the welder...not the welder itself. It took me a long time to learn how to make pretty welds like that. I have a 220 volt Miller 180 welder. I use argon/co2 as the shielding gas. I can't stand flux-cored welders...spatter gets everywhere, but I suppose they can make pretty welds too if you get good at it. Whenever possible, always weld downhand so gravity helps keep the flow of the weld going. That is a trick my uncle taught me. I always try to weld downhand whenever possible.
 
Thanks, The miller I have has argon/co2 as the shielding gas too so I will paractice as soon as it gets a little warmer.


Danny
 
I have exceeded my monthly bandwidth limit, so I have to wait a month before the pictures become visible again. I am going to open up a new account and keep updating this thread, and hopefully the old pictures from past updates will be visible in a month (according to photobucket).

Or, I pay and upgrade to pro and they will be visible right away...but I don't feel like spending any money right now, sorry guys. I'll make a new account for now and continue with new updates.
 
As an Amazon Associate we earn from qualifying purchases. Product prices and availability are accurate as of the date/time indicated and are subject to change.
I have exceeded my monthly bandwidth limit, so I have to wait a month before the pictures become visible again. I am going to open up a new account and keep updating this thread, and hopefully the old pictures from past updates will be visible in a month (according to photobucket).

Or, I pay and upgrade to pro and they will be visible right away...but I don't feel like spending any money right now, sorry guys. I'll make a new account for now and continue with new updates.

Just upload the photos here, doesn't cost you anything and they're visible right away :D:D
 
Just upload the photos here, doesn't cost you anything and they're visible right away :D:D
Ahhh but then when Jeremy uploads them over at CF, the Koolade drinkers will probably lock his thread as the pics will have VM stamped on them :hissyfit:
Might be good for a laugh though, see how they react.

IBTL :lol:
 
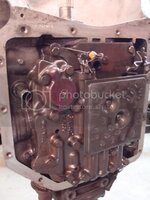
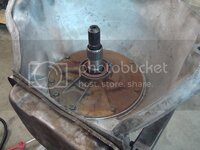
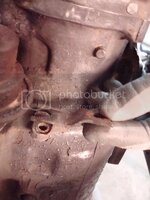
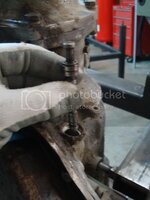
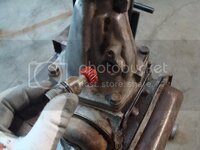
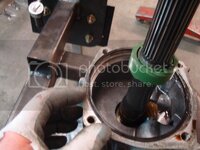
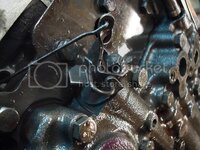
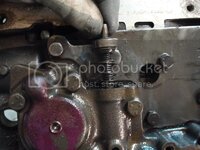
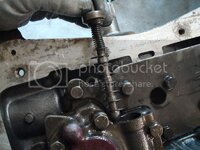
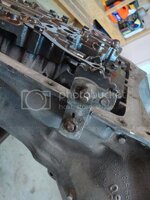
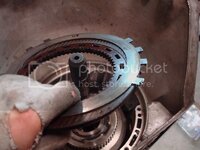
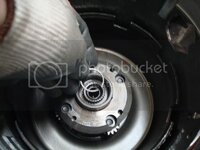
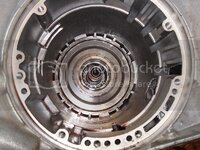
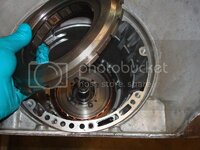
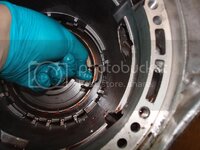
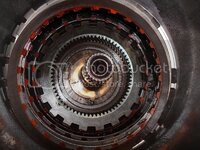
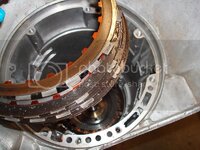
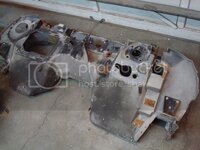
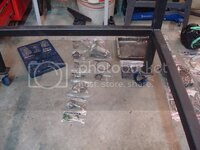
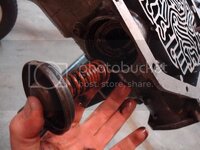
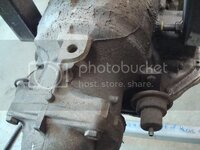
Every part I took off I took a picture of. I bagged everything, and put a reference number on each part corresponding to the ATSG manual...it took a lot of effort, but I have the disasembly well documented for for easy reassembly. Here are some pics (not all of them, i didn't want to bore you). I have been scrubbing the bare housing for days, and I still can't get it clean enough to paint it:willy:

DSC04144.jpg

DSC04148.jpg

DSC04153.jpg

DSC04156.jpg

DSC04158.jpg

DSC04165.jpg

DSC04168.jpg

DSC04171.jpg

DSC04180.jpg

DSC04186.jpg

DSC04187.jpg

DSC04189.jpg

I ruined this part during disassembly...stupid mistake. I need to talk to TimAT about the housing...I might have ruined the hole this part goes in. I'll ask him for his professional opinion on what to do.

DSC04212.jpg

DSC04227.jpg

DSC04238.jpg

DSC04247.jpg

DSC04250.jpg

DSC04256.jpg

DSC04258.jpg

DSC04260.jpg

DSC04263.jpg

DSC04271.jpg

DSC04275.jpg

DSC04281.jpg
 
Isn't it amazing how many parts are inside a transmission ?? :lol:

All that a cup of soup too.....amazing, aint' it.....I still think to clean offf that workbench OR get a couple of those metal saw horses with a 4x8x1/2 ply on top of them total cost like 40 bux, and get those parts off the floor, where they inevitably get kicked around....

I always set them up in groups the way they came out of the thing....top left corner being front pump, on down to what ever somees out next, last on lower right is the output shaft.... when doing reassy work, I do the clutch packs and sub assy's in order as I get ready to reinsert them....my largest fear is finding defective hard parts....so far I been lucky on that....except for front pumps and converters....

Wait till you start playing with those springs in that valve body....tons of fun....

:bump::bounce:
 
get those parts off the floor, where they inevitably get kicked around....

That was just for disassembly. I put the parts in two cardboard boxes and put them on the bench for now I have everything labelled, so I should be able to identify every part via the numbers I wrote on each bag (corresponding to an exploded diagram of the parts via the ATSG manual).

I'm still cleaning the outside of the housing getting it ready for paint. I'm a prep freak when it comes to painting...its gonna take lots of elbow grease and lacquer thinner to prep the housing for paint - lots of hard to reach areas:footmouth: I already scrubbed the housing a billion times with scotchbrite and lacquer thinner, then I took it to the car wash and washed everything again:confused2:...still not clean enough for me:push:
 
Now all that's left to do is everything:rofl:

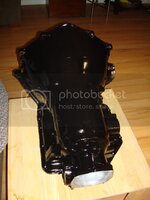
This is the first piece of the chassis that has been painted (other than the pinion flange that is). Have to let it setup over the next few days before I start wrenching on it. I thought about powdercoating it, but there are just too many machined areas to worry about...and the heat might have affected something. This thing took forever to prep, and I am glad its done. Will update more tomorrow. Need to start buying parts for the rebuild.

DSC04331.jpg

DSC04330.jpg

DSC04329.jpg

DSC04334.jpg
 
My body has been shipped as of yesterday morning!!!! A big thanks to Mike, who personally drove down to Lonestar Corvette parts to load the truck using their forklift. He is close friends with the owner Ken, and he was more than happy to let him use the forklift. THANK YOU MIKE AND THANK YOU KEN!!!
 
Everything is looking good. Just make sure the internal stuff is really clean. When you get to the valve body, make sure it's clean and nothing is sticking. If you take it apart, do one valve train at a time and make double sure that you don't flip a valve around. They'll still fit, but it won't work right. And don't be tempted to clean up the sharp edges- they're there for a reason.
 
Everything is looking good. Just make sure the internal stuff is really clean. When you get to the valve body, make sure it's clean and nothing is sticking. If you take it apart, do one valve train at a time and make double sure that you don't flip a valve around. They'll still fit, but it won't work right. And don't be tempted to clean up the sharp edges- they're there for a reason.

Which sharp edges are you referring to Tim?
 
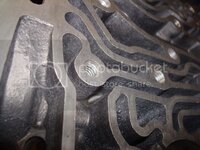
The sharp edges on the valves in the valve body. They're there to help keep the valves moving. If they're rounded off, the valves won't be able to self clean and any tiny bits of trash will make them stick.
 
The sharp edges on the valves in the valve body. They're there to help keep the valves moving. If they're rounded off, the valves won't be able to self clean and any tiny bits of trash will make them stick.

So you are referring to just the machined holes in the valve body correct? Not all these edges?...

DSC04368.jpg
 
:bounce::bounce::bounce::bounce::bounce:

The new body and parts are here as of two hours ago - they get unloaded at my dad's office first thing tomorrow morning. Will post pics when I get them home!
 
Just the valves in the valve body. All the edges in the case and valve body mating surfaces need to be as they are.

Most of the valves in the VB don't need to be removed. Just the ones the shift kit instructions tell you to remove. Take an ice pick and make sure the rest of them are free to move.

Look at the valve you took out that was behind the vacuum modulator- notice the lands on the valve have sharp edges- those are the ones I'm talking about.
 
Just the valves in the valve body. All the edges in the case and valve body mating surfaces need to be as they are.

Most of the valves in the VB don't need to be removed. Just the ones the shift kit instructions tell you to remove. Take an ice pick and make sure the rest of them are free to move.

Look at the valve you took out that was behind the vacuum modulator- notice the lands on the valve have sharp edges- those are the ones I'm talking about.

Tim, you are the MAN! I can't thank you enough for the info you have provided to me throughout this rebuild...I wouldn't be able to rebuild this thing without your help. I started cleaning each and every part today, then rebagged them in new clean bags awaiting reassembly. I also started to rebuild the pump.
 
Watch the pump- the gears go in one way that's correct- they fit either way and look the same. Both gears have dots that have to be on the same side, and the ears on the ID of the rotor need to be toward the rear facing up as you install them. When you put the halves of the pump back together, there are a couple of ways to get them aligned correctly. You can set the front of the pump into the case and then set the rear in there, or you can get a large hose clamp and wrap it around the pump with a couple of pins to align it.
 
Last edited:
Didn't get the body home today, but I was able to bring a few parts home. Thank you Mike!

DSC04412.jpg

DSC04420.jpg

DSC04414.jpg

DSC04416.jpg

DSC04417.jpg

DSC04418.jpg
 
my psn is thebeast83
add me and we can play madden sometime...
I will, when I get some more free time! I have been working 10 hour shifts at work and it has been very hard. By the time I get home, I am ready to pass out from exhaustion...then no work gets done on the vette! My dad brought home more parts today, now I have too many projects!

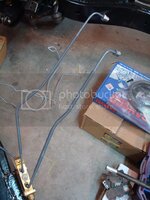
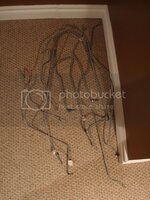
New brake lines to replace the ones bought from another vendor. This is the second set I have bought, due to the poor quality control on the first set from a certain vendor. Once again, Mike came through. He made sure that I had lines that actually fit out of the box!

DSC04423.jpg

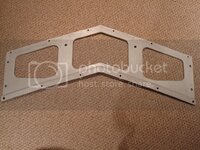
New valance panel...
DSC04426.jpg

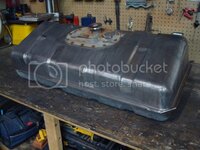
Used gas tank from the chassis of my new body...
DSC04427.jpg

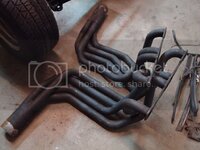
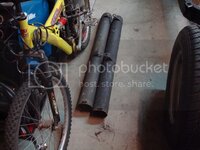
Hooker headers/sidepipes (these things are just too badass :lol:)
DSC04428.jpg

DSC04429.jpg

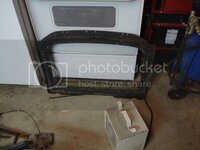
Used (rust free) radiator support
DSC04431.jpg

Used fuel lines (in perfect condition, and they fit perfect, unlike a set of aftermarket ones I bought from another vendor)
DSC04433.jpg

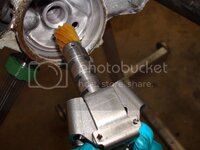
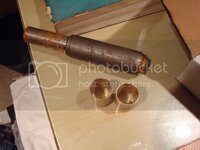
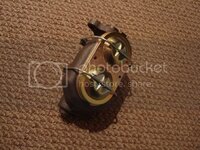
Custom tool made by Mike for the steering box race install. This thing perfectly aligns the bearing's races in the case, so there is no binding. This is a tool Mike designed and uses on all his rebuilds. He also machined me longer bushings for my steering box to increase its surface contact with the pitman shaft (yes, I am redoing my steering box work...not up to my standards, so I am starting again).

DSC04438.jpg

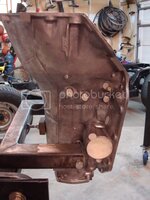
Used firewall for the new body...
DSC04436.jpg

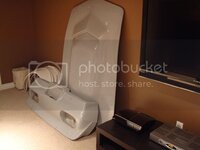
The new front end is being stored in my uncle's garage for the time being. Too large to store in my room or basement:lol:

THANK YOU MIKE
 
Last edited:
So what vendor did you get the poor parts from? There are no support vendors here so it shouldn't be a problem.
 
I read allot of blogs on Corvettes and i've never ever read one as complete as this one. It's like going to a Corvette rebuilding class. You are definetly a profectionist but it will pay off in the long run. I have to give major profs for being so dilligent and to take us along for the ride. I have enjoyed this thouroly and i want to thank you for showing us all the skill and patience to do a ground up rebuild. That car will be better than new and something you can show your kids and grand kids and be proud of for the rest of your life.
I would love to help sombody do a project like this for free because i know you can't wait to get back at it every day. I have a very bad back but i would still enjoy helping somebody do somthing like this just for fun.
If there is anybody around Disneyland in Southern California taking on a project like this and could use another hand from a 57 year old guy with a bad back send me a message and we'll get with it. With my back being so bad i'm bored to death and a project like this would bring me back to life after working since i was 10 yrs old helping Dad do side Electrical jobs.
 
I read allot of blogs on Corvettes and i've never ever read one as complete as this one. It's like going to a Corvette rebuilding class. You are definetly a profectionist but it will pay off in the long run. I have to give major profs for being so dilligent and to take us along for the ride. I have enjoyed this thouroly and i want to thank you for showing us all the skill and patience to do a ground up rebuild. That car will be better than new and something you can show your kids and grand kids and be proud of for the rest of your life.
I would love to help sombody do a project like this for free because i know you can't wait to get back at it every day. I have a very bad back but i would still enjoy helping somebody do somthing like this just for fun.
If there is anybody around Disneyland in Southern California taking on a project like this and could use another hand from a 57 year old guy with a bad back send me a message and we'll get with it. With my back being so bad i'm bored to death and a project like this would bring me back to life after working since i was 10 yrs old helping Dad do side Electrical jobs.

Thanks. I have put thousands of hours into the vette, and its comments like these that keep me going!

Body came home yesterday. I am kicking it into overdrive now - every day I am going to be putting in hours on the vette, until it is done. I want to drive it already. And no, I will never cut on quality!

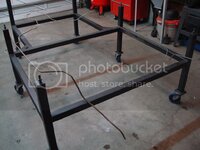
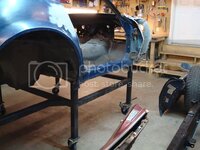
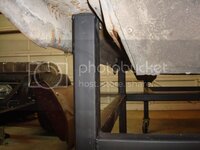
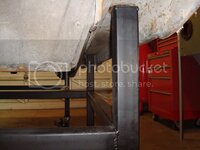
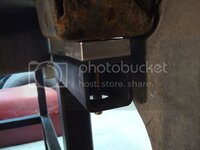
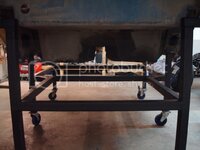
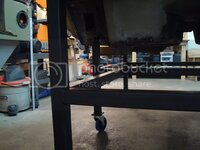
Body fit the dolly perfectly. Bolted it down in 4 of the 6 positions after I shimmed the #4 mounts (which it was designed for). Tons of room to work underneath...I can roll right under it and have a blast with cleaning it, and not be uncomfortable. Nice and strong too.

DSC04461.jpg

DSC04463.jpg

DSC04464.jpg

DSC04467.jpg

DSC04470.jpg

DSC04473.jpg

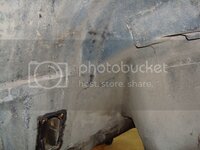
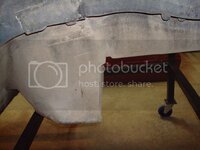
Started removing the undercoat. God this job sucks. Propane torch, putty knife with corners rounded to prevent gouging, and scotchbrite/lacquer thinner. I tell ya, this stuff is friggin nasty!

DSC04478.jpg

DSC04479.jpg

DSC04483.jpg

DSC04484.jpg

DSC04492.jpg

DSC04493.jpg

A view from underneath the dolly, showing how much room there is to work...

DSC04497.jpg

Bolted down...

DSC04500.jpg

Powdercoated brake lines...

DSC04485.jpg

DSC04486.jpg

DSC04488.jpg

DSC04489.jpg

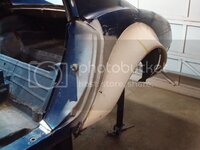
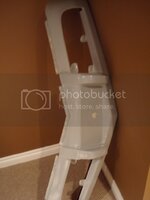
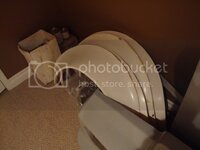
And finally, the flares. Mike did an awesome job mocking these up for me, so that I have a starting point when it comes to the actual install. Stan, your flares are awesome - both in quality and looks!

DSC04454.jpg

Once again, this all would not be possible without Mike. If it weren't for him, I would be stuck with that old body of mine right now, replacing every panel. Thank you Mike!

Keep in mind, I welded that dolly before I was welding for my uncle - I weld like a pro now, and I actually wanted to redo all my welds on the dolly before I put the body on, but said to hell with it lol!
 
Last edited:
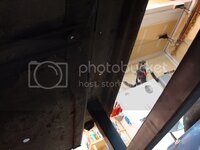
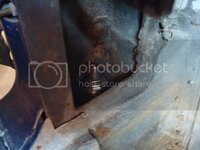
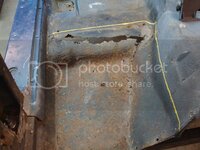
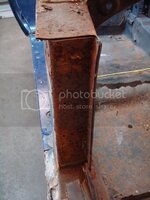
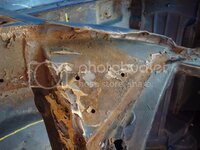
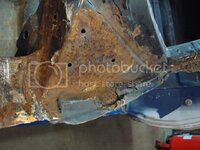
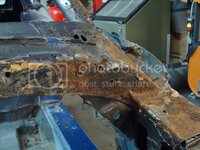
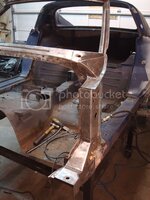
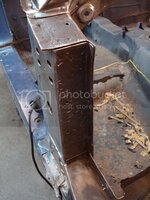
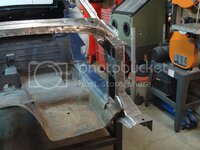
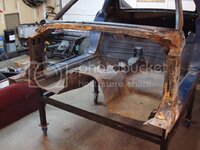
Wire wheeled the birdcage. This thing is in really nice shape:) Only one piece needs to be cut out of the birdcage...shouldn't be very hard, considering I weld/grind metal daily. Half the passenger floor pan needs to be repaired - the water seeped through just behind the passenger #1 body mount. Thus, the piece I need to repair is just behind the #1 body mount on the passenger side, and the water collected on the passenger floorboard which needs repair as well.
DSC04503.jpg

Areas needing repair (actually, the only real piece needing repair is the floorboard, but I will put some new metal on cage behind the #1 mount just because I can lol)

DSC04504.jpg

DSC04505.jpg

Some more before shots...
DSC04506.jpg

DSC04507.jpg

DSC04508.jpg

And the end result...

DSC04509.jpg

DSC04511.jpg

DSC04512.jpg

DSC04513.jpg

DSC04514.jpg

DSC04515.jpg

DSC04516.jpg

DSC04518.jpg

DSC04519.jpg
 
You DO realize you ARE crazy, I hope.....but it's cool, you do such NICE work, can I get you to do some for ME???

:yahoo:
 
Back
Top