stinger12
Well-known member
- Joined
- Mar 28, 2008
- Messages
- 832
- Reaction score
- 0
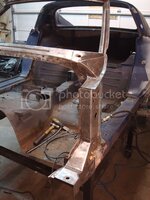
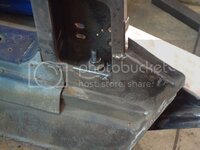
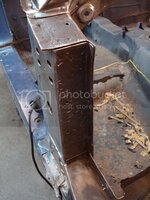
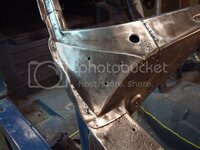
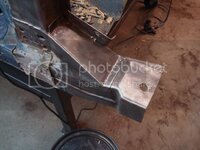
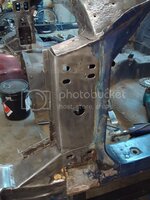
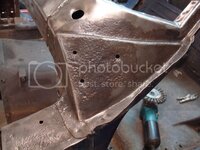
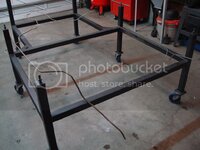
Nice welds, Did you use a mig?:1st:
I used a MIG.


Nice welds, Did you use a mig?:1st:
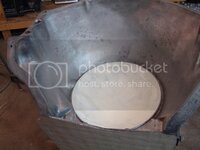
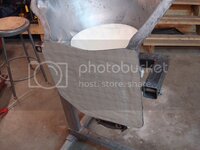
I HOPE THAT IS NOT A 3 WHEEL stand there, that tranny out to one side like that WILL make very tippy if so.......better stick a cross bar on it and TWO wheels up front, before you wind up wearing that tranny on your toes....
:flash:
Nice welds, Did you use a mig?:1st:
I used a MIG.
Nice welds, Did you use a mig?:1st:
I used a MIG.
Can I pick your brain and ask what type of welder you have and what size wire you used? I just bought a Miller 135 110 volt and was wondering if it capleable of doing what you did.
Thanks,
Danny

I have exceeded my monthly bandwidth limit, so I have to wait a month before the pictures become visible again. I am going to open up a new account and keep updating this thread, and hopefully the old pictures from past updates will be visible in a month (according to photobucket).
Or, I pay and upgrade to pro and they will be visible right away...but I don't feel like spending any money right now, sorry guys. I'll make a new account for now and continue with new updates.


Ahhh but then when Jeremy uploads them over at CF, the Koolade drinkers will probably lock his thread as the pics will have VM stamped on them :hissyfit:Just upload the photos here, doesn't cost you anything and they're visible right away
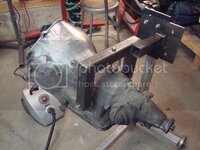
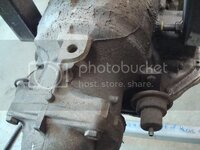
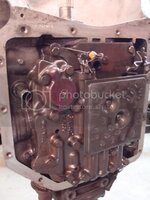
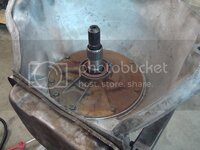
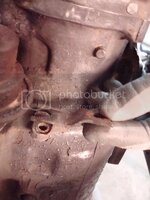
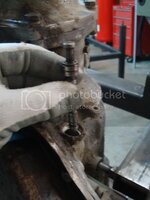
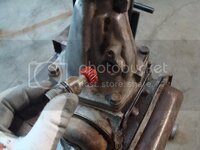
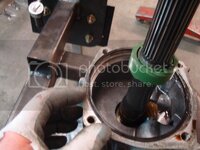
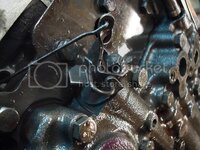
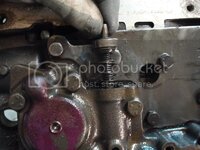
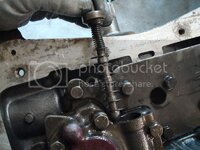
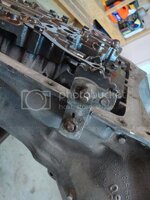

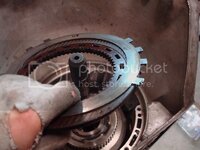
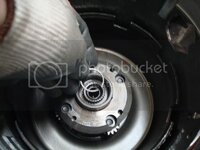
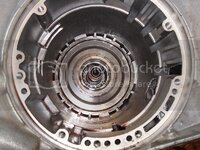
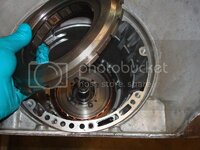
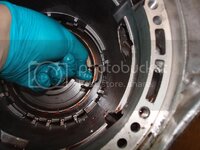

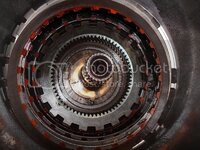
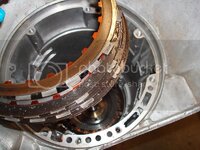
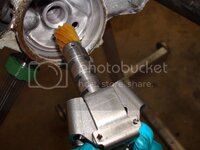


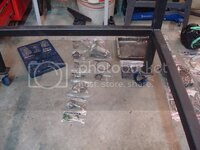
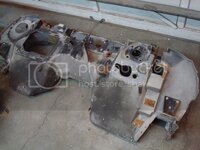
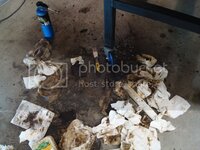
Isn't it amazing how many parts are inside a transmission ?? :lol:
get those parts off the floor, where they inevitably get kicked around....
 ush:
ush:
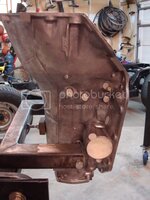
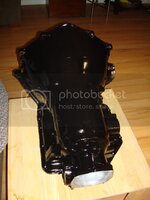

Everything is looking good. Just make sure the internal stuff is really clean. When you get to the valve body, make sure it's clean and nothing is sticking. If you take it apart, do one valve train at a time and make double sure that you don't flip a valve around. They'll still fit, but it won't work right. And don't be tempted to clean up the sharp edges- they're there for a reason.
The sharp edges on the valves in the valve body. They're there to help keep the valves moving. If they're rounded off, the valves won't be able to self clean and any tiny bits of trash will make them stick.
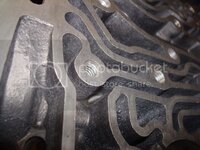
Just the valves in the valve body. All the edges in the case and valve body mating surfaces need to be as they are.
Most of the valves in the VB don't need to be removed. Just the ones the shift kit instructions tell you to remove. Take an ice pick and make sure the rest of them are free to move.
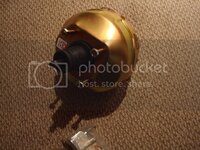
Look at the valve you took out that was behind the vacuum modulator- notice the lands on the valve have sharp edges- those are the ones I'm talking about.
my psn is thebeast83
add me and we can play madden sometime...



I read allot of blogs on Corvettes and i've never ever read one as complete as this one. It's like going to a Corvette rebuilding class. You are definetly a profectionist but it will pay off in the long run. I have to give major profs for being so dilligent and to take us along for the ride. I have enjoyed this thouroly and i want to thank you for showing us all the skill and patience to do a ground up rebuild. That car will be better than new and something you can show your kids and grand kids and be proud of for the rest of your life.
I would love to help sombody do a project like this for free because i know you can't wait to get back at it every day. I have a very bad back but i would still enjoy helping somebody do somthing like this just for fun.
If there is anybody around Disneyland in Southern California taking on a project like this and could use another hand from a 57 year old guy with a bad back send me a message and we'll get with it. With my back being so bad i'm bored to death and a project like this would bring me back to life after working since i was 10 yrs old helping Dad do side Electrical jobs.
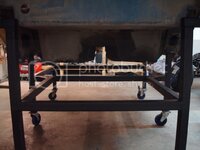
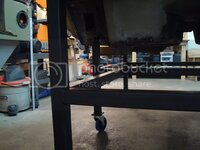
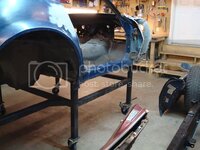
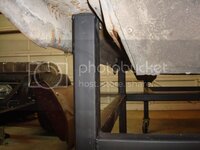
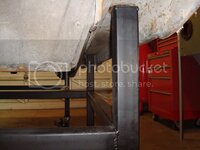
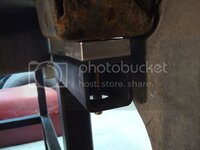
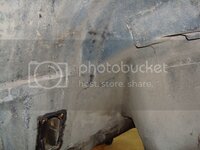
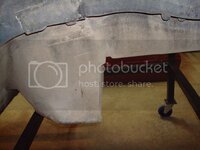

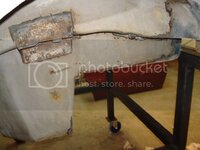
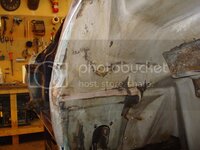
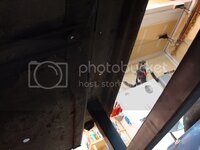
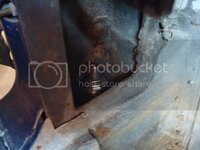
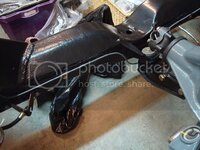
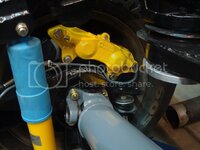
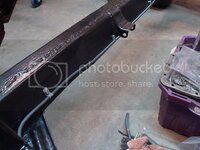
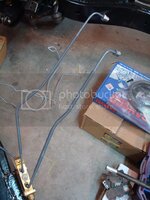
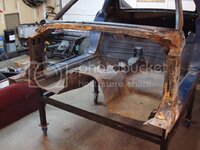
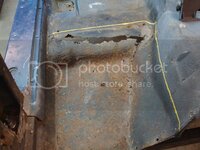
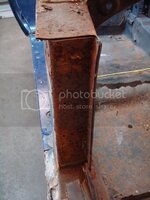
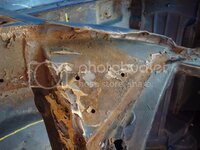
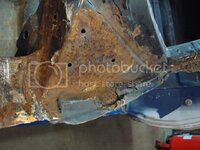
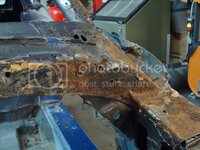
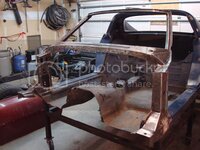
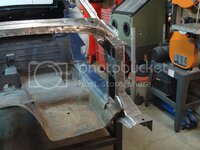
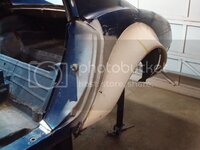 Only one piece needs to be cut out of the birdcage...shouldn't be very hard, considering I weld/grind metal daily. Half the passenger floor pan needs to be repaired - the water seeped through just behind the passenger #1 body mount. Thus, the piece I need to repair is just behind the #1 body mount on the passenger side, and the water collected on the passenger floorboard which needs repair as well.