Redoing that old Camaro

VetteMod - Corvette Restoration, Modding & Performance Forum

Help Support VetteMod Forum:

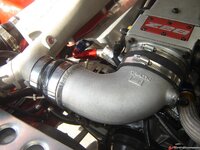
I had the same prob with the TPIS IAC housing not fitting my aftermarket throttle body too.
 
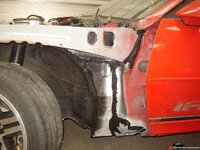
Did some more. Fixed the rust holes in front of the door and redid the seams there and to the front (inner fender)
24bdf3975d882c.jpg

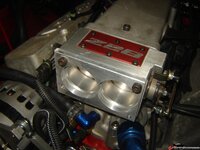
This will be my elbow hookup, have to fab the elbow and weld it to this plate.
24bdf397868378.jpg

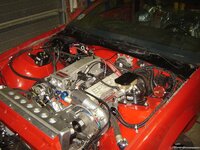
Painted the cowl area and reinstalled the cowl screen and wipers
24bdf397987f3c.jpg

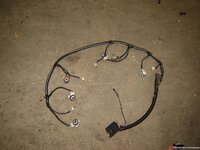
Wired up this harness with a tail light converter to get 4 red stop/turn lights. It works fine, until you press the brakes w/ the turn lights on and then it freezes on the side that should blink. This stupid chinese POS is fubar. I'll do it the old fashion way with 3 NC relays pulling 12V off the battery and using the signals just to switch. A little more wiring but I refuse to waste money on crap like this again.
24bdf39770b70d.jpg

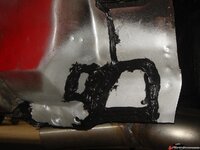
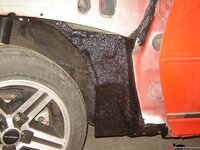
fixed the other side rust, sealed the seams and put bedliner over the entire areas on both sides so it doesn't show as badly that it was repaired and it's now weatherproof.
24be1d16132ee3.jpg

24be1d16252ac1.jpg

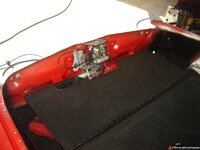
The rear storage lid does actually close right, I had to guess where the brackets went as I don't have any reference here. Worked out fine :)

24be1d165949c1.jpg

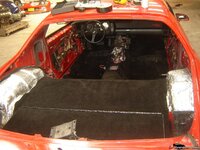
Put the carpet back in, it's starting to look like a car again
24be1d1671d016.jpg

I also put a micro switch on the pulldown motor so if someone pops the lock and the trunk opens the alarm will go off. You can see the micro switch on the drivers side next to the nylon linered guide rail. Pressing the 3rd button on my fob will also pop the trunk. LOL it's almost a luxury car ;)


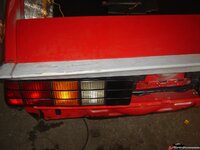
biggest bummer of the day.... that damned Hawks Thirdgen high rise spoiler is crooked. I didn't notice before because the car was on the lift w/ the back close to the workbench. Now that I had it in the clear and stepped away from it I saw it immediately. It stands out like a sore thumb :( it's completely unusable, it looks like SH!T!!!!!!!! I contacted hawks, I hope they work with me to make it right as it not only cost a small fortune, shipping was murder too!

See how the drivers side curves off to the rear
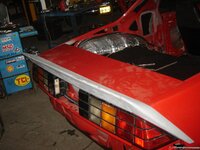
24be1d15d30793.jpg

24be1d15e85ed6.jpg

Not a happy camper right now!

Fabbed a little mount for the retard box, decided to stick it behind the bumper. not much room in the engine and I didn't want a bulky bracket. I also need the space for some reservoirs and a water to air intercooler
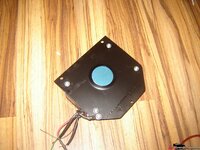
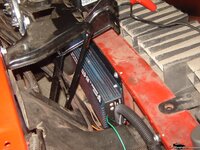
24be9ae6c1e57a.jpg

24be9ae6f1223a.jpg

Installed a good chunk of the interior including the nice carpeted console I got from 3rdgenranch (amongst a whole bunch of other parts)
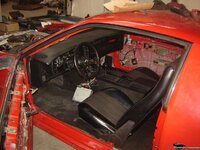
24be9ae7056835.jpg

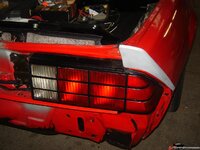
Put together this box, it's missing 1 nc relay, came 1 short so only 1 indicator is working but I'll have a full set tomorrow. This box converts the stock amber turn/red brake lights into 2 turn/brake lights, painted the lenses to suit. Never liked the amber.
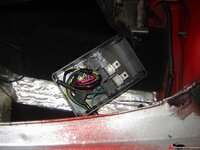
24bec7212ece6f.jpg

W/ lid on, also missing 8 pin connector body, also coming tomorrow (hopefully)
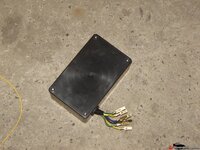
24bec7214531a5.jpg

All red vs stock, I like the reds a lot better.
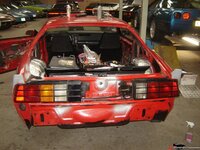
24bec7211d6ed8.jpg

24bec7210446f7.jpg

A vid of it working (blinkers on but vid may not have processed right now)
[ame]http://www.youtube.com/watch?v=v5OksxvUW8w[/ame]

Still have to sort out the crank pulley, waiting on some missing bits of the fuel system and still have to mod the cooling system/radiator and hook up the power steering pump.

Been busy w/ the 82 trans am and some other stuff so didn't get a whole lot done.

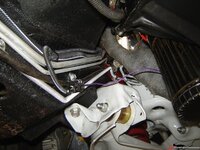
I did fabricate a small bracket for the power steering reservoir
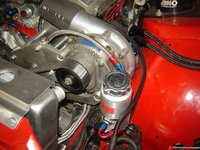
24bfacddd661f1.jpg

24bfacdded8dd6.jpg

24bfacde01f524.jpg

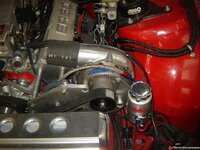
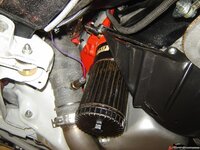
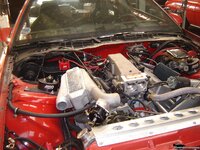
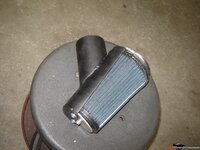
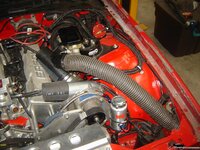
Added cold air ducting to the SC air filter. Not sure I'm 100% satisfied with it as it is, I'd rather have it rotated to the underside of the filter. Will have to check if there is room. the black piece is simply fabricated from some rolled alu sheet and a 3" alu tube.
24c02d24b72ac1.jpg

24c02d3503cf41.jpg

24c02d24c8631a.jpg

Removed it, came to the conclusion that it's an eyesore

I got some sh!t done ... not much but still LOL
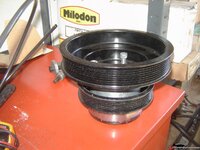
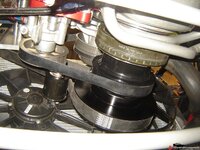
My main problem was the crank pulley, the stock one I couldn't use because of the fat belt conversion, a stock serpentine one was too large since i use small pulleys on the wp, so I had to get an underdrive one. Did I mention those are cheaply made Chinese POS things? Damn, what a poor quality. There's chips and craters in them and they wobble too.

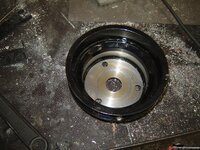
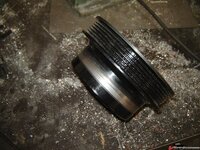
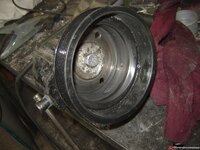
Main problem, it's too long, needs 12mm removed to move the grooves back that amount. What to do? I need it to go together wobble free so on the lathe a section was removed and then the last section on both ends was stepped so they interlock, the 2 halves were pressed together and then tig welded (ran out of gas about 90% there on the inside, will have to finish it up after I get me some new gas)
The pulley also lacked the centric recess for the spacer and I didn't want to do without that. The spacer of course was too long too so that one was milled down also

Pulley halves after machining, pressed back together. Took out 12mm.
24c1952e8223e2.jpg

Centric section machined in
24c1952e541faa.jpg

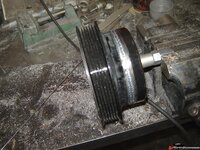
A little welding
24c1952e69ebf6.jpg

On the inside too...the setup w/ the bolt is my quicky rotating fixture for easier welding
24c1952e9928e4.jpg

With the spacer and SC pulley
24c19559be41d9.jpg

it all lines up perfectly now. After welding that last bit it's going to be blasted and powdercoated black again.

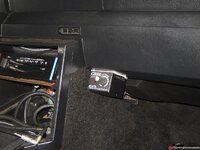
Also mounted dial knob for crane retard and a bracket for a 2 bar map sensor
24c19559cf2c2b.jpg

24c19559e456ba.jpg

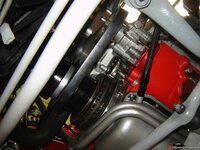
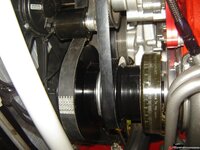
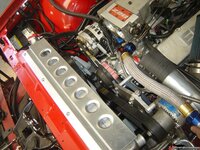
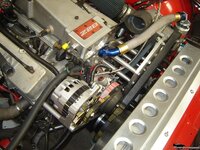
Got my pulley back from the powdercoater and put it together.. it fits like a glove. I'm pretty pleased with the result, small pulleys, plenty of space, looks a ton better than the horrible stock flat belt/v belt combo. It should run a lot better too, no squealing belts anymore. It's a tight fit in there with the KRC power steering pump. With the under-driven crank pulley the WP is still a little overdriven but only a smidgen.

It all lines up straight as an arrow. Now the wait is for my intercooler and bypass valve along with some other neat stuff so I can get moving on this thing again. Been too long w/ too little progress.
24c362155d05d9.jpg

24c3621573b71a.jpg

24c362158eb3a2.jpg

24c36215a93586.jpg

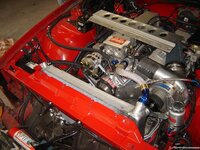
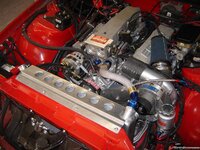
I managed to get the radiator setup done, modified and welded the rad to fit a short -20 AN hose.
24c4200d957652.jpg

Also had to mod the rad mount, came out ok
24c4200da5eba6.jpg

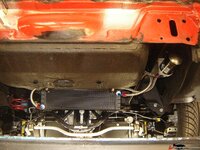
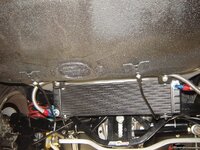
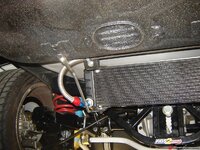
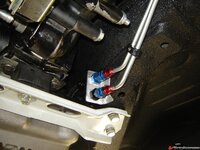
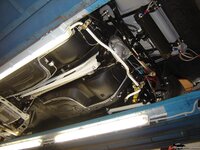
Finished my trans cooler setup, used flex lines from tranny to a bulkhead, then hard lines and then flex lines to a remote filter setup and the cooler. Still need to add lower brackets to the cooler.
24c43542698e59.jpg

24c4354254370f.jpg

24c435424326ae.jpg
 
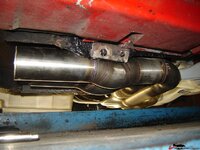
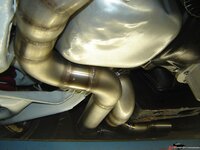
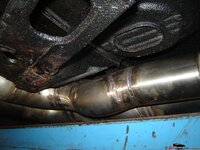
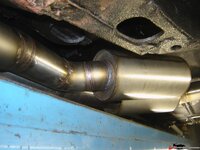
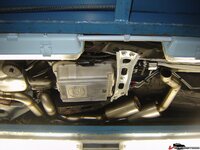
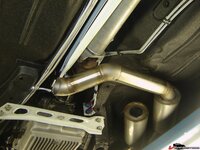
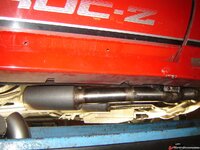
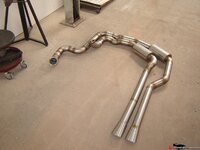
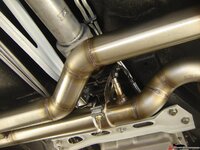
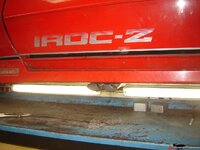
Got more done. The exhaust is done but the last pics all came out bad (camera shot, diaphragm sticking), it exists under the drivers side door now LOL

24c4a1c4e1fe33.jpg

24c4a1c4f384de.jpg

24c4b45b6ee83d.jpg

24c5dcbae520dd.jpg

24c5dcbad5e40e.jpg

24c5dcbac60b29.jpg

24c5dcbab595d8.jpg

O2 sensor extension so harness doesn't burn on exhaust

24c4b45b834fa4.jpg

24c4b45b95c095.jpg

Pulleys all fit and line out perfectly, for a mis match/cut up and weld set it came out excellent :) It's a tight fit but it fits and that's what matters

24c4b45ba74749.jpg

24c4b45bb8ce02.jpg

24c4b45bcd3b93.jpg

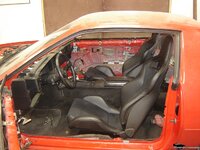
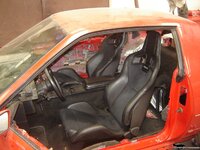
I'll be using these seats, they're the best seats I ever sat in
24c5dcbaa68006.jpg

24c5dcba9631b7.jpg
 
exhaust done
24c65bac91ceae.jpg

24c65baca24419.jpg

24c65bacb21ce6.jpg

24c65bacc6fef5.jpg

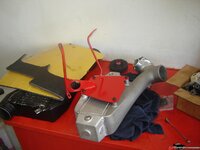
also got my intercooler, bypass valve and a bunch of other parts:

24c65bacdc0850.jpg

that's going to fit nicely.
 
As an Amazon Associate we earn from qualifying purchases. Product prices and availability are accurate as of the date/time indicated and are subject to change.
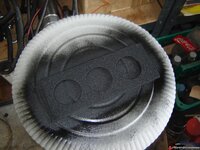
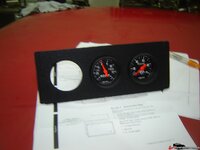
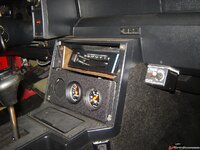
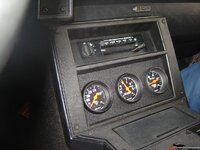
Some more done, fabbed a mounting face for 3 gauges to go where the radio was. The power and illuminatiion for the gauges is pulled off the radio harness so no loose wires or scotch blocks anywhere. I like my wiring clean.

I have 3 gauges but decided that the wideband commander 2 has to go on the a pillar because the gauge doesn't match the other 2. I'll get an oil temp gauge instead and wire it w a switch so I can switch between engine and tranny temp.

24c6849d50d2a8.jpg

24c6849d61e460.jpg

24c6849d75b511.jpg

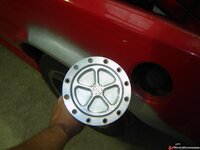
This is going to be my filler cap. Needs a custom ring machined and some cutting & welding to the quarter panel.

24c6849d873bc8.jpg

Got the valve covers on. Took a bit of modifying to fit. These are the only covers I have that fit without hitting the rockers or guide plates. i did have to trim the manifold side inside edge of the covers to get them to sit square, they were hitting the guideplates. Also had to notch the dr. side to be able to move it under the washer pump and not break off the pump pipe

24c6d9ba451825.jpg

24c6d9ba567782.jpg

Mounted the 2 bar map sensor here (it's for the boost retard):

24c70104ced4d6.jpg

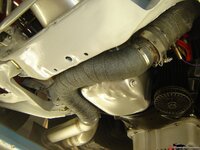
Wrapped the exhaust pipe that runs past the sump & starter

24c70104b1b553.jpg

and..it's running :D :D still NA as I don't have the intercooler piping finished yet but still, it's a big step that it at least runs :)

[ame]http://www.youtube.com/watch?v=-KOpmXbppjc[/ame]
 
I'll be able to drive it today, bleeding the brakes is all it needs.. who needs sheet metal :D
 
Well, it runs under it's own power :) still NA taking it a bit easy, only 1/4 or so throttle since nothing is dialed in and it still goes a tad lean on the WBO2 w/ 30# injectors @ 55psi at that throttle setting.

The neighbors loved it ahum ;)

[ame]http://www.youtube.com/watch?v=kI8gCyji0ZQ[/ame]
 
Jeff, yes the hood should close. The fitting doesn't stick up that much...in either case it's nothing a little notching the hood won't fix
 
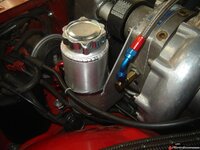
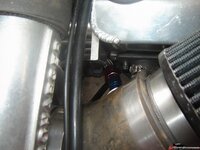
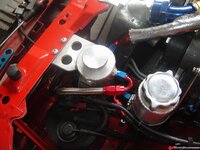
Fabbed a little reservoir to be hooked up to the SC inlet side for crankcase evacuation, an evac line is running to the pass side VC. Need to put a cap on the reservoir, it's there to inspect if there's excess oil in there.

24c7428543287e.jpg

24c74285696a58.jpg

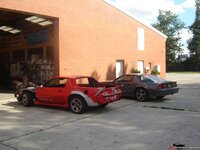
and since it's now moving under it's own power, brakes all bled, fays 2 watts linkage dialed in I did some driving around and shot a pic w/ it's brother ;)

24c7428587e3fb.jpg

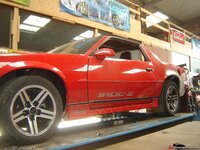
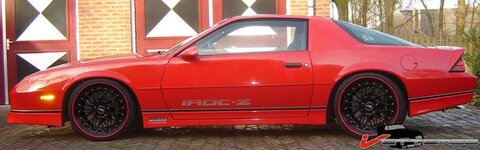
Having 2nd thoughts about the wheels. A buddy of mine showed me some wheels and I think they might go better with the car overall. If I tint the windows (side & rear) replace the silver iroc decals w/ black ones and maybe keep the black lower stripe it would look awesome with all the other black stuff like the hood inserts, the door handles, the interior, the front grille openings & headlamp buckets and so on..... hmmmm

quick photoshop

24c76d6b7b4555.jpg

I fabricated a mount for the intercooler today. Since I hate drilling holes I used the factory support bracket between the fender and front lower frame rail and a hole that was once used for an AC line.

24c7d4ff2f403a.jpg

24c7d4ff413ecc.jpg

24c7d4ff541d06.jpg

I made a quicky rod ended bar to stabilize the setup. Didn't have the material for a threaded sleeve so I welded some nuts to a piece of solid round bar for now. Will replace it with something proper later on

24c7d4ff670331.jpg

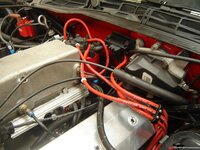
It's all real tight over the valve cover. A little foam helps it from scratching/rattling. Good thing I have solid motor mounts and nothing moves there
24c7d4ff770341.jpg

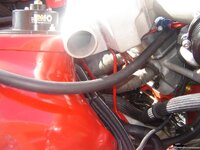
Now all I need is a custom super short MAF and an elbow to the TB and the other side of the piping fabbed.

This is a neat and tight package like this.

Fits like a glove, just needs a reducer to hook the 2 together. I may stick a custom maf inside the elbow since I want it between the cooler and the TB
24c7eb8021ce1a.jpg

installed a 3rd gauge
24c7eb80317ff7.jpg

and then realized I forgot to put a bung in the pan for a mech gauge and the canton adapter that I had apparently is for an LT1...oops!!

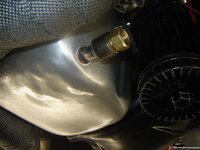
I hope this will do the trick. Made this adapter, the mech gauge bulb screws in the brass end.
24c7eb804bb971.jpg

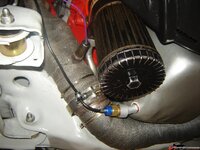
Also hooked up the crank case ventilation to the suction side of the SC. The can is an oil seperator to keep oil out of the SC.
24c7eb7fe1f4b0.jpg

24c7eb7ff1f4c9.jpg

24c7eb80126a24.jpg

This is my finished oil temp bulb setup and it works like a champ. The exhaust protects it from getting ripped right off

24c83e16b22f33.jpg

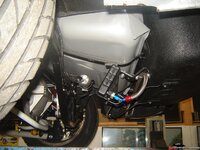
Also finished the lower support rods for the tranny cooler, this keeps it from flopping around and hammering against the tank straps

24c83e169bf357.jpg

24c83e168b7de7.jpg

I made them from round stock and welded tabs to the end, looks pretty oem compared to the other braces on the car w/ the stamped flats

24c83e1679821d.jpg

Again I used factory holed on the rear tub, these are the ones originally for the muffler heat shield

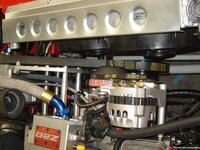
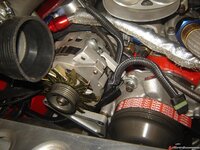
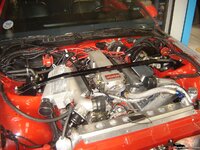
Well, turned out my alt was sticking up too far and interfering with the ducting from IC to TB, had to modify the linkage so I could swing it further inboard and down. This little alu adapter piece did the trick

24c9e739891ce1.jpg

Also, the edelbrock STB still fits! woohoo! That's a big bonus, I was already thinking I had to fab something myself.

24c9e7399bdc58.jpg

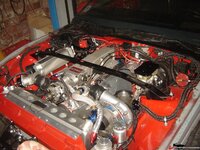
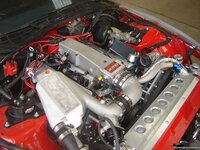
It's tight but with solid motor mounts and the IC mounted solid, nothing is going to move

24c9e739b0b93d.jpg

24c9e739c0b967.jpg

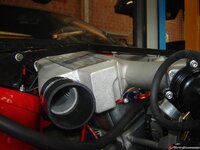
I finished welding an extension/adapter ring to the elbow so I can more easily slip the coupler over it. It also needed it because it was too short. Helps pull the intercooler straight too, I tossed the rod ended link, not needed now. Much cleaner Eventually I'll probably weld the elbow to the TB front adapter.

24c9fa941a9b9e.jpg

24c9fa942cbe7b.jpg
 
Stop it already, your making me feel lazy:wink:

Nice job and nice fab work, I'm so jealous of your skills. I'm working on fabbing a rad support like you did but I don't have the dimple dies, so I'll have to see what I can rig to make something similar.
 
Nice work - now make sure everything is ready for a test drive when I get there.... :thumbs::):rain::twitch:
 
Back
Top