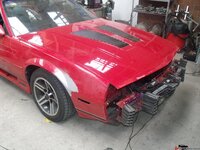
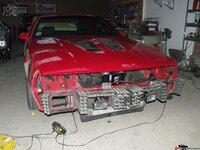
Redoing that old Camaro

Only a couple of things

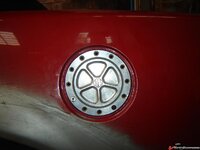
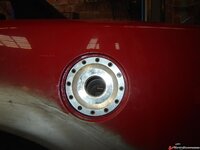
idea for gas tank cap

24ca96670a08df.jpg

24ca9666f83413.jpg

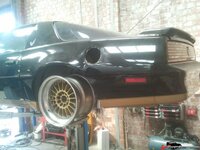
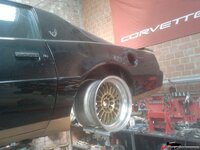
I don't think I will lower it any further ;)

24ca96672a577b.jpg

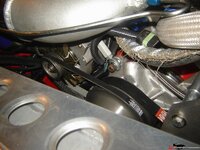
relocated alt working like a champ, as tight as I could get this setup

24ce042cb34284.jpg


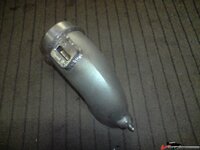
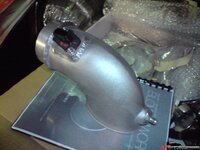
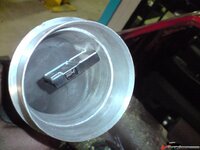
crappy phone pics, but this is a film type maf, triple range of oem maf

24ce9711d77538.jpg

24ce9711e97148.jpg

24ce9711f68ae1.jpg

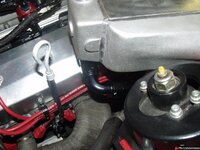
Redid BOV lines in stainless

24cfa955c48034.jpg

24cfa955d96209.jpg

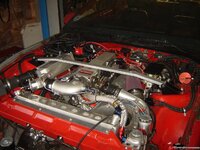
had strut tower brace coated, idiot coater mistakingly did the mounts in black...oh well

24cfa955f2ab3b.jpg

24cfa956056a5f.jpg

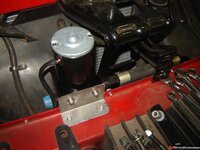
and the mounting location for the Meziere water pump thats going to pump the intercooler liquid

24cfa955ad8101.jpg
 
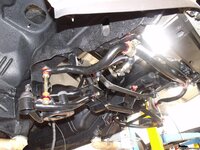
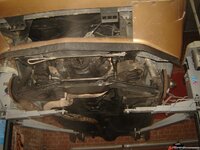
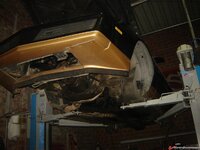
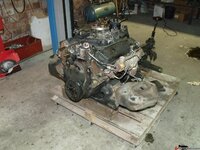
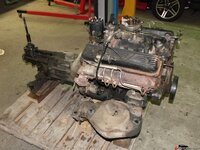
Still deconstructing it. Going to pull the engine and tranny, front susp & rear susp. Swapping out the rear axle for something better. I have spare fr. susp. parts @ the powdercoaters (came off camaro), got some Baer brakes for the front already, need to get some pbr's for the rear (same setup as camaro) Probably will end up w/ another watts linkage, don't like the stock panhard bar.

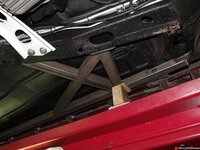
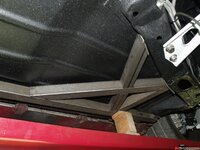
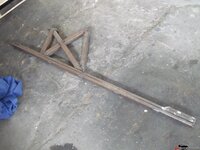
Got an A delete box and some other stuff as well. Still have to source some of those WS6/IROC/Z28 braces (triangles) for the front

24cfa95619641e.jpg

24cfa9562de98e.jpg

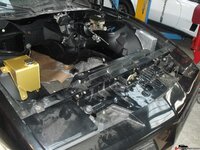
Going w/ the all black look. Flat black in the engine bay (VCs for a different car)

Have to undo this, or at least make it so I can live with it

24cd728af94d19.jpg

24cd5be84a35be.jpg

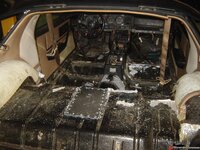
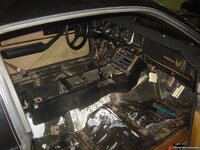
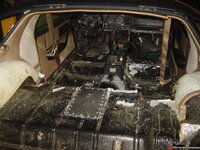
Pulled the carpet, going to use dynamat inside after welding SFCs under the car

24cd5be8774fbf.jpg

There's already a new steering wheel in there, a new dashpad too and a new glove box. Also bought all kinds of other stuff that was missing like the front lower console corners and what not. Pretty hard finding some of those parts especially since 82 has some one off things.

Bought a Street & Performance Multiport system for the car

24cd1d437bd3bd.jpg

Also got some TFS 195cc CNC heads and a ZZ-X cam, all I need now is a nice motor to slap it on. Thinking SHP block in the 400 range. Had bought a T56, guy backed out for a weird reason. If it's a no go I may go w/ an all out G-Force T5 w/ new case. I have a set of spare WC T5s also, not sure what to do there yet. Will get LS1 drive shaft for sure,

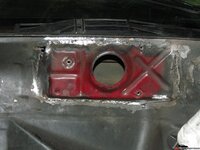
First I'll have to clean and paint the engine bay (and that red welded in section for the wiper motor ;) )
 
the trans was rebuilt about I think a year before you got it. Supposedly with with new input shaft and cluster gear set and syncros. The bill was like 1,100.00. At the time the speedo gearset was setup for 373 gears.

I should just send you my 82 vette lol
 
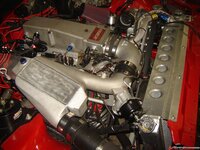
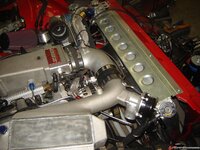
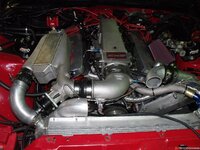
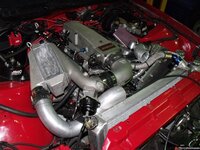
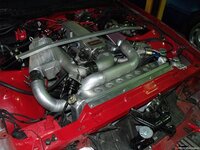
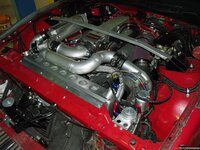
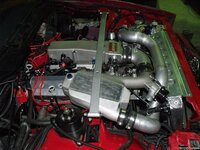
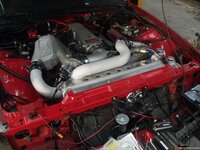
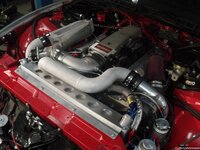
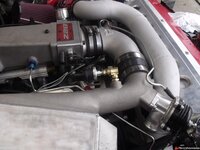
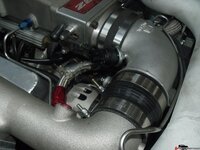
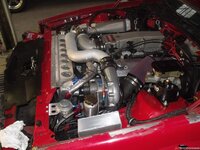
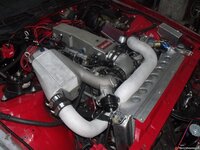
more progress, finally completed the piping for the IC and SC, going to blast the pipe to give it a textured look like the rest. Came out pretty nice if I say so myself, it's all very very tight in there.

24d190ab624735.jpg

24d190ab20c09c.jpg

24d1a3ddf4b492.jpg

24d1a3ddaa3ced.jpg

24d1a3dd5e77e6.jpg

Waiting on my 62 lbs injectors and Ostrich 2.0 and then I can fire it up again and hope it doesn't go *pop* :)

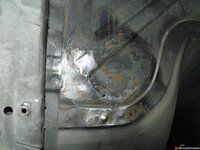
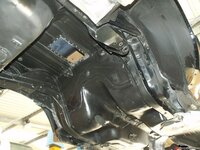
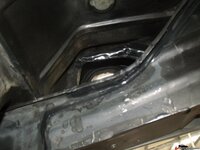
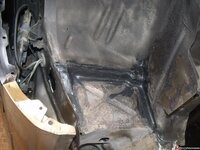
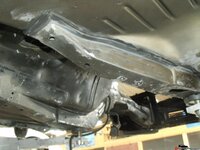
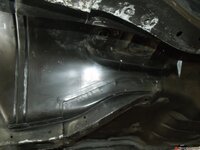
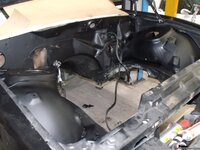
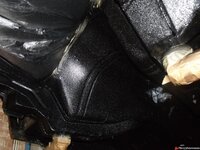
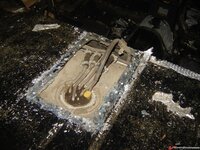
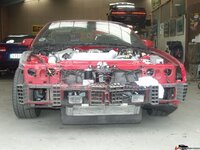
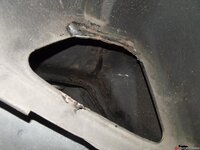
Also pulled the rest of the TA apart. There were some bubba issues apart from the rear opening for the fuel pump. Some idiot cut and clearanced the area above the rear frame rail where the tank filler neck goes through, possibly to be able to pull the tank without removing some other item somewhere. Anyway, it bothers me to no end and it's prone to rust. I'm going to hammer it back in shape, weld it up and then do the underside in bedliner like the camaro. I would have just cleaned it but these 2 things and a welded on fuel pump bracket in the rear mean I´ll have to do some cutting so it´s going to have to be painted. Same for the firewall where a piece of sheet metal was splatterd on (it holds the wiper motor), going to have to grind that out, weld it up, fill & prime and then paint. That eyesore is in plain sight.

24d05230830733.jpg

24d052306db5a8.jpg

24d052306db5a8.jpg

24d0d0c48b734d.jpg

this ain't going back in

24d1a3dcf9bc67.jpg

24d1a3dd33c91a.jpg

24d1a3dcbf1321.jpg
 
It's coming along nice Marck! You having fun keeping the black clean hahaha I do not miss having a black car hahaha .... Life is good with my maytag white Camaro ..... I'm pretty sure the 90 vette I will have painted white too, hell might do my 82 vette white as well.
 
Last edited by a moderator:
That's beautiful Marck. Getting that all under the hood must have been a challenge.

Where is the air inlet?
 
Jeff,

I'm not a :waxer: so the black will be just fine dirty or clean :)

Larry, the intake is the back of the SC, there's a cone filter on it

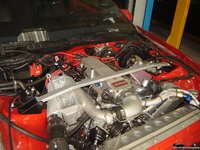
It wasn't easy cramming it all in there and (hopefully) getting it to fit and be able to close the hood. It should be fine. If someone asks, I claim it was designed this way, the truth is...there's luck involved :)
 
Why don't you stop by the German TUV and let them inspect the car ... take Xander with you so he can video tape the "event" :lol:
 
They are the emissions and road legality inspection in Germany. They love cars like this LOL. Every mod has to be listed in the cars papers w/ tuv proving codes and all.

I'll tell them the blower soud is a bad alternator bearing :D
 
Finally got something done again, I swapped the injectors for Deka/Siemens 62s and I blasted the SC to intercooler pipe to mimic the cast look of the other components. It's a little lighter in color because the rest is a little dirty. Some WD40 is going to clean that right up.

I managed to F up one of the threads in the manifold whilst swapping the injectors. The thread was already questionable, someone must have tried the wrong fastener or didn't use anti seize. So, it turns out it's a thread I don't have in my timesert kit :( ugh have to order that now.

24d605a9470d60.jpg

24d605a964001c.jpg

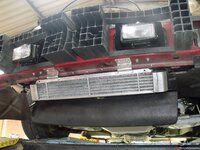
Also wired up the MAF using a 5 pin weatherpack connector, have to wire last 2 wires to IAT (internal in the film type maf), fans are also final wires so all wiring is complete. Tomorrow I'm going to install a big oil cooler that I'm going to use as a water cooler for the IC. It fits snug in the front lower opening

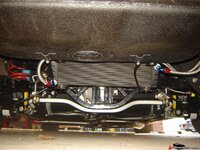
Got the water cooler done today, I'm pretty sure this will be enough without having to hang coolers and crap in front of the rad. This thing is more than a fist thick

24d616635ae2cb.jpg

Finally got a Hobs switch. I'll have to do something about the plumbing, I hate it like this w/ the brass elbows. I'll have to find a 45 deg aluminum adapter and point the thing down to the throttle body so the eyesore is not as obvious.

24d7cf3837a01a.jpg

almost done...

24d7cf38572b21.jpg

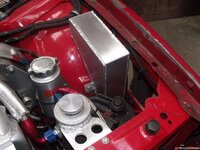
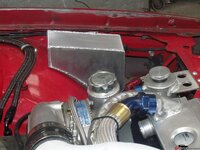
started on wiper fluid reservoir, I goofed and didn't account for the hood height when I designed it (oops) so my filler cap won't fit, I'll have to find a flush mount one so I left the top of the tank unfinished. Still, I'm pretty pleased w/ the result and how it tucks away.

24d7cf387619f0.jpg

24d7cf38a66c35.jpg

Man I lucked out!!!! The hood actually closes LOL. It's sooo close, it's not even funny. Especially where the BOV line is.

24d8e38c44461d.jpg

24d8e38c70c728.jpg

but the most important is... it's closed :)

24d8e38c007591.jpg

I also installed the lines for the water intercooler. I ordered too short a length to complete it :( I need to order some more -12 line for the last stretch from the rear of the IC (highest point) to the pump. The rest is done, line visible on the right

24d8e38c23f7f2.jpg
 
damn you're doing some great work..... but I have to admit I am jealous about all the space you've got.... it sure is a lot nicer than working in a 2car garage.... :drink:
 
Woohoo, its all complete and running again :), the intercooler is plumbed & filled w/ water. Pump is working (only have to hook up a relay to switch it on using the hobbs switch) All is running with the custom film type maf in an lt-1 elbow using a triple range extended custom prom w/ help from Greg @ Blowerworks.

I did reposition the hobbs switch to get rid of the brass elbow eyesore

24da2da3a197d8.jpg

plumbing the water side of the intercooler cost me more hose and adapters that I figured. Ended up needing a 90 deg npt adapter as well.

24da2da3c28254.jpg

Now to fine tune this thing, fix the door hinge on the pass side and then it's off to the painters....well...if I don't find a set of S10 door handles that is, I never liked the originals

Pretty proud of how it turned out :)

24da2da37e41f7.jpg

24da2da3db0dec.jpg

I've been having issues blowing up ignition boxes :( all crane stuff, in the past I never had an issue with their stuff but somehow they are not firing the coil. Not supplying 12V, or as they're supposed to...a lot more. The trigger works and the engine does run with everything plugged in like stock only it runs (or used to run) much better with the hotter spark. I'm hoping a new LX92 coil will fix it, if it does it must be the MSD coil frying my crane boxes. I already went through 2, both brand new. The blue one I bought a lot of years ago, never used it. It's a HI6 TR w/ trc-1 & MAP retard control, I also blew up a brand new fireball hi6 w/ trc-2 & MAP. FAAAWWKKK!!!! All the wiring is A OK, I wired it myself. I'm very meticulous when it comes to wiring, always use soldered connections, good grounds and weatherpack connectors. It must be that damned coil. Will know this week. Also my MAF signal is not steady @ idle and giving me fits, I have to do some major tuning on this thing.


Well, after sorting the ignition issues it's running again, a little rich but still...

Fixed some issues with the intercooler plumbing leaking (so much for using AN stuff, still leaked) and a little prob w/ the alt belt slipping.

Made a little vid, the damned thing is shooting flames LOL

[ame]http://www.youtube.com/watch?v=o6yWgX9R0o8[/ame]

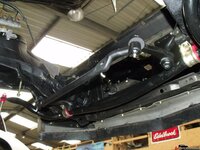
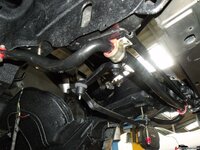
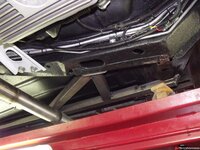
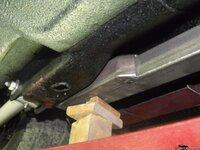
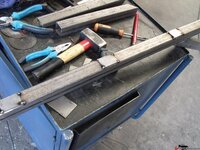
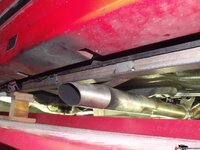
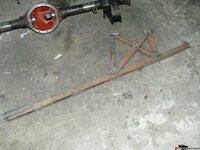
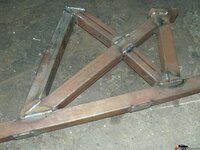
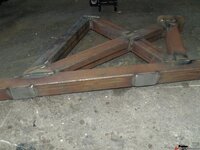
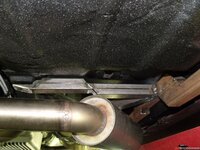
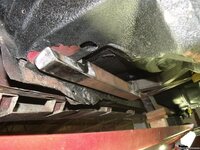
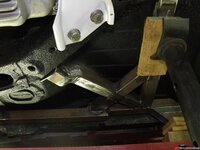
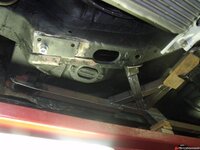
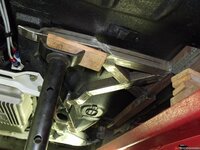
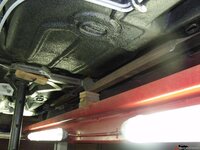
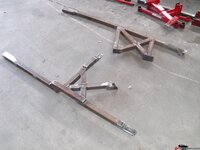
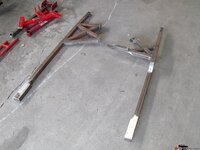
Decided to build my own SFCs since none of the ones you can buy will fit with my exhaust. Got one side done.

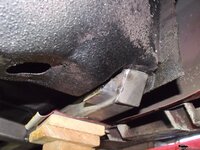
I made them so they tuck up as high as possible and welded little plates so I can weld the pinch weld area on them and have room for water to get out.

24e5fa9cab1a91.jpg

24e5fa9ca0edc0.jpg

24e5fa9c95a945.jpg

24e5fa9c8a8acf.jpg

24e5fa9c7f1b1f.jpg

24e5fa9c741ecc.jpg

24e5fa9c68ed8d.jpg

24e5fa9c4e687e.jpg

Added more bracing I later also added a bar to the rear of the X but didn't take a pic of that and the partially done pass side

24e60f632881f1.jpg

24e60f6334c95a.jpg

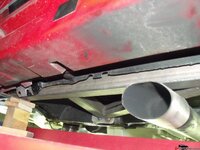
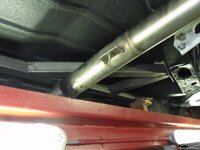
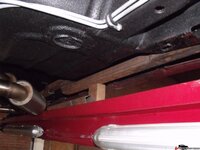
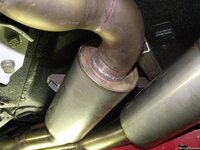
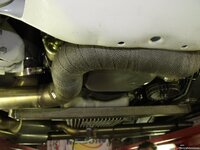
Here's the one side completed (not final welded) and the start of the other side + a pic to show I can just cram a tube above the mufflers. The bare steel in the background is the SFC

24e63c7c7b7a59.jpg

24e63c7c881b1e.jpg

24e63c7c933d07.jpg

One completed:

24e65125830382.jpg

24e651258e3a68.jpg

24e651259982e7.jpg

The other, much more tricky side

24e65125a51206.jpg

Almost done with the 2nd tube, needs a little corneresd Z piece to make it to the subframe

24e65125b09516.jpg

Apart from final welding some sections and putting some end caps on open tubes I'm dont with the other side as well. It was a lot more work but I think they turned out OK

24e663ef3c220e.jpg

24e663ef482689.jpg

24e663ef53dc1a.jpg

24e663ef5ea573.jpg

24e663ef6a20d6.jpg

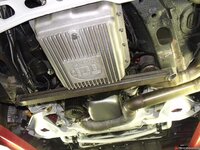
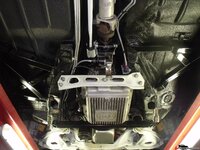
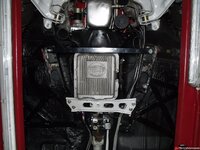
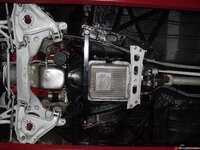
Also finished the stiffening bar between the 2 subframes, it doubles as a crash protection for the tranny pan. It's pretty low but not lower than the exhaust

24e663ef75cb14.jpg

24e663ef80c826.jpg

All done, stuff is @ the powdercoater now.

24e676a68acfcf.jpg

24e676a696fb1d.jpg

Done, waiting on a fresh batch of bedliner to redo/touch up the areas I sanded down nd a scratched area from when the car hung on my 4 post drive ramp extensions

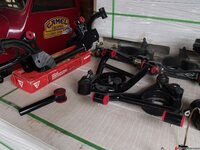
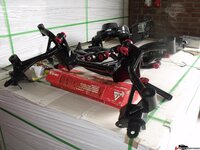
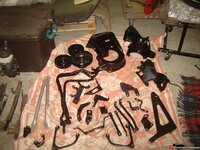
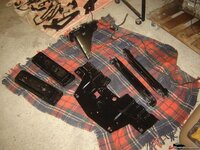
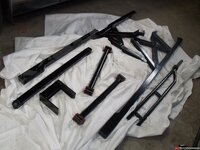
stuff from the coater (everything except the SFCs is for my trans am)

24e752b7b47203.jpg

24e752b7cb81a9.jpg

24e752b7d6e5f8.jpg

24e752b7e38219.jpg

24e752b7ee18b4.jpg
 
I'll eventually get back to the Vette, it's just a lot of work still and this thing actually drives.

I also have to finish the 82 Trans Am (Jeff's old car) and then I'm all out of other projects so I can get back to the Vette. It's sitting in the far corner of the shop, indeed collecting dust. It's not like I have not been busy. Oh and Xander "borrowed" a lot of parts for his 77 from my car, so I'll have to get some new stuf here and there. The 77 is running good and is a lot o fun to drive hard. Summers are short here, winters are long...plenty of dark afternoons to tinker.

This is the progress on the TA (text copied of 3rd gen forum)

I did a little more, the car is completely stripped (chassis wise) and I started cleaning up some of the booboos on it. A poorly welded wiper motoor mount section that converts to a later model motor, very very badly done. Going to fully weld it, smooth it out and make sure it's not an eyesore. There's also a section of sheet metal cut and hammered away to ease removal of the tank. Hammered it back in shape as well as it would go, going to weld it up too. Last is a bracket for an external pump or filter, not sure...nothing was there, crappy welds like on the other areas. Flux core crap, no penetration, complete misses and holes blown in the sheetmetal. I ground it all off, as clean as I could and it's now ready to weld in. Easy enough to fix. Leaves the horrible fuel pump access panel, I'll tackle that later. PArts are at the blasters and coaters. Got some back but thinking about tubular arms since these were pitted and it shows (they're the old arms off my 87 camaro) oh and yes, the idiot powdercoater coated my flywheel which was only supposed to be blasted...nice!!!
24d322eabe381e.jpg

24d322eaea8ecb.jpg

24d322eb0e3875.jpg

24d322ea9b78c1.jpg

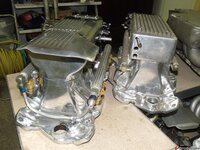
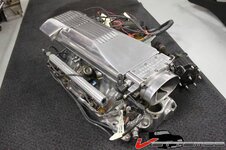
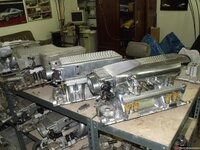
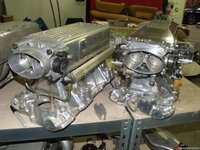
The container came in so I finally got some of the parts I was waiting on. Most importantly the Stret & Performance Multiport intake. I was amazed at how close it is in size and design to a HSR. The base manifold (hi-ram) is virtually identical apart from details but the same in port shape & size. The upper plenum is slightly larger and more profiled so it doesn't look like a square box on top and has a neat factory distributor cover. The TB is angled slightly down, I hope this is enough to make it fit under a power bulge hood, looks like it's going to be awful close.
24d3d4a4556d32.jpg

24d3d4a4003cc0.jpg

24d3d4a419d9b7.jpg

24d3d4a4340d7e.jpg

Well, did most of the necessary sheet metal work on it, welded up some holes, cut of some misc. crap someone welded on and cleaned up burn holes, sticking wire and blobs. Hammered the jack damage on the fenders back into shape and started cleaning the grime off. Also got most of my stuff back from the coaters. Missing the tank, heat shields, torque arm and crossmember as they were either too large or not ready yet.
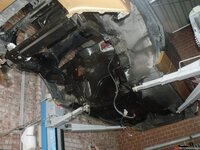
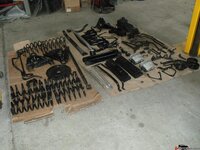
24d61663998361.jpg

24d61663c27ea6.jpg

Got my tank and some underbody heat shield back from the coater, this was the last stuff.....however I'm missing the large one under the tank. I hope he hasn't lost that one.
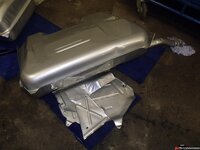
24d6d688c50eeb.jpg

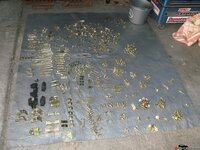
Got my bolts and stuff back from the platers. Now all that's left is to clean the underside and spray some bedliner ad I'll be ready to put this back together
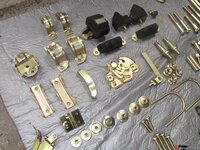
24d7288b0c3ed1.jpg

24d7288b658814.jpg

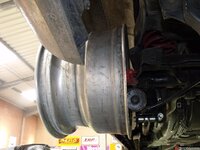
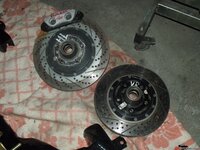
i got my hands on a set of barely used eradispeed plus 2 extreme brake rotors from a C5 corvette. The rears in that kit are actually larger than the fronts, about 14" and 1.1" wide. The fronts are even wider but about 13.35" I'm thinking about using the rears although it looks a little silly w/ the small swept area and the baer calipers. May need some bigger brembos but then I'd probably use them on the thicker fronts
24d87d8662afc9.jpg

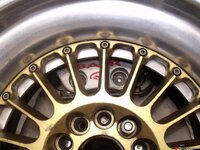
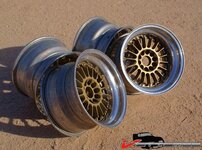
Since those brakes will never fit the stock wheels I've been looking for some nice wheels, with a gold center that are larger and wider than stock. I've been looking high and low for BBS wheels, Elipse wheels...didn't find anything that wasn't either 15" or too narrow, the wrong bolt pattern or too modern. Then I found these on ebay, jongbloed modular wheels 17x11 and 17x12 according to the seller but he probably measured the outsire lip to lip. Willing to bet they're 10.5 & 11.5 more likely. Right up my alley so right now they will be shipped to me via container so it's going to take a little while. Can't wait to get these. Probably will have to do some mods to fit them. The guy says they came off an 3rd gen Z28 track car.
24d992449704d4.jpg

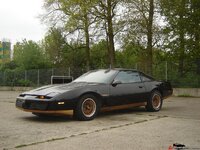
just like stock :) I like it that they resemble the multi spoke stock wheels a bit
24bef38ce15ba0.jpg

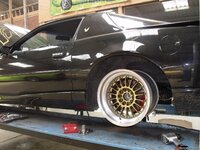
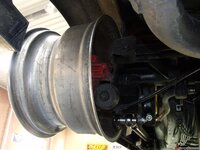
Got the wheels in, looks like it's a very close fit. they're 17x10 & 17x11. I may have to convert the 17x11 to 17x9 or something like that and use the 10s on the rear.

Crappy phone pics
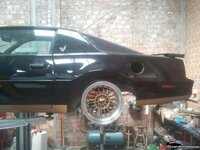
24dd98760dbff5.jpg

24dd987619f5bd.jpg

24dd98762a91db.jpg

Cleaned up the underside some more. Still amazed at how clean this car is
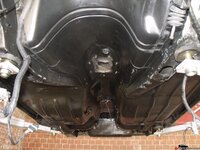
24de2cc264cc47.jpg

24de2cc1fd093d.jpg

24de2cc2162b89.jpg

24de2cc234f324.jpg

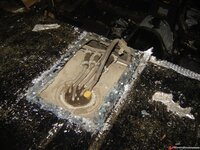
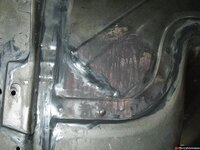
I did find some more nasty however, this is the inside lip of where the tank filler neck goes through. I already fixed the outside, then just now noticed the inside was cut and the flaps hammered down. I already hammered them back into shape, only need to weld it up and weld the other side too, you can see where I already tacked those together in the upper part of the pic
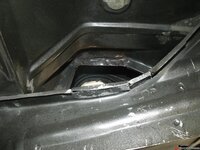
24de2cc24c1f2f.jpg

If the person who did that hadn't touched this car it would have been immaculate.

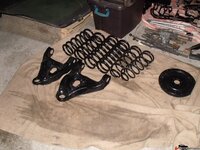
Well, I finally finished repairing the cuts and hammered over sections under the car and redid all the seams...and I got some vogtland dropsprings for it. Hope they drop better than the Eibachs on my camaro. I used a set of these vogtland on 2 4th gens and was impressed
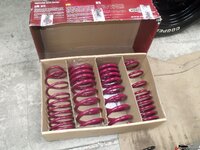
24e0f5d7cc0b07.jpg

24e0f5d7d80b34.jpg

24e0f5d7e338c2.jpg

24e0f5d7ee19ce.jpg

24e0f5d7f93ba4.jpg

24e0f5d804a011.jpg

24e0f5d80eaa61.jpg

Now for some bedliner and the underside will be ready to receive all the powdercoated bits

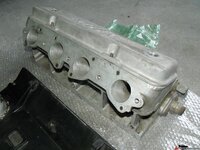
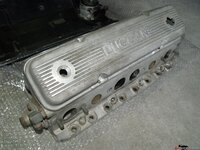
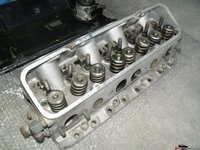
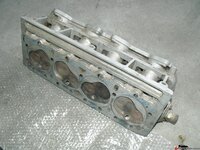
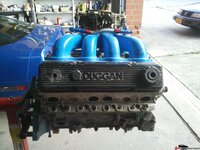
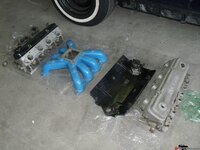
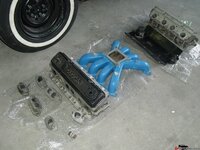
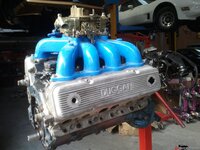
Finally got the duggan heads in. These are gonna be saweeeet!!

These made stupid horsepower on high winding small engines, a guy w/ a drag boat made some 550hp on a 327 and another guy made above 735 with a 400 CID
24e1b59c7553b7.jpg

24e1b59c8203c6.jpg

24e1b59c8cba06.jpg

24e1b59c981dc3.jpg

24e1b59ca406cd.jpg

24e1b59caed015.jpg

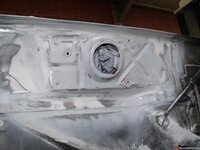
Slowly getting more done. Finished cleaning up the wiper motor hack job, only needs a final light sanding to smooth it all in perfectly.
24e234b1fe0312.jpg

Then went to work w/ the wheels. Determining if they even fit, so I tried them on the 92 GTA.

It's smooth with the fender, a little ******* but it'll have to do
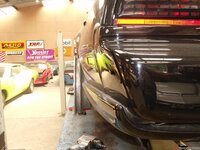
24e234b84e8192.jpg

24e234b1b0b684.jpg

I should be able to fit 13" rear brakes in there
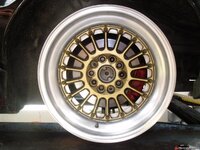
24e234b1dd4c06.jpg

Plenty room on the inside

24e234b1c74590.jpg

24e234b1d2910b.jpg

13" fronts fit too.....pfew!! Just not with larger calipers
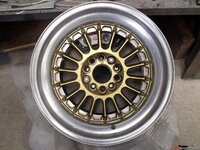
24e234b1e8798d.jpg

24e234b1f3a322.jpg

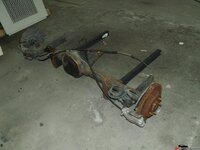
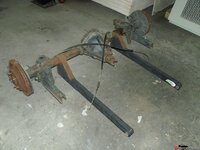
I also scored a 9 bolt posi 3.48 axle for the TA, only it's equipped w/ SSM lift bars that I'll have to cut off. With them on there's no space for a sway bar and I'm not a drag racer, I want it to corner. The thing is in the way of a watts linkage so I was thinking about maybe building something custom like a wishbone or triangulated 4 link typ deal but w/ a torque arm and no 4 forward links, just 2 arms. Will have to model it up and see if it works. The triangulated arms or wishbone could be attached to the cut off part of the SSM bars

Here's the 9 bolt I got, pretty clean, alu calipers (will swap for larger discs and the necessary brackets) and will have to cut off the SSM lift bars. I may use what's left of the weldd on sections to convert to a triangulated or wishbone type axle locator instead of a panhard bar.

I'm going to redo the axle, install studs on the caps and a girdle cover like I did on my red camaro. The axle will be powdercoated. I'm also going to shim & tune the posi.
24e2eb63234bc7.jpg

24e2eb632e6f43.jpg

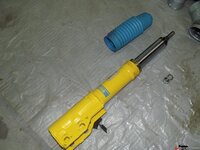
Also got some bilstein HD shocks for it. They are not as stiff as the adjustable yellow konis on my red camaro. Not as stiff by a long shot. I hope they will be able to control some very stiff springs. I'm not going to use the lowering springs, I'm going with a ground control weight jacker setup and 5" springs
Th Bilsteins do have a very very thick shaft, at least double the thickness of the konis and the stockers.
24e2eb633a6f90.jpg

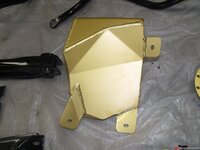
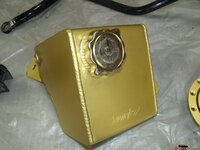
Got my stuff back from the anodizer, it was kind of a test to see if it would turn out nice, I think it did.

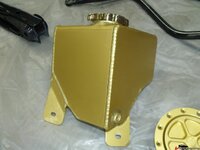
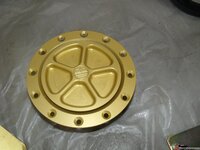
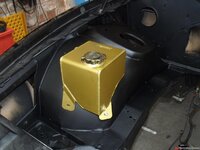
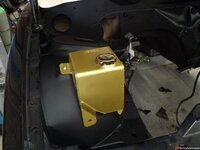
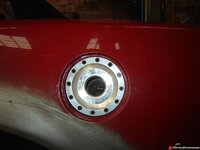
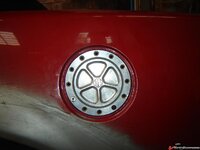
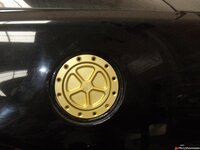
The tank is a canton coolant reservoir, the other thing is a fuel filler cap. Both are done in matte gold and I think it looks awesome. I'm going to have more stuff done this way, specifically aluminum parts in the engine bay. I also added a pic of how the filler wil sit, that was on my red camaro but not using it on that one. Figured it'd look more "hardcore" on the TA
24e2ef0d3b766b.jpg

24e2ef0d47153b.jpg

24e2ef0d5243f1.jpg

24e2ef0d5ce09f.jpg

All it takes to mount is a custom ring w threads and 3 tabs to screw it in the original position. Also have to cut a section off the tank filler neck. Not an ussue.
24ca9666f83413.jpg

24ca96670a08df.jpg

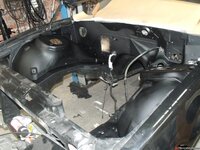
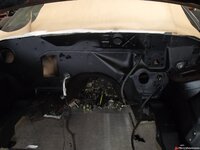
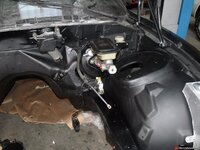
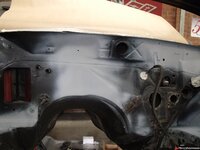
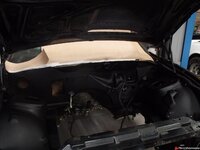
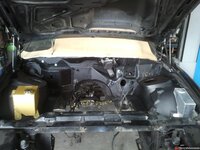
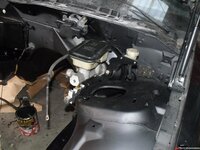
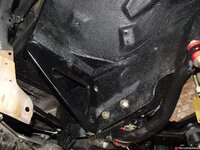
Finished fixing the wiper motor area and resealing everything on the firewall and in the engine bay Removed some minor surface rust under the old paint and painted it all flat black. Finally I can start to put some stuff back in there. The underside that hasn't been painted will be done with bedliner like I did on the camaro It's the most durable solution for that.
24e345bf59b64a.jpg

24e345bf4ec041.jpg

24e345bf4418e3.jpg

24e345bf38ad0d.jpg

24e345bf1d833a.jpg

This is what the gas cap is going to look like. Still have to fab the adapter ring and get some black anodized fasteners
24e35b131185cc.jpg

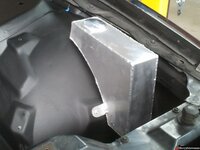
Canton reservoir mountd

24e35b131c767f.jpg

24e35b1327a456.jpg

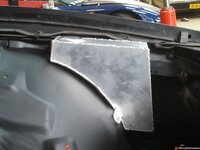
Fabbed a washer tank for it, just like on the camaro. no canton or similar quality welds but it'll do. It will be anodized gold too but Ill bring a whole batch in to do at once so I end up with the same color (and hopefully a better price because it cost 100$ to do 1 reservoir and 1 fuel filler cap)
24e3eeae5bfd0a.jpg

24e3eeae67a3a3.jpg

24e3eeae722d44.jpg

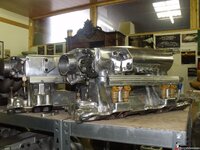
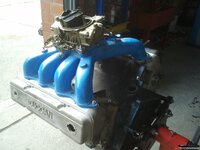
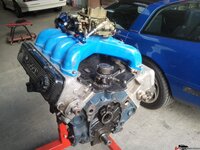
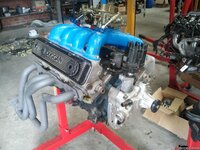
Decided to mock up the duggan heads. Something makes me think I'll have to spring for some IDA48s or IDA pattern EFI because this spider intake isn't going to clear man it's fricken tall.
24e3eeae7bd1bb.jpg

24e3eeae8699af.jpg

24e3eeae914e1c.jpg

24e3eeae9b54ae.jpg

24e3eeaea6479c.jpg

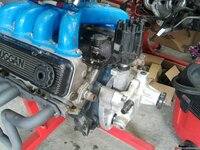
Going to be running a front drive dizzy too, it'll be hard to spot what this engine is once installed w IDA48 webers so it fits under the hood
24e4986364879e.jpg

24e4986376aa3a.jpg

24e4986381f75b.jpg

24e498638c578a.jpg

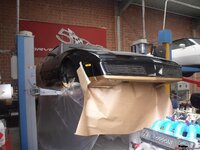
Decided to spray bedliner today, had to build a "tent" so the stuff would not overspray on tools and other cars
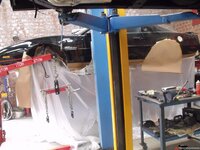
24e52f2c3ad7f6.jpg

24e52f2c4731e2.jpg

Everything taped off, engine bay too. Taped the sides so the pinch welds would get coated too, with the seam on the vottom acting as the cut off line
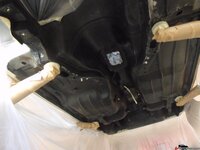
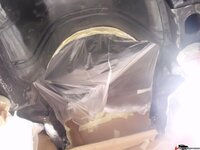
24e52f2c52b143.jpg

24e52f2c5d8e35.jpg

Well, turned out I didn't have enough of the stuff left. Have to order some new now :(

24e52f2c68c35a.jpg

24e52f2c740054.jpg

Some more progress, instaled some parts like the hood latch, front panel, fender supports, wiper motor, booster & MC, clutch cylinders and an aluminium prop valve to replace the ugly cast iron one.
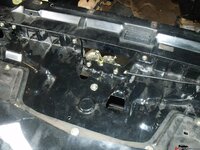
24e5a63c9ad538.jpg

24e5a63ca63198.jpg

24e5a63cb20a9e.jpg

24e5a63cbcd437.jpg

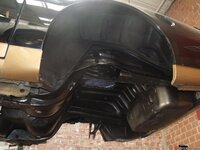
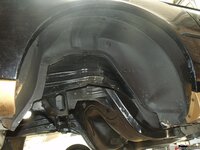
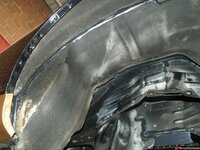
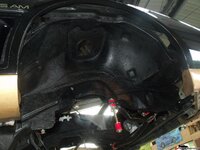
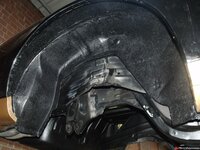
Still need to spray the rear frame and above the tank w/ bedliner. Finished the wheel wells
24e5a63c84ebb0.jpg

24e5a63c78d66a.jpg

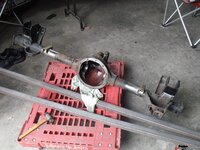
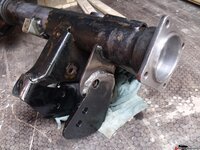
Cut the ssm lift bars off the 9 bolt and welded on bolt in LCARBs, figured the bolt ons would be easier that the weld ons like i did on my camaro, no need to measure all it out to get them on correct (axle off car, more problematic) but next time I'll get some weld ons again. These don't fit 100% right, I want the bolt holes to line up perfectly. Like the weld ons the holes are oversize to give you some room to play around with but I hate it if they are not centered properly. These required hammering to get them on flush and the shock bracket is a little too long, it stands off the axle too far.

Also welded the sway bar brackets on so I don't have to use the U straps. The axle was missing the locator flat on one side so no other choice.
24e5fa9cb686ad.jpg

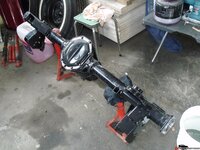
Finished welding the axle and started bolting stuff back on. Good to see it coming together again. I'm going to drop the axle and some other stuff I have off at the powdercoater soon. Also still waiting on my BMR arms and K member
24e63c7cc1b9cb.jpg

24e63c7c9d5e6a.jpg

24e63c7ca93fa2.jpg

24e63c7cb60b7a.jpg

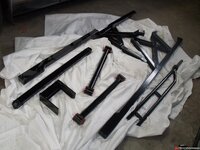
Got the stuff back from the coater and my subframe & arms came in
24e752b7c06a38.jpg

24e752b7a93ce8.jpg

24e752b79c80f2.jpg

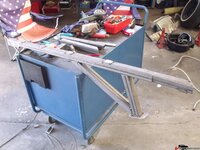
some misc. parts including the SFCs for my Camaro
24e752b7b47203.jpg

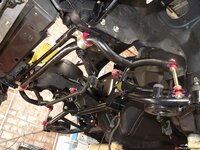
The crossmember needs a little wresting to get all the bolts started. I also don't have the upper spring mounts and it looks like without it you need spacers to make up for the difference. I want to use weight jackers and am contemplating building something from scratch
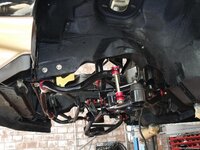
24e762f0783713.jpg

24e762f08475f7.jpg

24e762f0908a21.jpg
 
Top