Plastic Fantastic 2

VetteMod - Corvette Restoration, Modding & Performance Forum

Help Support VetteMod Forum:

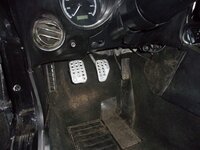
Yeah, what is the deal with the pedals? I bent the accelerator pedal rod to get it away from the carpet and made a new bumper to get the clutch and brake at the same distance from the floor. Just a little more space between the pedals would be really good.
 
Yeah, what is the deal with the pedals? I bent the accelerator pedal rod to get it away from the carpet and made a new bumper to get the clutch and brake at the same distance from the floor. Just a little more space between the pedals would be really good.
probably another casualty of the bean counters. They use pedals that are the same size and shape as A-body pedals but in 1/3rd the space... I realize I didn't take an after picture (or the camera just didn't save it) - I cut the pedals so I could get the pads as far left as possible - gained at least 1/2" of space, which with racing shoes is quite a bit. That's also another thing - the headlight dimmer switch. My 76, it's on the floor, my 75 was on the column. Next car gets the dimmer on the column (if it isn't already there) because there is plenty of space - even for a dead pedal without the high beam switch....
 
final picture of brake/clutch pedal install
zQLYUROh.jpg
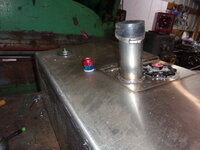
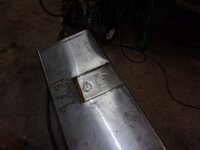
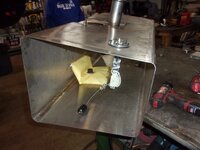
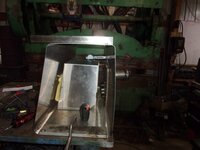
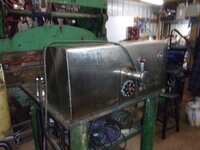
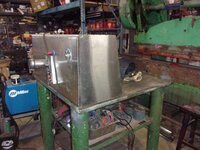
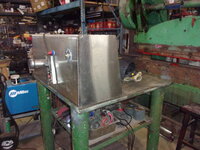
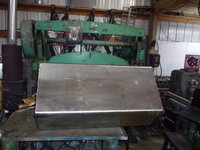
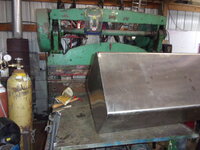
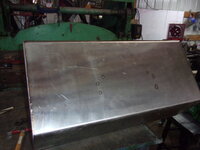
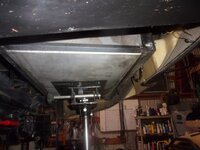
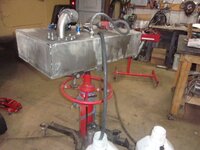
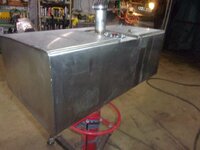
onto the tank - experience has taught me that head space is helpful in tank design
i3KhbVh.jpg
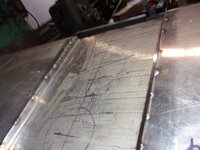
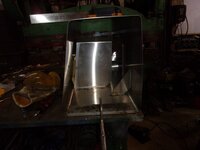
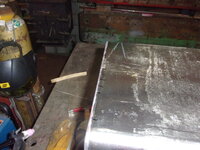
tack tack tack
oTlpvFvh.jpg

an hour here and there and it will be done
 
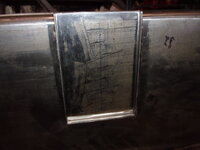
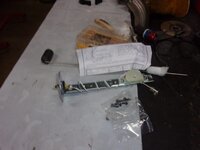
fuel level
JC0AACzh.jpg
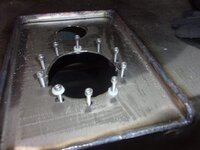
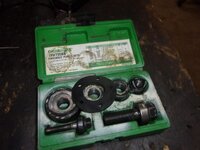
I'm fairly sure these are older then me but still work fantastic on 16 ga stainless
RZJtfCjh.jpg
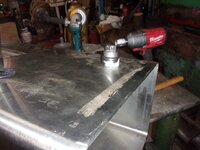
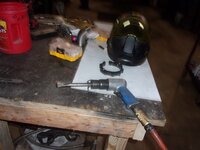
that is not an impact driver and I wouldn't dream of using it with my punches
NtY6zgoh.jpg
installed
3YvA8plh.jpg
weird, magnets stick to stainless
3YvA8plh.jpg
yet somehow they didn't before
3YvA8plh.jpg
OBX welded the inserts in place.... ugh
ox2y0wdh.jpg
NO
zNjoHPAh.jpg

I think round one will still be bolt the cones in place and hope it drops the dbs enough. I'm going to autox at PIR before Optima - if it works, great, if not, they toss me and I figure something out in the 6 or so weeks between that event and primetime
 
As an Amazon Associate we earn from qualifying purchases. Product prices and availability are accurate as of the date/time indicated and are subject to change.
Thanks.... I see places that PF3 will be even better... but I'm quite proud of PF2.
So this, I think, is going to work
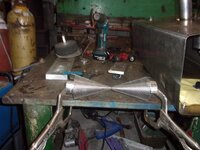
upV3Zvih.jpg
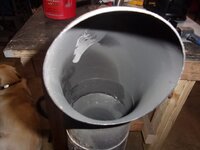
reminder, 109 db, need 103... what it does is take the sharp out of the top.... dyno soon, so we'll see how it plays there... truth is the sidepipe headers do about everythng wrong - so a future thing will be new headers into the sidepipes... but that truly is a next winter deal
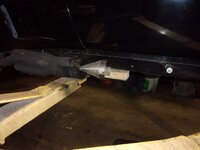
S8AsuORh.jpg
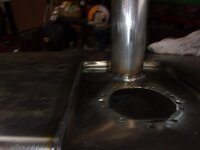
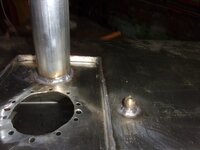
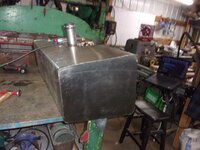
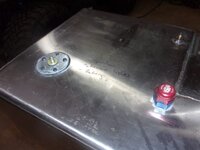
next - tank vent installed
Gjwtk9v.jpg
got the parts to connect the hydramat to the Aeromotive A1000 pump
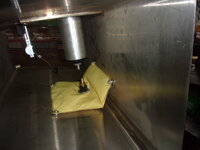
tVcFJ9c.jpg
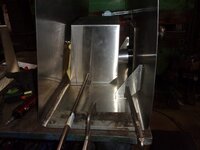
you cannot baffle a tank too much. Can not. in this case, there will be trimming and fabbing but this is part one of at least 2 parts
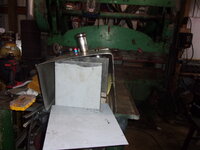
TfhU1bb.jpg
next it gets trimmed, then piano hinges on the bottom to seal.
Once that's done, it will get more side to side baffling

hopefully Sunday I'll be pressure testing...

 
Your noise reduction approach is showing the way for my header build. Thanks for documenting.
It will be nice to have the dyno comparison too. Important to know the "costs" of freedom.
Remember: Jet Noise - The Sound of Freedom!

Cheers Jim
 
Your noise reduction approach is showing the way for my header build. Thanks for documenting.
It will be nice to have the dyno comparison too. Important to know the "costs" of freedom.
Remember: Jet Noise - The Sound of Freedom!

Cheers Jim
the proof will be on the dyno.... it is remarkable how much it seems to have helped, but the dyno will tell us whether or not the theory that we talked about before holds water....
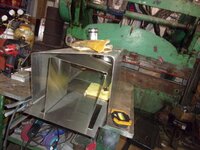
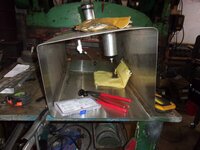
 
yeah... not. We're likely moving, so most of the time this weekend was that. Probably Idaho. I'm from there and there isn't a day I don't miss it..... backstory is I came to the Puget sound to go to school and accidently stayed - two failed attempts to leave - but likely going to happen before the end of summer..... but still, racing is going to happen and I did get some work done on that front.
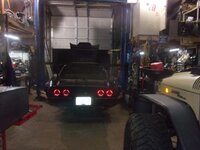
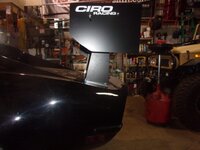
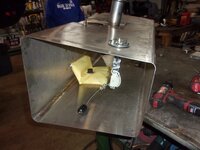
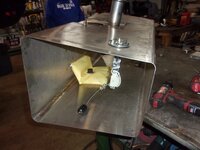
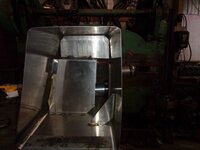
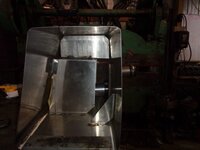
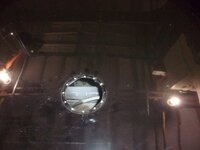
inside view
tVcFJ9ch.jpg
baffle 1
TfhU1bbh.jpg
LpLKTI4h.jpg
l4KxoxEh.jpg
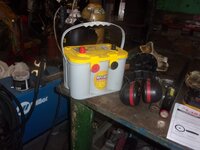
in other news, old tank has to come out (and brace for the wing, and new battery box for optima battery...
TfhU1bbh.jpg
I remember this view
REi6dKMh.jpg
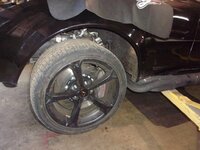
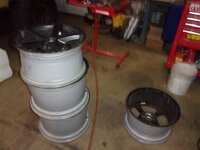
also going to powder coat the wheels.... I can't force myself to spend 5k on schnazzy wheels that may or may not be as good as GM wheels
YWdHHMoh.jpg
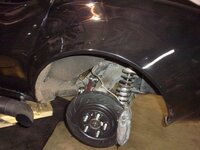
and a clear view of the suspension (lordy, cameras)
DM6gIC7h.jpg
had to take a picture of my stock, GM mounts ;)
aoX7IuNh.jpg
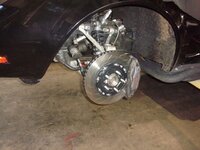
front is as stock as the rear
A2bb76kh.jpg
oh and dbs.... 106 now (down from 109).... not 103 like I need.... I may put a baffle on the tip or just pray the db sensor at PIR (50 feet off the ground and 50 feet from the track) reads low... part of me says 'just go to SLC' - after all, it will be about the same distance from my new home as PDX.... never imagined when I decided to go racing that this would be a big issue...
 
I was in Idaho many years ago. It's beautiful. Good choice.
heh, this is pretty much on my parent's.... I wasn't consulted. This time, I took my wife to Idaho - and now she wants to move there.... not that I'm in any way against it, but, as before, I claim passenger status.... plus, I'm beyond tired of Sodom on the Sound.
 
time to install the baffles
ofY6HTAh.jpg
welded
Ny6MtM2h.jpg
braces... if you don't brace the tank (or don't brace it enough) eventually it will leak due to fatigue cracking
FAPTobCh.jpg
because I'm using hydramat, baffles have to account for that - more directly, no sump but side to side motion needs to be minimized
doaXfyRh.jpg
welded in place. tomorrow sealant and end caps
doaXfyRh.jpg
got the wheels stripped today - off to powder coating tomorrow (I hope)
Sm4Sh02h.jpg
 
onward
7e7tyLt.jpg
welded 1/2 last night, other half tonight - and did it over a couple hours so I didn't get warping
qJDhfrb.jpg
MyHOe8s.jpg
pretty welds leak. My goal here was full penetration - thus the weld has some grey in it - key here is the HAZ is even (heat affected zone)
cwl0fit.jpg
and all those black marks are holes - to check for leaks - I look for holes or HAZ changes
2X6ELHe.jpg
for whatever reason, this side didn't have any
P6ZZ8XY.jpg
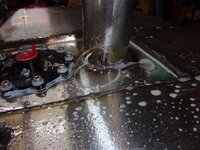
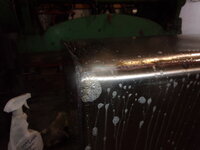
then I put 7 or 8 psi in the tank, spray soapy water on the seams and blow bubbles
FEIAqtA.jpg
hmmm more bubbles
ZNE4PDY.jpg
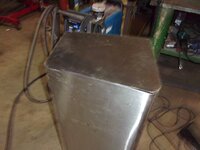
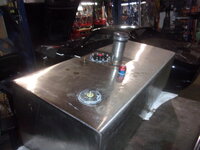
leaks fixed, clean up the tank.... next up, removal of the old tank eventually this will have tabs on the bottom so I can attach a defuser and also attach the rear panel to it
rQ3DITA.jpg
 
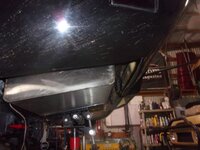
time to test fit
FE8HcRih.jpg
old tank
NgnVIYYh.jpg
and out
GB7p1PNh.jpg
get the fuel out... was joking with my dad that between the fuel in the tank and the nickel in the tank I should be concerned they'll both disappear
7Y8ye4Yh.jpg
now you can see what the plan was
8FYiGFBh.jpg
even got pretty close lining up the fill spout - the plan all along was an offset then straight into a coupling and the filler
WNei2Z0h.jpg

I bet CF is celebrating that this content isn't on their site....
 
tonight started mapping how I'm going to accomplish the tasks
BsgRRWbh.jpg
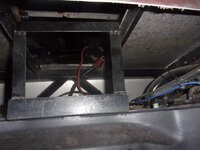
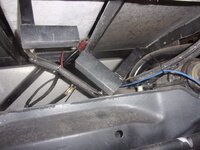
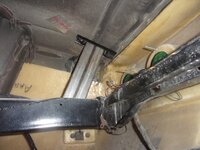
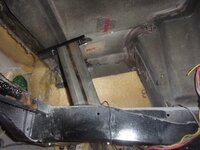
was kind of hoping there would be some 'dos' and 'dont's' from the seller... guess not - this needs to attach to the deck and be supported underneath to the frame
tiCL3mBh.jpg
here
Vxc8Uzlh.jpg
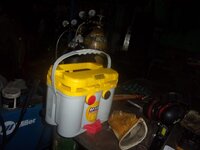
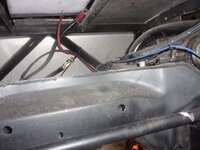
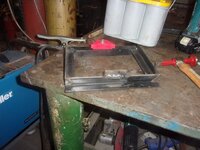
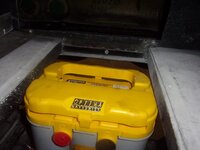
the optima battery is 1" wider... so new battery box coming
CHyg9Nfh.jpg
dSbdWw2h.jpg
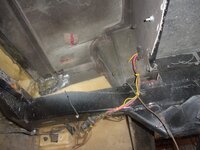
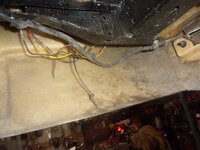
part of tonight was a failed attempt to figure out whether the wire with a knot or the brown wire were the reverse light wires... I have a schematic - but who knows where
jms18vah.jpg

tomorrow I will spend some time on this but most of the day will be spent looking for used parts that I don't need....
 
On your stainless welding are you back flowing argon or using paste? Also, mig or tig? Looks good.

With wings aren’t most people cutting through the body and connecting right to the frame, either through the deck or rear valence? Then adding a grommet? CF might have good info. Interested to hear about driving improvements with wing.
 
On your stainless welding are you back flowing argon or using paste? Also, mig or tig? Looks good.

With wings aren’t most people cutting through the body and connecting right to the frame, either through the deck or rear valence? Then adding a grommet? CF might have good info. Interested to hear about driving improvements with wing.
Stainless, no purge. I only purge where the stainless is going to heat cycle. That said, I'm beyond zealous about clean surfaces.

I'm sure somewhere in that cesspool is good information - but it would take less time to make all the mistakes and fix them then it would to deep dive there. Did I ever mention that there the highest concentration of people who'd get a punch in the nose in real life there then anywhere else... heck, even Pirate 4x4 is better then them....

my tentative thought is a brace to the bar which runs behind where the bumper cover would have mounted- then forward, that has to be the strongest area. basically, I'll run the upper brackets into that.... but we will see, that is next on my list for today
 
In your processing your wing support - don't forget (discount) wire and turnbuckles. These can be "weight effective," out of sight, add rigidity, and "tweak-able."
 
....I'm sure somewhere in that cesspool is good information - but it would take less time to make all the mistakes and fix them then it would to deep dive there. Did I ever mention that there the highest concentration of people who'd get a punch in the nose in real life there then anywhere else... heck, even Pirate 4x4 is better then them....
i dont know...the HAMB has to be really close to the highest concentration too
 
Battery, cont.
oC3J7e5h.jpg
it's like 1" wider... so a new tray is in order
U94lcNrh.jpg
and off
B9KZcpQh.jpg
new tray
U7TuyfXh.jpg
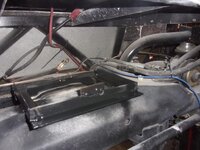
and installed and painted
EKdArqGh.jpg
at the swap meet today, I took a chance on several of these...
holFfjoh.jpg
makes getting the burn off a lot easier
XZW62Yhh.jpg
and reverse light....
dP83W0dh.jpg
 
In your processing your wing support - don't forget (discount) wire and turnbuckles. These can be "weight effective," out of sight, add rigidity, and "tweak-able."
would you mind giving a primer on that subject.... I was wondering about the side-to-side rigidity with this design - but I'm sailing in uncharted waters....
 
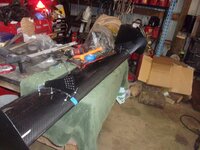
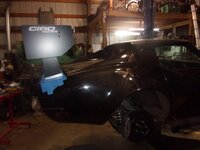
time to give it wings.. or a wing
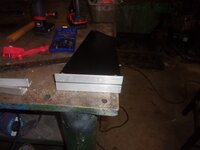
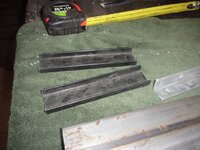
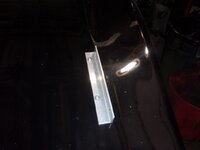
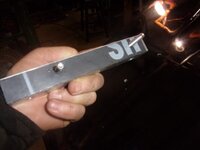
aluminum angle
DUsxZqXh.jpg
some solid eyeball calibrating followed by serious staring
MBVBPYdh.jpg
kyfMqDEh.jpg
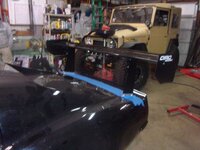
wing held on by hopes and prayers with an assist by gravity
akUVqnIh.jpg
54QSnI3h.jpg
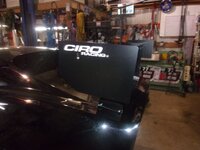
it's about here I'm considering whether or not I like the stands.... they need to parallel something, e.g. the rear valence and let me be SUPER clear, I approved the design. CIRO did what I asked them to do...
tCPvzMwh.jpg
my brave act of the night
VWZSXgwh.jpg
now in place
T1VDLOBh.jpg
tFoP5ybh.jpg
thankfully, I have a plasma table... basically the wing will end above the end of the deck - so it will move horizontally.... no big deal
JmHokFxh.jpg
love it
uN5sf2ah.jpg
1zleGYsh.jpg
a good view - the stands will mirror the rear angle - also, I have to build an 8" version for Optima.
yv7WtDnh.jpg
paint is dry so I can finish this as well
WKsUKmZh.jpg
 
Personally, I favor the look of matching the B Pillar with the leading edge of the struts. When you fab the shorter Optima struts, maybe match both when you make the "cut."
The lower edge of the end plate looks nearly aligned (parallel) with the flying buttress trailing edge.
Just guessing here, the strut looks like it has the wing about 12-14 inches off the deck?
And the chord of the wing maybe, 10-12 inches?
When you get the diffuser in the mix - you'll probably want to add some front aero, and be happy for the HP you have available too.

Looks nice.

Cheers - Jim
 
onward with fastening
xHBofmCh.jpg
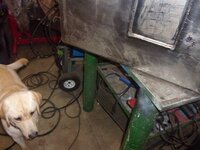
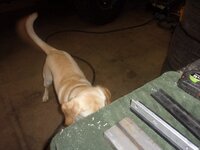
Luigi is checking out the progress too
tvWRhJfd.jpg

notice the tail blur? he is one active dog (love it)
8GP7dVKh.jpg
bolted down
RN79pFCh.jpg
with pads to pretend we're saving the paint
qdyPR6ah.jpg
and tied to the frame
JsR4cNUh.jpg
tomorrow weld
zpS220Zh.jpg
 
Back
Top