Plastic Fantastic 2

VetteMod - Corvette Restoration, Modding & Performance Forum

Help Support VetteMod Forum:

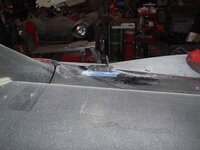
multi-tasking today... Corvette got latches
tcz8XXa.jpg
uI48UaW.jpg
LJlV0lx.jpg
6fPhJgU.jpg
jsNOMMs.jpg

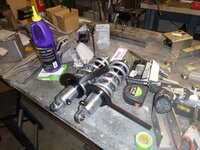
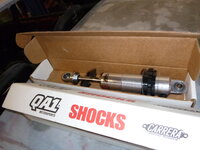
shocks came last week, waiting on the springs.edited PF1 had 450 lb springs, these will be 550
qcTAUz2.jpg

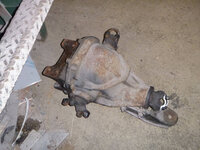
this is going away - it's funny, I spent a great deal of time trying to find this gear set (3.36s), now I've no need for it
UTjWxgt.jpg

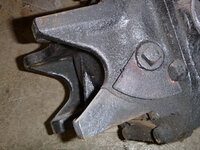
this is what happens when you don't tighten the spring correctly
HfjjiM3.jpg
 
very nice....so the broken tab doesn't really matter anymore?

to whomever buys it, I'm sure it does.... I'm still working on the why-not-just make my own control arms.... I swear it's not going to happen (which pretty much guarantees it will) pull the body off the frame. it would make it a lot easier to simply make a new cradle, put the wheel face where I want it, solve the offset differential issue.... to that end, I'm likely buying some .120 wall 1" tube next week.

I've been messing with that suspension program that someone on here suggested - in my playing, I really like long arms because it keeps the tires more perpendicular to the road through suspension travel - not to mention less movement means less trouble controlling rebound (since everything stays close to the frame)... might end up being a bust, but it keeps me out of bars and I learn stuff - picture having indy-car-length control arms....
 
well the guy i bought the z06 sway bars has both the front and rear cradles and control arms for sale over on the corvette forum from a donor z06 that was not crashed......


theres a start if you dont want to make your own.
 
and now I am proud owner of 2 sets of the world's ugliest wheels.editededited
Wa0Mie3.jpg

but these are the right bolt pattern and clear the rotors (but not the calipers).
 
As an Amazon Associate we earn from qualifying purchases. Product prices and availability are accurate as of the date/time indicated and are subject to change.
I got distracted
OvXdvDx.jpg
sorry :D

I'm starting back on this, slowly... but the first is I need my lathe to be working
7f9n3HZ.jpg
fulK5TE.jpg
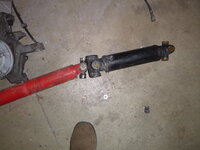
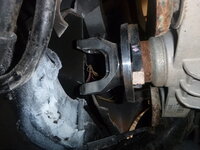
now the explanation.edited I have that really pretty adapter that only requires a shorter driveshaft and cutting the main cross to fit the 1350 u-joint.edited
the alternative is using an aluminum puck to adapt the Spicer bit you see on the black driveshaft to the 3 bolt differential.edited Problem is it's still a 1350 joint for the over-the-counter adapters (not to mention $200)... so I'm going to use a outer adapter from the other suspension to make an adapter.... which requires some lathe work (and maybe mill work - which would mean going to see a friend about doing both on his lathe and mill)

However, I also have a lathe that 'just' needs to be wired
Cq0KHSf.jpg
c0Ce9Cu.jpg
9LSQUFe.jpg
ObeKNFI.jpg

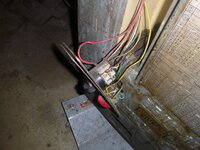
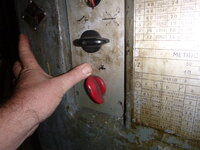
I think I'm going to rewire this completely and bring it into at least the later part of the 20th century
 
seems I forgot to mention the lathe.

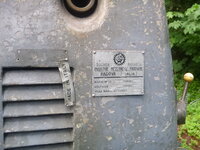
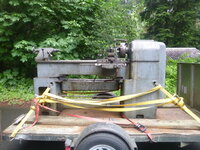
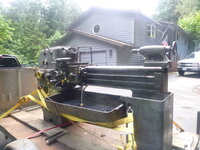
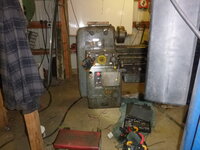
I bought a Siamp lathe. Siamp is still in business-ish, this model is early 60s. It has power feed in both directions, water cooling, 14x42, gap bed, 2" through spindle, it also does metric, SAE, and whitworth (which I had no idea was a thing until I bought the lathe).

I paid $400 for it.

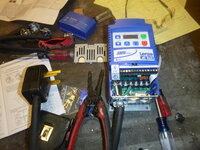
so plans are underway - to get the 3 phase into single phase by using a VFD. If you don't know what they are.... here's a bit of a primer - the short is they can fake the 3rd leg for 3 phase and allow you to run 3 phase on single phase power. but wait, there's more (in my best Billy Mays voice), because you now have control of the frequency, you can speed or slow the motor quite a bit with a simple dial knob, you can also program an emergency stop that uses the motor to stop the spindle, it also can reverse in 1/4 turn of the spindle.... I've seen this work and I like it so much that I'm going to change my press brake motor back to 3 phase then control it with a VFD.... so pictures

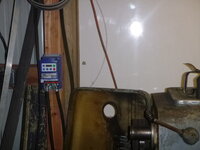
the controller on the wall
rdrLPzh.jpg

KrqeKbW.jpg
CpO8uDd.jpg
y7wRkwb.jpg
 
Last edited:
very nice..i run into whitworth stuff all the time on the British sports cars....right up to about the mid 60s.....mostly left over brake parts and unions on the 60s cars. pretty standard on the early 50s british cars and before. And slowly phased out in the late 50s. you never know what you are going to find on old British cars.
 
very nice..i run into whitworth stuff all the time on the British sports cars....right up to about the mid 60s.....mostly left over brake parts and unions on the 60s cars. pretty standard on the early 50s british cars and before. And slowly phased out in the late 50s. you never know what you are going to find on old British cars.

working wiring? no rust? :D
 
very nice..i run into whitworth stuff all the time on the British sports cars....right up to about the mid 60s.....mostly left over brake parts and unions on the 60s cars. pretty standard on the early 50s british cars and before. And slowly phased out in the late 50s. you never know what you are going to find on old British cars.

working wiring? no rust? :D

Wiring?? working?? NO, prince of darkness said so......
 
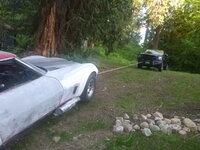
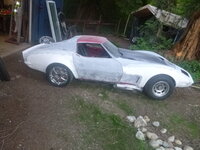
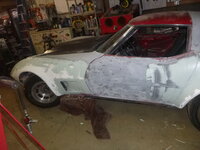
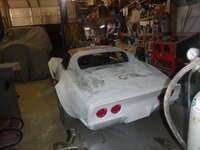
So I had some time to fill tonight,so I worked on the Corvette
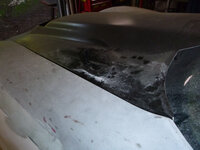
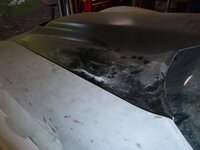
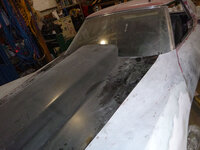
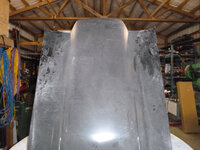
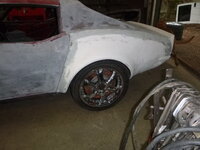
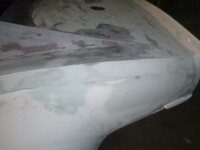
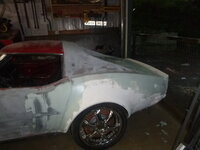
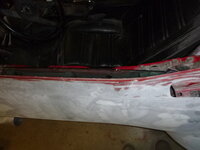
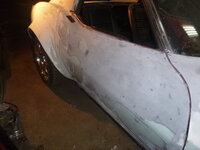
so I threw on some filler
M09XxHh.jpg
I don't know how there managed to be a low spot here, but alas a bit of fill and all is good
yvflWbm.jpg

it's important to note that when you fill over the door seam; you should not get too distracted otherwise problems may occur
zuHwyol.jpg

and yes, I did cut it open in time on this side.... the otherside I was a bit late.

the distraction
yrBxEQ8.jpg
powered up but I think the motor is wired for 480 and the controller is for a lower voltage - pros will answer this question tomorrow
 
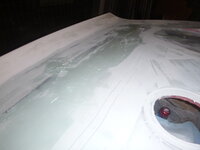
I'm so used to winter mixes that I wasted about half a sheet of filler.... whoops
20ob5Im.jpg

but got a few more spots done... I can really start roughing it in this week then start with the high build coats and guide coats...
9ceSXYc.jpg

again, this is filler work but every minute I spend on it is one minute less to completion...edited

and for those wondering why I'm working on the back not the front.... to get the edge, I moved the door back then when the gap follows the door seam, I'll move the door forward and have perfect gaps front and rear.... at least that's the pleasant theory I'm selling myself
 
sanded on it a bit more, I need to order some high-build primeredited
vF5DWbo.jpg

I also need to finalize the door edges and for that I may have to get clever.... tbc
 
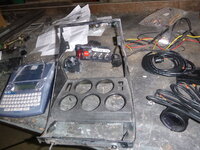
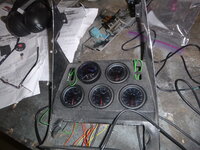
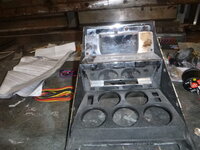
time to start the car - that means I need gauges
X8sZBKP.jpg
IWtXCC1.jpg
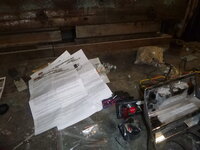
wiring instructions... ugh
eNNZUMM.jpg


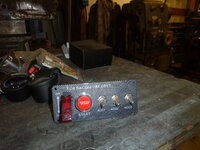
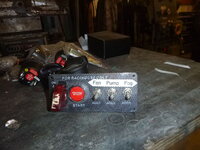
and control for the various systems
2buOYk7.jpg
WcTpZhb.jpg
the first switch is to power the ignition, the column switch will turn on the non-engine functions.
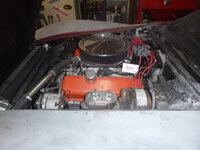
yep, still a BBC
Sq5QcHp.jpg
 
So I got some work done on the Corvette, however this fiberglass was jamming up my lift
8HbG0Xz.jpg
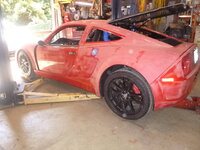
it's a 818 kit car.edited it was assembled by an amateur and while it is dangerous, it also doesn't fit worth anything either.... however, this little thing is blindingly fast.edited It has a WRX motor in the back - making it a mid-engine car.edited The guy who built it bought a lot of good parts - and fortunately the builder, Factory Five (the kit builders) made it well enough that even the most amateur is safe....ish.edited Tighten bolts people... just sayin'

anyway, outside of a bit of help on that,edited

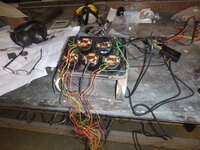
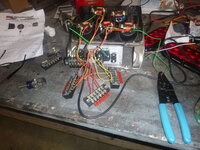
my most hated task... wiring
OlfcBDg.jpg
G5cxr4A.jpg
I need to have gauges to start it, since my lathe isn't done, I can't finish the rear install nor the front suspension.... so this is the task that is most ready to move forward
mMbe9sX.jpg

beside that, the sanding continues.
​​​​​​​
 
brief update.... in everything else, I'm making small steps towards starting the motor - in this case, wiring the gauges
​​​​​​​Di64sl2.jpg
 
I love your ambition and execution. This has been a fun build to watch. :-)
 
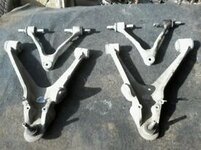
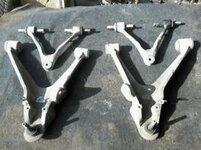
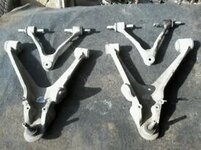
look what arrived
xZW3wZA.jpg

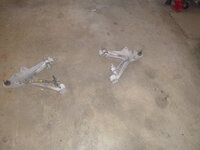
the whole point of this is how dimensionally close it is to a design that is 40 years older.... at least the lower arm, the upper arm is quite a bit different
​​​​​​​ir1Z1XF.jpg
 
look what arrived
xZW3wZA.jpg

the whole point of this is how dimensionally close it is to a design that is 40 years older.... at least the lower arm, the upper arm is quite a bit different
​​​​​​​ir1Z1XF.jpg

I'll be following your adventures with the suspension mods there. I did a similar thing a while back, but with spare C4 parts I had laying around.

Are you planning to keep or change the stock C3 trackwidth with these parts?

Just curious, how do the lower A-arm inner pivot to ball joint lengths compare between the stock C3 and the C5 parts?

Keep the pictures coming. :thumbs:
 
Back
Top