Plastic Fantastic 2

VetteMod - Corvette Restoration, Modding & Performance Forum

Help Support VetteMod Forum:

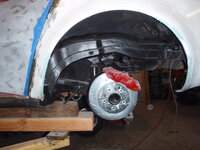
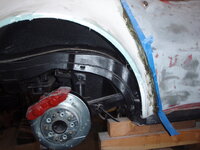
The Camaro irs looks pretty compact. If you had a spare frame, mocking it up would be easier, or even somebody’s junk rear frame (they show up on CL now and then). Plus upgrading it later on would be easy(hammerhead, etc.).

If you plan on a roll cage, hacking parts out of the frame is less of a structural issue.

I was supposed to get a 76 frame a week ago... it didn't happen. Fortunately, I have a lift so doing this under the car isn't terrible at all - and in many ways better because you don't get surprise with things that you didn't remember being in the way. I still think the hardest part of this will be widening the front track to match the rear.
 
can you alter the track by using different offset wheels?

yes and that's kind of why I'm doing it. When someone uses deep-dish wheels, the leverage at the edge of the wheel does nothing good to the bearings but putting the hub in the center of the wheel, it puts far less stress on the entire unit. With that said, I still think I'm going to mount C5 suspension on the front - so the track-width issue is pretty much solved. Now to get the car down to a sub-3000 lb fighting weight :D
 
i just adjusted the ride height on my C5 that front end is certainly easy to work with

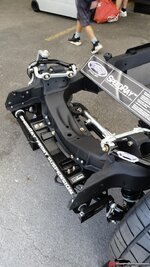
I respect what vette427 has done on his Vette, and would love to design my own but my learning hasn't hit that point (heck, I'm not even sure I see the mountain he's climbing yet) so I need to copy what the people smarter than me have done... with that said, I'll put this out there to hear thoughts. I'm thinking of just using the a-arms, springs, loaded spindles - but swap them side to side (making them rear steer) and use the stock steering box. Then I get the width, geometry, forged control arms, brakes, unitized bearings but don't dive into figuring out steering.... probably something painfully obvious, but it's my current thought.
 
Last edited:
As an Amazon Associate we earn from qualifying purchases. Product prices and availability are accurate as of the date/time indicated and are subject to change.
i just adjusted the ride height on my C5 that front end is certainly easy to work with

I respect what vette427 has done on his Vette, and would love to design my own but my learning hasn't hit that point (heck, I'm not even sure I see the mountain he's climbing yet) so I need to copy what the people smarter than me have done... with that said, I'll put this out there to hear thoughts. I'm thinking of just using the a-arms, springs, loaded spindles - but swap them side to side (making them rear steer) and use the stock steering box. Then I get the width, geometry, forged control arms, brakes, unitized bearings but don't dive into figuring out steering.... probably something painfully obvious, but it's my current thought.

I've never done either one but I did sleep in a Holiday Inn last night.

My impression is a C4 front suspension is easier. I think the engine cradle from a C4 is a separate part and can be somewhat "grafted" onto a C3 frame. At least it would give you the positions. Maybe a C5 is the same?

The Detroit Speed setup uses C5 spindle uprights (I think) and is a bolt on deal. It is a rear steer, not sure of the rack used. But maybe it will give you some ideas.
45963616861a8b.jpg
 
Just throwing this out. IIRC the C4 front knuckles have the spindle positioned slightly rearward of the knuckle/balljoint centerline for caster purposes. My understanding is that this feature would be a disincentive to converting a C4 suspension to rear steer.

I'm not familiar with C5 and later suspensions to see if the Corvette group did a similar thing to the C5 and up pieces. Given that Detroit Speed has done a rear steer C5 conversion, my guess is that the C5 spindle is centered.

I welcome any corrections to my understanding of these parts.
 
Just throwing this out. IIRC the C4 front knuckles have the spindle positioned slightly rearward of the knuckle/balljoint centerline for caster purposes. My understanding is that this feature would be a disincentive to converting a C4 suspension to rear steer.

I'm not familiar with C5 and later suspensions to see if the Corvette group did a similar thing to the C5 and up pieces. Given that Detroit Speed has done a rear steer C5 conversion, my guess is that the C5 spindle is centered.

I welcome any corrections to my understanding of these parts.

my eduguess is you're right. I've done a lot of searching and my googlefu is just not finding anythin... Fortunately, I have enough dampness behind my ears that I'm willing to buy the parts and give it a shot - at best I've come up with a suspension system that doesn't cost 25k, at worst it's entertainment. That said, I may run the stock suspension this summer while I collect parts (and really deep offset 15x12s so it doesn't look absolutely silly).
 
phewwf! Just went through all 25 pages! Your progress is too fast for me :crylol:
Touching on the camaro IRS... Go for it, but definitely get a junk frame to fit it to first. I regret pulling my car apart to do this when I could have just gotten another frame and kept driving it. Also way easier to check for fitment. Drive it sooner than later, it looks like its going to be a blast as is
Oh, and Im not even sure I see the mountain that Im crawling up lol
 
phewwf! Just went through all 25 pages! Your progress is too fast for me :crylol:
Touching on the camaro IRS... Go for it, but definitely get a junk frame to fit it to first. I regret pulling my car apart to do this when I could have just gotten another frame and kept driving it. Also way easier to check for fitment. Drive it sooner than later, it looks like its going to be a blast as is
Oh, and Im not even sure I see the mountain that Im crawling up lol

But I appreciate you climbing it first - even if I become that soft thing you land on if you fall ;)
 
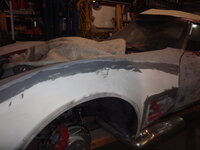
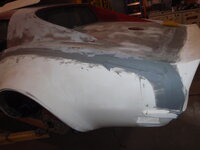
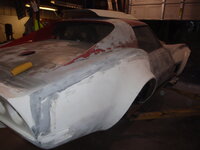
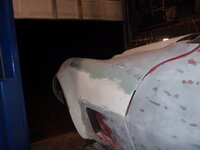
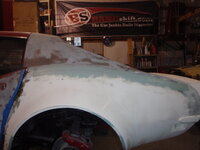
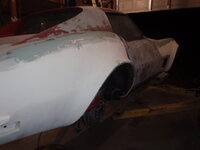
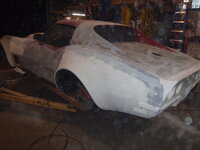
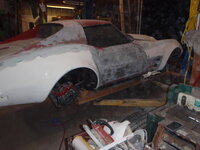
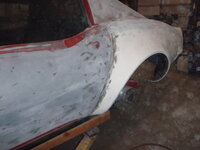
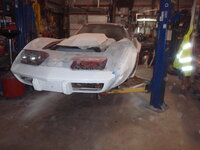
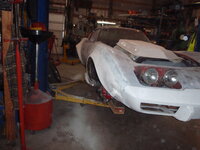
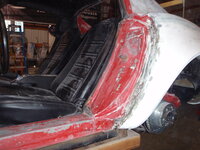
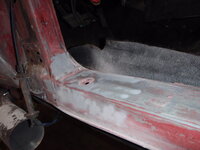
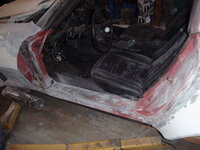
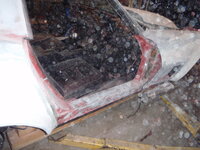
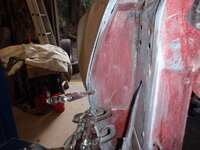
for the record, I'll never use vette panel adhesive/filler again.it works for adhering, but it gums up paper... there are better options out there.
Anyway, boring post, but it's going the right way
VaoZRCe.jpg
2P3Db8B.jpg
hsszoGw.jpg
84QFWIb.jpg
raJ9DkI.jpg
it also sags, a lot
it took 2 pads per panel to knock it down
Vg1azGO.jpg

I really hope this works - kitty hairedited
keAZJnS.jpg

it cooled off again, so back to diesel planning
​​​​​​​
 
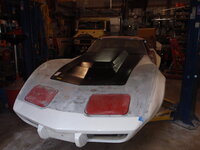
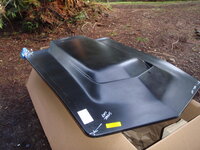
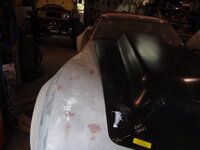
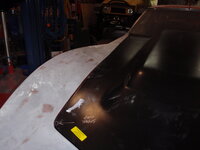
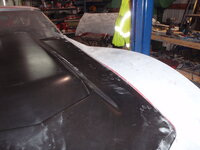
at some point you've just got to ask yourself if you have time to do this - or in this case, is it worth it.edited The hood I bought is flat, so I need to cut all the supports and put the part that rises at the fenders then refiberglass.edited The scoop needs to be lengthened.edited All of these things I've done.... but I simply don't feel like it... so this is happening

s-l500.jpg
 
I think it's going to work, kitty hair
Tz4Zw5N.jpg
it's going to require some sculpting, but it should be strong enough .... crossing fingers
SScRblI.jpg
and other side
ijeQ8F7.jpg
dtiU32h.jpg
second layer
mBtdf5k.jpg
interestingly, I got closer the first time on the hardest side
ZNeZRe2.jpg
this should be the final base coat, all the rest are going to be gold coat that get sanded to make this smooth
RjOXwNW.jpg
ZFbphiS.jpg
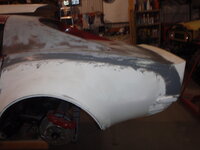
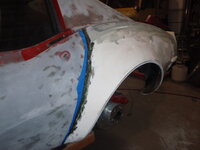
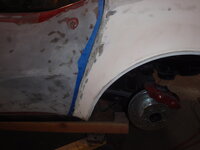
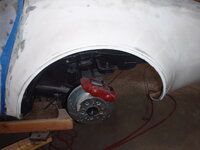
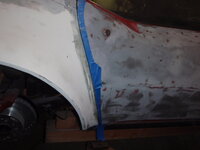
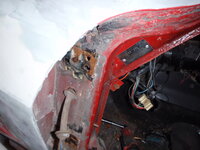
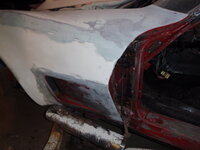
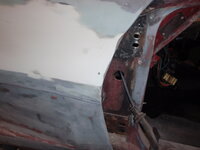
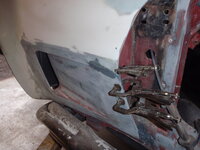
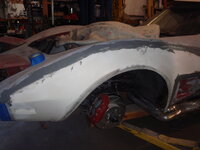
and I started fixing the wheel well, they're actually worse then I thought... the edge - isn't the same angle to the other side - what that means is unless I fix it, one side will have the tire seeming to stick out further then the other
​​​​​​​1KWGlFB.jpg

I should be clearer - the next step is take the doors off, finish removing paint on them and the paint that is still on the sails... but all of this fits into starting the leveling coats - first with gold filler then sandable primer, then primer, etc.. etc.
 
a lot of repetition, but here we go
Ib1lHPx.jpg
QcXoQU4.jpg
hAedIvr.jpg
the whole point being it's going the right direction
9dlrO0Z.jpg
j8Sytld.jpg

anyway, I forgot to order 80 grit and didn't stop to get the final coat (evercoat 125) from the paint shop... truth be told I hate going there because they are way too expensive... but sometimes there is no choice. Let me for example, I needed 2000 grit pads to color sand, they sold me 2 for $50. look up what it really costs and you'll see why I avoid them. Too bad for them.
 
at some point you've just got to ask yourself if you have time to do this - or in this case, is it worth it.edited The hood I bought is flat, so I need to cut all the supports and put the part that rises at the fenders then refiberglass.edited The scoop needs to be lengthened.edited All of these things I've done.... but I simply don't feel like it... so this is happening

s-l500.jpg

nice.....the MGA has wood floor boards easily made....but I bought them.....and i splurged on a pre terminated brake line kit....

sometimes its just easier to push ahead with the path of least resistance. and have some more fun with something else.
 
the blending the front, flat is what I wasn't looking forward to doing - then this one came along at about $200 off.... yeah, onto the next task.
 
parts fell off
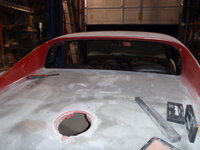
back glass
7hmDEvU.jpg

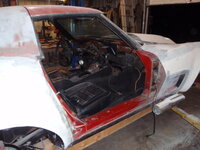
passenger door and driver's door
3d5evkW.jpg

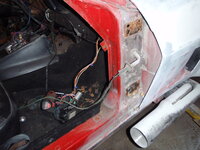
nothing remarkable except that someone used silicone to keep the shims in place
B2h9gC0.jpg

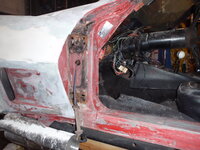
this corner looks like someone worked on it with a paint brush.... it concerns me slightly
5laBdtG.jpg

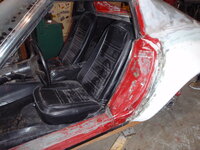
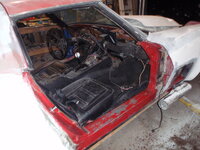
all of this to fix hinges and to finish stripping the paint.edited In the end, these will probably be crank up windows... both motors are toast, the switches don't work and frankly I'm capable of rolling up a windowedited
 
Strippers

So I bought some stripper
93TPe52.jpg
D0cAUji.jpg
jScZQpa.jpg
dMChG8h.jpg

and I honestly think that this stuff couldn't get the cootie off a stripper let alone paint off a Corvette.... time to find Aircraft stripper....
 
i used the air craft stripper from the auto parts store made by clean strip it was ok.....you may need to make the shop warm for it to work effectively, it didnt like cold weather
 
yeah, and it's potentially going to snow this weekend (which is really bad news for those in the east who aren't done with our last snow storm).
...
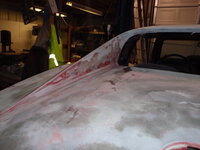
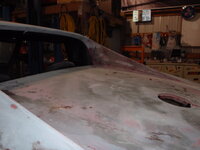
a bit more sanding
before
h0lz1Cg.jpg
QsX819e.jpg
during - someday I will find out what those 'stripping' wheels are good for.... usually they simply create a lot of debris but no real stripping, this time... too much
sjtAiAs.jpg

80 grit
iiVwezg.jpg
hmmm... it does raise the dust
ouU7aCE.jpg

​​​​​​​
 
i used the air craft stripper from the auto parts store made by clean strip it was ok.....you may need to make the shop warm for it to work effectively, it didnt like cold weather

I tried aircraft stripper on some basecoat/clearcoat. It took the clear off no problem but didn't touch the basecoat.
 
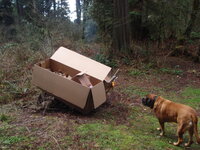
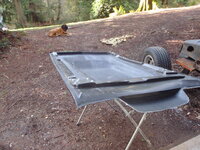
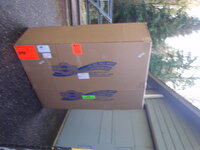
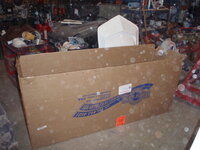
As much as I'd love to keep boxes like this around - there just isn't the room.... Buick seems okay with it
frOUNDh.jpg
remove bolts
k2iuzZc.jpg
try fitting for real... ugh
7KoNkP2.jpg

better
p55eJKR.jpg
if anyone is curious who made itedited
sK21obH.jpg
notsobetter - I solved this with heat.... pictures tomorrow.
RrPlG0t.jpg

oh you must be kidding me - need to drill out the support to 5/16
g57rqVO.jpg

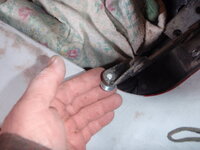
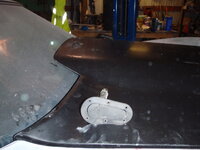
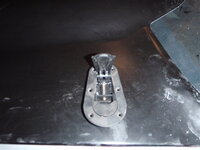
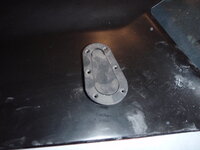
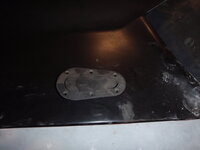
they suggest hood pins.... I have hood pins
g6THEyB.jpg

schnazzy, no?
dkiKHAi.jpg
gcWCCw5.jpg
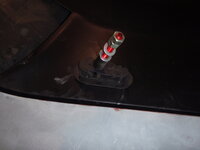
I'd love to move it closer to the windshield but the pins would go straight through the wiper pivot
bOZ2kLB.jpg

wonder how much faster it would be if I turned them to flow with the wind?
u9eH1of.jpg

onto other issues.... non-adherence of the fenderedited
rPg8TbR.jpg

cut, glue, clamp fixeded
w2kv7GF.jpg

WGBQ0BW.jpg

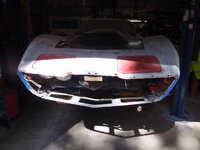
time to work on the nose - now that I have the hood, I can make all of this solid
eU7hH8s.jpg

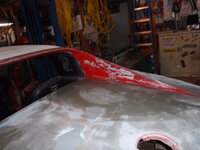
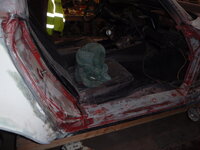
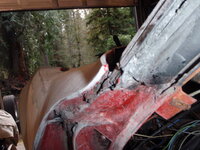
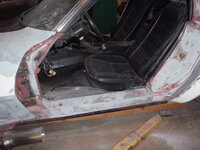
and spent some time getting the last of the paint off with aircraft remover (you can't see the aircraft so clearly it's worked)
dLRCEdH.jpg
verse 2
JxNF4BR.jpg
and the sail panels
kcIeRr1.jpg
BqQdzDY.jpg
​​​​​​​
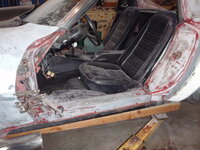
things that puzzle - why would you only seal up the driver's side?edited
tPB8uJu.jpg
 
sanded a bit today
ZTDr3wn.jpg
then spent quality time looking for door bolts
then worked a few minutes on the front.... I have the actuators coming so maybe I can get this buttoned up
​​​​​​​rmxw7EC.jpg
 
Back
Top