
You are using an out of date browser. It may not display this or other websites correctly.
You should upgrade or use an alternative browser.
You should upgrade or use an alternative browser.
Plastic Fantastic 2
- Thread starter SuperBuickGuy
- Start date

Help Support VetteMod Forum:

SuperBuickGuy
Well-known member
it comes free with the MSD 8.5mm cut-to-fit set.... what was funny is they didn't advertise that at all, but I'd been having such trouble with wires that I figured I'd buy a decent set of wires - the tool, by itself, really makes the wires a great deal.
That's a nice bonus then. It's amazing how having the right tool makes the job so much easier. For MSD to throw it in is cheap insurance for them to to make sure their product gets a quality installation. Good on them for making sure we get it right. I like filling my box with tools anyway. ;-)
SuperBuickGuy
Well-known member
Onto the fuel tank
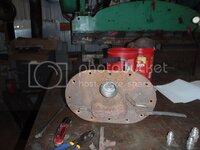
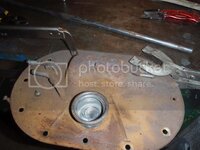
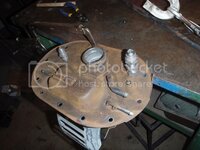
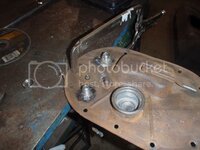
then I realized that one of the fittings wasn't AN
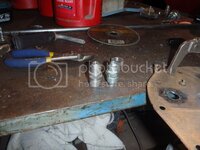
a bit of welding, a touch of paint and it'll be ready to go
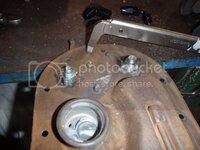
then I realized that one of the fittings wasn't AN
a bit of welding, a touch of paint and it'll be ready to go
SuperBuickGuy
Well-known member
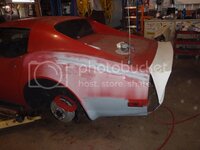
and so it begins... though with that said, it's time to put my other compressor on, this one is worn out.
SuperBuickGuy
Well-known member
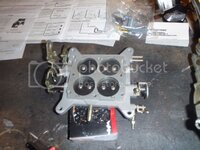
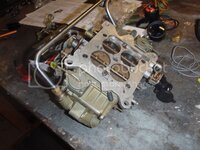
more work.... first, finish the carb
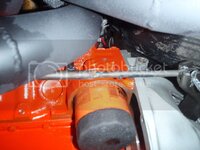
for whatever reason, the clutch rod was too short.... I can fix this
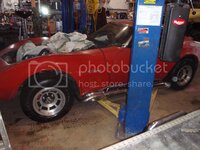
cleaned up the brake dust from the wheels
then put more dust on them
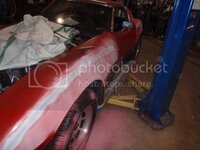
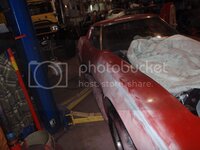
I'm not going to over think this.... it's flares, it's a race car....edited
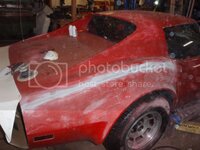
for whatever reason, the clutch rod was too short.... I can fix this
cleaned up the brake dust from the wheels
then put more dust on them
I'm not going to over think this.... it's flares, it's a race car....edited






As an Amazon Associate we earn from qualifying purchases. Product prices and availability are accurate as of the date/time indicated and are subject to change.
SuperBuickGuy
Well-known member
for the record, these are 3/4 inlets.... not 5/8....edited
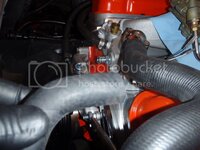
that's done, onto the fans.... these fans came of the Wanderer, they're from a 2000 Impala and fits pretty darn good
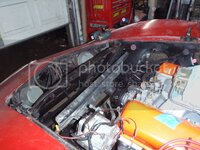
fitting
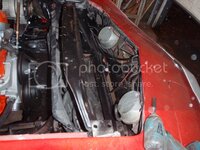
on the radiator
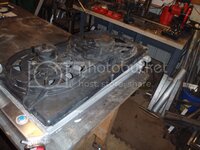
and as I suspected, it does not fit as a unit without some work
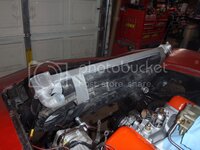
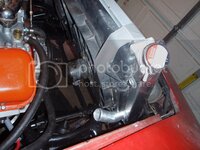
however, with a genuine Corvette motorcycle strap, and removal of a few bolts...
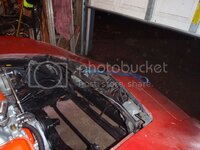
a bit of cutting to clear the upper a-arm
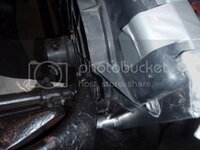
and I now I have dual fans with a pre-made shroud
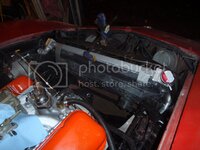
that's done, onto the fans.... these fans came of the Wanderer, they're from a 2000 Impala and fits pretty darn good
fitting
on the radiator
and as I suspected, it does not fit as a unit without some work
however, with a genuine Corvette motorcycle strap, and removal of a few bolts...
a bit of cutting to clear the upper a-arm
and I now I have dual fans with a pre-made shroud
SuperBuickGuy
Well-known member
I feel like breaking out into song.... "I got parts, they're multiplying"
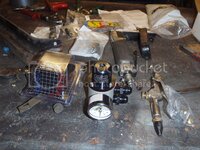
then...
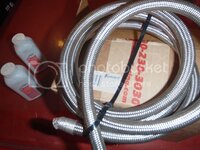
dagnabit... I ordered - 8 PTFE line, the box says - 8 PTFE line... that ain't - 8.... - 4.... screeech! to a stop
you know, it'd have been nice had they included the 90* fitting for the - 8 line rather then a - 6 90* fitting... oh good grief
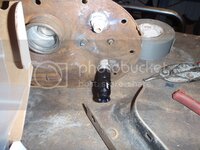
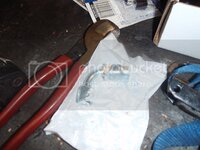
at least the new carb fuel line looks pretty
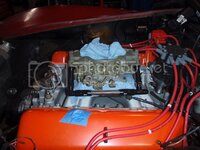
and there's a good spot for the regulator
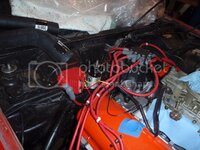
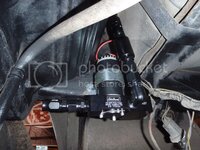
thinking the pump isn't going to work there.... nuts again
then I had to deal with that f***ing Jeep ..... every time I work on it, I find yet another screw up... this time, the dealership monkeys couldn't figure out how to put a light bulb back in
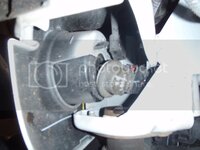
at least they're consistent?
the rest of that story is that whole last thing with the lug nuts ruined a rim.... but it's mostly because the pad issue (that was caused because I couldn't get the wheel off).... oh well, I'll continue my marketing campaign for them....edited
then...
dagnabit... I ordered - 8 PTFE line, the box says - 8 PTFE line... that ain't - 8.... - 4.... screeech! to a stop
you know, it'd have been nice had they included the 90* fitting for the - 8 line rather then a - 6 90* fitting... oh good grief
at least the new carb fuel line looks pretty
and there's a good spot for the regulator
thinking the pump isn't going to work there.... nuts again
then I had to deal with that f***ing Jeep ..... every time I work on it, I find yet another screw up... this time, the dealership monkeys couldn't figure out how to put a light bulb back in
at least they're consistent?
the rest of that story is that whole last thing with the lug nuts ruined a rim.... but it's mostly because the pad issue (that was caused because I couldn't get the wheel off).... oh well, I'll continue my marketing campaign for them....edited
SuperBuickGuy
Well-known member
a bit of progress
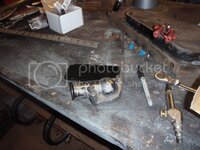
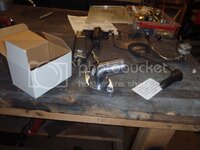
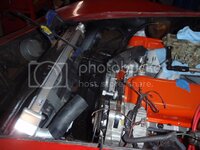
I wonder if they ever made a hose that fit....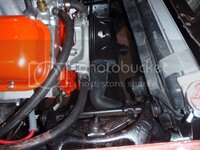
I wonder if they ever made a hose that fit....
SuperBuickGuy
Well-known member
Upper radiator hose installed (and lower, not shown)
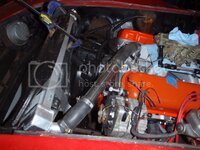
PTFE fuel line - still waiting on parts from Summit, more then a little annoyed about their lackluster response
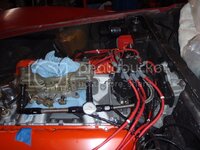
take 1 on the radiator support
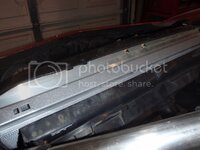
now in steel
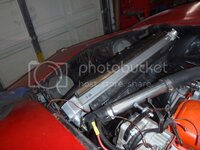
bit of shear work and press brake action and we have something that looks reasonable
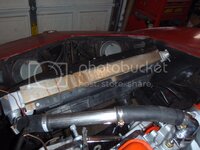
next up weld it then paint it so it's pretty
as an aside, I can't believe how well that 2000 Impala fan set works for this application
PTFE fuel line - still waiting on parts from Summit, more then a little annoyed about their lackluster response
take 1 on the radiator support
now in steel
bit of shear work and press brake action and we have something that looks reasonable
next up weld it then paint it so it's pretty
as an aside, I can't believe how well that 2000 Impala fan set works for this application
SuperBuickGuy
Well-known member
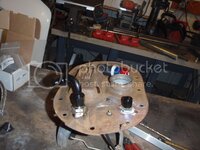
spent more time working on my shop stove, but did touch this
SuperBuickGuy
Well-known member
I'm watching this closely. I need to sort out the cooling on my big block too and the Mk VIII fans are getting harder to come by. The Impala fans look like they were made for it. Great idea!
Each fan flows 1864 cfm at low speed and up to 2500 cfm at full song, it uses 14.5 or 20 amps depending on the speed. not just that but the GM fan is capable of being run at 24 volts. That's not all, they're a curved blade so they're quieter and if you get the plugs and relays - they're waterproof.
best of all? they're $88.00 for 2 fans and the shroud brand new. With that said, I'd try to find a wrecking yard version first since GM has far better quality.

bobs77vet
Well-known member
whats the advantage of being able to run at 24v? just a better motor?
SuperBuickGuy
Well-known member
mostly more efficient and it spins faster - it's like hooking 12v up to a 6v starter... in this case, it's designed for it so it doesn't let the smoke out
bobs77vet
Well-known member
so are you going to supply 24v to them? to do that do you have a step up transformer that does that in the circuit or is the transformer an integral part of the fan?
guys put all sorts of bilge fans in the MG engine bays to keep the SUs cool
guys put all sorts of bilge fans in the MG engine bays to keep the SUs cool
SuperBuickGuy
Well-known member
at this point, I don't think I need to...
SuperBuickGuy
Well-known member
I should be further along, I'm not but at least the plumbing is fixed in my house.....edited
worked a bit on a bunch of things
fuel system
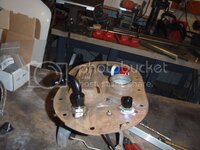
I don't know if it's a good idea or not.edited I hate the fuel smell of ss braided lines, so I'm using PTFE line.... which is great except the tank needs a vent.edited All I've found are either direct-open-to-atmosphere or are designed for 100 hp.edited So I've done it but I'm not convinced it's a good idea.editededited
In the roll-over valve I put a light spring to hold the ball against the vent.edited It can outgas under pressure from the cap, and draw through the vented (and filtered) roll over valve...edited
Got the tank out of the car
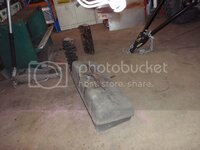
and pulled the metal shield out
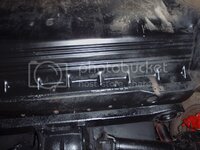
so I could access the inner fenders and start cutting the fenders off
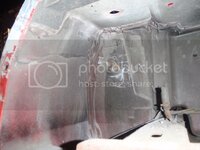
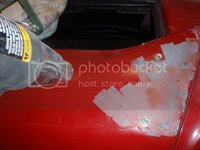
which lead me to an admirable ADD-level distraction when I found that heat did a wonderful job of lifting the paint enough to scrape off
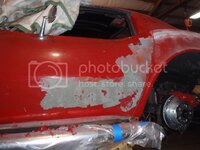
then started working on fuel line and came to the conclusion that full -8 PTFE line would be a better choice so I ordered that
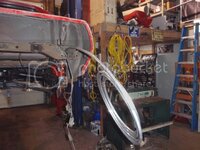
and the bend that caused the issues
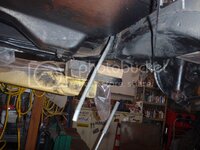
worked a bit on a bunch of things
fuel system
I don't know if it's a good idea or not.edited I hate the fuel smell of ss braided lines, so I'm using PTFE line.... which is great except the tank needs a vent.edited All I've found are either direct-open-to-atmosphere or are designed for 100 hp.edited So I've done it but I'm not convinced it's a good idea.editededited
In the roll-over valve I put a light spring to hold the ball against the vent.edited It can outgas under pressure from the cap, and draw through the vented (and filtered) roll over valve...edited
Got the tank out of the car
and pulled the metal shield out
so I could access the inner fenders and start cutting the fenders off
which lead me to an admirable ADD-level distraction when I found that heat did a wonderful job of lifting the paint enough to scrape off
then started working on fuel line and came to the conclusion that full -8 PTFE line would be a better choice so I ordered that
and the bend that caused the issues
SuperBuickGuy
Well-known member
I really do like these.... it's a hydramat from Holley. I run one in my FJ40 as well...
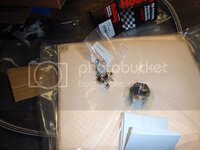
these things really do work slick for getting fuel to the pickup and letting you completely, and utterly run out of gas.... I'm pretty sure it even sucks up the fumes.
Here's why I say that - my gas gauge, well, fixing it is just too much work in my FJ40 (what with the removing of the seat and pulling the lid off... too much work), but I've found that it'll start sputtering a couple miles before it is completely and truly out of gas (bet you no longer wonder why I always carry spare fuel). The last time, 16 gallon tank, 16.1 gallons to fill and it drove to the gas station. These things are pretty sweet - plus, while expensive, buying a new fuel tank with a sump, building surge canisters or filling your tank with foam is not cheap either, this is simply drop into the bottom with magnets on the corner and it's done.... best of all, it's also a pre-filter so you save the $50-$120 cost of a pre-filter.
these things really do work slick for getting fuel to the pickup and letting you completely, and utterly run out of gas.... I'm pretty sure it even sucks up the fumes.
Here's why I say that - my gas gauge, well, fixing it is just too much work in my FJ40 (what with the removing of the seat and pulling the lid off... too much work), but I've found that it'll start sputtering a couple miles before it is completely and truly out of gas (bet you no longer wonder why I always carry spare fuel). The last time, 16 gallon tank, 16.1 gallons to fill and it drove to the gas station. These things are pretty sweet - plus, while expensive, buying a new fuel tank with a sump, building surge canisters or filling your tank with foam is not cheap either, this is simply drop into the bottom with magnets on the corner and it's done.... best of all, it's also a pre-filter so you save the $50-$120 cost of a pre-filter.

Good idea. Never heard of a Hydramat before. I'm doing this now (fuel system), thanks for the tip.
SuperBuickGuy
Well-known member
Still waiting on a couple fuel system parts, so I started fender removal and continued paint removal.... pictures
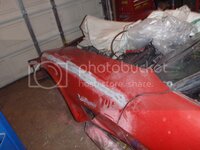
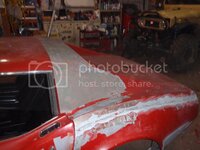
so a brief tutorial
see all the gooey stuff? that's what glues the panels on
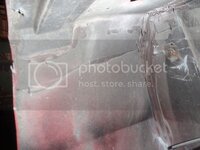
first step is to heat and chisel the sealer out between the upper and lower panel
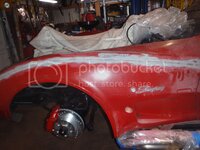
I got very lucky on the front because the fender started to detach as I was removing the seam
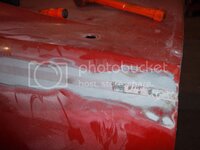
on the back, not so much, I'm not sure this fender will be reuseable when it's off.... fortunately, this fender had prior, poorly-fixed damage so it's loss isn't that big of deal
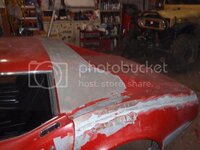
I think I'm going to do a video of the other side, there's very few youtube videos that show the soup to nuts of taking these fenders off.... it's not that hard, but it is a bit fiddlyedited
so a brief tutorial
see all the gooey stuff? that's what glues the panels on
first step is to heat and chisel the sealer out between the upper and lower panel
I got very lucky on the front because the fender started to detach as I was removing the seam
on the back, not so much, I'm not sure this fender will be reuseable when it's off.... fortunately, this fender had prior, poorly-fixed damage so it's loss isn't that big of deal
I think I'm going to do a video of the other side, there's very few youtube videos that show the soup to nuts of taking these fenders off.... it's not that hard, but it is a bit fiddlyedited

GT6Steve
Well-known member
That would be a service to the community. Please make the video. 

rtj
Well-known member
- Joined
- Nov 5, 2011
- Messages
- 3,598
- Reaction score
- 211
and so it begins... though with that said, it's time to put my other compressor on, this one is worn out.
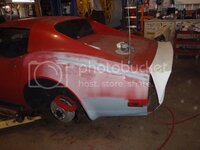
Are you planning to shorten the cust. img. spoiler a bit, or is just a quick mockup with some overlap?
My thoughts are is that it looks better shortened up a bit.
SuperBuickGuy
Well-known member
that's just a quick mock up. Custom Images suggests weaving the two together by using the bumper bump as the common point. That said, I seriously don't know, I've never done this before so it's mostly just trying to make it fit. It won't have a bumper on the back.
SuperBuickGuy
Well-known member
parts arrived
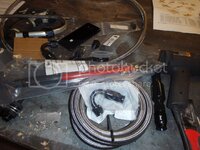
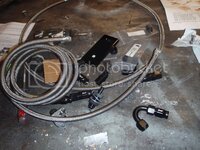
now the line runs well from the regulator
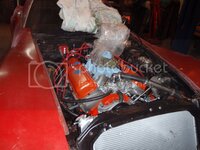
they're easy to assemble - or at least easier then typical braided fuel line
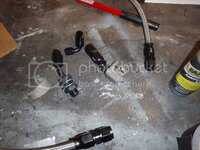
I am going to either buy another fitting or get creative back here because I don't think there's enough line to make a 90 into the pump....edited
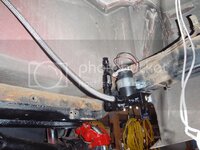
now the line runs well from the regulator
they're easy to assemble - or at least easier then typical braided fuel line
I am going to either buy another fitting or get creative back here because I don't think there's enough line to make a 90 into the pump....edited
SuperBuickGuy
Well-known member
time for flares
add heat
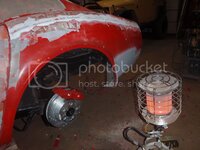
and pop, off it comes
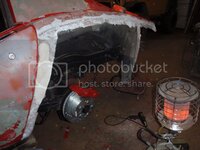
and the new sitting in place
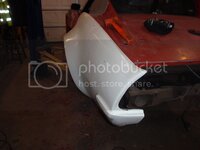
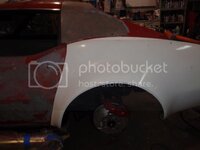
time for an executive decision on where to splice this together
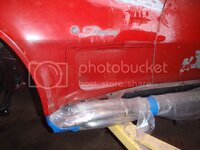
chop chop
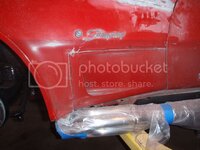
The CIC flares don't wrap all the way under, nor does it maintain this edge - even if I fill it, I want the strength so here's what I did
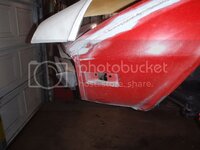
and pop, off it comes
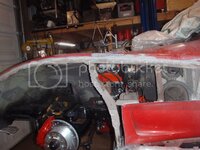
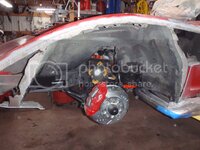
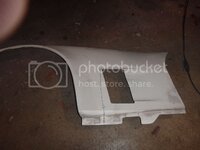
rough cut
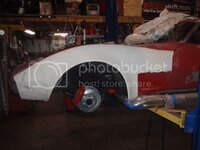
seems to be going the right direction
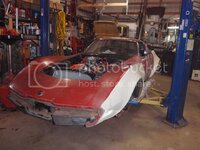
I plan on filming a YouTube video of the second side when I do it, but here's the comparison to 'before'
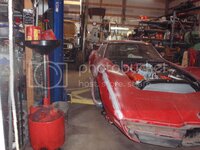
now you can really see how much extra flare there is
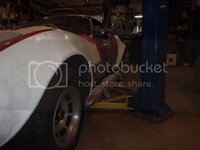
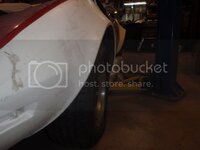
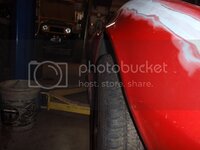
and the back, again
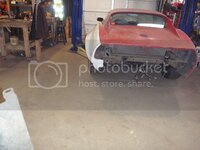
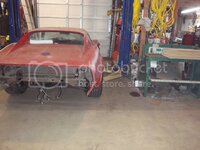
a picture of how much of the back is bonded
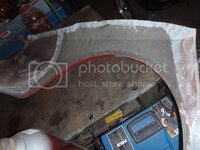
I think I want the flares bonded in place before I finish the fuel system, which isn't a huge deal because it's really not going to be driveable for a bit longer
add heat
and pop, off it comes
and the new sitting in place
time for an executive decision on where to splice this together
chop chop
The CIC flares don't wrap all the way under, nor does it maintain this edge - even if I fill it, I want the strength so here's what I did
and pop, off it comes
rough cut
seems to be going the right direction
I plan on filming a YouTube video of the second side when I do it, but here's the comparison to 'before'
now you can really see how much extra flare there is
and the back, again
a picture of how much of the back is bonded
I think I want the flares bonded in place before I finish the fuel system, which isn't a huge deal because it's really not going to be driveable for a bit longer
bobs77vet
Well-known member
i like keeping the original side scoop
GT6Steve
Well-known member
Very impressive progress. Are you as skillful as it appears or figuring it out as you go? LOL
SuperBuickGuy
Well-known member
Very impressive progress. Are you as skillful as it appears or figuring it out as you go? LOL
all smoke and mirrors

SuperBuickGuy
Well-known member
so there will be a lot of fitting
this is round 2
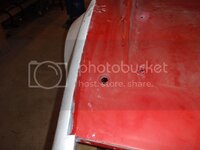
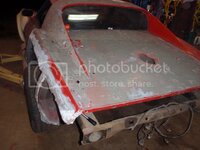
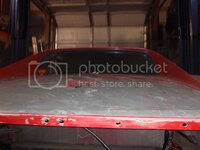
oh yeah, and scraping - I'm going to paint this black
also worked a bit on the tank
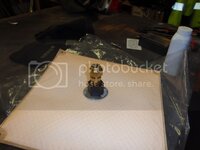
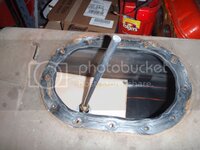
the assembly
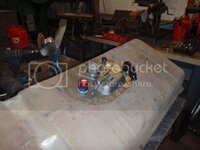
and assembled - and yes, there's an extra -6 line there so if I ever do decide to go EFI that I have the return already plumbed in
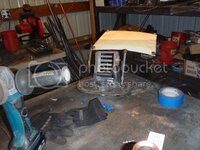
this is round 2
oh yeah, and scraping - I'm going to paint this black
also worked a bit on the tank
the assembly
and assembled - and yes, there's an extra -6 line there so if I ever do decide to go EFI that I have the return already plumbed in
Similar threads

- Replies
- 4
- Views
- 5K

- Replies
- 4
- Views
- 2K


