Plastic Fantastic 2

VetteMod - Corvette Restoration, Modding & Performance Forum

Help Support VetteMod Forum:

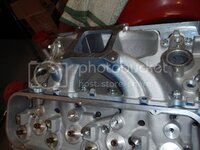
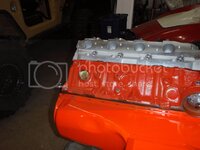
got the intake back after a .075 shave
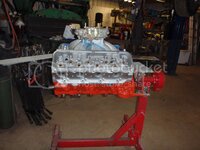
P8200995_zpsdj0vgllc.jpg
set a carb on top mostly because I have a carb to set on top.... though it won't work as you see because it's got a boost referenced power valve
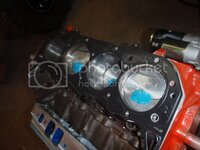
did some shimming to see if I could get away with .060 gaskets. Yes, yes I can
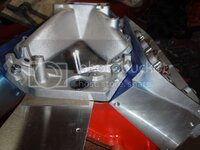
P8200991_zpszsu05rnd.jpg

Once I get the gaskets, I'll start huffing aluminum.... I'm not excited to start this phase.
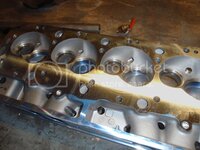
 
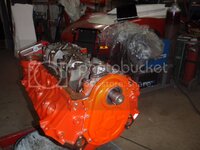
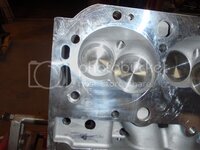
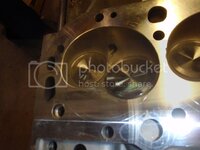
So I worked on the motor a bit yesterday - mostly I decided to leave the heads alone then simply blend the intake into the ports.
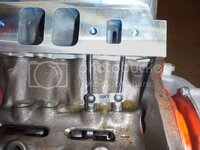
P8210996_zpswqw8jyzc.jpg
the line illustrates about how much I need to take off. I have gaskets coming tomorrow (I don't need to shave the intake) then I'll blend and get to work assembling this little beastie
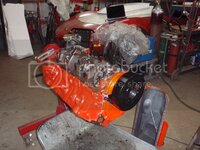
P8210998_zps7bsmqoxf.jpg
 
Seems like a lot of material off and the bottom flange of the intake.

Is that due to the import heads?

I bought an expensive (for me) single plane I take a few years ago. Instructions said "requires machining with oem heads." I think it was brodix and machined for their heads. Jegs didn't bother mentioning that detail.
 
Last edited:
Or, is your line for gasket matching? Seems like more than on edelbrock intakes I've done.
 
it really seems silly to me that the area under the cabin isn't cross braced..... so that is one of those things I'll add to this car.

I agree !!! I tied the trans Xmember and the diff xmember together with a W brace that made a great place to integrate the seat mounts, the driveshaft loop, and the traction bars...
 

Attachments

  • IMAG0702.jpg
    IMAG0702.jpg
    188.2 KB
the heads are import, the intake is Holley which is supposedly USA made... and it fits terribly... ah well, I so prefer having metal to remove then having to add metal....

talking a machinist yesterday (the one who shaved the heads and the intake) he suggested simply hogging out the holes
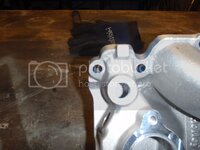
the problem
P8241006_zpsqski8esl.jpg
see the threads on the lower side? need to open up the hole so that doesn't happen
grind grind grind
P8241007_zpsdcrljr1p.jpg
looks like it worked
P8241008_zpsbcf2isn9.jpg
I need to do a bit of minor port matching, but it worked (yay, saved $200 in machine work)
P8241009_zpslj8pd7yy.jpg
 
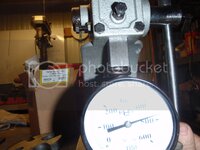
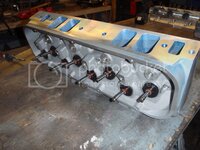
to answer the question of if these springs will work... no, 350# springs
P8291017_zpsefpbtgjh.jpg
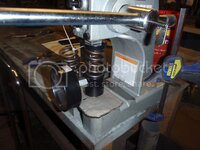
modified my spring compressor to make it more useful.... and it is
P8291018_zpspnzjytqe.jpg
 
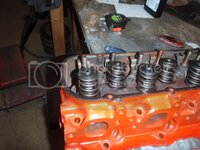
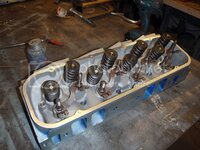
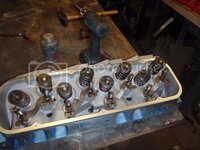
Good news, meh news..... good news is the springs on the iron heads are 485 lb springs
P8311021_zpshs1rgc5t.jpg

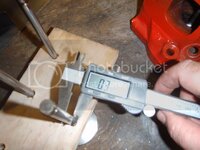
bad news is the locks are for 3/8 valves
P8311023_zps2of0yffn.jpg

and the aluminum valves are 11/32
P8311024_zps7umcckif.jpg

I may come back later and do a mea culpa* when I should have swapped to brand-name 3/8 valves... but I'm not going to - I blow it up and those higher-compression pistons I was thinking I would upgrade to will become a necessity - remember, I'm at 10.5:1 compression and I want at least 12:1... that said, the hot rod swap meet happens before race season restarts so those valves could happen still.... good thing I'm using a reuseable head gasket :)

*which is me saying "convince me to simply update now"... I think it'll be fine as long as I don't use this in anger - but I think those chinese valves with 11/32 stems are almost a guaranteed boom.... though I've kept sketchier things together by just practicing a bit of restraint...
 
I've been without a car that can do a burnout for more then a year.... I'm starting to get the shakes - though with that thought, I should probably glue some 220 grit DA disks to my hands and get to it on the bodywork... :hi:
 
I've been without a car that can do a burnout for more then a year.... I'm starting to get the shakes - though with that thought, I should probably glue some 220 grit DA disks to my hands and get to it on the bodywork... :hi:

well it looks like many burn outs are in the future for sure.
 
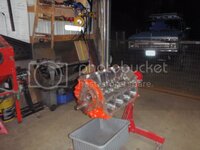
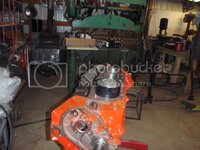
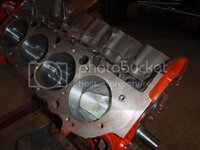
finally some progress.
clean it up
P9111047_zps6sgcd6ik.jpg
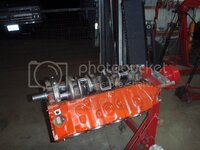
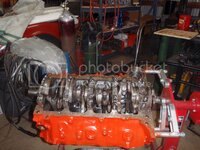
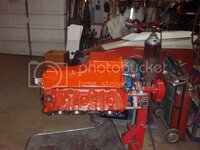
install the crank with a new rear seal
P9111048_zpssab42yvh.jpg
and that's all(ish) for tonight
P9111049_zpsstnvjlkw.jpg
​I ordered rockers and measured the studs on the other heads
 
so first a fright
P9121050_zpsl6yrvsnx.jpg
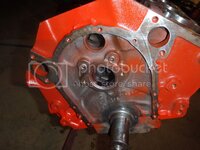
notice the cam plate bolt holes? anyone want to hazard a guess as to whether or not a Gen 4 or Gen 5 cam and timing set is required? the block is an 89

fortunately, I have other stuff to do
I've finally given up - I'll buy the tapered ring compressors for all my builds - this one will work also with my Buick motor but I am not doing the hateful compressors again...
P9121051_zps3rczgd4u.jpg
then I noticed that the numbers on the rods are not the same as the numbers on the pistons.... the seller told me that the marked numbers (yellow) matched the holes so I went with that - but the rod numbers do not. I'd love to hear why he didn't number the rods correctly (they were resized) oh well.. I'm sure when HRM takes this motor apart in a few years they'll make much ado about how the rods were on the wrong journal... to them I say "HA"
P9121052_zpsgxmlezgp.jpg
after number 2 I had to go do SAR stuff.... ah well, things are progressing
for those interested - Gen 4.... gave me a heart attack though when I saw that....there are no pedestals - which means that had I noticed before, I could have done away with the cam button.... ah well.
 
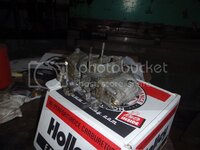
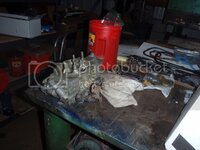
I added another holley carb to my collection - in reality, I think I'll use the body from my blower carb and the base (since I modified it) from this carb.... totally worth it to do
P9211071_zpsf8gzofoi.jpg
the aforementioned blower carb
P9211072_zpsdgkgxvi7.jpg
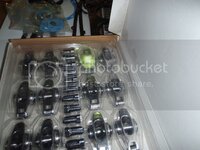
right or wrong these were the decision. Stainless Elgin full roller rockers. Thought seriously about the aluminum but know that the guy with the 427 in his boat had nothing but trouble with them.... so here it is
P9211073_zpsuytetwvw.jpg
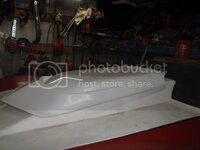
maybe I should just stack this scoop on top of the current one....
P9211074_zpskoqk8whl.jpg

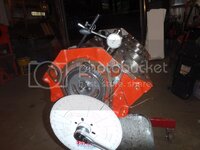
2 degrees off. instead of 4 advanced it's 2 degrees advanced. close enough
P9211075_zpsjv5hddqm.jpg

so this is the bearing on the back to keep from eating into the block (and of more concern putting showers of iron in the oil)
P9211076_zpsdsmdgtkw.jpg

most of the time tonight was spent adjusting to zero lash on the cam... but it's done
P9211077_zpsexa9iwfp.jpg

P9211078_zps0ihalxyf.jpg

next issue is on the floor
P9211079_zpsdxtfyao2.jpg

I suppose I could fill the gap with silicone.....
P9211080_zpspxkq0feb.jpg

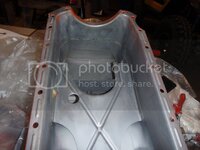
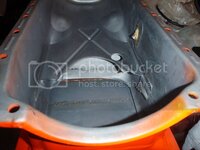
I am concerned about oil pan clearance - not cross member because that's actually in front of the motor, but how close the pan is to the ground... ah well, if it was easy, Pirate 4x4 could do it.

 
I'm interested to see how much that single plane intake sticks up. Dual planes are a tough fit.

Definitely want pan road clearance. Speed bumps can otherwise be a b____.
 
I'm interested to see how much that single plane intake sticks up. Dual planes are a tough fit.

Definitely want pan road clearance. Speed bumps can otherwise be a b____.

I'm interested too.... one way or another, I'll make it fit, but that worry is front and center.
 
Hope you plan on a block saver and blow proof bell housing. They make an extended pilot bushing now to accomadate the block saver.
 
Hope you plan on a block saver and blow proof bell housing. They make an extended pilot bushing now to accomadate the block saver.

oh yes, I like my feet.


Yep! I think someone posted what the fiberglass looks like after a flywheel lets go, haven't seen one in a while.

I think speedway sells the extended bushing. I used oem and was careful not to drive it in too deep. Edit:Speedway SBC/BBC Chevy V8 Extra-Long Bronze Pilot Bushing
 
Last edited:
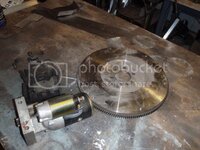
so tonight I didn't have much time so it was time to dig in my stash of stuff and find a mini-starter, motor mounts, steel sfi flywheel, and oil pump stuff.... I also found some roller rockers that I forgot I had, though not for a BBC.
P9251089_zpsacikokum.jpg
 
I just couldn't leave that one in the block
P9261091_zpsow2jcbsr.jpg
pushrod checking length - as is normal, one of the checkers won't work because you can't get the jam nut past the guideplate
P9261092_zpsb4otxppl.jpg
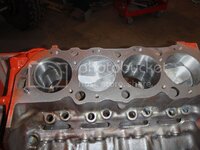
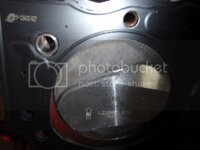
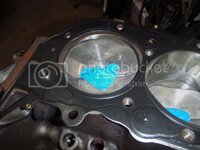
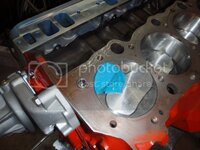
which lead to another issue... there's an interference between the head and the piston
cute,no?
P9261093_zpskhvrkmlm.jpg
the repair
P9261097_zpsi9jf48m5.jpg
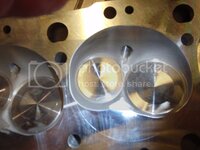
see the straight edge? it's designed for the older, closed port heads
P9261095_zpsqhd8cuhy.jpg
now it's all heart shaped.... and an interference.
P9261098_zpsguf0rvyo.jpg

yeah, precision work....
I'm still not sure I took enough off but until I get clay and check that along with the valve clearance, at least it doesn't hit on rotation. I'm going for .050 clearance

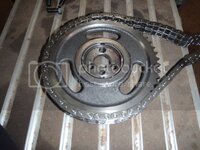
pretty, even with the missing tooth
P9261099_zpsvc2mycdf.jpg

the water pump is on because I can - not because I should
P9261100_zpsysi5x6gs.jpg
 
Looks like you are having fun. I prefer to do as much as possible, but motors and transmissions I've been leaving to experts.

One thing I forgot to mention, word of caution, on a Lakewood bellhousing. I used all new parts, ram clutch, adjustable pivot, et cetera, but needed to open up the opening 1/4 inch to get enough adjustment. It might be the body shifted with time. After pulling the trans and driveshaft a couple of times I got it right. A lot of extra work I might have avoided with some planning/measurements.
 
I enjoy doing it all.... though if I could afford it, I'd farm out the body work
first things first.... replace the plug
P9281101_zpstn2qsyw9.jpg

then measure for new pushrods
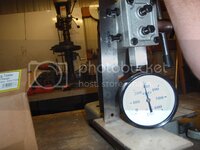
P9281102_zpsj3jnkxfy.jpg

verify that nothing is going to hit (and who says I'm not crafty?)
P9281103_zpslaofvd9i.jpg

P9281104_zpsk2y2dxdx.jpg

at least .0740 of clearance
P9281105_zpsiou00q5m.jpg

verified both sides
P9281108_zpsi9pkkiwo.jpg

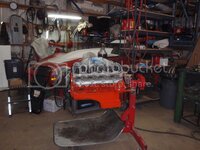
stack it all together again
P9281109_zps1fpv6385.jpg

which brings the new problem.... I ordered the wrong head bolts, in case anyone is copying this - the heads are similar to a Profiler 18 or 24, so those are the head bolts to get. Ah well, it's all moving the right way
 
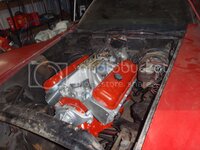
test fit time
PA011117_zpsbhul3uzu.jpg
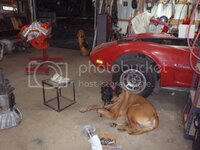
with supervision
PA011118_zpsgy2gbfui.jpg
this was a bit spun up because a balloon went over....
PA011119_zpsdvpdufmp.jpg

hmmm, nice balance
PA011120_zpsdcfvgifq.jpg

let's try that again
PA011121_zps1fmqmkpc.jpg

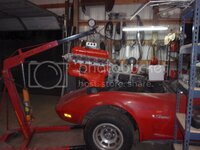
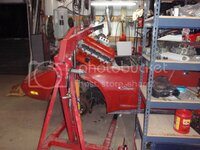
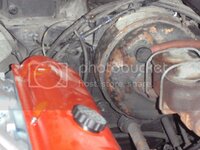
take wheel off.... life is easier until I finally build a gantry
PA011122_zpsznfayj2k.jpg

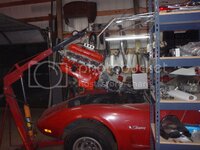
almost like GM planned it this way
PA011123_zps6spdh67g.jpg

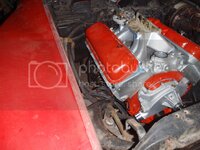
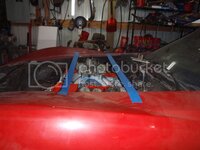
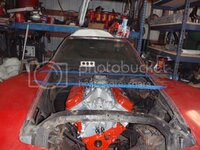
part one was how tall of valve cover would fit
PA011124_zpsdze8uaaq.jpg

this is why there is a big hit on the header tube from OBX - still looks like crap
PA011125_zps2vtoiwl8.jpg

miles of room
PA011126_zpsvunjkqnp.jpg

and the other thing I needed to know - how much scoop
PA011127_zpsx052sid4.jpg

certainly won't be doing a tall filter but it looks like just enough clearance for my L88 scoop
PA011128_zpsabfbi0va.jpg

 
Back
Top