Buinicorn

VetteMod - Corvette Restoration, Modding & Performance Forum

Help Support VetteMod Forum:

SuperBuickGuy

Well-known member
Joined
Jul 16, 2012
Messages
4,043
Reaction score
221
City & State/Province
Pacific Northwest
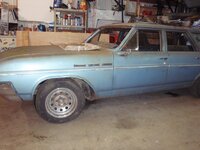
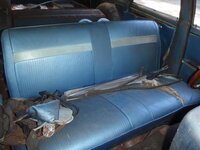
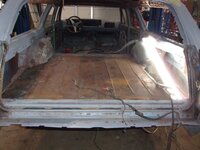
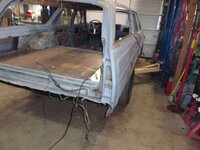
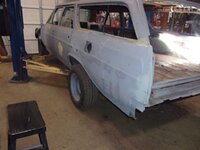
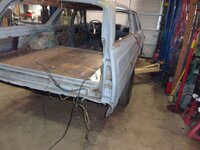
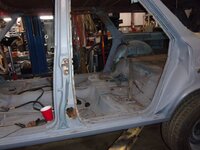
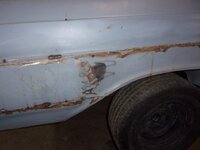
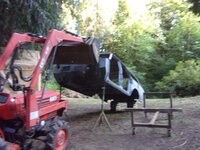
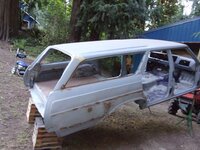
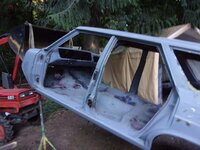
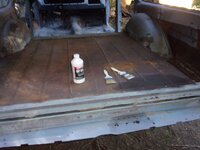
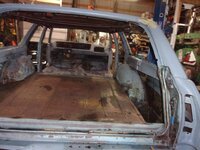
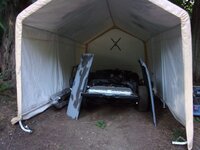
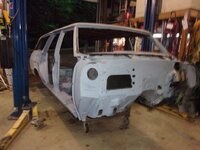
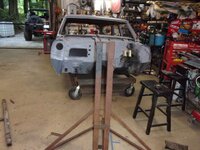
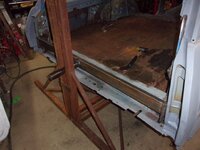
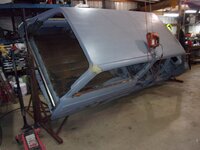
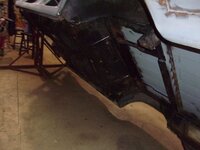
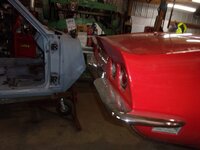
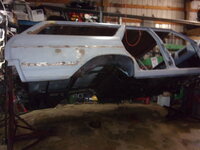
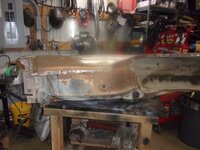
I always wanted a flat top wagon.... thought I found a non-rusty one - it was, it wasn't rusted in the normal spots.... and it had been hit in the right rear

I'll give background next post but here's where I'm at
Did I say this was a solid car? well, it is now
1xmuVXmh.jpg
9zL4DIrh.jpg
zjIfmUnh.jpg
9zL4DIrh.jpg

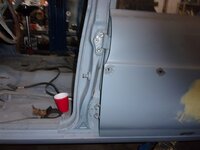
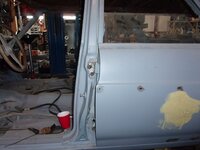
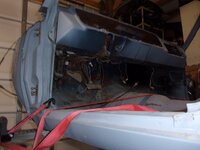
so time to take it even further apart.... the driver's side doors haven't been removed - and the rear left doors ... well, they fought.edited
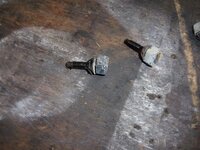
if you're counting, only one of these came off as intended
ufsRajbh.jpg
I love heat
bfCaLX0h.jpg
I win
w6rGPtMh.jpg
zpzxL7Ph.jpg

I need to strip the rest of the shell.edited do some minor clearancing, fix a couple small spots then get to coating
 
Last edited:
more coloring in the lines
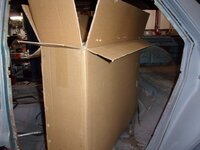
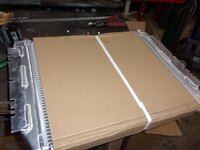
a box
ZBrdfoih.jpg
looks like another warranty is going to get its feelings hurt
47sLfTYh.jpg
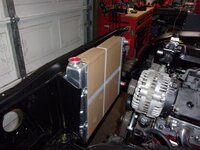
for those wondering... the 64 Buick support is different than the Chevelle
aH1mMnEh.jpg
now it fits
eBjFbooh.jpg
B0bGPCIh.jpg

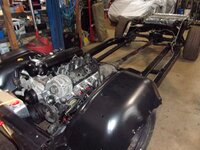
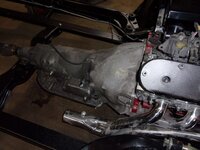
in other news, starter is bolted in and the converter is as well
vJJrgJWh.jpg

and revisit something... where the dark spot I heated to fix oil canning.... it worked! I really didn't get it that warm.. ~ 200 degrees, maybe... I put a block behind then heated it briefly... worked great
​​​​​​​csk6kJ8h.jpg
 
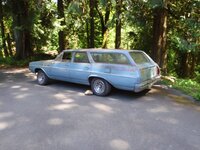
I bought this car 3 years ago for $200 and a set of S10 v8 conversion headers... no title, and on a whim - leaving a swap meet, had been looking for a flat top wagon (I'm not a fan of the skylights) - and they are rare.
7u1m3Xth.jpg
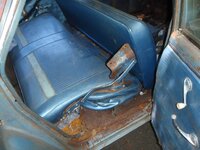
other than surface rust and a bit of mud in the quarter... it seemed solid in all its normal 'rust' places... yeah, oops
TUmMbwKh.jpg
T4EcYQxh.jpg
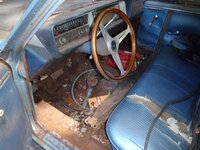
what really drew me to this car was the radio-delete... this was as bare-bones as you could probably buy a Buick then.... no power steering, no power brakes, just a 300/automatic (and the 300 was MIA)
dXSk9B8h.jpg
tFqSYL7h.jpg

what I didn't know was this car had a reputation for taking people's money. It's got 4.10 rear gear and drag-studs.... that said that is the plan for it

initially, I bought a GNX "hot air" motor for it but mostly because it was $400, came with the 200r4 and the quick ratio steering box (the car was really, really rusted).... that said, technology has really done a lot with the 3.8 - and eventually, that will find a home in it.... but I had a 6.0 LS from a Denali and figured it'd be a cheaper/quicker way to make this run

2 years I got the title by tracking down the owner 2 owners prior.... who is a pastor. This is interesting because the pastor who baptized me drove stripper cars and carried tools in the back to help people. He was a legend at buying the loss-leader from a dealership - which were usually cars with the same spec as this car. He would, after that deal was done tell them he'd like to buy another same-car for his wife, but this was the going-to-church car so he wanted ALL the bells and whistles. What's funny is he'd get that car for a loss too.... weirdest part was even though the dealership lost money on both cars, they'd visit his church... and laugh about how well he did. It really is a gift.

I'm not much into slow cars, so my goal here is "nothing to see here, just an old guy in an old wagon" .... who just blew by you so fast that it turned your Lambo inside out. It will be sliver/red interior... and honestly look about the same as when it arrived.... it will have a/c because Buick... but this motor is the stocker that I'll pull once it's on the road to replace with something in the neighborhood of a 1000-1500 hp 3800 V6... nothing to see here, just some big/old/wagon.

 
outside of today's shenanigans with my FJ40,edited I hooked up the fitech timing control.... almost burned my truck down twice, but now it works fine....

I did other things
first was get the steering column out ... that was a lot more pain that I was expecting
mYbpjTvh.jpg
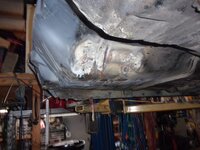
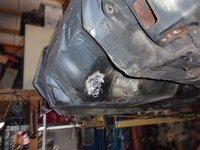
then came the yoyo of up and down to clearance the floor for the 4L80e. I refuse to cut and add metal... so I heated and banged
mP6HwERh.jpg
BYeBOPKh.jpg
banging, round 2
AzzdEDHh.jpg
round 3 (keep in mind, up and down)
ft4sKKdh.jpg
what needs clearance - the cooler fittings
OTtgSinh.jpg
and took the wiper box off the firewall (it is seized solid)
uF52gSxh.jpg
 
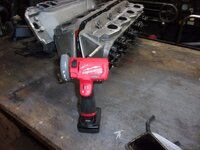
new tool.edited do I recommend? maybe.edited It's about as powerful as an air die grinder - the straight kind.edited So it is useful, but keep in mind I punched one hole with it and did the rest with my larger Makita..... which is dying because I use it to smoke coming out - and it keeps working but the writing is on the wall for it (and my Makita sawzall)

ikA7Pb1h.jpg

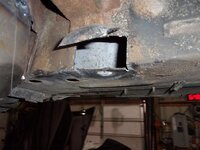
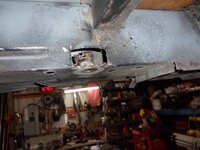
these were done with the Makita - this is the rear-most mounts on the car and both were rusted solid - so no choice but to cut replace the nuts and weld back (when I get my nuts)
Qs60nTXh.jpg
fDjww8Jh.jpg
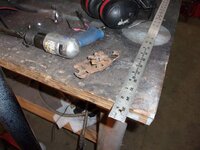
I can't imagine why GM made this nut-holder so complex
NFyweNlh.jpg

this was done with the new tool
TLNogP9h.jpg

finished welding the battery box
Ksa1U6Mh.jpg

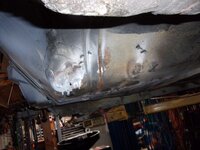
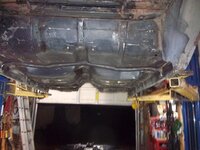
the rest of my evening was a fan-favorite wire brush the dirt off the underside
c4NbR5th.jpg
I weighed it, 10 lbs of dirt
2J6I6SNh.jpg

tomorrow a bit more cleaning then likely put the body back on because the motor may be ready for my Corvette.... I need to get it out of the shop because the next parts of the Buick are dirty in both dust and overspray
 
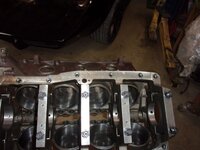
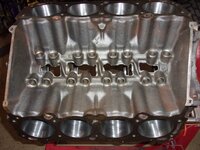
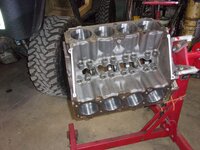
now that the block has been fully seasoned...
6k9HLSKh.jpg
time to get after it
DEgaRZvh.jpg
HwsvqxAh.jpg
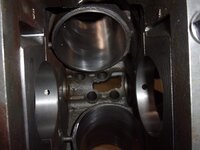
the first step is clean up the block... interestingly this is a 5/8" bore block (oil passage which makes it a 74 and later block)
HQP6mv6h.jpg
and the edges
vTX2WP5h.jpg


so the back story is I need to get these parts in one place (and I may throw the car together enough to drive).... but most importantly, we may be moving soon and the safest way to transport it is together

​​​​​​​
 
for the next week or so, this gets front burner... I've got to get the floor painted so I can mount the body to the frame....edited
first, remove harness
Ye9FzDZh.jpg
remove frame
nIwi0K4h.jpg
put on Corvette dolly
Xm7Cvbhh.jpg

I also really need to start planning the details... things like power windows and such.... I think I have most of what I need to make it mobile.... but no gauges - if what I use needs dash mods, now would be a pretty good time to do it.... and on and on... very comfortable, fast, fast, car... one I could race if the vehicle I'm towing becomes incapacitated....edited
 
time to make the safety experts cringe
IazvgBwh.jpg
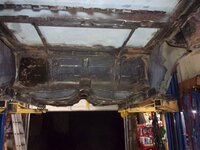
the goal here is get the sand out (more of the sand), and get the grease off the underside.... this is round 1
pHi99Leh.jpg
vu6bY30h.jpg
also do a bit of spot rust treatment
p13QMqwh.jpg
can't see the difference but a lot better
BkM0oLMh.jpg
while the frame waits for remarriage
H3m30Iyh.jpg

NEyqwfNh.jpg
 
I know, I know, I should go back to Corvette only content.... but alas, you need to suffer to really appreciate C3 content.
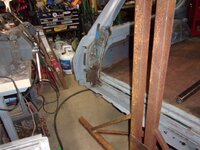
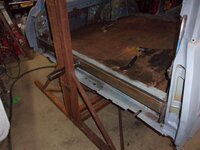
time to set the car in place
3BbKnnLh.jpg
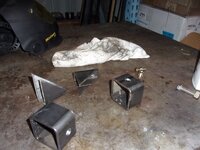
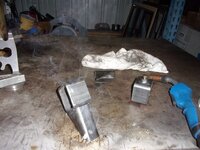
front brackets
07LZfd3h.jpg
assembled
aYuy3SPh.jpg
in the back, I'll use the hinge mounts to hold it
zd7IAuYh.jpg
welded
3kdmRPOh.jpg
it even holds on the back
3kdmRPOh.jpg
 
ugh, I don't like undercarriages
however, it needed a full wire-wheeling plus washing... so that's what it got....edited

vktty4U.jpg

the owner of the C3 and his wire wheeling endeavors tonight
JW2oXhD.jpg
 
been kind of busy with other stuff.... but did get the floor welded in
wBrS26T.jpg

Also got the turbo flanges....edited

Tomorrow is track day - so probably no update
 
Discussion forum, don’t worry about it not being a Corvette:) . We’re here for the cars.

Wow, big project.
 
well, 1200 miles, 3 days and a few new things
bsF3vxrh.jpg
we have a new terrorist... cute little bugger, though
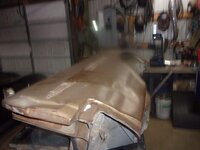
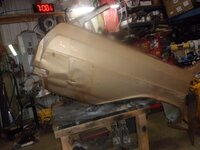
the quarter in its wavy glory
tf2zZQDh.jpg
amazing how little effort can really make it a lot better
7vbtKjMh.jpg
just a push
16V57EOh.jpg
also a push here
gFytESUh.jpg
I'm going to pull the skin off but I want to do the fixes while it's still in its 'jig' also have a bit of sill rust repair....

should get the car back in the shop tomorrow night

oh and the other thing, we're moving in 3 weeks 250 miles away... that said, it's an amazing new shop
 
never think the fender is perfect... it is not
vCjIlwKh.jpg
6dCk8XUh.jpg
I hate doing it, but I'm going to break it down to several components - which means spot weld drilling -
K5RBMFsh.jpg
mostly because it's easier to fix the dents as a single panel - however, the lower lip is really thin - so where I'm drilling out the spot welds will be replaced....
Zg4DWJ8h.jpg
it's remarkable that it was filled with Idaho dirt but not rusted out
t19mo5kh.jpg
 
and, we're back
it's been lurking
H87iJarh.jpg

I bought this years ago now, then moved. then moved again. I'm not sure how far I'll get this time but now I need to get this fender on the car
L3JtHvvh.jpg

still not sure it's much better then what I have well... it is, but it's certain not perfect
0yZ5A7fh.jpg

what it has is something I can work with.... so... we're back and I really need to make this mobile (and the big bits are already in place
 
time peel the skin
mark
dxPCg3bh.jpg

mark the car so I'm cutting a much larger area
r8LSriyh.jpg

negotiate the maze of inner braces
x3eubyEh.jpg

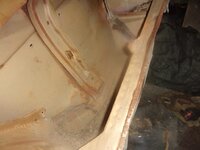
one thing I don't need but will save and sell - the inner structure and tire well, it won't be cheap as they rust out and no one makes a replacement
byiftVlh.jpg
 
Gotta ask, what is this? It looks like something I wish I had periodically, over the years.

1768920003308.png
 
well, not moot but only because I didn't have a lot of time tonight to work with this puzzle
more pictures of the problem
xSbCmIIh.jpg

my current theory is the soldered the door jamb in place then held it with spot welds to the inner structure
ADu11oah.jpg

UJzoHpOh.jpg

hguX02Ih.jpg

I have some experience with stamping metal - so I really don't think that in 1964 they could stamp the sheet metal and the door jamb in one hit.... but, we will soon see
 
I spent my entire Sunday on my wife's car, but got back to this tonight
lots and lots of holes... and yeah, I get it, it's going to be a pain to attach, however to straighten the panel I cannot have the bracing in place nor am I willing to do a 6' weld on a flat panel.
One thing though, I bet this will be only intact spare tire well available on ebay - so I'll take my time getting it apart in a manner that doesn't damage it.
65SX58Th.jpg

peeling back the metal
IDqCPYxh.jpg

slow but steady progress
4Zb2TkFh.jpg

the sure did get jiggy with the spot welder
EIjhj3Yh.jpg

and my chisels are somewhere safe.... ugh... oh well, this will continue tomorrow
wqmPvDJh.jpg
 
I won!
hakJv0th.jpg

but first it was figure out what was still holding it in place
TIKNBuAh.jpg

I did drill everything out - and found that it actually is one piece
SnvAKJwh.jpg

I got tired of chasing the panel across the floor so I hung it
9YpbSZ2h.jpg

getting looser
bGY5V5Ch.jpg

here was the part that was the last thing holding it together....
6DRTAjVh.jpg

for sale soon
qQ5Wze2h.jpg

and I'm willing to bet that this is the only one for sale... so that one other person who needs it, is going to be happy (keep in mind that it took me 5 years to find a quarter panel)
y7vmJcSh.jpg

by contrast, mine had only 2/3rds of this vertical brace, the rest was rusted away
5RL6LVHh.jpg

and final picture of the victory lap.
oD2UIWXh.jpg

now comes the real work....
 
Time to make ready to install.... first, wire wheel
OdKJVHrh.jpg

then clean
nRlPpz0h.jpg

(truth, though, I have done some light pounding on it as well)
after wire wheel, time for rust mort
fgnle6nh.jpg

and on the back of the fender
o7GTCvYh.jpg

Samson wonders why the table shrunk.... he's 10 months old... 165 lbs
E7CO42eh.jpg


and just like that, another hour gone :)
 
I’m interested in seeing the installation process. Looks good so far.

Guys on other sites are saying they have a stockpile of body parts for their classic cars in case of a fender bender. Great idea if you have storage space.
 
I’m interested in seeing the installation process. Looks good so far.

Guys on other sites are saying they have a stockpile of body parts for their classic cars in case of a fender bender. Great idea if you have storage space.
It took 5 years to find this quarter panel. Front clip is the same as all 64 Buick Skylarks but everything from the doors and rearward are unique to the wagon (sedan roof pitches up then down where the wagon stays flat)... 2 years to find a rear bumper.... I have the unique parts, but the other thing, all - whether it was the sky top or the flat top, leaked and puddled water at the bottom of the car... the trim for the side windows (the low-buck stuff which is not chromed) is unobtainium - I have all of it and some point will be fabricating replacements.... it's rare because no one thought they'd be cool because these were as work-wagon as you can get. Even the Chevy flat top Malibu wagon is somewhat more popular because it's a 2 door.... Lucky Costa has built/is building one pretty similar to my goals.


onward
rust converted
5kKUICVh.jpg

and start working out the dents you can never get while it's on the car
uGAcGEVh.jpg

this will take awhile because careful is the operative word (and right now the word is 10 lb sledge as my patience is gone)
iscsoQwh.jpg

and this one
ynJ5I76h.jpg

on to hole filling - for those who don't know, I don't have all the chrome for the car and I'm not going to try to find it...
eNU8pjoh.jpg

clamp a copper bar to the back, the aluminum is to keep from making more small dents
AgO0Jdah.jpg

and now the other end (my bar isn't long enough to do it all at once)
zDjxU7bh.jpg

and what it looks like when mostly done (a pinhole to fill)
H6THd70h.jpg

yes, that's a spray bottle to cool the weld
and I used the mig and added fill rod - everdure while welding
the pinhole and what it looks like on the 'back' of the weld
fGYqHAVh.jpg

nice other thing is everdure is a lot softer so it grinds easier (less heat)
 
one other cool thing, though, I can get a quarter panel made, I just need to scan it but it's $1500.... while this was expensive, it wasn't that....
 
time to get aggressive - if I cut it apart at the bends, it will come off easier
mFOiaWwh.jpg


2nd 3rd being cut off
BeDF5Dhh.jpg


it took some doing but the brace is off
faNOZGwh.jpg


about that 10# hammer - didn't use it, probably should have
iLfThy9h.jpg

then back to grinding these down
p7xDulsh.jpg

now it's decision time - how/what am I going to attach? there's a dent above the wheel well that isn't on the car now... thus putting this entire panel on would actually, potentially be moving backward
nbCiIULh.jpg

bv7mHBFh.jpg

okb3wZXh.jpg

what I need to replace is the dogleg right behind the door - when it got 'fixed' before, it simply was clever sculpting with bondo
UkcsqiQh.jpg

I could also then cut vertically - avoiding the crunch - but then replace most of the fender
DaVWkQPh.jpg

also the spot behind the wheel - where I dropped the body after fixing this fender (humph) - needs to be replaced
BCINhq3h.jpg

and I may do that by simply doing what I did before, cut and weld on carefully.
biggest problem with the vertical cut is I can't get behind the weld to hammer it out after welding - it can be done but it's a lot more work and easy to mess up
 
Back
Top