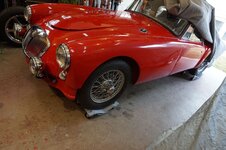
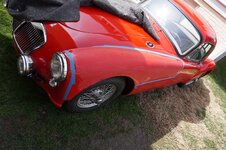
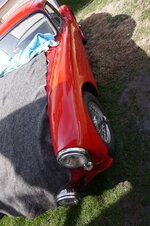
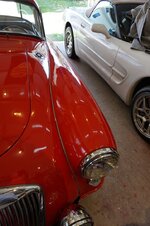
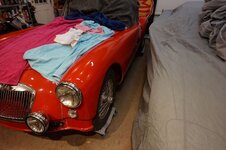
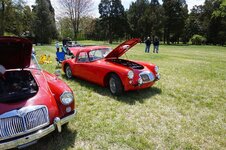
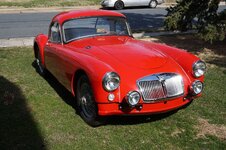
1958 MGA Coupe

VetteMod - Corvette Restoration, Modding & Performance Forum

Help Support VetteMod Forum:

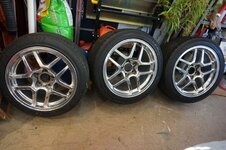
man have i been lazy when it comes to the MGA....i did spend oodles of time polishing corvette wheels though

DSC03356_zpsj4zx17jk.jpg

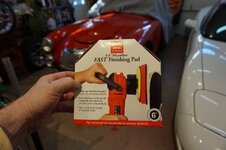
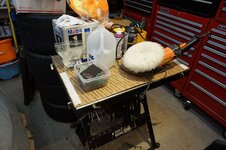
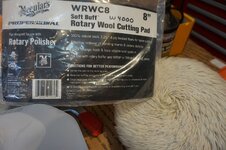
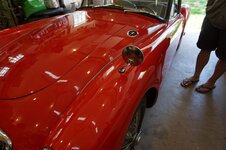
.....saw this at the auto store and thought i would try it and turns out i like it.

DSC03358_zpsettdsw0w.jpg

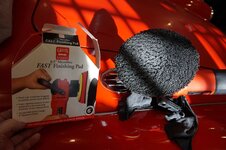
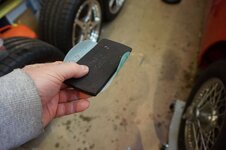
it polished very nicely and has a microfiber top buffing layer

DSC03359_zpsetcanv5o.jpg

DSC03361_zpsb4pnd9lj.jpg

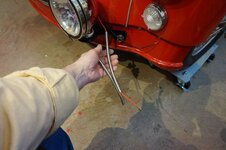
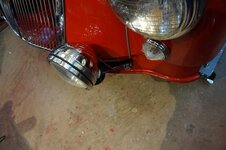
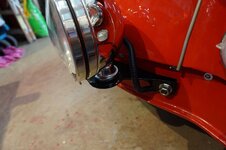
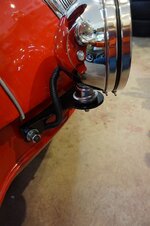
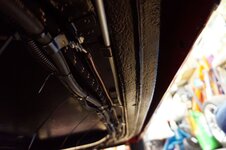
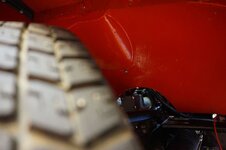
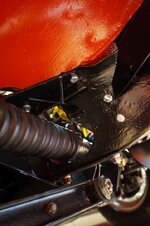
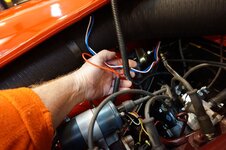
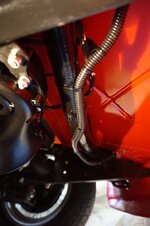
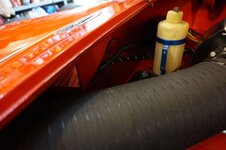
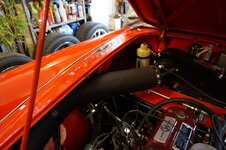
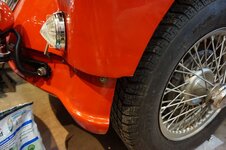
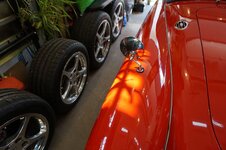
i think i have figured out the routing of the lights i don't want to tuck it directly behind the bracket because i don't want it to rub on the front of the car and abrade the paint. and the wire loom isnt long enough so i went out and bought some dorman black ones

DSC03362_zpskh5e5kpf.jpg

new routing path

DSC03363_zpsrrc2qk4e.jpg

DSC03364_zps2otpwalb.jpg

hopefully this weekend i can wrap this project up
 
Last edited:
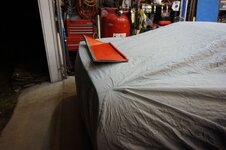
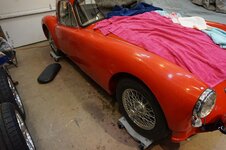
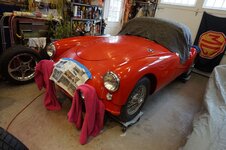
i have to tell you these wheel dollies are wonderful it makes it so easy to position the car for access to where ever, i wish i had gotten them 20yrs ago

DSC03379_zpscge04yjm.jpg

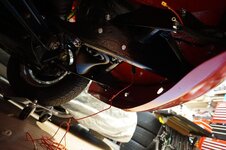
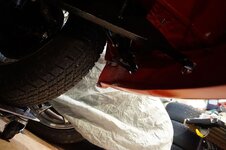
loom wiring it doesnt touch any painted surface

DSC03380_zps5w63net4.jpg

DSC03381_zpsakjohsyi.jpg

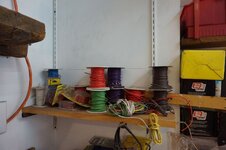
one advantage to doing this for a long time is you accumulate stuff like when i made the wire harness for the 37...

DSC03382_zpsqsvdfoku.jpg

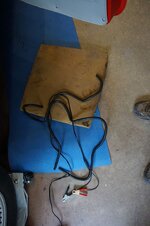
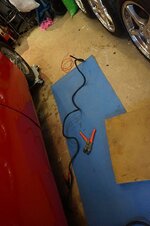
so lets grab some #12 gauge wire and lets make a new power supply...it took longer to think about how i wanted to do it then to actually do it...

fused power supply
DSC03383_zpser1a45fy.jpg

stuck in to wire loom
DSC03384_zps4abnwbg7.jpg

DSC03385_zps5ei4h22r.jpg
DSC03386_zpstwm9tkei.jpg

spliced into some red wire
DSC03387_zpsxhqexelh.jpg

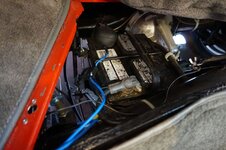
wire tied to battery supply
DSC03390_zps8jgx1r6p.jpg

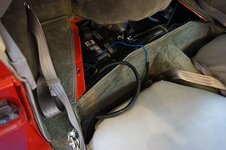
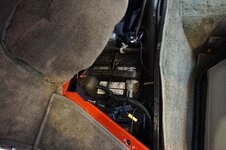
and popping up through into the engine compartment

DSC03392_zpsnqiomw2m.jpg
 
remember the goal here is no new holes and it has to be completely independent of the new wiring harness

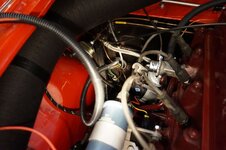
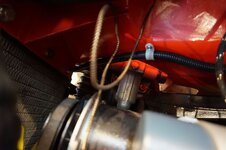
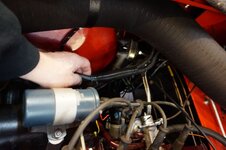
so this goes through the grommet for the capillary pipe and is wrapped in tape and through a plastic tubing inside of the grommet

DSC03393_zpsaidxlnrs.jpg

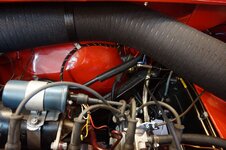
the routing through the engine compartment, using an existing hole for the bracket

DSC03398_zpsn1cdyseu.jpg

DSC03395_zpsnsplkwf9.jpg

wire tie to keep it nice and tight

DSC03401_zpsck6iwwt7.jpg

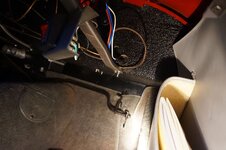
and it pops out the front near the other looms
DSC03400_zpsl2p0iwfj.jpg

DSC03399_zpsmdseefq3.jpg

and where the hook up will happen

DSC03397_zpsazosnmzw.jpg


and i think the MGA is marking its territory
DSC03402_zpsaryg9cre.jpg
 
to make up for lost posts

spent 90 minutes tying everything together and we have lights....i still need another feet of wire loom and to zip tie every thing nice and neat


where you have a union and connections you can use a larger section of loom to put everything in and then it gets tucked up nice and tight to the inside of the fender

DSC03405_zpstg4txhsn.jpg

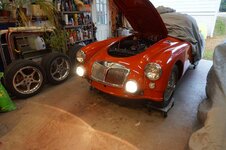
and i have light its pretty awesome these puppies are pretty bright

DSC03404_zpsrvvhoika.jpg

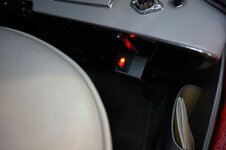
and the switch even liiuminates when it is turned on

DSC03406_zpsib54zi7e.jpg

later today after i get the extra loom wire i will finish the job!

now to design and make a custom made tow ring for one of the front brackets
 
As an Amazon Associate we earn from qualifying purchases. Product prices and availability are accurate as of the date/time indicated and are subject to change.
mid 40s and sunny outside , time to take the car out of hibernation.....around here a 25 minute drive is only about 5 miles. this area really sucks for classic cars

those wheel dollies really work well
DSC03449_zpsublggwrg_1.jpg


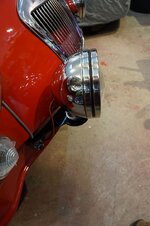
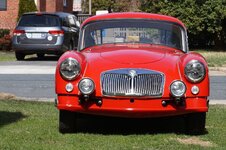
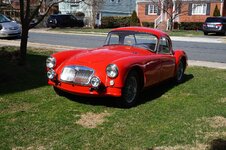
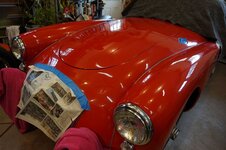
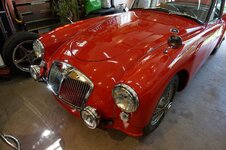
heres the final finished photos of the front lights


DSC03452_zpsqw3synvh.jpg

DSC03453_zpsgyvbfbeb.jpg

DSC03454_zpsvatlfjkq.jpg
 
thanks the drive was nice, funny thing is that living inside the DC beltway make its easy to get to work but really sucks for older cars.. a 22 minute car drive is 5 miles.....last summer i had a 53 mg TD and the 58 MGA coupe and was driving to work in an 06 mustang convertible or in bad weather a Sienna minivan. I would drive the older cars on saturday and sunday but never really could get the miles in that i wanted to and the beltway and I95 are not old car friendly in any fashion.....so as i drove to a car show in my mustang I had a WTF moment and said why i am not driving the C5 i have been wanting for many years.... I got home from the show and sold the mustang and the 53 MG TD and bought the 04 C5 vert and it didnt cost me anything. I dropped my car hoard by one and got the car i really wanted. I liked the mustang alot and I got it when I still had a kid at home so the back seat was beneficial but now as empty nesters the back seat was not really important. In fact the Mrs doesnt really get in the vette its to low for her. so the C5 turns out is my nice day drive to work car....it always puts me in a good mood, and the 58 MGA coupe is just my old special fun car for saturday morning drives around the town....

once a corvette guy i guess you are always a corvette guy....
 
Last edited:
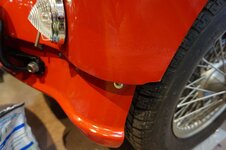
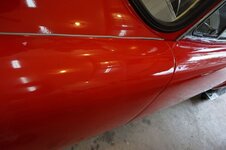
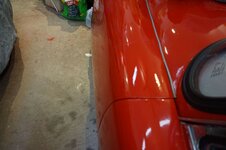
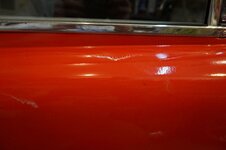
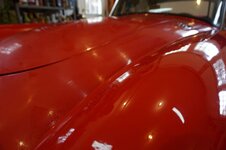
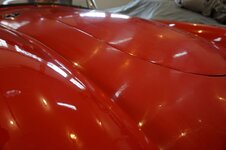
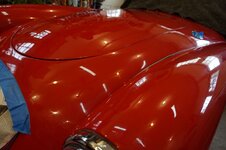
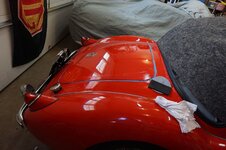
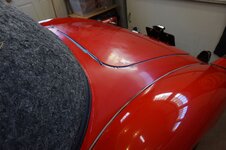
every once in a while you still have to see if you have a set of brass balls.....i wasnt happy with how the clear coat was sitting on this fender, only on this fender , my supposition was i shot it too heavy and maybe there wasnt enough set up time it was only in certain spots on the fender. so i wanted to let dry for a really long time and today was a manhood check

DSC03467_zpsulkbebci.jpg


DSC03464_zpsqmsfaq0l.jpg

DSC03468_zpsowqjog2e.jpg

i sanded it with 180, 400 and 600 grit

DSC03469_zpsjwkuol6v.jpg

DSC03470_zpszuc6yxai.jpg

then i buffed it with a wool pad
DSC03471_zpshdahysdy.jpg


and my supposition was right...

DSC03472_zpshzg30yaq.jpg

DSC03473_zpskkehfv7f.jpg
 
Last edited:
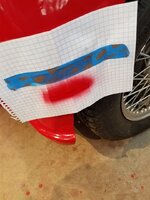
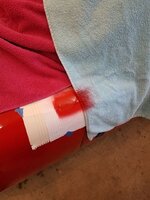
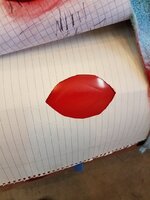
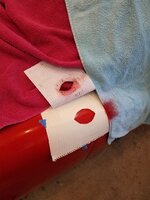
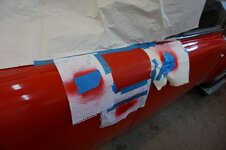
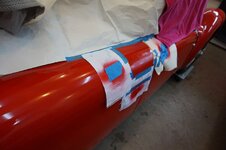
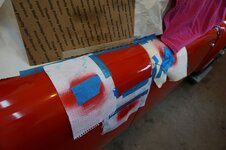
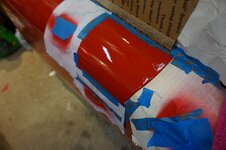
so looking over the car I noticed that something brushed up against the drivers fender and scraped the paint a little bit, this is why I like driver quality cars so I dont have to sweat the small things. I also noticed that I had some very slight red staining on the wool bonnet after buffing the fender that means i had reached the base coat some where.....so i looked hard and found a jelly bean size spot that i had sanded through to the base coat. its not hard to find the spot, use 1000 grit paper some water and a white rag just sand a little and wipe the rag when it gets red you found the spot. my paint is a lacquer base and the paint will always melt into the previous layers so some quick prep sanding and grease and wax cleaner and an air brush


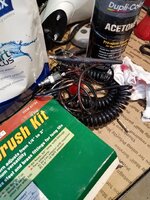
so heres a picture of the air brush gun under all the coiled tubing.....on the top spot i used two different size masking holes to make blending in easier

tomorrow night it gets sanded and then clear coated

20180326_174031_zpst5qcxftf.jpg

20180326_174023_zpsqilchgpe.jpg

20180326_174014_zps2g773vl3.jpg

20180326_175145_zpsy6vitpww.jpg

20180326_175326_zpsxfdfc8gq.jpg
 
i wet sanded the repaired spots and sprayed 5 coats of clear

DSC03476_zpsu5llfepn.jpg

DSC03475_zpse3hyqjec.jpg

DSC03478_zpslt8wutqi.jpg

first coat

DSC03479_zpseusowkxu.jpg

DSC03480_zpsuc0pyuxh.jpg

2nd coat

DSC03482_zpsv1bwung6.jpg

3rd coat

DSC03483_zpsa8sdfyd7.jpg

final coats
DSC03484_zpsdcxibh5f.jpg
DSC03485_zps0isnxiu2.jpg

now let it dry for several days and wet sand and buff....
 
the first paint job that I thought was okay had all sorts of spots where I blended in and fixed problems. It's fun watching expressions when I mention, in a passing manner, that I painted or fixed a paint issue.... to most it's like some kind of voodoo; what I don't tell is I learned most of it watching you... thanks buddy :)
 
the first paint job that I thought was okay had all sorts of spots where I blended in and fixed problems. It's fun watching expressions when I mention, in a passing manner, that I painted or fixed a paint issue.... to most it's like some kind of voodoo; what I don't tell is I learned most of it watching you... thanks buddy :)
wow thanks, its probably a good thing you are on the other coast and not around the corner from me or my wife would be really pissed at me for spending time in your garage....

i had a garage corvette buddy when i lived in in NJ and our wives would complain about how much time we spent in the garage....we had a blast. my wife would come home and he would say "oh **** the fun police are here". once his wife said to me "Sally (my wife) must hate Jim", i just smiled.
 
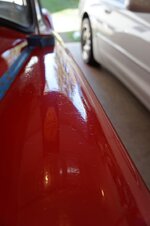
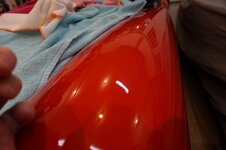
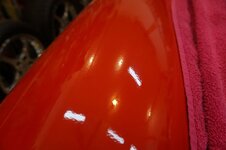
so lets keep it going, the fender wet sanding of the front fender removed the orange peel which is not a bad thing i was just going to do it over several years instead of all at once . put now i will speed up the process

so I wet sanded the drivers side door and rear fender and buffed it last night but the camera died so no photos....just this from tonight before i start work on the passenger side.
so its not so much about shininess but more about keeping the same way light reflects the same in each body panel for a uniform appearance, my car as it is is very shiny,

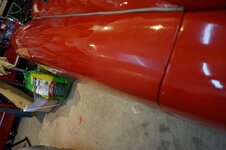
finished drivers side fender no orange peel
DSC03488_zps97nahp0u.jpg

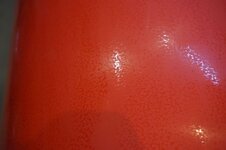
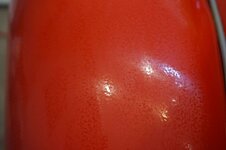
pass side frt fender orange peel, goal is to make them look the same

DSC03489_zpshyhkfxfw.jpg


i also know exactly how much clear coat i have on the car so i can start with 1500.


DSC03487_zpsyhl0yadn.jpg

so on to the passenger side.....wet sand with 1500, and then 2000 and then 2500 all by hand with a backing pad

not very high tech

DSC03491_zpseayfhxcz.jpg

DSC03494_zpsiegp2qvp.jpg

can you see the white slurry thats the clear coat getting flat....it should never be the color of the base coat or it means you have sanded through the clear coat

DSC03493_zpsy0fyp8j1.jpg

this is making it flat sanding the high spots of the clear coat

DSC03495_zps9veop6d3.jpg
DSC03498_zpsacckrwxw.jpg

DSC03497_zpsi8vl0e37.jpg
DSC03496_zpshhls1g9r.jpg


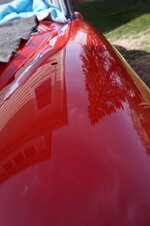
so sanding down the high spots of the clear coat makes the paint look flatter and shinier, tomorrow it gets buffed
 
Last edited:
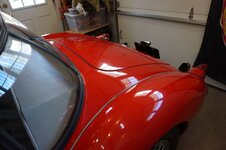
finished the top of the car yesterday and now on to the front shroud and bonnet

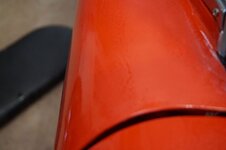
you can see the orange peel onthe front shroud

DSC03484_zpsdcxibh5f.jpg

this time i just used 2000 and then 2500 grit

DSC03484_zpsdcxibh5f.jpg

DSC03502_zpsx5pehfuj.jpg

DSC03503_zpsgdaqs22e.jpg

now to the buffing

DSC03504_zps3rgxekod.jpg

DSC03506_zps43cnsbfp.jpg
DSC03507_zpsovnfnkqr.jpg

this is working out nicely.....it will be time to stop soon ....when the paint job starts to show or highlight the limitations of the body work its time to stop making it shine more
 
and the last panel,

DSC03513_zpsxyqno9vp.jpg

this was the buffing pad i really like wool for the deeping cutting or buffing

DSC03514_zpskwrz211f.jpg

the area totally wet sanded
DSC03515_zps8kqodujc.jpg

and then the buffing result

DSC03516_zpsh4agqchs.jpg

i cant wait to see it out side later today when i take my weekend joy ride
 
with all the fun you're having with this, maybe I should put the Fiat next in line.... it would certainly make my wife happy since it's being built for her.
 
Wow, how many vehicle projects do you have going on? The Fiat sounds interesting.

50 Buick Sedanet with a 430 Buick, aluminum heads, twin turbos and eventually an Art Morrison chassis. I wanted experience to build a true, custom fat fender hot rod.... this is the car that's going to be the penultimate one so it has sat for awhile and will sit a bit longer.

64 Buick Skylark wagon with a GNX motor

The Fiat and of course the Corvette

finished projects (but ones I'm still working on) are a 94 diesel suburban I use for camping and second car duties, an FJ40 along with SAR'ing my new Daily driver Colorado, oh yeah, and my wife's Jeep Rubicon that she uses for hauling her K9s for SAR.

So a couple.... it also kind of informs why I've been working on the Fiat on and off for 8 years.
 
Wow, how many vehicle projects do you have going on? The Fiat sounds interesting.

50 Buick Sedanet with a 430 Buick, aluminum heads, twin turbos and eventually an Art Morrison chassis. I wanted experience to build a true, custom fat fender hot rod.... this is the car that's going to be the penultimate one so it has sat for awhile and will sit a bit longer.
.

this is the one i really want to see being built
 
Wow, how many vehicle projects do you have going on? The Fiat sounds interesting.

50 Buick Sedanet with a 430 Buick, aluminum heads, twin turbos and eventually an Art Morrison chassis. I wanted experience to build a true, custom fat fender hot rod.... this is the car that's going to be the penultimate one so it has sat for awhile and will sit a bit longer.
.

this is the one i really want to see being built

takes money and time. Hopefully, the Corvette will bring enough money when it's time to start the Sedanet
 
with the speed you work a little car like a fiat would sail right through your shop
Yes but things like this week is a good example. I have a 94 Suburban that is for K9 SAR, I've outsourced a lot of the boring work; but I still need to spend several work-periods on finishing it.... and the FJ40 needs a bit of love so it'll last long enough for me to put the LS motor in it (or diesel).

What's 'funny' is it's not that terribly far from being an operational vehicle.
 
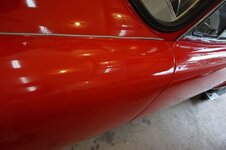
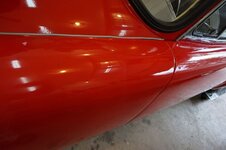
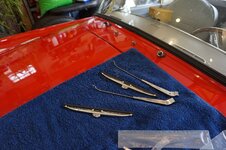
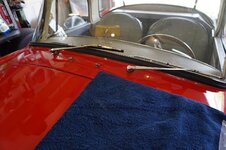
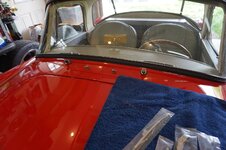
i removed the swirls from the wool pad by using a DA polisher and a fine polish and then finished up with a mirror glaze.....and its time to add some windshield wipers

DSC03539_zpsugo54q02.jpg

DSC03540_zpsrb8z8fyt.jpg

DSC03541_zpsn40dvuye.jpg

now I can see I need to clean the windshield
 
so photo bucket is still down that makes it about a full two weeks....any way

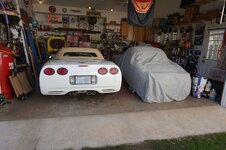
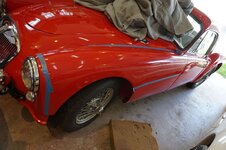
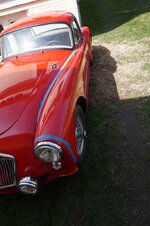
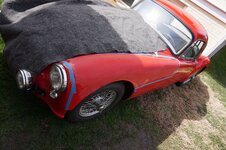
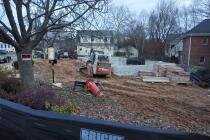
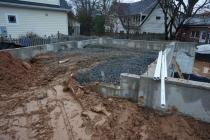
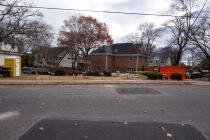
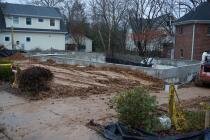
this is where we are. 18 months ago we decided to down size and sell the big house and buy a smaller house and redo it. so we bought the house next door literally, the yellow house is the old house, we sold our house sent everything to storage and we live like college freshmen out of boxes and with nothing. I am happy to report that it not only sounds horrible but it is horrible. however one year later we see an end to the madness. the MGA coupe and all our possessions have been in three different storage locations for the last year some stuff has been in storage for 18 months. the corvette is bunking at work in a parking garage and comes out on nice days.

we can see the end
thum_825e11f3a99f917.jpg

thum_825e11f470d461f.jpgthum_825e11f55e095ff.jpgthum_825e11f5e26b34f.jpgthum_825e11f62ab21c9.jpg
 
Back
Top