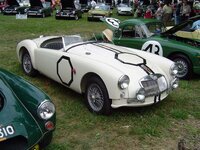
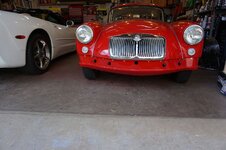
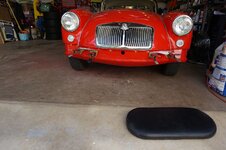
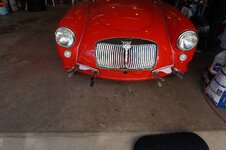
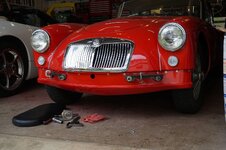
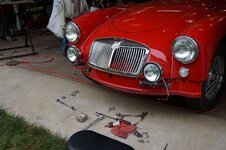
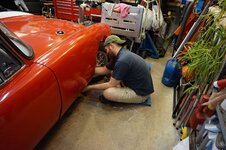
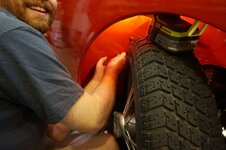
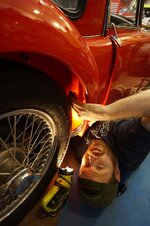
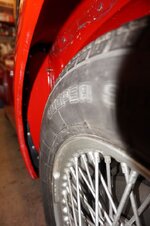
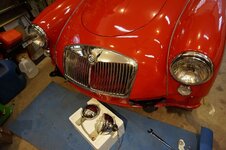
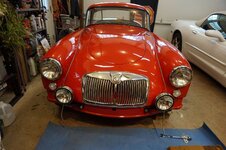
1958 MGA Coupe

VetteMod - Corvette Restoration, Modding & Performance Forum

Help Support VetteMod Forum:

bobs77vet said:
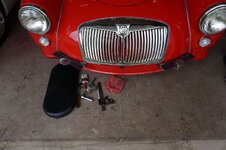
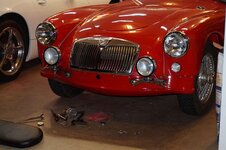
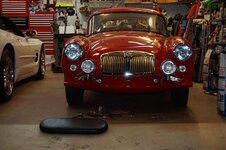
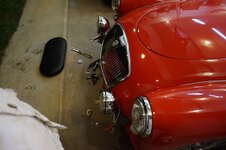
the curves on the coupe catch my eye every time I look at it. the weather is getting nice and i am finding my self drifting to the garage, a few non related MG tasks need to be taken care of and then its MGA time to finish adjusting the door latchs and put the front bumper on.
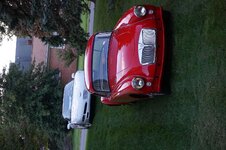
DSC03144_zpst5pc9ve6.jpg

heres one of the projects scratched off the list.

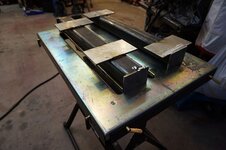
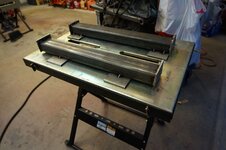
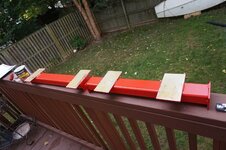
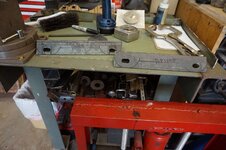
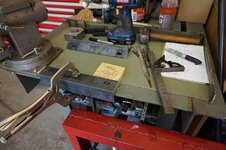
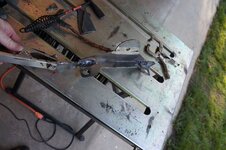
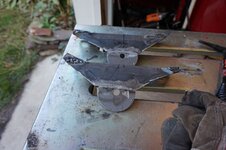
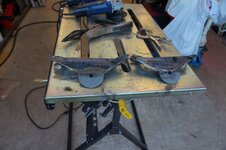
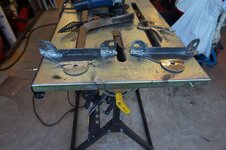
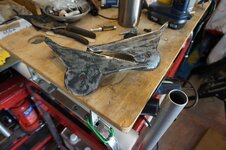
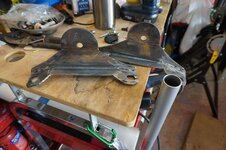
the corvette has a space age frame under it and it requires crossbeam adapters to hold the alloy frame properly...of course it does, this is for under the rear axle and the front cross member. well I have the need for some of these and the HF cross beam adapters that i eyeballed i would need to modify to fit the corette and two would cost me $70 or $80. I can buy the steel for about $27. so i have been looking at pictures on line and measuring under the car and asking a couple C5 guys questions about theres and this is what i came up with...

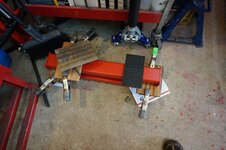
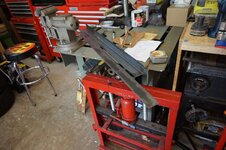
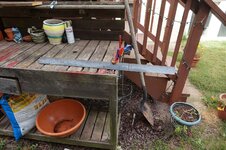
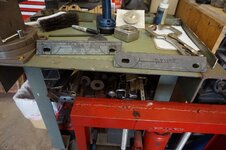
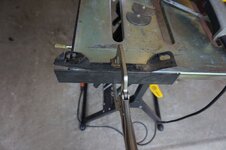
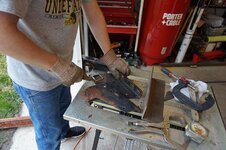
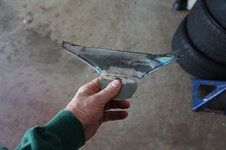
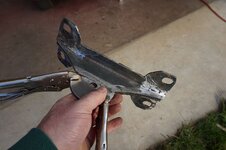
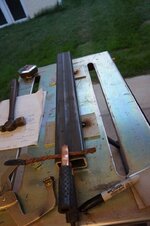
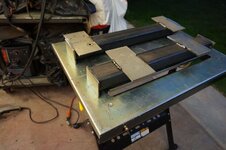
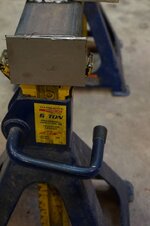
so here we go, I bought 2x3x1/4 rectangular tubing , and i had 1/4 plate laying around, the pads are 3 5/8 x 6 3/4 and the end caps hang down 1/2", these weigh about 20# and i have not put a jack shaft on, i am going to try just resting on my jack saddle

took about 45 minutes to cut everything with a cutoff wheel and about an hour to tack it up
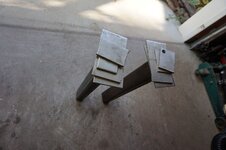
DSC03142_zpsfacxecqm.jpg

i am going to do a full mock up with more then tack welds but less then full seams and will test it. i think i will add gussets to the pads sides just because i can....
DSC03143_zps7jba6ko4.jpg

DSC03146_zpsmpxg4fqt.jpg

DSC03147_zpsnpcyf3sf.jpg

DSC03149_zpseumuatkn.jpg

DSC03151_zpsi1fgbzmh.jpg

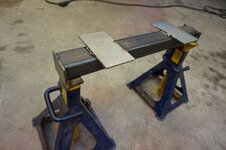
capped ends so the jacks dont slip out
DSC03154_zpsxdga4u44.jpg

DSC03152_zpshknu17e0.jpg

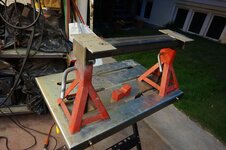
and they also fit the smaller jack stands
DSC03155_zpskdxbfneg.jpg

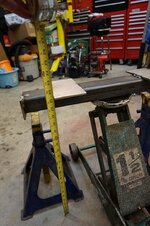
and yes these will get up pretty high
DSC03161_zpseimidcfk.jpg
bbb
 
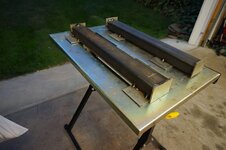
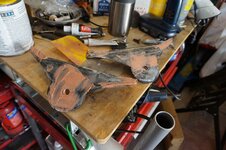
so the cross beam adapters passed the oil change and coolant fluid change on the corvette so time to flap disk sand the cut edges and paint them.

DSC03185_zps3kcp2f14.jpg

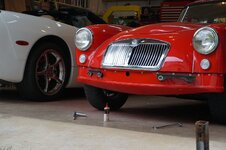
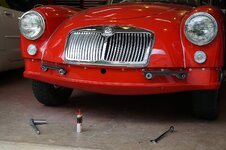
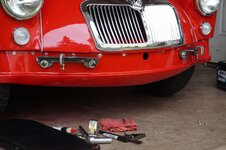
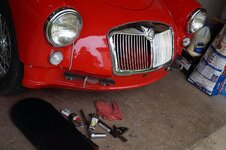
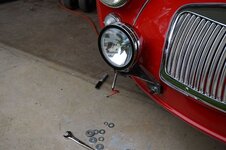
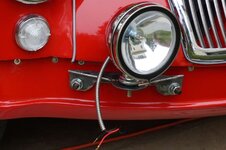
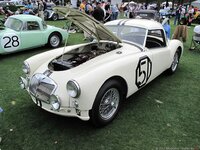
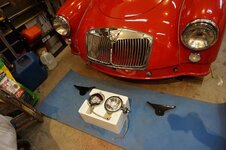
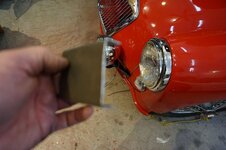
i found another picture of the sebring lights and mocked up some brackets

51%20sebring%20maga_zpsqlubhmme.jpg

DSC03191_zps0i5pifq2.jpg

DSC03190_zpse9qn9bc3.jpg

DSC03189_zpsukonzhkp.jpg

now to find some steel to make this with
 
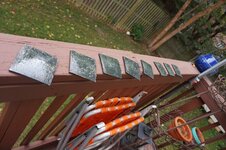
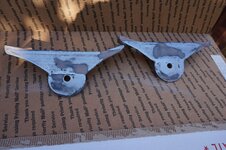
lets wrap up the cross beam adapters and glue the rubber pads to them

DSC03192_zpshz6d3ckj.jpg

DSC03193_zps6y4qtnes.jpg

clamp tthem down
DSC03194_zpshtxe4e5a.jpg

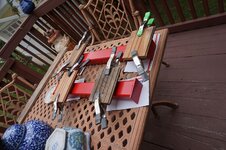
and a peek at a finished product

DSC03204_zpstguksvsh.jpg

now back to the brackets

DSC03195_zpstmnflkfo.jpg

DSC03196_zpsoogo8efn.jpg

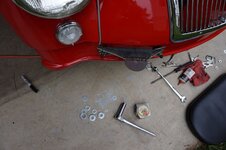
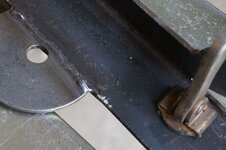
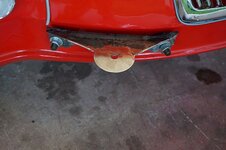
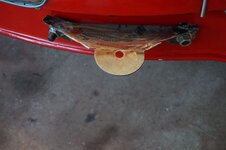
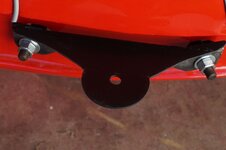
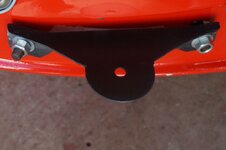
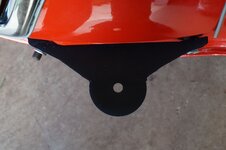
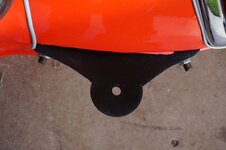
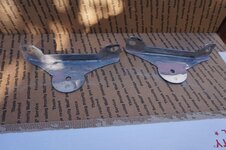
used some big round washers to give me a pattern

DSC03203_zpsy1sm0ic6.jpg


DSC03203_zpsy1sm0ic6.jpg


DSC03197_zps3r0lswgf.jpg

DSC03207_zpsycd2wlyh.jpg

not a bad fit for the first time i can see i need to lower the drivers side a wee bit
DSC03205_zpsflgiuktn.jpg


now to work on the top design and determine if the brackets are curved or if they stay straight
 
I spent another hour adjusting the brackets some and I sliced the top so the back of the angle iron would bend to fit the curve. its clear to me that the brackets in the photos i am viewing are using smaller diameter washers and the the sizing of the bracket is just slightly larger then those washers and also the top of the bracket is very tight to the bottom of the driving light mounting bracket. i have ordered the driving lights so once i get those i can figure out the top mounting spot. over all i think i am in a pretty good spot its easy to trim stuff down. and also easy to weld additional material if necesary

DSC03209_zps8nfcd1jz.jpg

DSC03210_zpsp0ppoynm.jpg

DSC03211_zpslppsxmma.jpg

DSC03212_zpsh2w2khze.jpg
 
As an Amazon Associate we earn from qualifying purchases. Product prices and availability are accurate as of the date/time indicated and are subject to change.
its easy to trim stuff down. and also easy to weld additional material if necesary

You are certainly the master of trimming and welding. This project has proven that there is no task you can't accomplish with a little ingenuity and fabrication. You are an inspiration to us all. Keep the updates coming please. :-)
 
DSC03232_zpslexziu1l.jpg

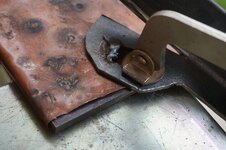
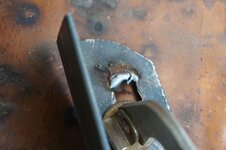
fill up the holes they were a tad too big with the smaller washer

DSC03233_zpsuzvsftjm.jpg

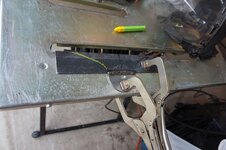
weld it on a copper wtapped piece of 1/4 plate

DSC03235_zps7bdnfk9m.jpg


DSC03237_zpswrzhjya1.jpg

trim it down

DSC03238_zpsk7okcvsa.jpg
DSC03239_zps09igoazo.jpg
 
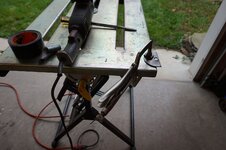
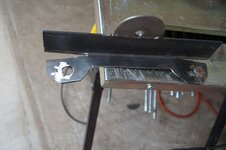
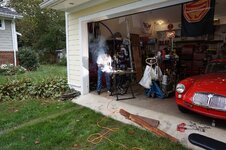
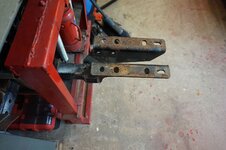
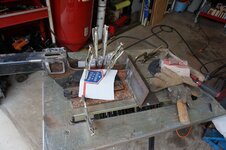
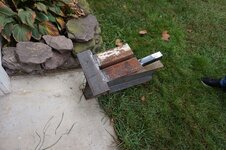
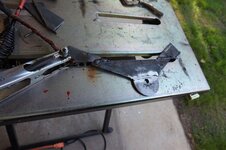
lets start by having some garage time with the boys... we are making a hitch mounted table for metal work and a vise for an F150 out of scraps from an old trailer hitch, the hitch receiver is in my welding table.


DSC03244_zpsjdaasydt.jpg

DSC03246_zps2ml3sjhv.jpg

DSC03247_zpskqwmgpwr.jpg

now we make the removable top

DSC03264_zpstuavgs2q.jpg

DSC03266_zpsjir3haqg.jpg

now lets get back to the MGA light bracket and add in the material to the bracket to fill the void from the bending

DSC03267_zpsq62intdf.jpg

DSC03268_zpsfhcsgoqi.jpg

DSC03269_zpsdljaafpq.jpg

DSC03270_zpsxv1br0jr.jpg

DSC03271_zpsec0diqak.jpg

DSC03273_zpsztf4hugx.jpg

DSC03274_zpsaa0ielp0.jpg

next thing to do is to put the final curve into the bracket from the center to the ends....next weeks work


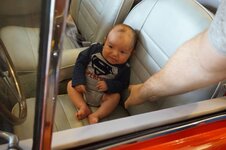
we have to get my new grandson in a cool car quick so the imprinting can set in

DSC03256_zpsaig3mfvo.jpg

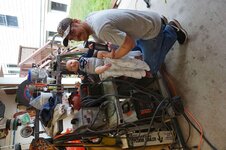
and the baptism at the welding cart...

DSC03262_zpsfghvsqao.jpg
 
lets add some curves

DSC03276_zpsns5jl126.jpg

lets make them symetrical

DSC03279_zpsg9ukyscb.jpg


add some spray primer to see the definition of them

DSC03280_zpsyganrelc.jpg

DSC03284_zpswfzpvqhc.jpg

DSC03283_zpskqqeohx2.jpg

DSC03286_zps8iknivqt.jpg
DSC03285_zpsq8og8kcj.jpg


getting close i need to find one of my drum sanders to do some radius sanding
 
Are you sure you started him soon enough? the gifted go from the hospital to the shop then home :thankyou:

damn i am 3 weeks behind already....will have to make up for it with massive amounts of tools and car projects

I have a friend who just brought home her first daughter (she has 4 boys) and was commenting that she was looking forward to her daughter getting ballet lessons. I told her that unless her daughter had already been interviewed that it was impossible for her to get into a good school. Boy, did you know that women with newborns could be testy? :eek:
 
it would be more like crumple to pass, although the steel is that nice 1950 quality stuff

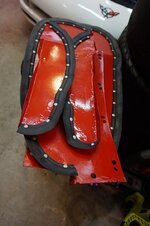
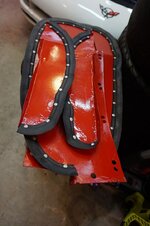
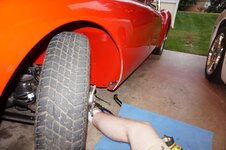
grabbed an hour to install 2 of the 6 fender spalsh guards

DSC03287_zpskh0epoh2.jpg
DSC03288_zpskpjiyec9.jpg

DSC03289_zpsegqmv3fl.jpg

DSC03290_zps5am068rl.jpg

DSC03291_zpsabwxm0mu.jpg

hopefully tomorrow the others go in.
 
i must admit some of my best work is done by others.....little Joe, he is actually too big to fit in the coupe.

so now all the parts I took off the car are back on. i still have to do the furlflex door trim and the chrome around the windows, and finish the driving lights

fitting the inner splash guard panels


DSC03292_zpswabiwjo6.jpg

DSC03297_zpsesfscsim.jpg

DSC03298_zpskpatb2u5.jpg

DSC03299_zps3lcrtzwh.jpg

DSC03301_zpsmjebdexf.jpg


DSC03304_zpsh2lsmmxs.jpg
 
Last edited:
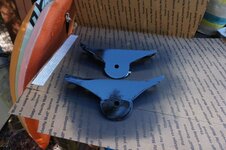
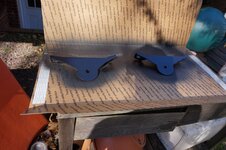
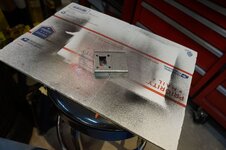
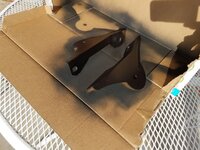
i have decided to paint the bracket gloss black so lets finish this up

sand everyting again and stamp sides markings

DSC03310_zps7evb71bd.jpg

DSC03311_zpsgt0gnyb3.jpg

just cause its a bracket doesn't mean it should not be brught up to high paint standards

DSC03312_zpszmwntjuz.jpg


first sanding

DSC03313_zpsbtojd855.jpg

DSC03314_zpsizjtuc43.jpg

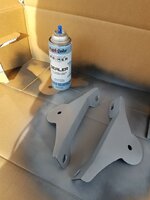
and spray primer, first coat

DSC03316_zpshbfjdwd3.jpg
 
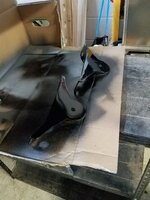
i am using the dupli color universal black its nice and shiney and gives a clean uniform coat and can be clear coated

wet sand, prime and then sealer and first top coat

20171204_134839_zpszdelxcpj.jpg

then prime again after its nice and smooth

20171204_134916_zpsqug7msj9.jpg

then seal
20171204_140044_zpsowabe4xq.jpg

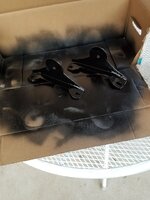
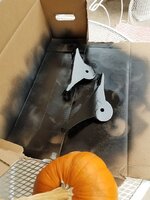
then top coat to see what we have

20171204_145608_zpsqxhgncad.jpg

20171204_163204_zpskjeaifko.jpg
 
what the hell, i haven't tempted the gods lately, well except for buying some new wheels for the corvette in the direct line of sight of the boss.....yikes i was daring.... although it turned out better then i thought just a lot of eye rolling and disbelief. but i digress....

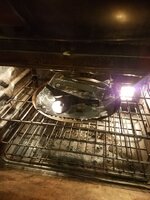
lets warm these up some to help the drying process so i can install them on saturday, looks like i need to clean the oven too.

20171207_171745_zpsprda6t1n.jpg
 
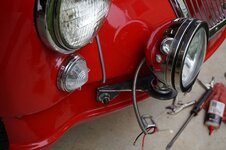
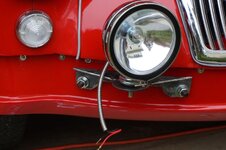
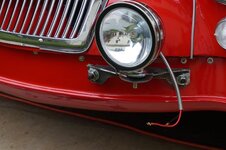
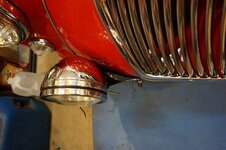
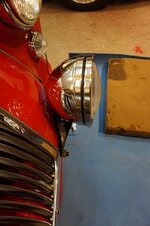
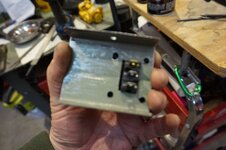
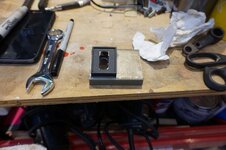
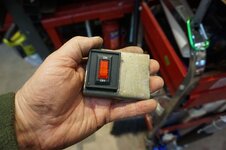
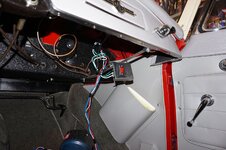
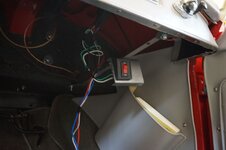
so the idea is that this light circuit will be completely separate from my new wiring harness. i have a new front bumper for the car and when I go to sell the car the bumper will go with the car. so if the next guy doesn't like the lights all he has to do is remove my light wiring and the lights and hes good to go. i will mount the swicth on the dash panel lower support bracket and the relay will be mounted to the same switch panel. should work nicely.

DSC03327_zpsaqtrlw6y.jpg

DSC03328_zpsnjn8qewc.jpg

DSC03330_zpslq28yk6d.jpg

DSC03329_zpsk91iv6w5.jpg

DSC03331_zpsz8dgm37c.jpg

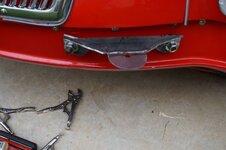
of course a bracket needs to be made

DSC03334_zpswqpwr8xx.jpg

DSC03339_zpswzdsl9rl.jpg

DSC03335_zpsig12an1c.jpg

DSC03336_zpscxgiyacx.jpg

DSC03343_zps2xr7vjud.jpg

lets clean up the wires so they are nice and neat

DSC03332_zpslumzid2h.jpg
and done for the day relocated the relay with a tie strap to get the wires up and out of sight, you dont hit this with your knee not even close

DSC03347_zps7mkialef.jpg

DSC03346_zps0x2niumb.jpg
 
Last edited:
wait, those look like non-smoking wires. You sure that's gonna work?

I think these Hellas use more amps then my generator can supply, the supply wires are going right to the main positive battery connection. so when the smoke escapes its not frying my new wiring harness
 
wait, those look like non-smoking wires. You sure that's gonna work?

I think these Hellas use more amps then my generator can supply, the supply wires are going right to the main positive battery connection. so when the smoke escapes its not frying my new wiring harness

:bestwishes:

There was a light bar that was called a laser - it came completely with 15 halogen 'aircraft landing lights'. A friend of mine bought it and put it on his 4 cyl. toyota 4x4. He was so proud when turned the lights on. It worked for maybe 10 seconds before the battery died. We charged the battery, fired up the truck and he proudly proclaimed this would work.... turned on the light and the motor stopped like it had water in. Of course, the battery hadn't recovered from the last assault, so it had to charge again. He got it started again, then figured RPM would be his hero.... nope, pulled the thing down like it was on a dyno..... though that time it took the alternator with it. We, being the friends we were, didn't have any comment because we were laughing so hard we could barely breath let alone talk.
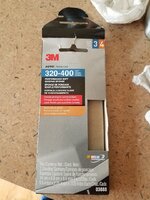
 
thats funny...... i dont think you need any other head lights with these lights, they are super bright if i ever need to go racing through the swiss alps
 
Back
Top