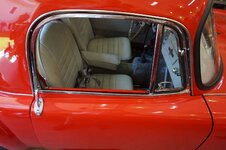
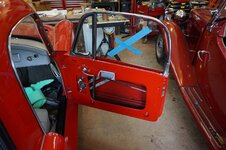
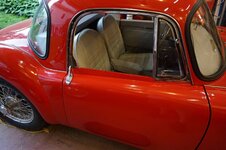
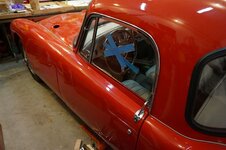
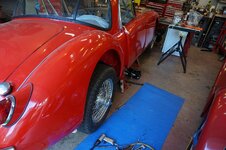
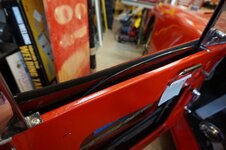
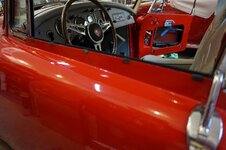
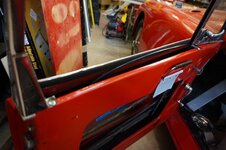
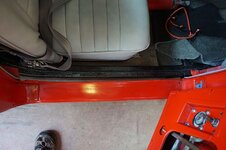
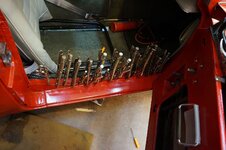
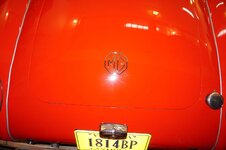
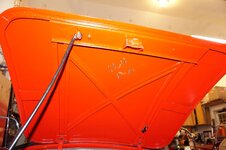
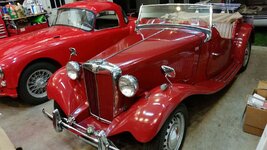
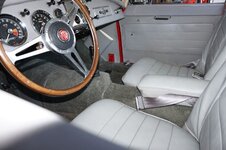
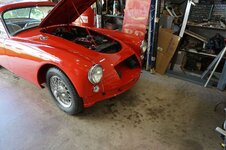
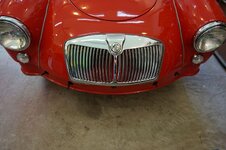
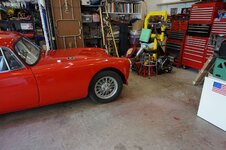
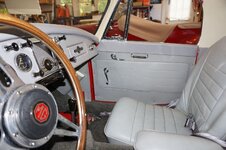
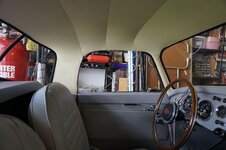
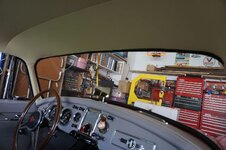
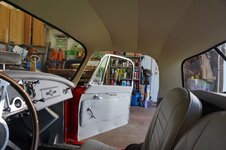
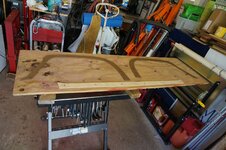
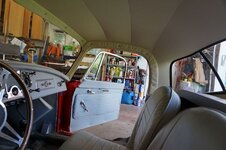
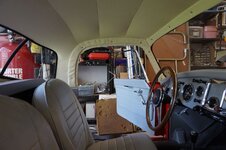
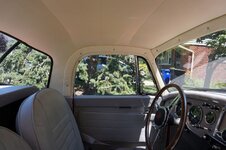
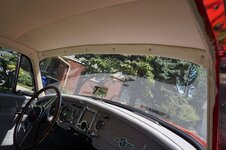
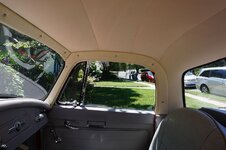
1958 MGA Coupe

VetteMod - Corvette Restoration, Modding & Performance Forum

Help Support VetteMod Forum:

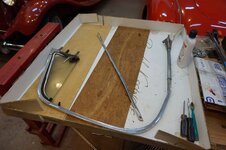
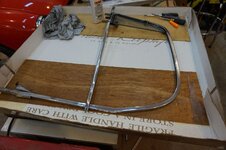
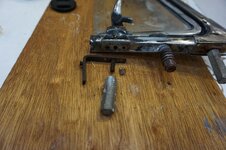
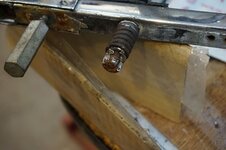
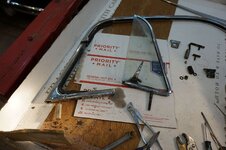
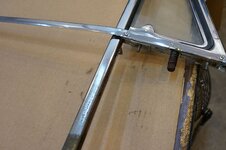
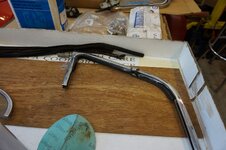
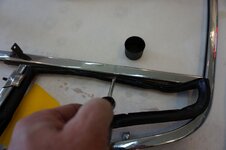
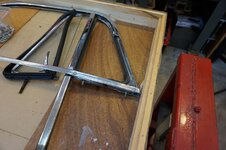
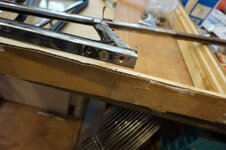
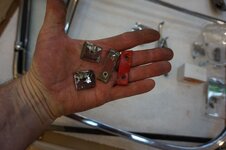
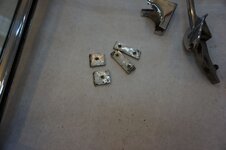
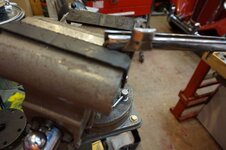
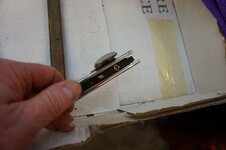
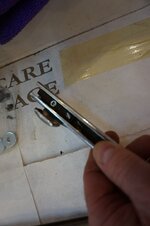
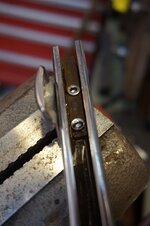
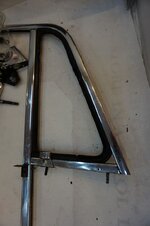
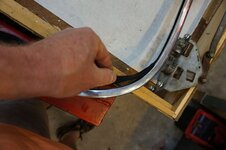
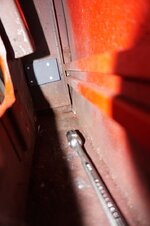
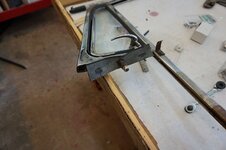
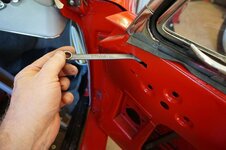
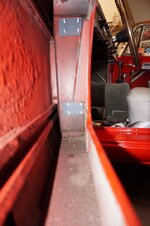
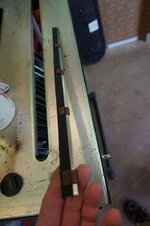
moving on to the drivers side. so in looking at my parts, it seems the easiest path is to use the vertical upright for my old windows on the new windows

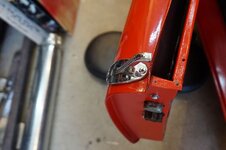
the broken tab is harder to deal with then swapping the vertical posts
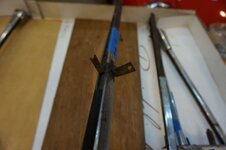
DSC02401_zpsswn5emux.jpg

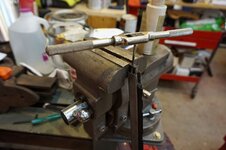
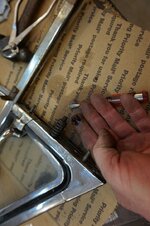
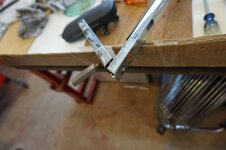
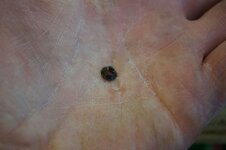
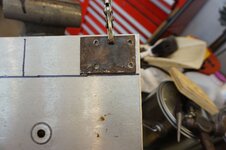
i do have to drill out the one screw and probably retap
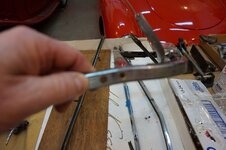
DSC02402_zpsiag0zglf.jpg

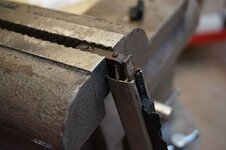
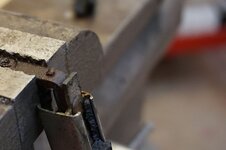
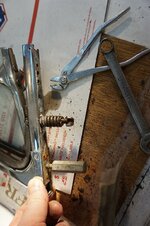
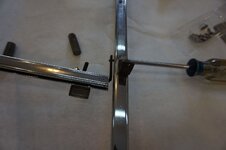
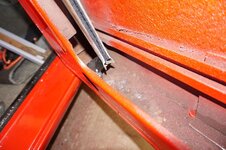
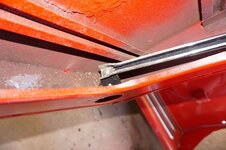
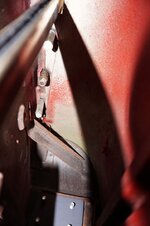
i see the camera is picking up everything other then what i want, but i am letting the two screws soak in PB blaster before i try and torque on them
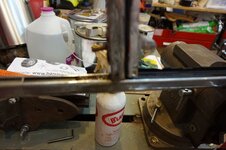
DSC02403_zpszgcrpr71.jpg

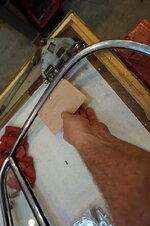
first round of hand polishing
DSC02405_zps1mj7fpxg.jpg

DSC02406_zpsyyr31ma7.jpg
 
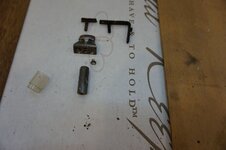
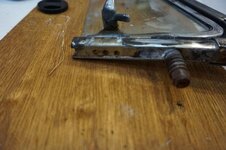
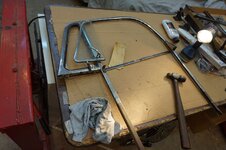
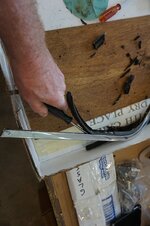
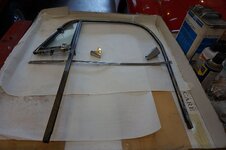
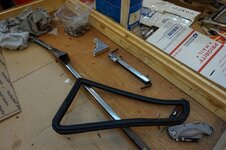
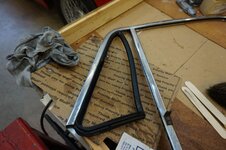
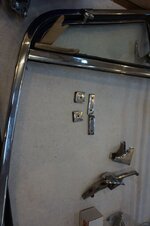
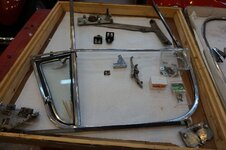
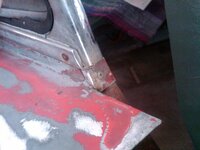
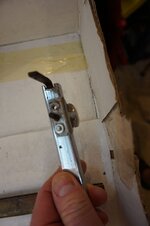
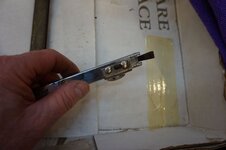
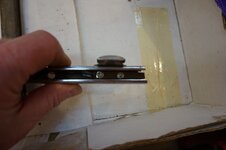
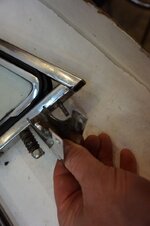
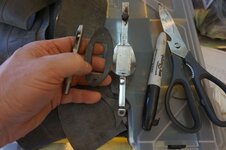
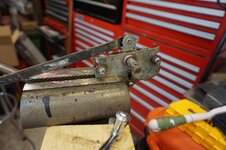
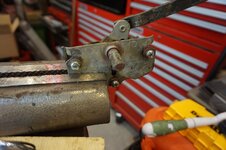
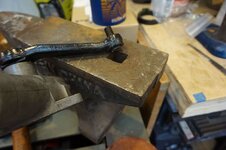
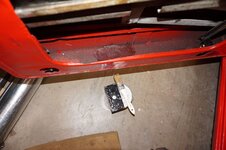
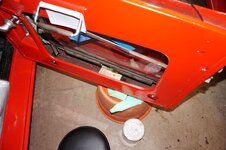
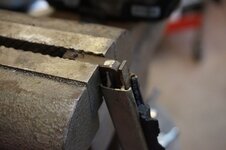
so to pick up where we left off the bracket under the ventilator window is broken on the window frame i am going to use and i need to take the bracket off so the new donor pillar will fit basically drill the rivets out and pop it out with adrift

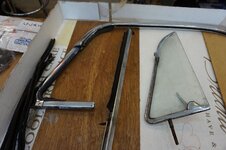
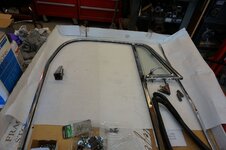
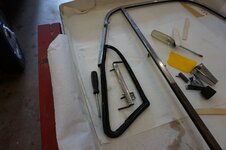
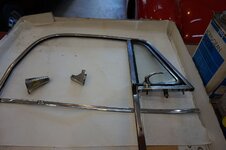
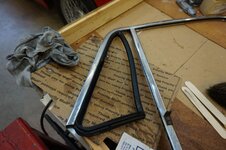
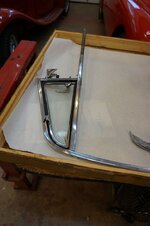
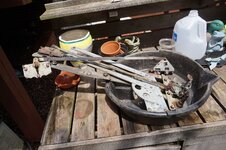
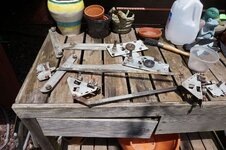
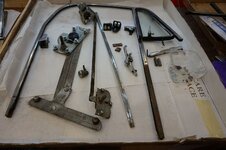
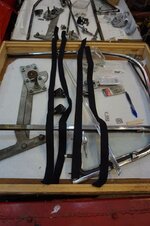
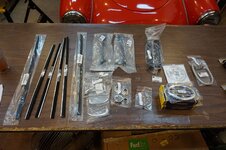
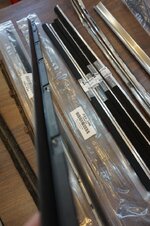
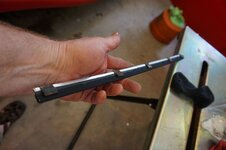
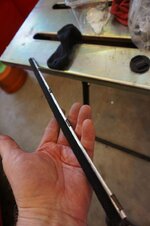
these are the parts

DSC02407_zps5omcxksr.jpg

DSC02408_zpsizfmqud2.jpg

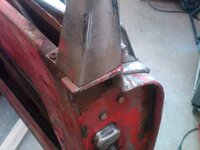
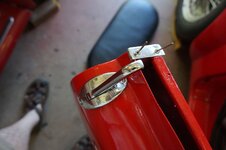
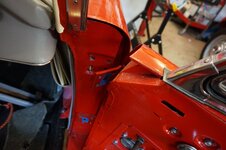
kind of the way it looks on the car

DSC02409_zpsbb71iw9e.jpg

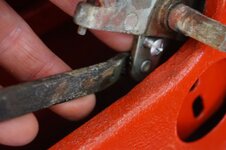
one last broken screw to coax out

DSC02411_zpswxnpdfdw.jpg
DSC02413_zpsvijgtysj.jpg
 
the boss retired early

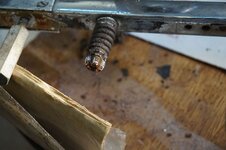
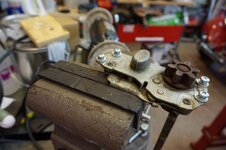
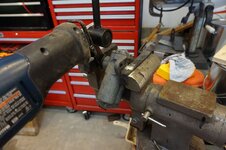
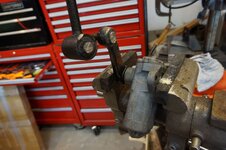
and i was thinking about how to get the ventilator pivot bolt nut off so i decided to cut it off with a dremel


DSC02418_zps78avcuxb.jpg

DSC02420_zpsigen6j3q.jpg

DSC02421_zpsx57iuzq4.jpg

DSC02422_zps6cdejtvu.jpg

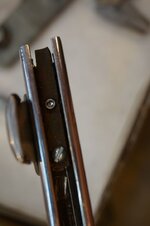
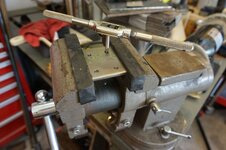
bracket screw would not come out so drill and tap it

DSC02423_zpszsilzqey.jpg

DSC02425_zpsjmbllwcp.jpg

next side
DSC02427_zpsbehetksu.jpg

DSC02428_zpsjfzsdnnc.jpg

DSC02429_zpsrduvhsjw.jpg

ready to order parts to put it all back together again
 
so lets take somemore stuff apart

DSC02430_zpsgp0kcrqm.jpg

DSC02431_zpswlmlcusw.jpg

DSC02432_zpseat22oju.jpg

remove old gasket

DSC02433_zpsp8o7tt97.jpg

some times it easier to line things up using screws that are longer these re 1/2 long
DSC02434_zpsupbthj4c.jpg

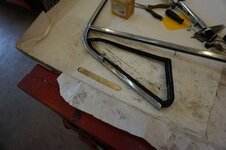
all shined up and mock fit before the gasket goes in

DSC02435_zpskq6dccxs.jpg

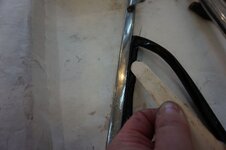
this was a PITA two people, one pushing on the bottom and the other pushing up top with a Popsicle stick

DSC02438_zpsfmqxuw1y.jpg

DSC02439_zpsrtnmxvgn.jpg

DSC02440_zpsouugmmsx.jpg

this gets pushed in last

DSC02437_zpsb1jytmq8.jpg

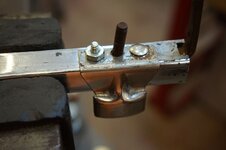
and a trial fit i still have to put that rivet i place right now its just a nut a bolt holding it


DSC02441_zps436sbc87.jpg

DSC02442_zpsugty0k3u.jpg
 
Last edited:
4 screws and 1 gasket how long can that take???

DSC02443_zpsad3f6tcm.jpg

and what you are seeing is the only screw i didnt have to drill out and retap

DSC02444_zpswcnyuacm.jpg

athough i am getting good at free hand drilling

DSC02451_zpsjfayudet.jpg

so three holes drilled and tapped, and parts polished

DSC02453_zpsglty6jgh.jpg

and we ran out of umpph to keep moving it forward will regroup later tonight
DSC02454_zpsfdqgu6fn.jpg
 
where we left off

DSC02454_zpsfdqgu6fn.jpg

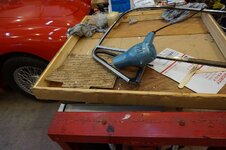
just effort from this point forward just shove and push...and i used a har dryer to see if i could make it softer I am not sure anything other then brute force actually worked

put the bottom piece on easily

DSC02455_zpshwacxm4c.jpg

and done

DSC02457_zpsh4pxww4g.jpg

Jim Cheatham pointed out to me the gaskets have to be trimmed on the side the glass folds in on

DSC02458_zpscdmzzhkj.jpg

DSC02459_zpscvvxtomm.jpg

DSC02460_zpsgzgyuj1q.jpg

DSC02461_zpsopznmb6m.jpg

DSC02462_zpsriogjz7s.jpg

the very top needed to be seated just a 1/16 of an inch more so lets see if wedging some thing in there will let it form into the position over time

DSC02463_zpszpyzqgdw.jpg


its all down hill from here, i will put in a parts order tomorrow to finish up
 
As an Amazon Associate we earn from qualifying purchases. Product prices and availability are accurate as of the date/time indicated and are subject to change.
lets clean up the parts and place all the hardware in place


mark the parts

DSC02464_zpsputaggbe.jpg

DSC02465_zpsefli8xos.jpg


DSC02466_zpsgxbr23vl.jpg

had one thread that needed to be retapped

DSC02467_zpsucdonydk.jpg

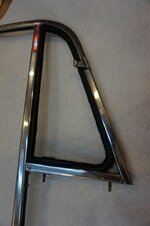
that finishing strip needs to come off
DSC02468_zpsphsozsbh.jpg

DSC02471_zpsur9xbw42.jpg

paint stripped off

DSC02472_zpsrtbwtesh.jpg

and polished it looks better then it did
DSC02473_zpsmobqfggj.jpg

DSC02470_zpsepkyjf5e.jpg

DSC02469_zpskwr1i9ho.jpg

and a teaser photo or two
IMG04973-20141227-1155_zps3304dcf5.jpg

IMG04978-20141227-1156_zpse791fc8b.jpg
 
show time..

DSC02480_zpsz86chlyy.jpg

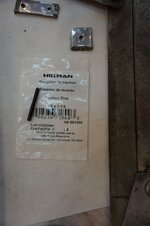
1/8" split pin for the handles

DSC02481_zpsrj1tmcbp.jpg

clean it up with a 5/32 drill bit so its nice and tight

DSC02483_zpstl8vwqdf.jpg

trial fit

DSC02484_zpslroh8lnj.jpg

tapped down with the rivet set tool
DSC02485_zpshzup2gwb.jpg

a hard surface to set it
DSC02487_zps44pny83a.jpg
DSC02488_zpsatvkt3uo.jpg

hit until the rivet tools bottoms out, then move to flat end drift
DSC02490_zpsnnoqyzrk.jpg

DSC02490_zpsnnoqyzrk.jpg

DSC02492_zps9gtilj7p.jpg
DSC02493_zps0zqounvz.jpg

fully set

DSC02495_zps8ktkjpcq.jpg

back together

DSC02496_zpsgrz1ibgz.jpg

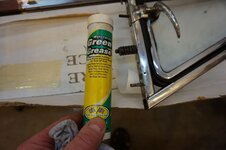
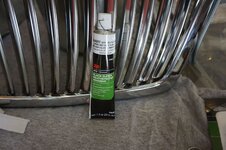
I use green grease its synthethic and waterproof really good stuff, on the spring and washers of the window ventialtor mechanism, i came to discover how good this stuff is when i went to clean a bearing grease tool and tried cleaning it with gasoline and i couldnt remove the grease even after soaking it in gasoline, then i knew i had really good stuff and have been using it ever since

DSC02497_zpsoszpbseq.jpg

the triangular trim piece also has a ridge in it to catch the gasket

DSC02499_zpshk0iebm9.jpg
 
lets put the felt channels in place

DSC02500_zpszpmfmeoa.jpg

so why would the window channels that should be felt have a metal spiral bound liner in them?

DSC02501_zpsd1awzmnq.jpg

basically fold the felt channel in half and push it in.

DSC02502_zpslbjpxoqp.jpg

fully seat it with the butt of a plastic spreader

DSC02503_zpsxbbpppqb.jpg

tomorrow i think i will use some thread locker and tighten up all the screws and move to put these in the doors over the next week
 
there is a filler block

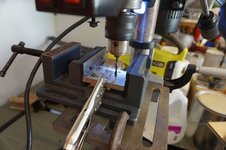
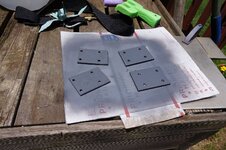
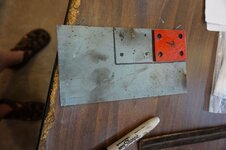
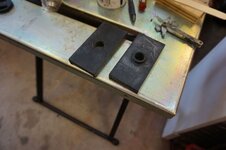
so lets make some tapped backing plates for the door hinges since getting at those nuts will be near impossible, i had two extra

DSC02518_zpsb6dpbuzl.jpg

DSC02519_zpszedcmgvw.jpg

DSC02520_zpsyhxkygvp.jpg

DSC02521_zpsxezro1ht.jpg

DSC02525_zpsoekwbogm.jpg

DSC02523_zpspp0buf4b.jpg

DSC02526_zpsxj12m55x.jpg

make a gasket
DSC02528_zpsvmuzswbb.jpg


install end cap
DSC02529_zpsk8avllkn.jpg

another gasket

DSC02530_zpsbndgrxlp.jpg

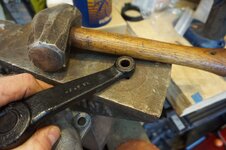
homemade access hole and my grandfathers combination wrench

DSC02531_zps9hydz0oo.jpg

DSC02534_zpsshmnnuow.jpg


DSC02535_zpsrsnvnhwq.jpg

you can see the inner bracing that screws with access to the barrel nut

DSC02537_zps4nlx91sh.jpg

and the trial fit continues tomorrow
DSC02539_zpsvosenqwf.jpg
 
thanks

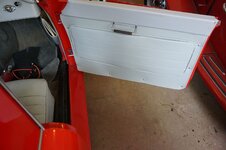
well the window pantograph is in place, the window is in it, the lock mechanism is hooked up and it all works the lock mechanism goes in first before door channel

DSC02610_zpsl7blzail.jpg

DSC02611_zpsweliphdk.jpg


next is the window weather stripping and adjust the door for a better alignment
 
car show

http://smg.photobucket.com/user/bobs77vet/slideshow/Original British Car Day

one of my favorites, license plate towmatr and logo on side says radiator springs.....from the kids movies carz

20170604_1154361_zps0zpbqabo.jpg


20170604_1152081_zpsx56ujs2t.jpg


20170604_1151141_zpsdn7glacu.jpg


20170604_1150581_zpslp1e5tcq.jpg


20170604_1150491_zpsxytvdb4b.jpg
 
lets move on to the driver side

simple locking mechanism

DSC02617_zpscg5y1oxi.jpg

DSC02618_zpsycibkcut.jpg

hole above the square shaft is what you plug so you dont accidentally lock your self out

DSC02619_zps525ckyuc.jpg

locked position

DSC02620_zps62p2jcwu.jpg

heres my trial and error result.....counter sunk held in place with thread locker

DSC02624_zpsajkmwgip.jpg

tapping plate
DSC02628_zpsj3gdm0zc.jpg

need to add the capping plate

DSC02630_zpsl8ss4vhb.jpg

heres the magic spot the front window channel is held up high the pantograh shaft is inthe hole and the pantograph wheels are just about to slip into the window channel and give it a light tap of the hammer handle and it slips in to place and the since the square shaft is at the back of the hole it can move forward and its in place
DSC02631_zpspwb3b0tw.jpg

DSC02632_zpshhtbv3qq.jpg

and done
DSC02633_zpsifhp6uy9.jpg

and the next time i drive the car i wont have a bungi cord across my chest holding the doors closed

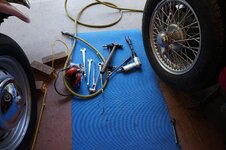
woohoo the assembly table is clean

DSC02642_zpst2mjo1jt.jpg

and the next work to do

DSC02644_zpsc9pkbc4p.jpgs side
 
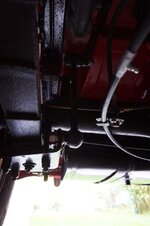
tonights work..... i had a noisy shock link and a broken axle strap

DSC02645_zpsa4day61l.jpg

not too complicated
DSC02646_zpsdhflxdzx.jpg

easiset thing is to just remove the shock absorper, I tried using an impact to seperate but it didnt work

just cut the link off

DSC02648_zpsva0gimsz.jpg

DSC02649_zpsubdrha6b.jpg

you know where this going
DSC02650_zpsfdm9eexv.jpg

one wack
DSC02651_zpsv1f1ypfa.jpg
DSC02652_zpsjazrwbsn.jpg

and done
DSC02654_zpsgstwhtxa.jpg
 
Last edited:
lets keep pushing forward....when i did my trial body fit i made a rookie mistake and did not mark the hinges and the spacers and its been screwing with me ever since
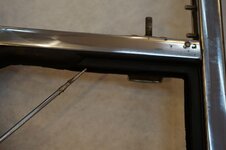

lets put the brush seal in place and a new hinge spacer, window bump stop and window trim cap and adjust the doors so they open and close

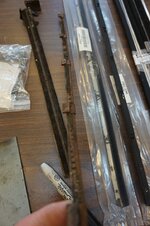
the original remnants of the brush seal

DSC02747_zpsymjzf9ig.jpg

the MGB rubber one i could not figure out how to make it work so i didnt use it

DSC02748_zpsvfrouysh.jpg

my new 1/16" spacers
DSC02749_zpsm7jdobfr.jpg

DSC02750_zpsikkyfxsq.jpg

rubber window bump stops from Jim Cheatham


cut off raised circle
DSC02751_zpsh3awg2gr.jpg


contact cement in place


DSC02752_zpsahqp9k6l.jpg

hold in place with window sitting on a small piece of plywood to push it evenly down

DSC02753_zps9tozqgp6.jpg


brush seal with clips on them

DSC02755_zpswobzfz7s.jpg

DSC02756_zpsjstolj3r.jpg

in place
DSC02758_zpsh5hzjotg.jpg

DSC02759_zpslon67j9z.jpg

with exterior trim cap on it
DSC02760_zps6glog9ag.jpg
 
Last edited:
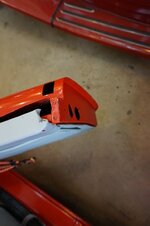
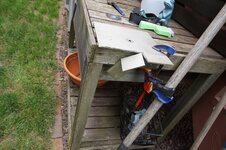
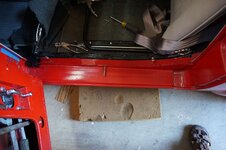
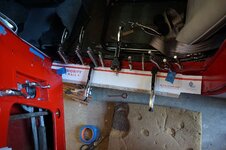
ok so lets finish the last body panel piece, i wanted this to fit nice and tight so i am using panel adhesive and gluing it in place to the rocker sill

DSC02793_zps30knfcxq.jpg

make a template and cut

DSC02795_zpsgn2exfbr.jpg

DSC02794_zpsqu9prxre.jpg

fold tab

dead blow hammers dont leave dings

DSC02800_zpscez0z8m7.jpg

DSC02796_zpssynxa2u3.jpg

put a crease free curve in place


DSC02797_zpsxqbzcl9q.jpg

DSC02801_zpsvo5laydm.jpg

DSC02802_zpsqrowfc5x.jpg

and test fitted and painted

DSC02803_zpst9j0cahb.jpg

to be bonded in place tomorrow
 
i cant believe this took two hours....the window was 20 minutes those scuttle badges were a task, my T Rex arms just dont cut it....

the brush seal, Mike Dianna saved me once again with some extra clips
DSC02805_zpso5ufvpfj.jpg

DSC02806_zps9bxvfr0i.jpg

DSC02808_zps6uimfjmx.jpg

my fingers are still numb

DSC02807_zpszeb5gphs.jpg

DSC02809_zpsdtccjqvt.jpg
 
tonights mission fit the last panel in place and put some more badging


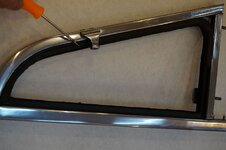
use some locating holes to make sure everything lines up
DSC02811_zpsup6m57my.jpg

brushable seam sealer on frame and bonding adhesive on the two parts
DSC02812_zpsbakzqju3.jpg

DSC02813_zpscuglmjqe.jpg

DSC02814_zpsfaelfywh.jpg

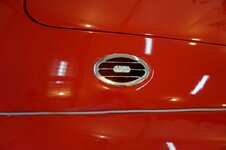
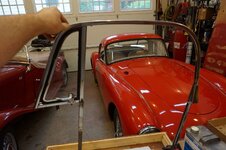
i was a bit nervous drilling out those holes to size for the octagon... a whole lot cold go wrong with a drill and a sharp bit over shiny paint
DSC02815_zpsang14y4k.jpg

DSC02816_zpsxhqte5cr.jpg

DSC02818_zpsbcgttdqa.jpg
 
you sold it? I see the ebay ad is ended. The 'boss' said I could have no more then 5 cars. I have 5 cars, I attribute 3 cars to her.... problem solved.:devil:
 
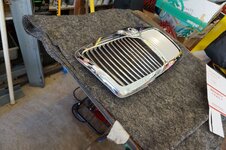
install front grille clean garage and install door handles

DSC02825_zps6wyu4hj3.jpg

glue piping in place

DSC02827_zpsu447jefy.jpg

DSC02828_zpsgkxcjgsp.jpg

DSC02835_zpsvctle8tb.jpg


DSC02833_zps1ea8nn92.jpg


DSC02836_zpszuzb3ilq.jpg
 
Last edited:
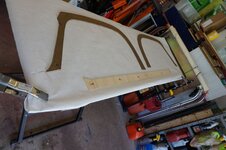
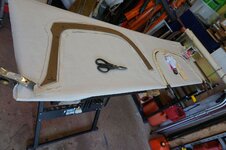
lets put the trim around the door and window opening

previously fitted and JIm Cheatham made these and gave them to me

20160612_165549_zpsrwbfayrj.jpg

20160612_141656_zpsgp56bmw9.jpg

20160612_134210_zpsr6oyejuy.jpg


DSC02840_zpsgfwvudzp.jpg

DSC02841_zpsv4pyc3tq.jpg

DSC02842_zpsnzt50wrk.jpg

make a temporary table

DSC02839_zpsmxylzoor.jpg

DSC02843_zpslc8rkfle.jpg

cut and glue to the back side, the first piece i glued to the front and it got all wavy so this is just glued to the back

DSC02845_zpsfm2qf8zz.jpg

now the trick to finding previously drilled holes is to pay attention to the angle of the pick

DSC02846_zpsmm5uikxv.jpg

and i just dont like the way they look, oh well i will just redo them another day...

DSC02847_zpsjjdjjuio.jpg

DSC02848_zpsnsy8zjfa.jpg
DSC02849_zpsy4tqxi6z.jpg
 
thanks, good news those must have been handling wrinkles and they have almost all gone away. maybe i will put it out in the sun today and let get warm and see what happens.

kind of makes sense because if it looked like that to start with i wouldnt have put it in


definitiely going away, just the biggest ones left now....lets see what that virgina heat and sunshine can do


DSC02850_zpsfl6yf7vn.jpg

DSC02851_zpseeu7kua6.jpg

DSC02852_zpsn6jzvmyp.jpg
 
Last edited:
Back
Top