Rookie's First Restoration Attempt...

VetteMod - Corvette Restoration, Modding & Performance Forum

Help Support VetteMod Forum:

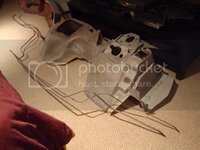
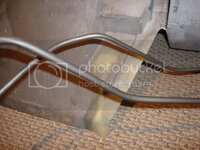
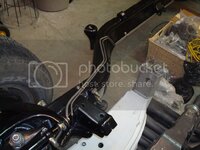
I sandblasted the fuel lines and painted them with Seymour cast blast today.

DSC05729.jpg

DSC05730.jpg

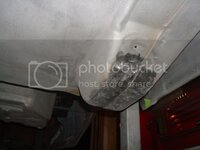
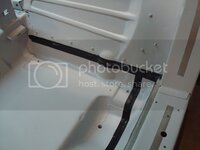
Last night I finished welding the left seat belt pocket on the floorpan...

DSC05739.jpg

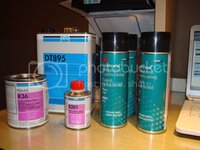
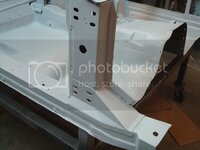
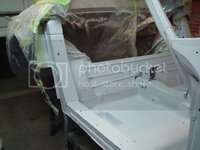
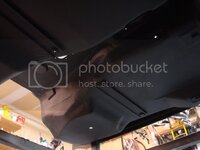
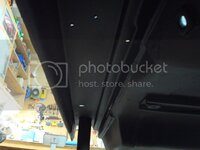
I also picked up my painting supplies earlier today. The paint is for the birdcage and floor pans. The undercoating is for the underbody of the car...some awesome stuff Mike uses and recommended to me. Once again, this stuff is more expensive than other undercoats (in aerosol cans)...its high quality stuff, looks great, and is very durable.

DSC05731.jpg

Now I am waiting on parts from Sermersheims fiberglass:footmouth:
 
Last edited:
Wow Wow Wow ..... that is some incredible work Jeremy .... I am truely FAWKING speachless .... you are so talented and PATIENT !!!! ... you do have talent ... i have spent about 4 hours going throught this post and it seems like it was only an hour. I would really enjoy stopping by some time and having a look at your project ... i can hardly believe you are 18, i know so called pros that cannot touch your work ... keep it up, you will have a car that was better than it ever was intended to be ... Give me a call at 403 618 7117 when you have some time and i will stop by so i can learn something... haha ...

Terry
 
Wow Wow Wow ..... that is some incredible work Jeremy .... I am truely FAWKING speachless .... you are so talented and PATIENT !!!! ... you do have talent ... i have spent about 4 hours going throught this post and it seems like it was only an hour. I would really enjoy stopping by some time and having a look at your project ... i can hardly believe you are 18, i know so called pros that cannot touch your work ... keep it up, you will have a car that was better than it ever was intended to be ... Give me a call at 403 618 7117 when you have some time and i will stop by so i can learn something... haha ...

Terry
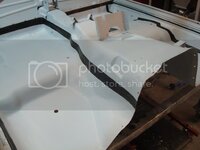
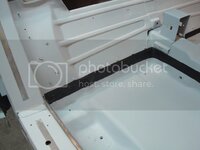
I'm planning on painting my Birdcage and floorpans tomorrow. If you wanna stop by, send me a PM. I hopefully will be able to spray tomorrow afternoon...I just hope!
 
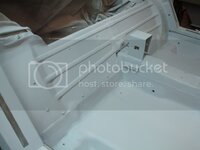
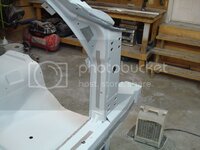
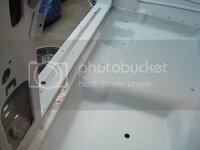
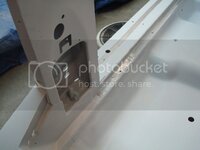
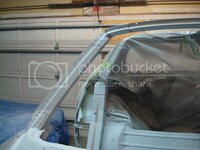
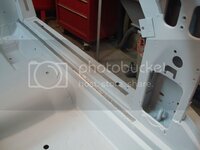
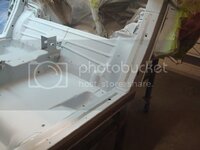
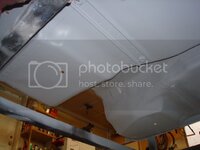
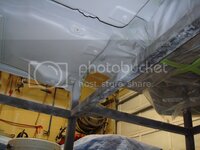
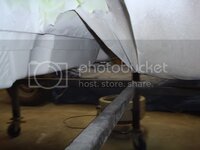
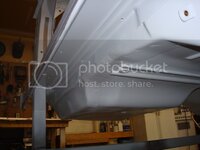
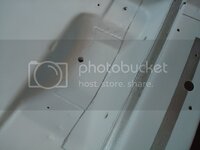
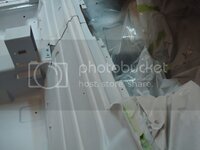
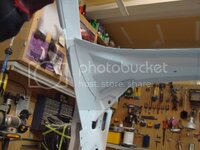
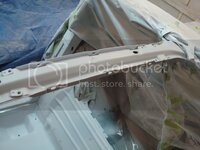
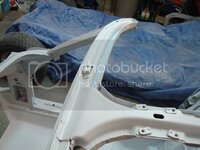
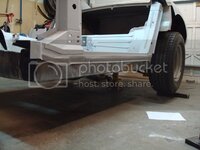
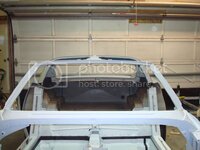
Need to pick up some more paint tomorrow. I have to fix a few mistakes on my amateur part, and also need to paint the underside of the car. It turned out alright I guess (not entirely happy with my painting skills at the moment...I still need lots of practice).

DSC05813.jpg

DSC05814.jpg

DSC05815.jpg

DSC05816.jpg

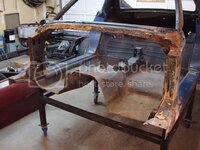
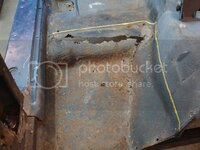
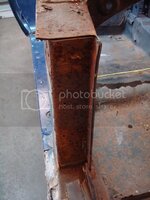
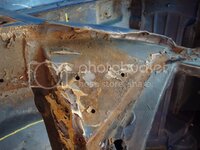
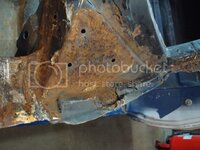
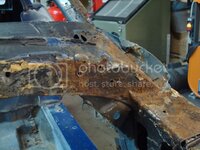
This is what it looked like before...

DSC04503.jpg

DSC04504.jpg

DSC04505.jpg

DSC04506.jpg

DSC04507.jpg

DSC04508.jpg
 
As an Amazon Associate we earn from qualifying purchases. Product prices and availability are accurate as of the date/time indicated and are subject to change.
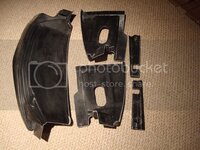
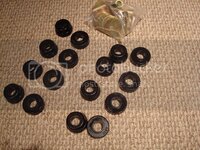
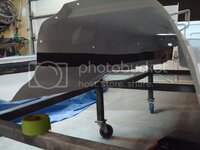
Mike, my parts arrived the other day!!!! The last fiberglass pieces for the body - I decided to replace the access covers due to some "mistakes" (I'll leave it at that). I also bought some poly body mounts.

DSC05818.jpg

DSC05819.jpg

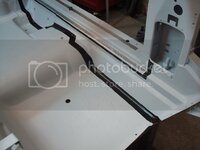
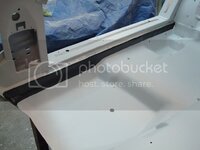
I sanded down the b-cage and floorpans. I will be respraying them on Monday, which is my day off work. Then I can call that project done.

I haven't touched the vette in a week now...work keeps getting in the way:banghead:
 
I can finally call the painting project done.

I bought a new tip for my gun, and Mike walked me through my errors, and told me what to do. Last time I was having issues due to my mistakes and the gun really acting up on me. Painting takes a lot of practice...I still have a lot to learn, but I have already learned quite a bit. Mike, thank you for taking the time to walk me though this...it would have looked like crap if you didn't help me!!!

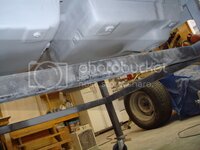
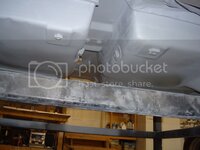
Painting upside down sucks. It is very hard...especially with a gravity feed gun. My main concern with the underbody was to just get it painted...it was hard enough trying to spray under there into all the nooks and crannies (using a gravity feed gun)...I'll have to buy myself a suction paint gun next time, which will help quite a bit)

I even had one of the cups of paint "explode" on me after I mixed it up and put it in the gun. I bought this kit from norton (http://www.emisupply.com/catalog/no...s-plugs-190956-mesh-filter-48case-p-3110.html), and when I went to go purge the gun, well, it went everywhere, me included. I kept pushing though, covered in paint and all. I mixed up another cup and sprayed it with my aluminum cup - now I am having a hard time getting this hardened paint off my damn body. My dad walked in the garage and laughed at me, and said he didn't care about the floor...that was a big relief, because the sh*t went everywhere. Dad, you're the best!

In the end, IT WAS WORTH EVERY BIT OF AGGRAVATION. Here are some pics...enjoy. I'm very tired from all this. I am almost ready to drop the body.

DSC05826.jpg

DSC05827.jpg

DSC05828.jpg

DSC05829.jpg

DSC05830.jpg

DSC05831.jpg

DSC05832.jpg

DSC05833.jpg

DSC05834.jpg

DSC05836.jpg

DSC05837.jpg

DSC05841.jpg

DSC05842.jpg

DSC05843.jpg

DSC05846.jpg

DSC05847.jpg

DSC05848.jpg

DSC05849.jpg

DSC05850.jpg

DSC05851.jpg


Once again, Mike saved my ass on this painting project. I could not have done this without him.
 
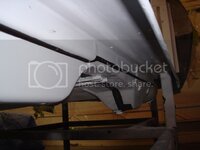
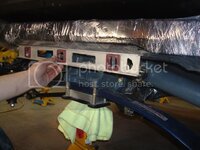
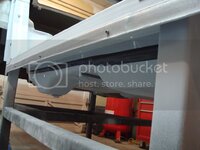
I started to seal all the seams today. The seam sealer I use comes in a tube...you use it with a caulking gun. Good night!!!

DSC05853.jpg

DSC05854.jpg

DSC05855.jpg

DSC05856.jpg

DSC05857.jpg

DSC05862.jpg
 
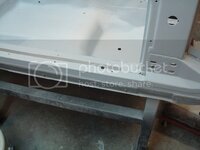
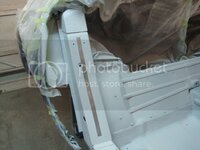
I finished the seam sealing today. Once I finished that project, I moved onto fitting those access covers for the #3 body mounts. They need to be bonded in place before the body goes back on the frame. Unfortunately, there is not much to go off of in regards to where exactly they need to be bonded...I did my best fitting them. That took me a few hours, and several phone calls to Mike Dyer. I'm not bonding them until he gives me a thumbs up on the fit of them.

Mike, I just PM'd you a video.

Bed time for me...I finally get to relax for about 5 hours!

DSC05863.jpg

DSC05864.jpg

DSC05865.jpg

DSC05866.jpg

DSC05870.jpg

DSC05868.jpg

And here are the access covers screwed in place...

DSC05871.jpg

DSC05875.jpg

DSC05878.jpg
 
That's most likely the same type of sealer I sue, it's sealer but can also be used to flue. I use modified silicone polymer (MS polymer) and it's so much better than reg. seam sealer. It cures to a nice rubbery compound that holds well, it has excellent tacking properties.

Very clean application with the sharp taped off edges!!
 
That's most likely the same type of sealer I sue, it's sealer but can also be used to flue. I use modified silicone polymer (MS polymer) and it's so much better than reg. seam sealer. It cures to a nice rubbery compound that holds well, it has excellent tacking properties.

Very clean application with the sharp taped off edges!!
The stuff I use skins over very quick. You've gotta literally apply the stuff, smooth it out, and remove the tape immediately! If you wait just a tad too long, the lines do not look as good...almost like shrivled white glue on the edges (really hard to explain by typing). It took me a long time to mask and apply it, but it had to be done.
 
DSC05899.jpg

The body gets dropped tomorrow night or Wednesday morning...I just have a few touch ups to do.:bounce:
 
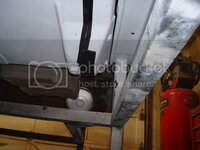
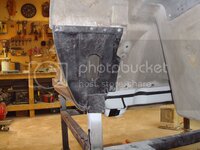
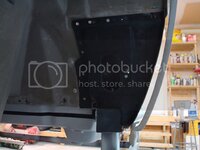
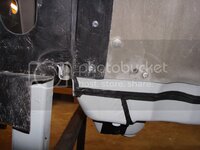
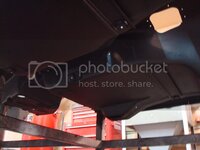
Now I'm "officially" ready to drop the body. I finished touching up the undercoating, and cleaned any dirty panels left over. I'm exhausted right now, but I finally get to put the body back on. This is a major milestone for me. I left some areas bare so I can do bodywork and the flares. Once the bodywork is complete, I will finish the undercoating with the body on the frame. I also decided to leave those access panels alone until it comes time to rebond the lock pillar plate back in place. I will need to lift the body and bond the access panels on when the time comes, but it is the onlly way to be sure of where exacly they need to be placed on the tub. Here are some last minute pics before you get to see it in one piece again. Tomorrow is d-day!

DSC05938.jpg

DSC05940.jpg

DSC05948.jpg

DSC05963.jpg

DSC05943.jpg
 
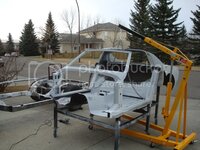
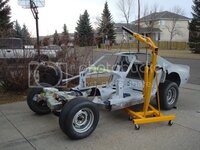
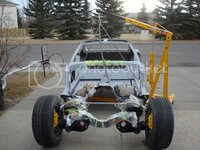
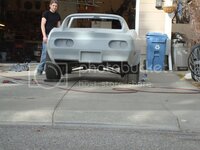
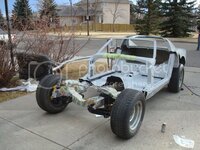
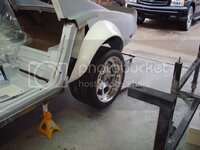
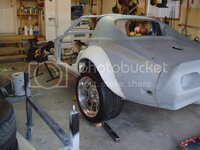
I dropped the body today. I was grinning ear to ear during the entire process. I was so happy that I even shed a tear. Yes, that is how much work it has taken me to get to this point. It has been exhausting work the past three years. I've destroyed my hands. It took a lot out of me...a man can only push himself so much. I am very proud of myself for sticking with it...I really am. My dad was also in awe at how good the underbody looks in contrast to the frame parts. Three years in the making. Now its time to do some real bodywork. I am way too happy right now:lol:

DSC05968.jpg

DSC05976.jpg

DSC05977.jpg

DSC05978.jpg

DSC05981.jpg

DSC05982.jpg

DSC05987.jpg

DSC05988.jpg

DSC05991.jpg

DSC06026.jpg

DSC06028.jpg

DSC06029.jpg

DSC06021.jpg
 
Mister, you are awesome!

I see a success at anything in your future, you're going to make us all proud we knew you someday!
 
Nice Job Jeremy, keep it up. for you, this has to be a turning point in the build.
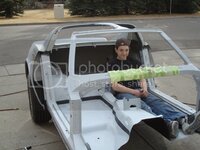
I have to admit that seeing you in that car remind us how young you are and looking at what you allready accomplished is just plain stunning.

What a determination.

:drink:
 
Nice Job Jeremy, keep it up. for you, this has to be a turning point in the build.
I have to admit that seeing you in that car remind us how young you are and looking at what you allready accomplished is just plain stunning.

What a determination.

:drink:

Its a huge turning point for me. I've been depressed for the past several months...it hurt to see the body still on the dolly. It looked as if I wasn't working on it...I wanted a car already. That's why I am so exhausted right now...I pushed myself day and night to get to this point so I can have a car again!!!!!

Mike, I know you're out there. THIS WOULD NOT HAVE HAPPENED IF IT WASN'T FOR YOU. I mean it. My skills never used to be this good...seriously. Before I met you, I didn't know how to "take it one step at a time". I tried to eat an elephant all at once with my first body. I got NOTHING accomplished on it. I never finished projects before I moved onto new ones. Once I met you, I got **** done...and I got it done right!!! Then, when I came to Dallas, you taught me how to take it slow and careful so you don't break stuff. I know all of this sounds pretty straightforward to most people when you read this message, but trust me, it never used to be like this. I was a new man when I came back to Canada, and that's when I started to get stuff done. I never thought it would look this good...and its all thanks to Mike. I have a car to be proud of right now - I HAVE A VETTE!!!! Mike, I can't thank you enough man! You've been on the phone with me for the past year now, telling me what to do, and how to do it. Wait till you see what this thing is gonna look like when its done - L88 flares, L88 hood, custom rear bumper, massive tires for the flares, US indy slot mags, sidepipes, and a customized front bumper by myself. You're gonna **** your pants when you here this thing driving up behind you.
 
Last edited:
So did you sleep in the garage? Because I know I would have had a hard time leaving the car at that point. Good for you buddy:drink:
 
So did you sleep in the garage? Because I know I would have had a hard time leaving the car at that point. Good for you buddy:drink:

I was so tired by the end of the day, that I crashed right when I walked in the house.

Today forum member "Mr. Kiss" dropped by to check out the vette. He brought one of his massive rims with him. They were custom made - he spent an insane amount of cash on these. They are friggen huge!!!!! His vette is in storage right now, and he wanted to see how they looked in person, and wanted to see my project. Terry, it was nice meeting you today. You'll have to stop by again so we can get some real work done. You bought awesome rims...I wish I had the money for a set like these!!

DSC06030.jpg

DSC06032.jpg
 
I still cant believe you manage to keep up the enthusiasm and high level of work when you havent had the chance to drive her yet....
Mike's helped me A LOT with that. Seriously, mentally I couldn't cope with it...then he told me how he deals with it on projects of this magnitude, and well, it just works. FORGET THE ENTIRE PICTURE, AND FOCUS ON ONE PROJECT AT A TIME...eventually it comes together. Once you start a project, finish the project before moving onto something else, no matter how agonizing the job is.

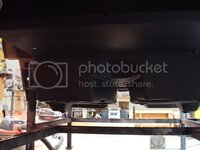
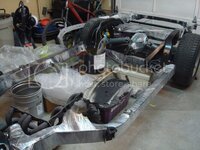
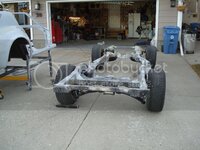
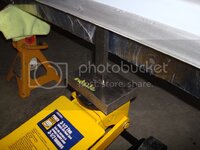
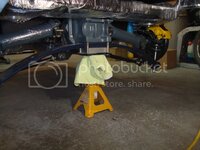
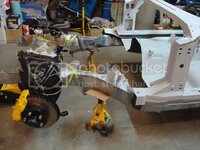
Mike also helped me shim my body over the phone. Here is what he told me to do. First, put the frame up on three jack stands. This is important...only 3. One underneath the diff, and two up front on the frame rails. Their locations are important the one underneath the diff supports the load in the back of the frame so it doesn't flex when you are doing the shimming.

DSC06052.jpg

DSC06053.jpg

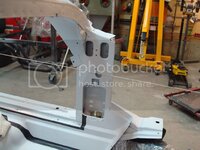
Next, level the frame by shimming the two jackstands at the front of the car. Use the bottom of this crossmember when levelling the frame...

DSC06058-1.jpg

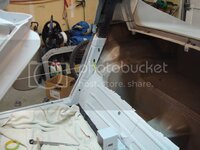
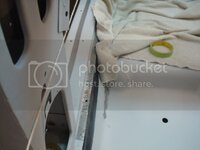
Once you get the frame levelled, you need to shim the body. You want to use as little shims as possible for this process. Once you shim the body getting even load on each body mount, you need to make sure that the body is indeed level with the frame, you don't want the body to lean to the left, or lean to the right. You want it level. I made this tool to help me with the shimming (it raises the rocker channels high enough for me to gain access to the shims). A little overkill, but I had some scrap steel from back when I was welding...

DSC06043-1.jpg

Once you shim the body, you need to center the body on the frame. You need to take TONS of measurements for reference...it takes a long time. Use you frame rails and rocker channels as reference points. For the rear of the body, use the tub just behind the storage compartments (in conjunction with the frame rails which are beside the tub). Once you get the frame where you think it should be, tighten all of the bolts down. The next step is genius.

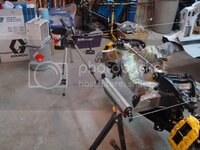
You want to make sure the birdcage is pointing straightforward, centered between the frame. This messes with your front end mounting/fitment, as well as your hood fitment. Tape a piece of string just below the GM Jig slots on the inside of the B-Pillars. Do this on both sides. Now, tie both pieces of string to something heavy and adjustable. The objects should be in front of the frame horns, level with the shock mount hole.

DSC06074.jpg

DSC06083.jpg

DSC06085.jpg

Now slowly move the objects outward until it just kisses the inside of the A-Pillar. Once it hits it, stop. If it only hits one of the edges, that is okay. You want it to be a straight piece of string, not a kinked one. You are mimicking the front end using this technique.

DSC06081.jpg

DSC06082.jpg

Now, measure from the center of the shock mount hole, to the string, keeping your ruler as perpendicular to the string as possible. Measure both sides. If they are identical, you are centered, and ready to start mocking stuff up. Mine was dead on. This body shimming/levelling took me about 10 hours. In the following picture, it looks like the end of the ruler is not in the center of the hole. But, it really is (just a bad picture).

DSC06079.jpg

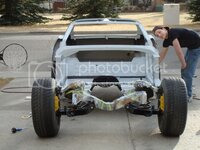
You need to make sure the body is levelled on the frame before you drop it back on its tires. Here are the results...

DSC06090.jpg

DSC06092.jpg

DSC06094.jpg

DSC06095.jpg

DSC06096.jpg

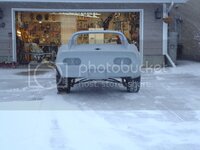
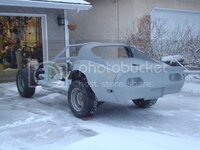
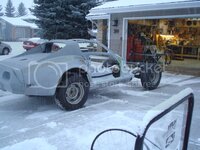
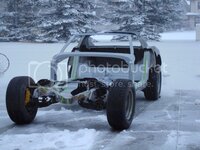
Keep in mind that these pictures are with the car on its tires. It makes a big difference. It almost looks like it is slightly leaning to the left, however, this is because the suspension has not settled yet. The body is dead level with the frame when the frame is levelled and up on jack stands. I'll get some more pics for you guys with it levelled on jack stand to show you what I mean. It looks pretty damn good if you ask me! I finally get to start fitting panels!!!

This gives you a very good starting point before you begin fitting panels. However, this is just a setup. Throughout the build you will have to play around with the shim numbers to adjust door gaps and such. THANK YOU MIKE!
 
Last edited:
You weren't kidding about it snowing!
Looking good but how are you going to get it back in the garage?
Mike
 
Damn, It's snowing already? Didn't you just post pictures less than a week ago wearing a tee shirt?

Nice job on the body mount. I am interested to know if the factory body/frame alignment holes in the door sills are aligned.
 
You weren't kidding about it snowing!
Looking good but how are you going to get it back in the garage?
Mike

HA, I already pushed it back in! Its a bitch...i was falling all over the place trying to push on the icy driveway. Calgary has weird weather...those damn chinooks from the mountains keep messing with us!
 
I decided to prop the vette back up on 3 stands again and send some pics to Mike. And, once again, he told me to add shims here, remove shims there and here is the result. Now Its perfect.

DSC06117.jpg

DSC06114.jpg

DSC06115.jpg

DSC06118.jpg
 
Wow, Stinger, just wow... I was very impressed with your earlier work on the frame, diff, trailing arms, etc, but the fact that you can do the bodywork to the same degree of perfection is utterly amazing! When the time comes, I'm sure that Trepanier, Foose, or some other car God is going to snatch you up!
 
Back
Top