Rookie's First Restoration Attempt...

VetteMod - Corvette Restoration, Modding & Performance Forum

Help Support VetteMod Forum:

Now you done it...a pic of yourself, turtle won't be able to sleep for a whole week LOL

 
Hopefully Mike will start posting pics of the engine as it comes together. He's also going to be building an engine test stand so he can tune it and run it before it gets shipped. Mike, post pics when you get a chance:thumbs:
 
You gotta stop keeping Mike occupied LOL it means we have to wait longer for parts ;)

Yeah, but then my car would look like ****, and I wouldn't make any progress!:amused:

That man has saved me numerous times on this build, and if it weren't for him, I probably would have given up a long time ago. Mike is building this thing over the phone:beer:
 
As an Amazon Associate we earn from qualifying purchases. Product prices and availability are accurate as of the date/time indicated and are subject to change.
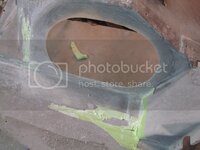
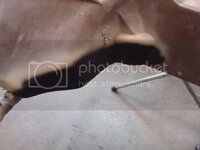
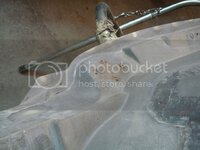
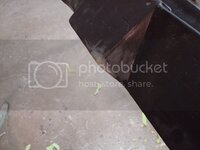
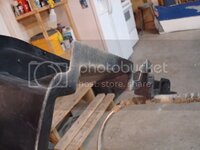
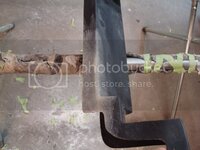
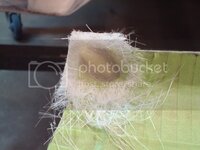
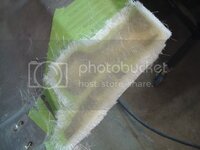
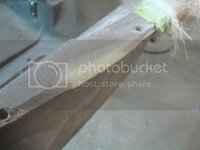
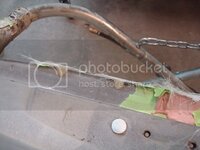
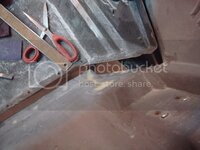
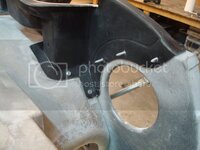
Had to build up this lip before I could bond a panel on the back of it - needed more surface area to bond too (the lower lip was practically gone)

DSC05317-1.jpg

DSC05318.jpg

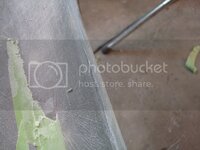
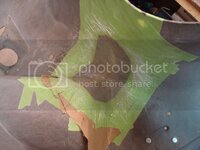
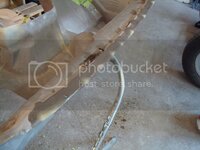
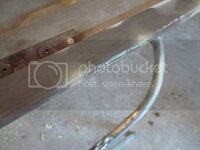
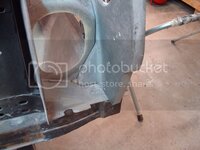
Finished the front side of this crack yesterday...

DSC05323.jpg

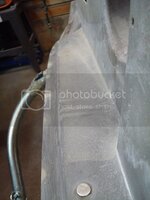
Started preparing the backside of it for more glass work...

DSC05324.jpg

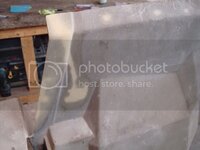
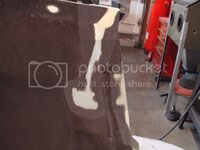
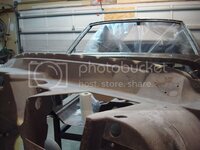
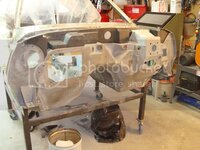
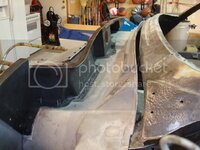
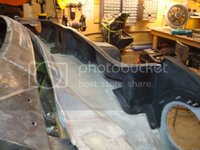
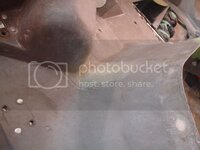
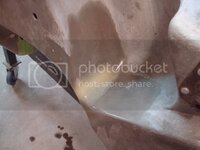
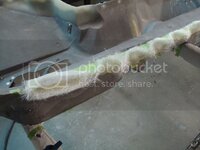
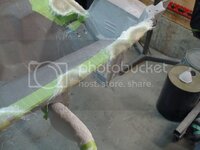
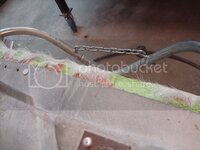
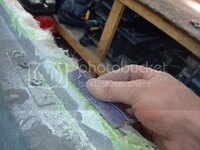
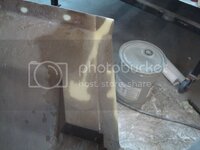
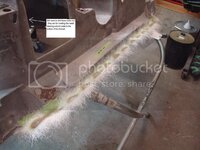
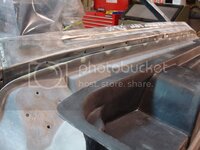
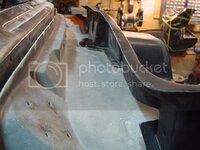
Finished the lip on the firewall finally - gave it a quick spray to see what it looked like (wipes off with lacquer thinner). Because I added so much glass on the inside of the repair, I was able to grind the original glass flush with the 4 layers I applied on the outside of the edge. This is without causing any compromise to the strength of the lip...it is still thicker than stock!

DSC05326.jpg
 
DSC05335.jpg

DSC05336.jpg

DSC05337.jpg

DSC05338.jpg

DSC05339.jpg

DSC05342.jpg

DSC05344.jpg

DSC05345.jpg

DSC05347.jpg

DSC05348.jpg

DSC05350.jpg

DSC05352.jpg

DSC05354.jpg

A couple more days, and I will be ready to start fitting the bonding strips back on this thing (not bonding them until I mock up the front end).
 
According to Mike, the short block on the engine is finished, as of yesterday. He said he would get some pics in the next week or so - he has to go over to the shop and pick out a cam. Once Dave installs the cam, Mike takes over the build and finishes her off. He is doing all the top end work - and he will also be tuning/painting it. Stay tuned!


PS: What color should Mike paint it? Yellow like the calipers, chevy orange or black...I can't make up my mind anymore. I'm trying to stick with the yellow/black theme, but yellow shows a lot of dirt...which is why I went light with it on the frame (only did the calipers that color). The car is getting painted the same yellow as the calipers (or at least close to it...still have to pick out the exact yellow I want).
 
PS: What color should Mike paint it? Yellow like the calipers, chevy orange or black...I can't make up my mind anymore. I'm trying to stick with the yellow/black theme, but yellow shows a lot of dirt...which is why I went light with it on the frame (only did the calipers that color). The car is getting painted the same yellow as the calipers (or at least close to it...still have to pick out the exact yellow I want).

Sure is coming along nicely. I'm leaning toward black with some yellow accents strategically placed around the engine compartment for accent. If you wanted a lighter color you might consider a silver or light gray which would not distract from the yellow/black theme as orange would.

Just my two cents. Keep the change.

DC
 
Took a little break from both the vette and work yesterday. It seems like all I do is work my butt off 24/7. My grandfather was in town, so we went fishing, and caught about 50 pickeral in under 7 hours - so much fun!

DSC00145.jpg

Then I finished some more repairs when I got back. I'm so close to finishing this firewall!

DSC05367.jpg

DSC05369.jpg

DSC05370.jpg
 
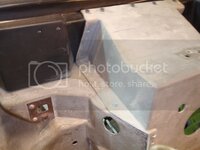
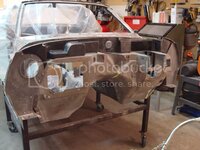
My new parts from Mike finally arrived last week. I was able to start mocking up the bonding strips on the firewall. I slowly have to screw the cowl down, twisting and shaping it along the way.

DSC05400.jpg

DSC05401.jpg

DSC05402.jpg

DSC05403.jpg

DSC05404.jpg

DSC05405.jpg

DSC05406.jpg

DSC05407.jpg
 
Had to fix a two spots on my new cowl (damage from shipping)...

DSC05411.jpg

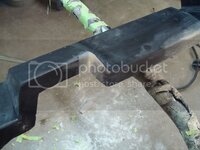
And I finally bonded that stupid vent hole shut - installing hot rod air, so no need for this anymore.

DSC05410.jpg

More to come tomorrow!
 
What an insane amount of work on that firewall...by the time you'll get to the body you'll be all bummed out from that glass work.
 
What an insane amount of work on that firewall...by the time you'll get to the body you'll be all bummed out from that glass work.


I dont think so Marck, the kid`s obsessed, LOL
No, he's right, I am beat from all this work and my full time job...I walk around like a zombie I am so tired:footmouth: One day it will pay off though.

DSC05412.jpg

DSC05413.jpg

DSC05416.jpg

DSC05414.jpg
 
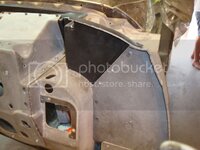
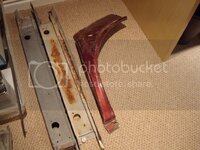
I will be bonding this part in. I drilled 1/8'' guide holes before removal of this piece when I started the firewall. I also sandblasted it...no more rust. This part will eventually get painted with the rest of the firewall in the next month or so. I can finally see the end of the tunnel.

DSC05417.jpg

DSC05421.jpg

More fiberglass rrepair prep- I only got a few more to do on this stupid piece:hurray:

DSC05418.jpg
 
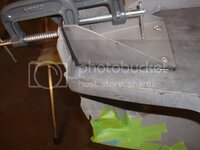
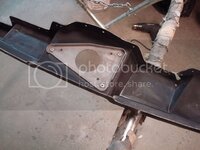
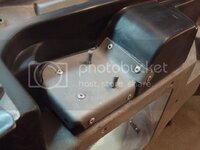
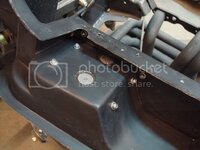
Mike told me to bond these pieces in (#1 mounts), as the rivets alone will not keep them in place over time. The holes will eventually egg shape from vibrations if not bonded in place. It took me forever to prep these parts, and clean up the panels after gluing. The bonding adhesive I use is called Marine-tex. You have to mix it up on a mixing board before application, and the ratio is key...

DSC05422.jpg

DSC05426.jpg

and, as I mentioned before, I bonded this metal plate in earlier today...

DSC05423.jpg

More tomorrow.
 
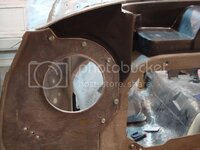
I finished fitting most of the pieces earlier today. Still need to bond them in place, but its getting there. It took lots of twisting/tweaking of the panels to make them fit perfect. I also used a trick Mike taught me - using a heat gun to soften some of the glass, then letting it cool off. You can change the shape of a panel using this method, and it works awesome. It also prevents cracking of the panel, as it does not put stress on it.

DSC05432.jpg

DSC05433.jpg

DSC05434.jpg

DSC05435.jpg

DSC05436.jpg

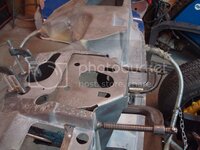
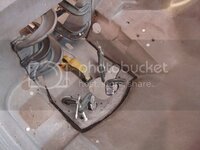
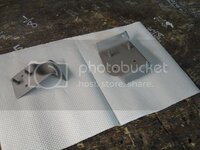
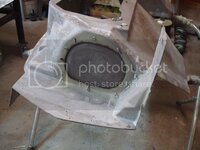
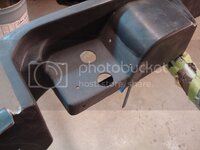
I sandblasted and bonded this metal plate in for the windshield wiper motor...

DSC05438.jpg

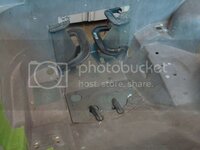
Sandblasted these two brackets (they are getting bonded in place as well). They are for the hood latches.

DSC05439.jpg
 
Marine Tex is damn good ****, expensive, but you can glue air to the moon with it.....:eek::smash:
 
Hey, I am really inspired by your work. A guy from CF recommended me to view this thread. I am 17 and trying to bring a 73 back to life, but you blow me away.

You know much much more than me, have a lot of family support and have crazy seeming funds. I give a thumbs up on all the work. I hate to use the word, but I wish I had the time, money, and knowledge to do what you are doing.

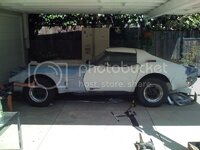
Here is a pic of my car.

IMG_0232.jpg

It was a great deal that I found on craigslist for just 500 bucks. Only problem is that, that was my last 500 bucks. I cant even buy oil and plugs to try and get the engine running.

But definitely like I said thumbs up again, beautiful work. You are inspiration to me, and I hope that I'll have the opportunity to do a really proper restoration like yours.

For now, its that minimum wage job and high school, with a sitting around my vette fiddling with adjustable wrenches on the weekends after homework.

Power to ya, and I cant wait to see what comes up next. We all want to see what its going to turn out like!
 
Hey, I am really inspired by your work. A guy from CF recommended me to view this thread. I am 17 and trying to bring a 73 back to life, but you blow me away.

You know much much more than me, have a lot of family support and have crazy seeming funds. I give a thumbs up on all the work. I hate to use the word, but I wish I had the time, money, and knowledge to do what you are doing.

Here is a pic of my car.

IMG_0232.jpg

It was a great deal that I found on craigslist for just 500 bucks. Only problem is that, that was my last 500 bucks. I cant even buy oil and plugs to try and get the engine running.

But definitely like I said thumbs up again, beautiful work. You are inspiration to me, and I hope that I'll have the opportunity to do a really proper restoration like yours.

For now, its that minimum wage job and high school, with a sitting around my vette fiddling with adjustable wrenches on the weekends after homework.

Power to ya, and I cant wait to see what comes up next. We all want to see what its going to turn out like!

I got my vette when I was 17 I think (I was still in High School). I worked all summer for two years to gather up enough cash to buy this hunk of junk (there is no better way to put it - it was a mess, and I was the sucker that bought it). This restoration didn't really get anywhere until I finished high school. I, just like you, did homework every night, had barely enough money to support the vette, and really wanted to get going on it. I was in the same shoes as you. It wasn't until I got a full time job after high school that I was able to really dig into this thing. I work my butt off 24/7 - both at work and at home. It isn't easy, I can tell you that much. The amount of effort I am putting into this thing is, well, ridiculous.

I took time off school because I didn't know what I wanted to do with my life at the time. I am very good with my hands, and this project shows that. Part of the reason I am working so hard on this thing is because I want to do this for a living - I need somewhere to start first. I plan on heading back to school to do a trade related to this restoration, so I can get my life going - probably within the next 6 months or so. And, once that happens, I am going to be in the same spot I was in when I was 17. I need to at least get it running and in one piece again before that 6 month mark - another reason why I am killing myself.

I wouldn't be able to do this without my parents - they are best. They support every move on this project, as it means alot to me. They know I have the talent to do this for a living, and they want to see what this project looks like when its done. Its a resume' for my future kind of.

I appreciate the kind words, I really do;)
 
You sandblasted those parts and then bonded them on bare? They are going to rust in no time. Why didn't you coat them with something? Thinned down por (sprayed) over a blasted surface really gets into the rough texture and is next to impossible to get off (yes...it'll go off if you grind down the metal) That's what I did with parts that I forgot to send to the platers.
 
Back
Top