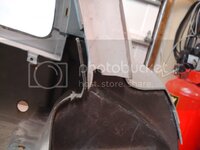
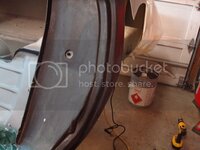
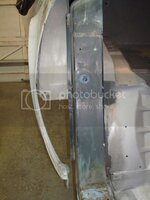
Rookie's First Restoration Attempt...

VetteMod - Corvette Restoration, Modding & Performance Forum

Help Support VetteMod Forum:

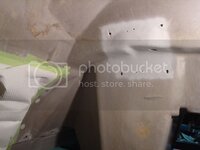
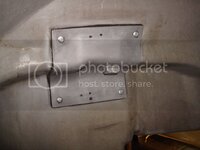
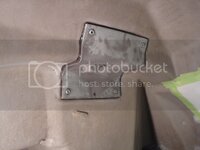
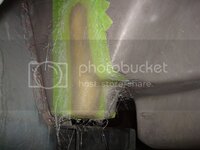
You sandblasted those parts and then bonded them on bare? They are going to rust in no time. Why didn't you coat them with something? Thinned down por (sprayed) over a blasted surface really gets into the rough texture and is next to impossible to get off (yes...it'll go off if you grind down the metal) That's what I did with parts that I forgot to send to the platers.

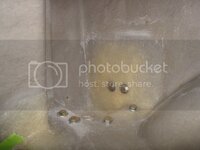
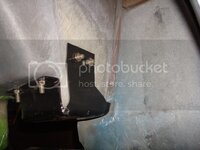
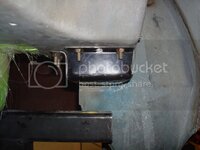
You cannot bond to paint, especially with marine tex. You need a rough surface to bond to, or else you get a poor bond - i am all about strength. I sealed it shut by fitting the parts very tight. Next i applied so much marine tex to every square in of metal that when i pressed down it squirted out everywhere. I sealed it shut with the bonding adhesive. this area is inside tbe engine compartment, so i am not too worried about rust. however, when i fix the number 4 body mounts, i will be bonding to powdercoatr, which is much stronger and thicker than paint.
 
I know you can not readily bond to paint but you can bond to cured por that has been carefully bead blasted with glass beads to provide a rough finish. The same for plated parts, all it needs is either some blasting or a rinse in an etching agent or washing with a phosphate wash. The conversion layer has excellent bonding properties.

Powdercoating is not necessarily stronger than paint and the fact that the coating is thicker doesn't make it stronger for bonding either. It's all in the prop work, not just blasting and coating but phosphate washing if required (like on plated parts when they have to be painted or powdercoated, commonly used are iron and zinc phosphate), cleanliness and the proper formulated powder.

I also don't see the need to epoxy glue that stuff on there like you did, same for the body mount reinforcements. There are no huge loads on there, it's all compressive forces. I have done those on quite a few cars, always I had the parts plated after blasting and then used windshield adhesive (not butyl rubber rope but polyurethane adhesive), the rivets hold the parts in place, the adhesive gives additional bonding and is excellent for keeping moisture out....and it's CHEAP! I don't know what that marine tex costs but the thixotropic epoxy pastes I use cost 80 bucks for a small can of base and hardener. It'd cost hundreds of dollars if I used it everywhere, money better spent on perf. upgrades.
 
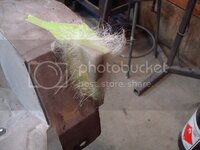
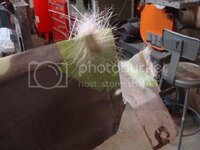
Last of the fiberglass repairs on the firewall!!!!!!

DSC05444.jpg

DSC05445.jpg

DSC05446.jpg

DSC05447.jpg

DSC05448.jpg

DSC05449.jpg

A couple hours of blocking these repairs, and I will be finished with fiberglass (on the firewall that is:eek:). I am almost ready to get going on that body :hurray:
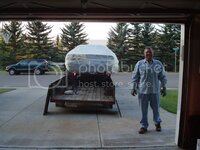
 
I masked the entire body off yesterday morning for sandblasting (cannot sandblast fiberglass) - it took a very long time. Took 5 rolls of masking tape, and then about 3-4 layers of thick plastic. Not one grain of sand hit the fiberglass.
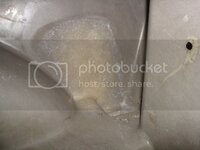
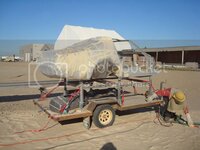
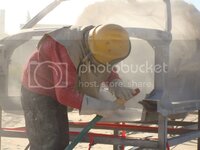
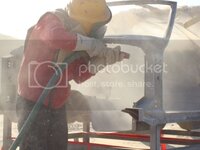
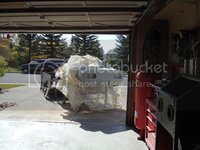
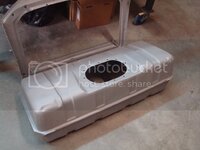
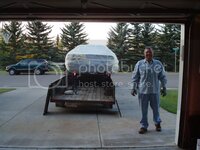
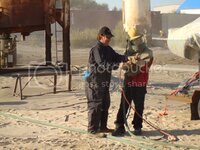
Today, me and my father drove the vette down to consolidated compressor, where I sandblasted it. These are industrial sandblasters - not hobby ones. I could not believe the power of these beasts...it was insane. The compressor they have running the blasters is absolutely incredible...it sucks air like you would not believe. I finished it in under 2 hours - the entire body, fuel lines, radiator support and fuel tank. Cost me all of $188, which is pretty damn cheap if you ask me. The big plus is that there is no damn cleanup at home! Here are some pics...

A picture of the best dad in the world. This project would not be happening if it wasn't for him (and my mom that is). I still can't believe they are letting me restore this thing to full potential (it ain't my house).

DSC05468.jpg

At the sandblasters...

DSC05471.jpg

DSC05478.jpg

DSC05481.jpg

DSC05482.jpg

I peeled her open once we got home...

DSC05488.jpg

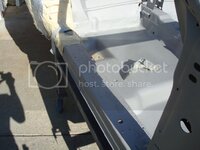
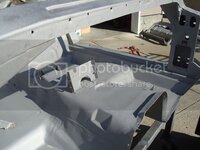
The results are amazing - not one spec of rust/paint left on the entire body now. Now that all the bullsh#t work is finished, I can really start tearing into the bodywork:D

DSC05486-1.jpg

DSC05487-1.jpg

DSC05492.jpg

DSC05493.jpg

DSC05494.jpg

DSC05499.jpg

DSC05501.jpg

Kudos to Mike for selling me one hell of a body - this thing barely had any rust. YOU THE MAN MIKE!
 
Last edited:
A picture of the best dad in the world. This project would not be happening if it wasn't for him (and my mom that is). I still can't believe they are letting me restore this thing to full potential (it ain't my house).

DSC05468.jpg

you bet they are good to let you do this, but you probably deserve it.
I'd cut you loosse too!
Again, Good job.
 
Its funny, because when I told my parents I wanted to buy a car and fix/restore it about 3 years ago, my dad said no, and was very negative. My mom convinced him to let me buy the vette though.

Over the past 3 years, my father has become very fond of the work I am doing. I guess he's proud of me, because now he is willing to do anything to help me out on this project. This is his car as much as it is mine - I can't thank my parents enough...I am very fortunate. He's just as excited as I am to see this thing come together. So is my mom.
 
As an Amazon Associate we earn from qualifying purchases. Product prices and availability are accurate as of the date/time indicated and are subject to change.
That blasting site looks like a Florida Beach.....:p:1st:

You are very lucky your folks support your hobby like that, there are a whole bunch of us hotrodders who got NO support from any parental units, years ago, up in the DC region...it was a hobby frowned upon, the car is considered an inconvenience at best in that area.....:beer::beer:
 
Its funny, because when I told my parents I wanted to buy a car and fix/restore it about 3 years ago, my dad said no, and was very negative. My mom convinced him to let me buy the vette though.

Over the past 3 years, my father has become very fond of the work I am doing. I guess he's proud of me, because now he is willing to do anything to help me out on this project. This is his car as much as it is mine - I can't thank my parents enough...I am very fortunate. He's just as excited as I am to see this thing come together. So is my mom.


Come to think about it, I would've reacted the same way.
yeah, sure ...youre going to rebuild a car from ground up... Big project,but at the long run he saw the same thing we did.

Damn youre serious!

So as a parent I woud've done what he's doing. Support you all the way.
Ill have to admit here that youre far more serious about your project than me with mine.
And for all it's worth, I'm getting lessons from this.
On building the car but most important, on trusting the ablilties of the younger generation.

You guess he's proud? I mean look at the guy.... of course he is.LOL
 
Its funny, because when I told my parents I wanted to buy a car and fix/restore it about 3 years ago, my dad said no, and was very negative. My mom convinced him to let me buy the vette though.

Over the past 3 years, my father has become very fond of the work I am doing. I guess he's proud of me, because now he is willing to do anything to help me out on this project. This is his car as much as it is mine - I can't thank my parents enough...I am very fortunate. He's just as excited as I am to see this thing come together. So is my mom.


Come to think about it, I would've reacted the same way.
yeah, sure ...youre going to rebuild a car from ground up... Big project,but at the long run he saw the same thing we did.

Damn youre serious!

So as a parent I woud've done what he's doing. Support you all the way.
Ill have to admit here that youre far more serious about your project than me with mine.
And for all it's worth, I'm getting lessons from this.
On building the car but most important, on trusting the ablilties of the younger generation.

You guess he's proud? I mean look at the guy.... of course he is.LOL

:1st: Yup, U got cool folks alright....:loveletter:
 
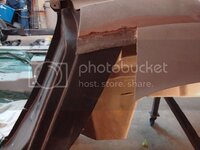
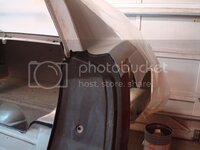
Had to clean up this area for the new door jamb. Bought it off ebay real cheap - its an original GM NOS replacement panel. Needs a little work, but almost every replacement panel does...

DSC05516.jpg

DSC05517.jpg

DSC05520.jpg

DSC05518.jpg

DSC05521.jpg
 
I decided to remove the right door jamb cover. I busted a piece off the inside of it when I was removing the #3 body mount cover, and tore it up pretty good (I totally forgot that there were 3 pieces sandwiched together right behind the dogleg...oh well, sh8t happens). That wasn't the only reason for removing it though. the previous owner messed it up pretty bad where he tried to make a repair on the dog leg. This way I can also put the rocker channel cover back in one piece instead of two pieces (Mike sent me a used panel in my last package). I'll have to sandblast this pillar before I put the body back on the frame. This is the farthest I am going with this thing...I'm not removing any more panels (come to think of it, the only panels I haven't removed are the rear deck and quarter panels :lol:).

I also started prepping the joint between the tub and the floor pan. I need to bond it together with marinetex. God damn fiberglass. I just want this thing together already :beatdeadhorse:...seems like it is never gonna end.

DSC05538.jpg
 
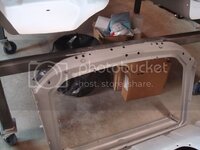
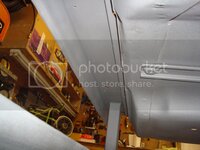
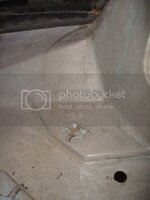
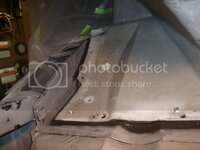
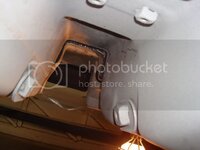
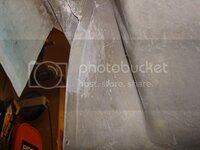
I need to finish some repairs on the underbody before it goes back on the frame for good. One of those jobs is rebonding the area where the tub meets the floorpan/ seat riser. This is important, as it is one of the few areas where the birdcage is actually bonded to the rear section of the car. I sandblasted, wire wheeled, sandblasted and scrubbed with scotch brite and lacquer thinner until the bonding surfaces were rough and clean. I also used hacksaw blades...worked great. I had to get in the rear of the interior like a moron...i could barely move, but I needed to sandblast this area for bonding (the area is at the top of the pic...picture was taken before sandblasting)

DSC05543.jpg

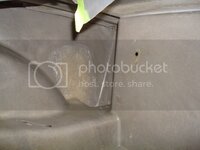
Here is the are I cleaned to perfection...

DSC05549.jpg

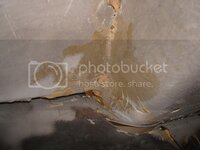
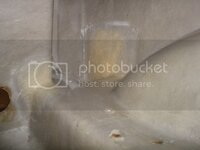
Here is what I found underneath GM bonding adhesive...

DSC05559.jpg

The underside of the repair was in plain sight (this picture was taken after I pulled all of the cloth off!)...

DSC05552.jpg

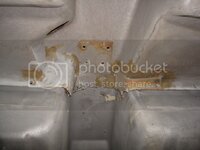
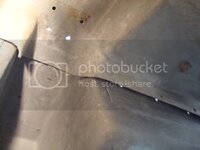
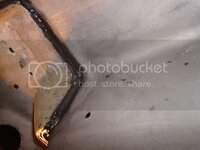
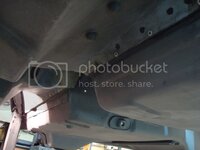
Yes, that is correct. I found this under GM applied bonding adhesive and sealant. There were pieces of cloth in areas which could not have been applied unless the tub was off the car at some point, which it was not. I talked to Mike about this, and he said he's seen repairs just like this done by GM from the factory - they never made the panels, so they repaired them the easiest way they could when they got damaged during assembly. I also found fiberglass cloth under my #4 body mount reinforcements. The reinforcements were still riveted with original GM body rivets. Anyways, This crap had to come off. I want to do this right. I sanded and stripped all the resin that was on the underbody, then I prepped any cracked/fractured areas for fiberglass. It took me more than a few hours...there was a ton of crap to clean between the tub and floor pans.

DSC05569.jpg

DSC05570.jpg

DSC05572.jpg
 
looking good mate.
i can understand your dads hesitence at taking on a project.
all to often a heap is bought home, thousand spent on it, and its still a heap.

good luck with a job doing this for a living.
everyone wants to build custom cars/hot rods, but the job offers are limited.
costs BIG bucks to set yourself up in your own shop, and if you do ,paying customers would be hesitant to go to the "new guy"
,and its hard to get a spot in an established shop.
the old catch 22 factor...
"you have no experience so you cant have a job... you cant get the experience without a job."

this project will hopefully show the kind of shops you may be interested in just what you have achieved.
your parents must be so proud
 
looking good mate.
i can understand your dads hesitence at taking on a project.
all to often a heap is bought home, thousand spent on it, and its still a heap.

good luck with a job doing this for a living.
everyone wants to build custom cars/hot rods, but the job offers are limited.
costs BIG bucks to set yourself up in your own shop, and if you do ,paying customers would be hesitant to go to the "new guy"
,and its hard to get a spot in an established shop.
the old catch 22 factor...
"you have no experience so you cant have a job... you cant get the experience without a job."

this project will hopefully show the kind of shops you may be interested in just what you have achieved.
your parents must be so proud

Take your completed project to a few car shows with a handful of business cards...You have a greater discriminating eye for details than most. That is what will make the difference.
 
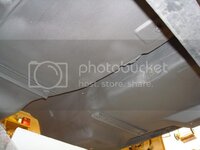
Finished bonding the floor pan to the bottom of the rear tub. This job was very tedious, and required a ton of prep...I never want to do this again! Ever tried fiberglassing upside down:willy: Tomorrow I will drill the holes out for the new rivets, and pop them in. Then I will be done with it.


Next project is the #4 body mounts (fiberglassing) and installing the cover reinforcements on them. I'm extremly close to finishing the underbody - less than a month before I get to install the body!

DSC05573.jpg

DSC05584.jpg

DSC05582.jpg

DSC05586.jpg

DSC05588.jpg

DSC05590.jpg
 
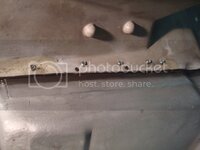
I finished the floor pan to rear tub bonding/rivetting. I countersunk the screws holes (the ones which were used as clamps during bonding) and packed them full of marinetex and sanded them smooth. Everything is getting a coat of undercoating once finished. If this were the outside of the body, then I would have glassed those holes shut...but this is the underbody. This bonding adhesive is insanely strong...I still can't believe how good the stuff is.

DSC05598.jpg

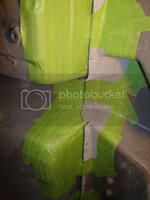
Next I finished sandblasting the pillars (the areas getting covered by the access covers). I masked them off, and gave them a coat of krylon rust tough enamel. Just these two areas are getting spray painted - the rest of the car is getting sprayed with my new paint gun and some high end primer.

DSC05595.jpg

DSC05596.jpg

DSC05599.jpg

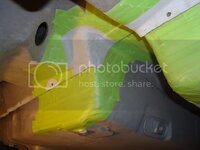
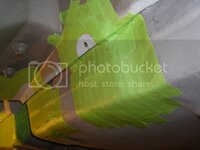
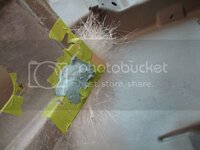
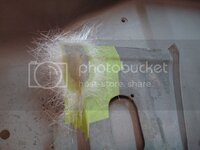
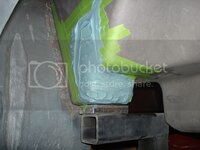
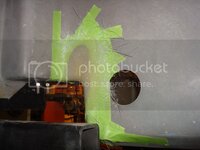
Then I started to prep some cracks for fiberglass repairs. I also masked off the inside of the #4 mount, and applied bondo on the backside...a trick that works awesome!

DSC05592.jpg

DSC05593.jpg

DSC05600.jpg

I still have a ton of work to do before I get to reunite the body/frame. Once again, I am beat/extremely exhausted.
 
I finished the floor pan to rear tub bonding/rivetting. I countersunk the screws holes (the ones which were used as clamps during bonding) and packed them full of marinetex and sanded them smooth. Everything is getting a coat of undercoating once finished. If this were the outside of the body, then I would have glassed those holes shut...but this is the underbody. This bonding adhesive is insanely strong...I still can't believe how good the stuff is.

Why would you want to cover with that stuff???
It's known as a "hider"
 
I finished the floor pan to rear tub bonding/rivetting. I countersunk the screws holes (the ones which were used as clamps during bonding) and packed them full of marinetex and sanded them smooth. Everything is getting a coat of undercoating once finished. If this were the outside of the body, then I would have glassed those holes shut...but this is the underbody. This bonding adhesive is insanely strong...I still can't believe how good the stuff is.

Why would you want to cover with that stuff???
It's known as a "hider"

I've found some rattle can undercoating which actually looks good, and goes on fairly thin. Its easy to clean too...not like that crap GM applied back in the day.

I might go a different route though...still haven't decided. there are lots of options out there, and when it comes time to shoot some material underneath there, then I will make my final decision. Its up in the air right now.
 
I tried a couple of those rattle can under coatings, the only one I fould half ass decent was the 3M stuff.
 
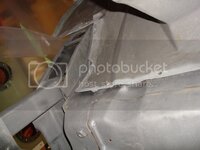
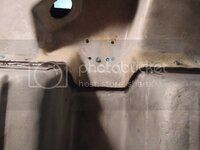
These pieces were still in good shape (seatbelt reinforcements). Water usually collects behind them and then they rust out. I sandblasted both sides (looks a little funny...there is still some original plating on them, which is some pretty tough stuff), then applied a ton of bonding adhesive on the backside. I pressed it tight against the fiberglass until it oozed out and sealed it to the tub. No water will be able to get to it now. I sandblasted the fiberglass before I bonded the reinforcements in place.

DSC05608.jpg

DSC05612.jpg

DSC05614.jpg
 
I finished the floor pan to rear tub bonding/rivetting. I countersunk the screws holes (the ones which were used as clamps during bonding) and packed them full of marinetex and sanded them smooth. Everything is getting a coat of undercoating once finished. If this were the outside of the body, then I would have glassed those holes shut...but this is the underbody. This bonding adhesive is insanely strong...I still can't believe how good the stuff is.

Why would you want to cover with that stuff???
It's known as a "hider"

I've found some rattle can undercoating which actually looks good, and goes on fairly thin. Its easy to clean too...not like that crap GM applied back in the day.

I might go a different route though...still haven't decided. there are lots of options out there, and when it comes time to shoot some material underneath there, then I will make my final decision. Its up in the air right now.

I sprayed some test panels a about two years ago with a couple different brands of printable undercoat. Was planing on using a light coat on the inside of my Jeep's tub. Now two years latter I am very glad I didn't while it looked good at the time now it has shrunk and has many cracks in it. In short it looks like **** just two years latter and it hasn't been exposed to any elements. Don't do it.
 
I finally found my second pair of US Indys on Ebay the other day! I bought them last night - now I need to polish them:D
 
I sandblasted these two areas on each B-pillar. This is where the access cover butts up against, and GM never bonded them there. I am going overkill on everything - I never want to do this again.

DSC05618.jpg

DSC05623.jpg

Next I prepped one of the access panels for fiberglass repairs. I stripped the panel of all the crap and crud last night.

DSC05620.jpg

Here is the repair...

DSC05619.jpg

And here is the left #4 mount all glassed up...

DSC05621.jpg

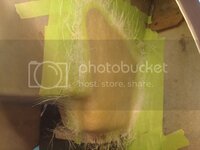
This area needed some glass work as well. It was previously repaired by GM using a 1/2''X1'' piece of fiberglass cloth...

DSC05622.jpg

I sandblasted and powdercoated these two covers for the access covers in front of the rear tire...

DSC05626.jpg


Time to get some sleep:goodnight:
 
Last edited:
Woohoo... I'm almost done the left #4 mount!

DSC05628.jpg

DSC05630.jpg

DSC05629.jpg

Ever tried to prep the inside of a #4 mount for fiberglass...talk about a tight fit:willy:
 
The #4 mounts are almost done...I just need to glass the outside of the passenger one.

DSC05631.jpg

DSC05633.jpg

DSC05635.jpg

DSC05636.jpg
 
Started fitting the #4 mount reinforcements earlier today. What a headache. These stamped parts needed a ton of work to get them to fit tight...took me almost 3 hours of hammering and dollying the damn things.

DSC05646.jpg

DSC05644.jpg

DSC05639.jpg

I also finished the last 2 fiberglass repairs on the underbody:D:D:D:D:D

DSC05650.jpg

DSC05649.jpg
 
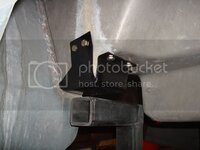
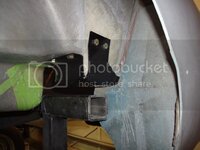
I finally finished fitting the reinforcements tonight. After I reshaped them (plenty of hammering and rebending), I realized that the original paint just wasn't going to cut it. I decided to sandblast and powdercoat them. I installed them one last time for a test fit, and now I am ready to seal them up with some adhesive. This will prevent water from getting to the bottom of the mount. I'll have to pop them off tomorrow and fill the crap out of them with sealant, then reinstall them for a final time. One step closer to mating my body and chassis!!!

DSC05656.jpg

DSC05657.jpg
 
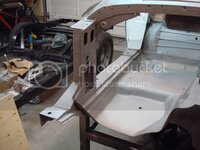
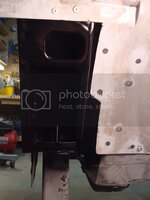
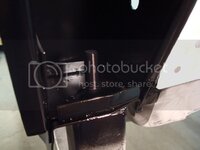
I finally finished my #4 mounts today. What a project...never want to do that again. I packed the crap out of each mount with polyurethane construction adhesive. I roughed up the powdercoat and fiberglass with a sandblaster before I bonded them in place. Next project - finish up some little welding jobs on the b-cage. Another project I get to cross off the list:D

Before...

DSC04640.jpg


After...

DSC05663.jpg

DSC05664.jpg

Time to get some sleep:willy:
 
Last edited:
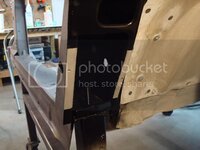
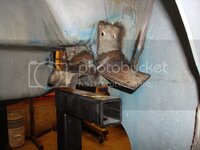
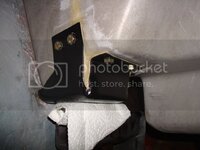
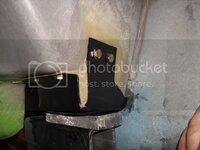
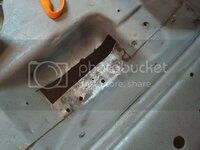
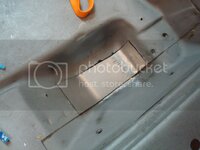
Just finishing up a few repairs before I paint the birdcage and mount the body back on the frame (hopefully in 2 weeks or so). Over the last 6 months, water (oops on my part), collected in the left seat belt reinforcement, and rusted it to nothing. I cut out the rotten metal, and shaped a new piece out of 16 gauge. I need to pick up some more gas for my welder...I just ran out:huh:

DSC05667.jpg

DSC05666.jpg
 
Back
Top