Plastic Fantastic 2

VetteMod - Corvette Restoration, Modding & Performance Forum

Help Support VetteMod Forum:

EFI upgrade
dLn50Hsh.jpg

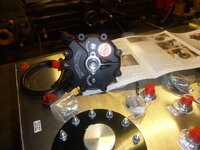
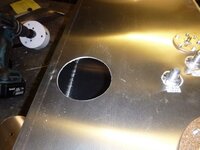
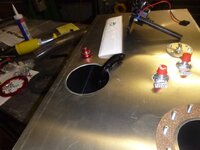
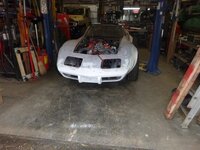
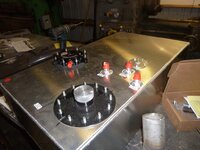
and replacement tank.... it's squarer. I keep telling myself that it's $100 in material and $40 in fittings and parts.... these tanks are $200.... and their welds are better - why they haven't learned to clamp it in place first is a question for the ages.
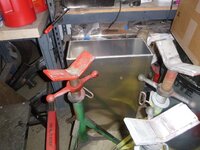
q0n7SJ4h.jpg

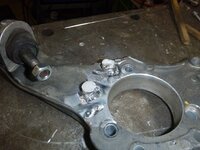
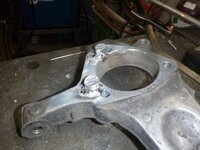
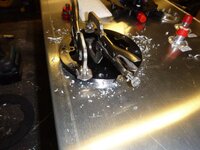
and finally starting to learn on my new welder - aluminum learn
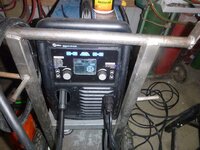
YrlX9LYh.jpg

not pretty to begin
fZiAfTCh.jpg

however, practice :)
xTAVLnWh.jpg

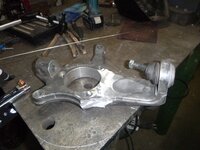
I need to add the material back that I machined off - thus the welding.... next up drill holes in my non-practice pieces, then make those permanent....edited
nAHupXsh.jpg
 
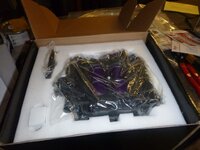
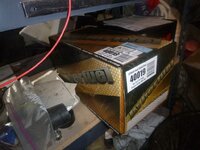
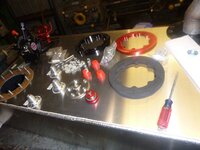
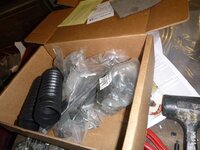
more parts arrived today
zTBVS5Vh.jpg

gkgAG0Dh.jpg
XaPCjHUh.jpg

when they said 7" they mean 7" .... thankfully it's just enough
​​​​​​​
the order of events - I work with the time available - I really need to spend some quality time with the welder and milling machine, but that wouldn't be tonight...
 
Okay, enough with Uber hookers.... onto more chipping away at this project
heh, I punned
SeJBmKFh.jpg

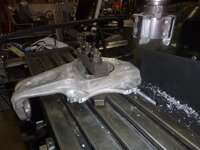
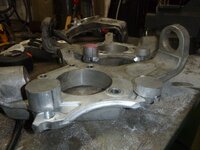
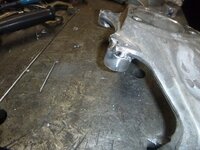
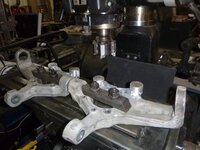
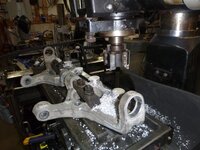
basically the tabs are in the way so I need to move them towards the centerline... yes, people do make stuff that put 13" rotors on these.... but where's the fun in that?edited
PTilpo4h.jpg
7d0wWtVh.jpg
A8KAVD6h.jpg

clamping is so much fun
L9S3bLbh.jpg

lest you think I gave up on eyeballing... no, I will not
zxkLyNPh.jpg


success.... bolt hoes in place and bolts go in.... which there was so question whether or not this would work since I learned today that my key for the chuck is not the key for the chuck that fits my mill
yr8tkdch.jpg
gXS494Hh.jpg

next step.edited I've taken a tremendous amount of metal off the back, so welding in new backing blocks is more then a good idea
0agl9xEh.jpg

​​​​​​​
 
first, make holes (aka void warranties)
2DMih8ch.jpg
XkdJZZJh.jpg
CaQxUZPh.jpg

weld a bit of aluminum
0rYssDnh.jpg
04ezPnHh.jpg
dang, the appearance I know what I'm doing....
JvwIYQhh.jpg

fit an Astro top
KYrGMWkh.jpg
4pWxYV0h.jpg
(I love these things)
 
I appreciate the kind words

Brakes
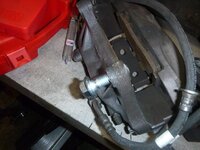
Today I received the bolts for the front calipers.... time to finish this up
6hcK8yzh.jpg
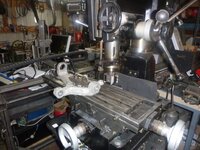
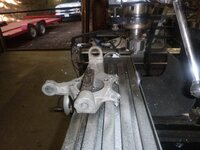
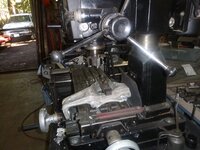
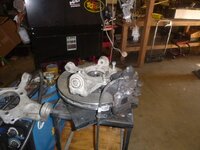
first a bunch of milling on what I welded yesterday
n4BzZBqh.jpg
I resisted the urge to sharpen the carbide (I should have but it worked)
sIPGMjth.jpg
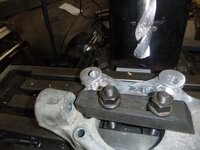
then drilled the holes
bVDp3wRh.jpg


wow, it works, errr... well that's no surprise that it worked just like I planned
oPYJsuvh.jpg

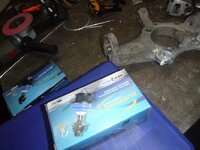
Installed new upper ball joints
wfKiO2qh.jpg

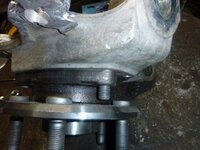
for the life of me, I can't figure out why this is an issue now - but one bolt should be shorter to attach the hubs.... thankfully, Mr. Cutoff wheel came to the rescue
1RQkWJAh.jpg


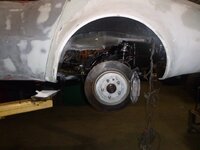
and look, the rear
EX7OfDgh.jpg

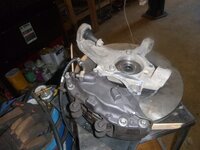
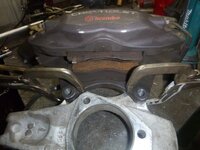
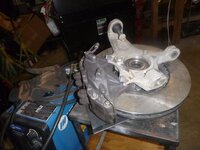
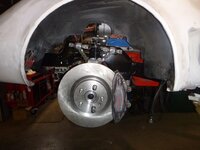
and the front - to be honest, I don't know of a 14" rotor for this application (the C5 uses a 13")...edited
urt4Flvh.jpg

Getting close to final assembly
r8d4dfdh.jpg
and the rear
​​​​​​​tAlGmmQh.jpg
 
As an Amazon Associate we earn from qualifying purchases. Product prices and availability are accurate as of the date/time indicated and are subject to change.
Your alum welder and mill drill paid off fast. Nice job.
 
...and the front - to be honest, I don't know of a 14" rotor for this application (the C5 uses a 13")...edited

Ahh Ha! Wondered why the mod to the uprights. Obviously matching the caliper to the disc - but didn't "get" why. Surprised that floating hats could be matched to a 14" disc. Add some extra complications ordering, etc.
Its's all a compromise isn't it?:D

Very nice work.

Cheers - Jim
 
master cylinder size.
Stock C3, no assist is 7/8"
Stock C3, with assist is 1 1/8"

2010 Camaro SS is 1 1/8 however it's a much shorter master cylinder.

Called Wilwood and they recommended 1 1/8 with the caveat that I need to measure the piston size to properly calculate the swept area.

I'm using the smallest of hydroboost (no power steering, yet) to aid in braking....
 
This is coming together very well. Great work on getting the spindles modified too, I know that took a good bit of head scratching before you committed to the changes. The results look great!
 
so I've been waiting on some parts to arrive so I can finish up the frame
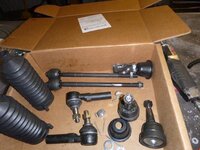
such as rebuild parts for the C6 front suspension
DQrLktQh.jpg
PS4vifmh.jpg
it was cheaper to buy this as a kit then individually... and hate on Chinese (like I do) but they put lube points on all the moving points... I guess we got too smart for that?

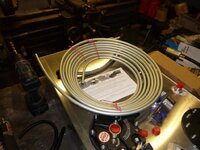
and fuel line....edited
selh7v1h.jpg
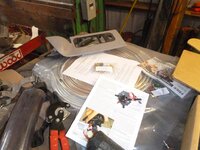
which I bought twice not knowing that aluminum is advised against by FItech.... ah well, it was really cheap and I'll use it for other stuff... new brake line is under that stack too
rQDQQ5ah.jpg

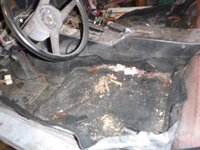
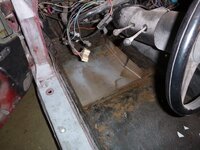
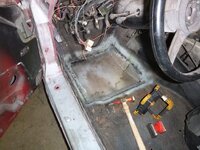
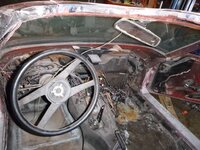
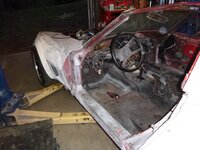
Got around to removing the seats and carpet for the next phase
hKTNBWkh.jpg

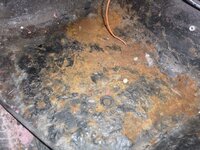
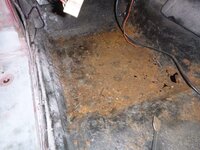
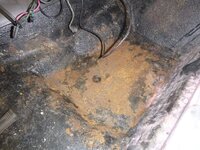
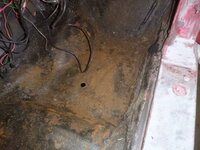
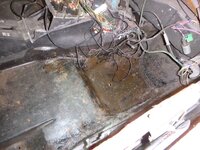
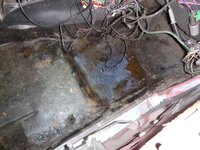
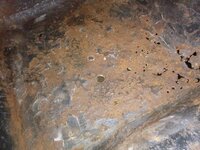
what I wasn't waiting for was more metal work inside.... this is why I like up to 75... no metal floors, or speedholes in the metal floor
8AmP8qyh.jpg

I'll get on fixing this Thursday... ah well. This year finish goal was more of a hopeful guess.
 
I'll bet FITech advises against aluminum from a liability standpoint. As long as you know what you are doing and insulate the mounting points, aluminum is perfectly fine. The problem is when it isn't installed correctly and it chafes against steel, has a sharp bend right at a mounting point, etc. Plenty of folks out there that don't pay attention to those things and end up burning their cars down.

I hear you on the grease fittings. Back when I was a Ford tech and asked about why they took them off ball joints and tie rod ends the answer I got was that more damage was done by over greasing than undergreasing. While I can understand the reasoning to an extent, I want to make the choice. All of my personal vehicles get parts with grease fittings when they get replaced. Too much time spent fixing NVH issues on Lincolns for picky customers to live with squeaks on my own rides.
 
Have you used Cupro (Copper Nickel) fuel line? Really nice stuff, bends easy, doesn't rust and doesn't fatigue.
 
I'll bet FITech advises against aluminum from a liability standpoint. As long as you know what you are doing and insulate the mounting points, aluminum is perfectly fine. The problem is when it isn't installed correctly and it chafes against steel, has a sharp bend right at a mounting point, etc. Plenty of folks out there that don't pay attention to those things and end up burning their cars down.

I think aluminum is fine, and will use it on fuel line on something else. But their warranty has the condition and the stainless was $17.00.. that said, I had a diesel suburban that didn't have rear brakes when I bought it. someone loosened the steel, GM installed line and it was against a corner. Diesels rattle, and it wore straight through the steel

Have you used Cupro (Copper Nickel) fuel line? Really nice stuff, bends easy, doesn't rust and doesn't fatigue.

I'm using annealed stainless, not easy but not terrible to bend either. I'm using Cupro for the brake lines for that very reason.
 
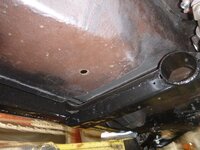
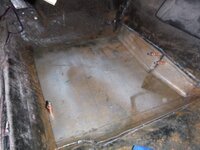
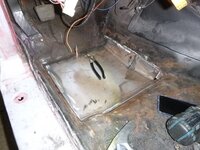
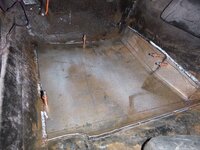
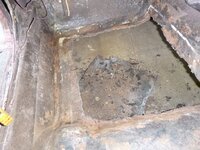
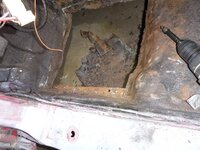
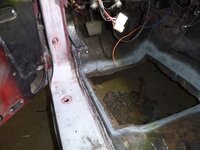
extent of the problem
cnAWFJYh.jpg
PVtBrSih.jpg
koHKvV9h.jpg

passenger side is fine
Xv8nrKNh.jpg
1JbwX3Ah.jpg
F6Xwn8eh.jpg

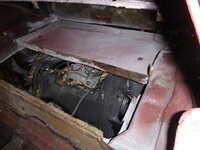
Needed bench space so put the tank roughly in place
IkXdBA9h.jpg

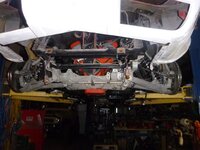
so the plan.... at $300 plus shipping, there is zero chance I'm not building a replacement part(s) myself for the floorpan...edited
 
Will you separate the body from the chassis to cut out the floors? I did and think it was a lot easier. May be time to think interior mods too? - Or are you "wedded" to a more-or-less stock interior?

I'm on front suspension just now - when I get some progress I'll post it up. Making the rack and pinion front steer. Some fun stuff.

Your efforts (and skills) are inspirational!

Cheers - Jim
 
Will you separate the body from the chassis to cut out the floors? I did and think it was a lot easier. May be time to think interior mods too? - Or are you "wedded" to a more-or-less stock interior?

I'm on front suspension just now - when I get some progress I'll post it up. Making the rack and pinion front steer. Some fun stuff.

Your efforts (and skills) are inspirational!

Cheers - Jim

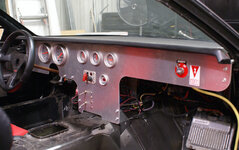
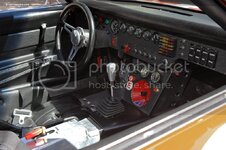
at this moment, I know I'm going to do something but not quite sure what. The seats have some issues, the carpet smells funky, dash is utterly rubbish so I'll be replacing a lot anyway... and why replace when you can update? (don't answer that, I know, why do things the easy way? is kind of my thing). As for the floor, the body is coming off again anyway to plumb it but I figure I'll start with it on the frame to lessen the chance of twisting the body.... there's also a part of me that says "cut it out, then use it as a mold to make a fiberglass floor in it again.... fiberglass is pretty easy to lay when it's on mostly a flat surface ... there, that's my range of thinking at the moment.
 
ah, full race

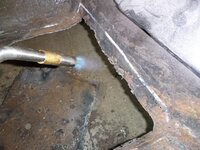
onto floor flixes, first treat the rust on the passenger side
EKLWO0lh.jpg

0XhJoqrh.jpg

this will need something a bit more substantial
aeYRhrhh.jpg
CAD
fWtEhPFh.jpg

now in metal
DlEO3rrh.jpg

​​​​​​​
 
Foretaste of the Buick wagon that's coming next

Y53pKHAh.jpg
Ke1ufCxh.jpg
XjPuJtOh.jpg
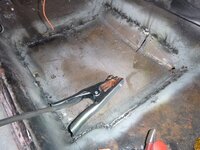
cut hole, remove undercoatingedited
HtjlBMdh.jpg
9kwNTBHh.jpg
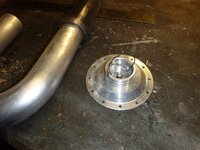
remove metal from flange
ODZOlzNh.jpg
spray with weld-through primer first to mark the edges
54NQlgwh.jpg
APzleJuh.jpg
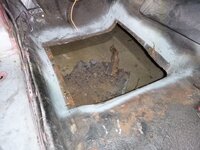
eventually I'll weld this on both sides, but this is a start
Fg3t4xlh.jpg
xKV1GDYh.jpg

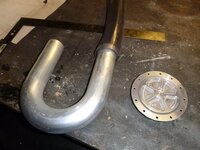
and finally another project in the wings
6Qdbg63h.jpg
initially I was/may weld this - but the cap retainer would need another solution
​​​​​​​IhPTb98h.jpg
 
Finish up the floor detour
3aAhgwYh.jpg

a few notes.editededited
1) the floor is going to get the ceramic coating that the FJ40 got - it's 1/4" thick so those seams disappear as does the rust pits on the other side
2) underneath it gets undercoating so the patch will fully disappear (like it did on the '40)
3) FOR THE LOVE ALL THAT IS HOLY STOP BLOCKING WINDOW CHANNELS WITH ADHESIVE WHEN YOU HAVE A LEAK... damn fools, GM designed the windshield system to allow the water to run under the molding then away from the car.edited The molding keeps water from being driven into the windshield frame.edited This car had a leak, and they plumb filled up the channels with window adhesive.... the leak is in the valley (below the window) .... just remember this, if I see you, Bubba, doing this I pray for your eternal soul to be damned to a hell where you do nothing but try to weld up pinholes, naked, and over your head, with your cheeks glued together window adhesive.edited Prayer works, so you are now on notice there is an 11th commandment.

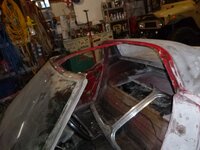
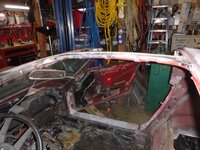
onto cleaning the body so I can complete the color change
OoGUmD7h.jpg

cKndj4Qh.jpg
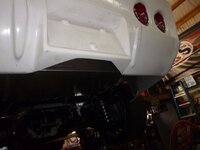
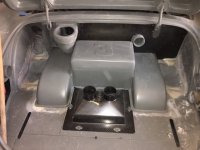
and rebuild the rear floor... I think I'm simply going to raise it to clear.... there's little reason to give it huge luggage space and it's far easier to just bond it back 2" higher.
oG5Yffih.jpg
 
Last edited:
a few notes.editededited
and rebuild the rear floor... I think I'm simply going to raise it to clear.... there's little reason to give it huge luggage space and it's far easier to just bond it back 2" higher.
oG5Yffih.jpg

Man, you do some good work fast. I'm a lot slower - guess I'm getting old. Raising the rear floor looks like the simple fix. Mine became more complicated after I changed from one IRS to a different one. I needed room for the exhaust to run over the cradle, a battery box, and duct work for the differential and fuel coolers. Took me forever. Here is an under- construction shot.

Pappy

56 Corvette Trunk 3.jpg
 

Attachments

  • 56 Corvette Trunk 3.jpg
    56 Corvette Trunk 3.jpg
    70.5 KB
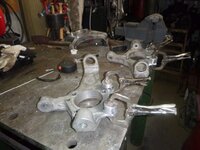
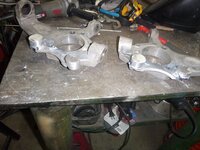
I really appreciate the compliment. I don't have your experience so I need to work quick because it'll take at least 3 iterations before I like this (e.g. did you notice I have 4 spindles?)... I already noticed there's a problem with this - the offset driveshaft I knew about but with all the other considerations, the diff yoke is at 4 degrees (up) and the transmission is 2 degrees down. I can cheat about 3 degrees by turning the differential and raising the transmission - but that creates a cascade of other issues.... ah well, In my mind's eye it'll be pretty cool to have a C3 that runs with C7s.... that's the ultimate goal, but it's taken 2x more time to get to this point and I'm resigned that it won't be done before October (driving season).

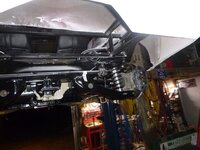
more.... I spent most of the day on honey-dos, so I had 2 hours tonight to get further....edited
doors are off
Spt7j76h.jpg

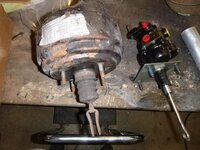
I knew pulling the booster was a pain, double the pain for a true 4 speed car because there are more bits in the way
xVnW3Erh.jpg

however, I won
VoHhJm9h.jpg
ish.... I still have to put the other back in
ro9KYaYh.jpg

ah well, having brakes that will suck the tailights through the gas tank will be awesome.
 
Back
Top