Plastic Fantastic 2

VetteMod - Corvette Restoration, Modding & Performance Forum

Help Support VetteMod Forum:

those are neat... I'm hold out for one older then you :D

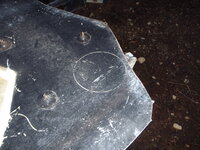
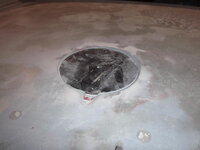
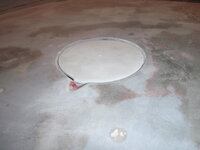
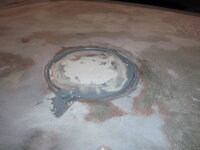
time to fill the hole in the deck
UURDFeS.jpg
looks to be about the right depth now
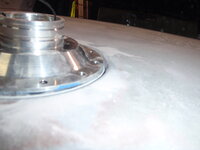
A7M0bBp.jpg
and fitting time *hack*
PlBlLSC.jpg
close
5QPMFqM.jpg
glued
chZ31Ru.jpg
not close
cFaVsKo.jpg
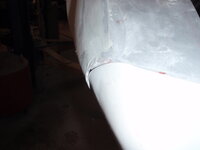
hmmm... is it supposed to veer off to the left? wonder what that would do for aero?
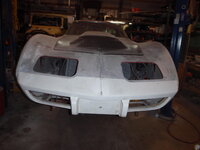
r7m21q3.jpg
maybe I can counter balance that with a step on the right side?
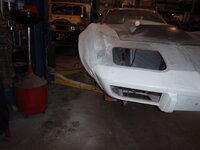
phhFASm.jpg
tYjlnov.jpg

hmmm.... glue it - nice to have lots of clamps :)
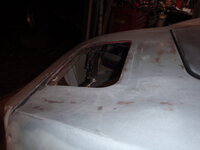
nGMOJvW.jpg

and as if by magic, it's now lined up.... if anyone asks, it was totally accidental and I have no idea what happened
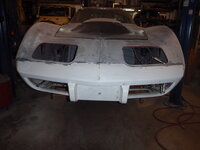
​​​​​​​UHM1EIa.jpg
 
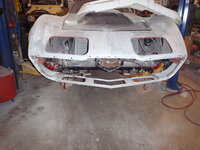
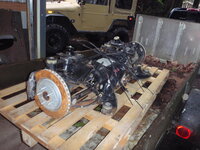
Time to Camaro-ize my Corvette. (I told a friend that I was doing this, his look was aghast at putting a Camaro rear end in a Corvette until I pointed out the year)
o2CqI1A.jpg

it is 4" wider per side - which corresponds nicely with the 4" flares
7rAoCJa.jpg

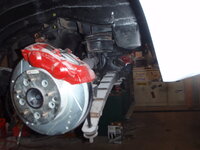
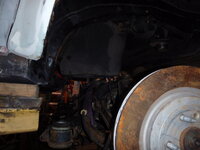
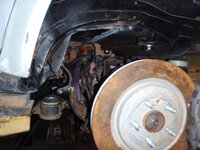
I'm pretty much doomed to upgrading the front because these brakes are large by huge
VkSJRS4.jpg

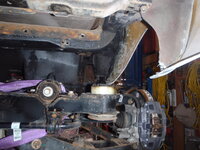
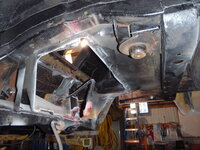
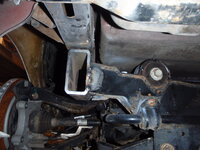
the basic is this - the front mounts will need a new mount welded to the back of that cross frame.edited The rear is in line with the frame, but I'm not sure how much of a step it is compared between the two.editededited
YkGTake.jpg
EkpKoP4.jpg
AJYtOZo.jpg

another view
4FBn2BV.jpg

there's the difference in track width - I know, deep offset looks cool; center offset handles better
VVjAvLX.jpg

as for suspension.edited you'll know the moment I do.edited The Camaro is basically a coil-over, so if I weld a new mount plate - it would work, but I'm not sure how well so we will see - I may use a transverse spring....edited
 
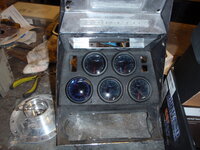
so I finally finished buying the new gauges.edited fuel, oil, temp, water, and wide band sensor
XOCDv9m.jpg

good thing I put the bung in place
scIwUA5.jpg

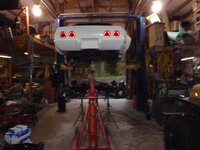
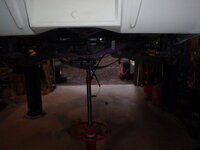
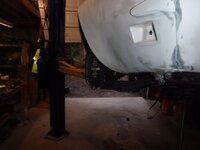
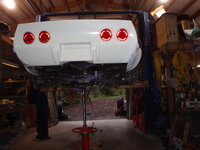
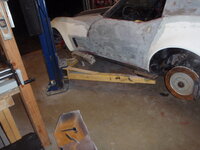
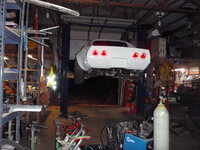
and rearranged the car on the lift
TvanxVv.jpg

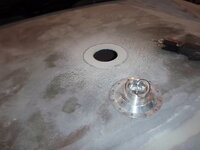
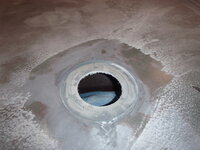
then took an easy task to cut the hole for the fuel filler
HxQOpBX.jpg

mark
gjx4DkT.jpg
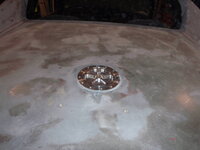
install
VAYP2L7.jpg

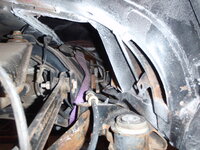
more random suspension pictures
M9STDfY.jpg

yes, 3.27 gearing
OWWBqoJ.jpg

this should be fun to see if it works
wcsjYJg.jpg

yeah, don't need locks
w4YTpXJ.jpg

gratuitous side shotedited
YQ8eYbA.jpg

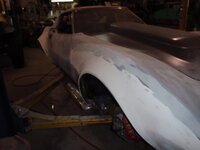
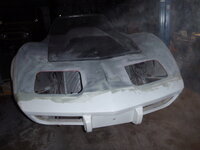
and filler drying so I can blend the nose in
​​​​​​​yGGRjiU.jpg
 
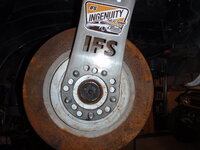
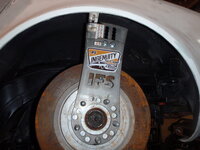
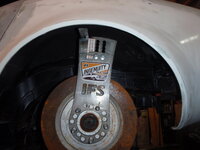
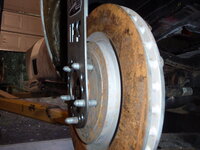
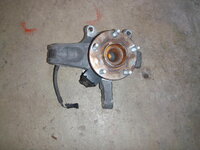
I just ordered the C5 spindles for the front.edited I haven't, yet, decided whether or not I'll use stock C5 A-arms or build my own....editedI'm thinking maybe stock lowers with custom, adjustable uppers... the biggest issue is, since I'm turning the spindles around - making certain my bump steer is controlled... I'm using the stock, C3 steering because while rack and pinion is neat; I'm not certain it's necessary for a fast, track car.

Feel free to weigh in on that issue.
 
As an Amazon Associate we earn from qualifying purchases. Product prices and availability are accurate as of the date/time indicated and are subject to change.
how about just the weight savings of going to a rack and pinion set up.....i didnt think much about the drag link set up and it weighed a lot as I recall. and besides those pitman arms are useful for using with a hydraulic press, they are nice and flat and have a big hole in them.

i guess you could always do it later
 
I seem to recall reading that steering arm design was different for front and rear steer applications (good chance Im wrong here)... Just throwing it out there before you spend too much time on getting the rear steer to work. Also If youre making your own control arms, be sure to take the C5's KPI into account with your upper arms. I happen to be selling a set of fully adjustable SPC arms for a C3...

Cant wait to see more of the camaro rear!
 
we may need to talk about those SP3 arms.... your wish, however, has arrived
this, needs to fall out
Z4RKWXy.jpg

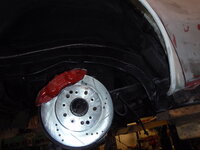
nice, new brakes... that will never be used
17Sg05Y.jpg

today's tutorial.

How to remove trailing arms in 2 hours or less
first, loosen the outside nut and take all the cotter pins out (including the one that holds the shims in place)
CkqKqei.jpg
then pry out the outer-most shims (it actually is pretty easy)
OAjTpG6.jpg
then cut the bolt on the outside
now move to the inside bolt, cut the head off
9PXj2y7.jpg
knock the head off with a air chisel
jRL7bGC.jpg
pry in, cut the bolt on the inside
remove.... this took - to this point, 3 hours.
If anyone needs a 3.36 gear rear.... it's for sale.
uAkkYOy.jpg

it seriously took more time to get the tools out and ready, I went through 2 blades - mostly because you're only using the very end.... I used them later.... see below
first fit without obstruction... well, the well boxes are obstructing
KzF5xQV.jpg

beside the boxes, problem 2 is apparent in this picture too
3HjikpD.jpg

better seen here
66BmZOG.jpg

I'll build a battery boxy for behind the passenger seat.... cap the rest
LJQ7tPX.jpg

in all of this, getting windows tinted.... I hope he does a good job because I know hundreds of people who'll use him if he is
GOvKKcU.jpg
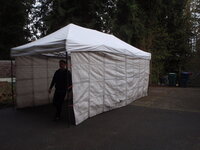
tinting booth
Z2hyswx.jpg


a few cars
V6eeCGn.jpg

but here's where I'm at now
GxpYVQD.jpg

I'm considering simply welding the entire structure in place.... it would be stronger and eliminate some bushings... as far as I can see, all the bolts would be accessible - which is why I have a production pause going on....edited

I think it looks pretty cool
W4WJA2F.jpg
bYPl1Ws.jpg

I suspect I can use stock C7 wheels
C3OKQZP.jpg
rtweRZV.jpg
​​​​​​​

for anyone who subscribes to this forum, this is way too easy... best part is I should get my money back from selling my 3.36 gear rear that just came out. :)
 
and a little more
got the mounts out
4jAqOAH.jpg

I need to shave 1/4" from here....edited
jy1dCsW.jpg

the yellow marks are the centerline of the old set up
za8vySu.jpg

give or take, that's about ride height.... 28" tire
uxwpq95.jpg

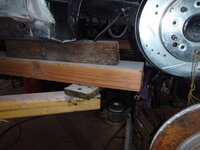
so I welded some scrap to hold the front up
6HV9SpF.jpg

and some motorcycle straps for the back
s2Q9n6y.jpg

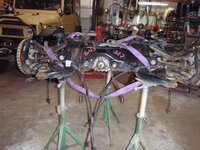
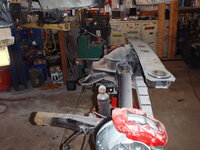
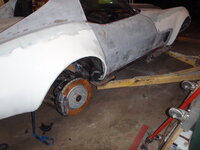
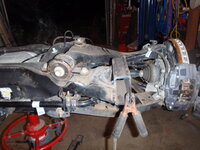
there it is, hanging from the car
hOECtZy.jpg

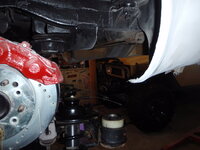
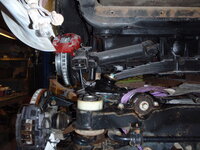
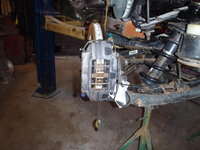
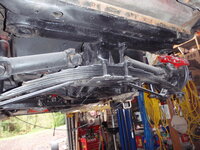
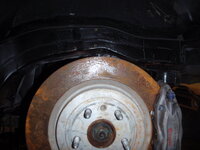
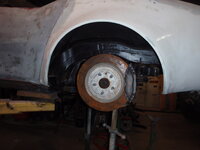
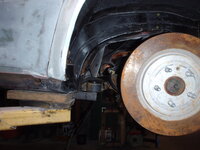
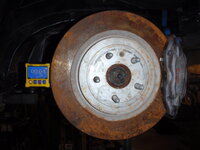
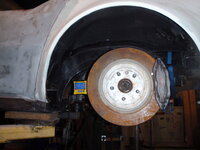
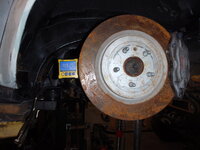
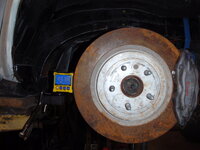
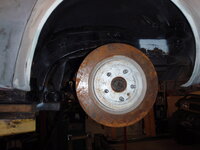
my are those big brakes
HDkAZOG.jpg

I should be able to finish this up this week, then *hack*, back to bodywork.... hopefully in a couple weeks I'll be able to get a first coat of primer.... and I still need to build the cage.... lots to do.editededited
 
Wow, those guys looking for a cost effective modern replacement will wish they’re gone this route (instead of the mustang irs).

Plus, lots of aftermarket upgrades available.

What was the final part cost with shipping?
 
Wow, those guys looking for a cost effective modern replacement will wish they’re gone this route (instead of the mustang irs).

Plus, lots of aftermarket upgrades available.

What was the final part cost with shipping?

$850 from Georgia to Seattle.
 
Does it look like it would work with stock body but aftermarket wheels?
 
Does it look like it would work with stock body but aftermarket wheels?

not with the widest suspension. You'll have to verify this (because there is a conflict on the various webs as to how wide the track is), but the non-SS Camaro (v6, 4 cyl) have a 62.5" track width. If that is true, then you could with a positive offset.

So here's the work behind that

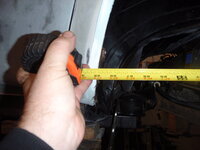
Stock C3 Corvette hub-to-hub measurement is 57.5" (verified on my own car).
If the Camaro is 62.5, then you're 'only' 5" difference or 2 1/2 inches per side. The stock C3 wheel is a 4.5" backspace on the 8" wheel. Said another way, you have 3.5 to the rim face. Most modern cars have the hubs closer to the wheel face, even the BMW wheels - which look super-deep have hubs that are only 12mm back from the center and the center of the wheel is convex.

Now with that said, the listing for a 2010 SS is 64.5 track width, that translates to 66.5" hub face to hub face.... which means probably 64.5" hub face - and that puts the hubs flush with the face of the wheel in the location of the stock wheel. In that case, you'll have to decide if you want to move the wheel further out in the wheel-well (and you have about 2" to get flush with the lip). A lot of people run 10" rims (with the same backspace) on stock C3s - so there is some play here.

the tl;dr is a highly qualified "yes" you can...
 
Last edited:
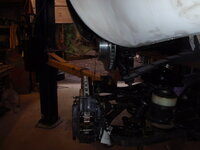
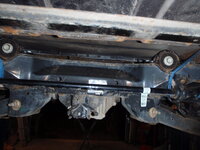
So this set of pictures is after disconnecting the sway bar and seeing how close to perpendicular the axle is moving.edited I think, this is just a guess, but I think the mounts would be about 1 1/2 below the cross bar on the C3... no big deal to cut and re-shape, but that's my eduguess as to where this is going to end up
pictures
WvoCETF.jpg
zero(ish) at full drop
L8YQJEE.jpg
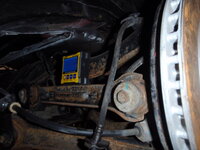
3 degrees at full compression (which is about 2" into the tire so not going that far)
dEkmN61.jpg
I know it seems like 4 but it was zeroed and moved before this picture....

that's about middle of the travel (it has roughly 6 inches maybe a touch more if pushed - which is kind of amazing itself since that's about 1 inch more then my H3 Hummer had on the front)
qqQhzZe.jpg

29" opening at full drop
zAFg0Em.jpg

If I was a snot, I'd not tell you that it's really easy to get the suspension where it needs to be....
level this bar - at ride height this bar must ABSOLUTELY be level.... the suspension is designed to toe in/toe out during travel - and it actually helps it turn, but it must be level otherwise steering inputs won't be predictable.
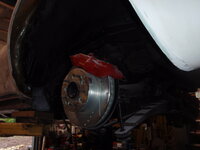
z9cTdRP.jpg

all that's left is rotating the axle so the tire goes (close to) straight up and down in the wheel opening.edited With that said, advanced suspension says you want the wheels to get closer together on the inside of the turn and wider on the outside.... HOWEVER, not too much otherwise you'll have to steer after every large bump... in this case, 1* is enough (which is back to my prediction as to the orientation of the axle as view from the side... tl;dr - front needs to go down about 1 1/2 inches, I think)
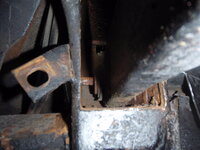
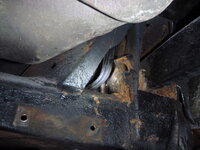
the tire size Custom Image Corvette designed the flares for is 28".... that means this is basically the most downward travel
iNe7auP.jpg

Sunday I said I needed to take 1/4 inch off... no, it needs 1/2 inch
JpmyrR1.jpg

Y17ACVA.jpg

and knock that cussable front support offedited
FUQMuGL.jpg
done
J5zYM0H.jpg

and if you look really closely, you'll see the wheel is more centered
A82CVjs.jpg

Thursday I'm going to start making front brackets then start pondering what the rear is going to look like.edited the last fun bit will be figuring out the coil over mount... there is an elegant solution for the driveshaft... but that you'll just have to wait to see
 
thanks.

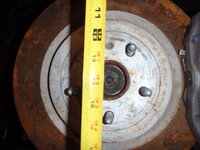
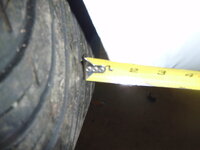
so I measured.edited 26x12.3 .... you'll see how I verified this at the end
6c423ZC.jpg
JaQmCYI.jpg
yC0aWPx.jpg
oh an 9" backspace ... means I can use Z06 wheels
of course all things do not work perfectly the first time.... one hole was just a tad undersized.. easy fix on the drill press
a5atmWW.jpg

1 degree difference - the transmission is 2.85 degrees
xyLCNaT.jpg

now to put it in place for permanence
tK6c4hR.jpg

trim, tack
XML35TB.jpg

knock apart,
l1LUk6q.jpg

tack again in the right spot
qnOHgsc.jpg

get the welds I can't reach from the bottom
wuakQmI.jpg

mMkCzxF.jpg

and there it is... front is still on temp stands, but it should all be in place Sunday
SQdtV69.jpg
NYCZFLg.jpg

hmmm,, I think these brakes are bigger then stock
jj3meCA.jpg

verification.... fits
wPu577I.jpg

4yqZZtu.jpg

YCtByFp.jpg

Qy7jm84.jpg

and yes, centered even
GebWlfg.jpg

d3AXUzA.jpg

​​​​​​​
 
Parts arrived...edited
clever solution (probably should have done the other one so I could use a smaller U-joint but this means I need to put enough motor in front of it to warrant the use of the 1350 u-joint... otherwise, I'll be laughed at).

elCotj6.jpg
Q6kVAVA.jpg

these arrived too.... now all that's left is everything
​​​​​​​OYIL0iA.jpg
 
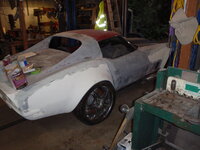
Lohnes may joke about Mullet cars (Brian Lohnes, owner of Bangshift.com and ___ of a ___ with a ___ for a ___.... for those who are getting this on broadcast).... but I know you're here for your fix of all things mullet and plastic.edited For that... we carry on and add Camaro to my Corvette (I win the trailer park war)

so I put the other tire on.... and it wasn't right... close, but not right
YoeNi3r.jpg

fortunately, there's this thing called tacks - those are tacks.... big tacks
h9uKM5K.jpg

yep, the problem, the vise grips didn't hold this forward
FfhVy7J.jpg

chop chop
t4hqbAr.jpg

welded up tight
ErQGkVE.jpg
and now welded in the front
FUJoQmm.jpg
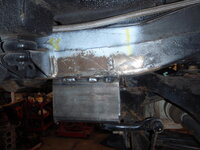
eventually, this will get a brace
HQZI1Qe.jpg


also started figuring out how the coilovers will install
30WEhW5.jpg
5vfB2in.jpg

I love this - I had my laser guy cut out a sheet of tabs... very handy
TD0zhUF.jpg

and then sanded - because the only way sanding gets done is if I do a bit a day
l9lEtMY.jpg

a bit more filling and it'll be done
qhNY2G5.jpg
pRjqimS.jpg

and I only wish I was rednecked enough to have a 60s 2 ton chevy truck with a pickup bed in my backyard....edited
 
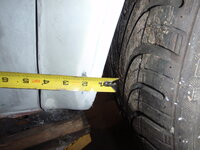
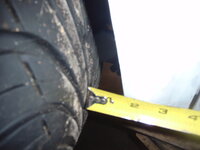
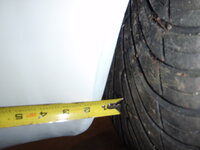
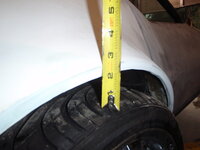
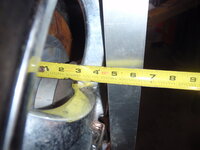
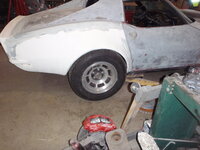
I'm not stopped, but I am taking some time to consider options.edited I have 3" from the hub face to the fender lip (on the rear of the car).edited I can gain 2" by using narrower Camaro arms.edited I can use Corvette rims (79 mm positive offset - that's just over 3" from the center)... or, of course, buy something aftermarket.edited The wheel has to be 19" to clear the calipers.edited So what to use? deeper offset is kind of cool but the latest trend in making cars handle is longer control arms.... so I dunno... I also need to order the front arms... what I don't want to do is order wheels then need to buy new wheels because I don't like the fit/use.

what that means for the project is I'm going to finish body work and decide which is betteredited
 
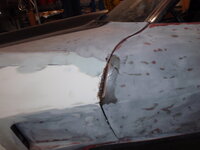
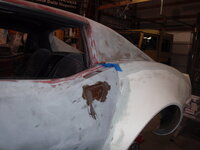
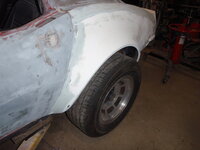
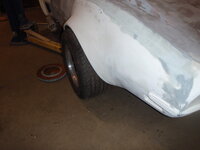
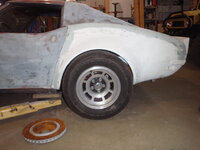
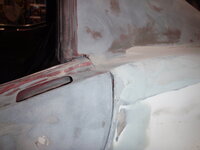
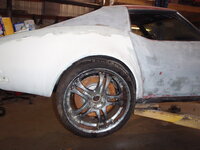
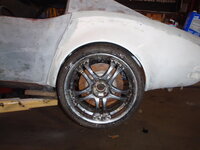
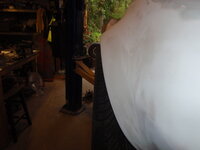
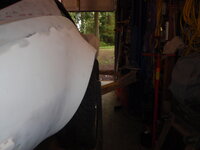
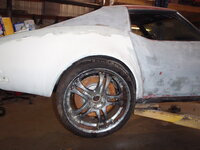
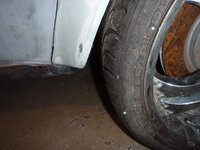
Now I get why the person whose fenders were the mold for these said to put the wheel on before you finalized.edited This is terrible but I'm not sure getting a replacement would be any easier....

bb17adE.jpg

driver's side is actually pretty good (as are the front fenders)

JkrF2gx.jpg
this is the driver's side (and to be clear - the new differential is far closer to perfect then what GM did with the original)
B26SxaB.jpg
EV7hfIQ.jpg
6iiOaEo.jpg
other side
ieCDmud.jpg
Ndqj5lL.jpg
NVpK5oD.jpg

at least in this direction it's close enough
hoswxiT.jpg
Mjcjloa.jpg

so this is the offset 4 1/2"edited
XdNlfuz.jpg

what's cool is I could fit a 16" wide wheel in the back.edited I'm still going with my plan of Z06 wheels.edited I've now seen it on another car without flares and they look pretty good.

What's really funny, those wheels were on Plastic Fantastic (the last C3 I built) and I utterly hated then and even tried to give them away.edited Glad they didn't go because now I know exactly what will fit and what 20s will look like on the back
​​​​​​​
 
I'll bring this as a separate post because there's a question embedded in it
bb17adE.jpg

I'm not sure I know of a good way to fix this.... thinking about using the Dulcich method (cut, foam, mold) - I wonder if that car still is only half flared?edited suggestions on an easy way to get that curve.... tomorrow I verify the suspension isn't part of the issue (even if it is, it's still not round so can only be part of the problem)
edited
 
they make Jigs that attach to the wheel studs that you can rotate to give you the radius you need. i bet you could make one out of ply wood like a big trammel for marking the curve
 
I feel your pain. The old bodies on old perimeter frames shift around. My hookers are asymmetrical.

Take a breath, work other issues on the car, a good solution will probably pop up.

Great job on the irs. The old “battery box delete” was a winner here. Actually might make a nice product for someone/company (i.e., a replacement panel for the deleted box).
 
Could you loosen the body bolts and rotate a fraction of a degree without messing up the front? Just brainstorming a bit
 
back to offending people who hate Corvettes
I've decided I don't care.edited The fix is to pie slice the passenger side about 1/3 up from the front edge... but frankly, I'm the only person who will ever notice
QC6VFtY.jpg
uZKElkY.jpg

now I need to wait for the coil overs, and get moving on ordering the bits for the front suspension

I think it looks cool so low - it moves up about an inch but it's going to be low (as low as my other, and it was never a problem)
​​​​​​​MmS4Vrk.jpg
 
A bit of progress
first, Buick is ready for his first ride
tBcMyD0.jpg

which requires hood pins
1oTAxJr.jpg

cvwLRgA.jpg
azSxqfZ.jpg
still have to file fit, but close
H1Rot3w.jpg

​​​​​​​tcz8XXa.jpg
 
Back
Top