Plastic Fantastic 2

VetteMod - Corvette Restoration, Modding & Performance Forum

Help Support VetteMod Forum:

So I've chosen a direction. Alan said, once, on Corvette Forum that there really wasn't enough of a difference between old vs. new. I'm going to capitalize the next words because they're important I AM NOT CALLING ANYONE, MOST ESPECIALLY NOT ALAN, OUT. I suspect he's right but I want to see for myself. After all, my entire reason for building cars is to learn as I go. I've built a Corvette with EFI, tubular arms and basically upgraded stock suspension. I loved how it handled. This one goes back in time. It will get poly because there really is no argument when it comes to handling (everything I build is meant to operate at 10/10ths - for a stock car, I honestly couldn't care less how it handles because it bores me).

Next up will be a LS powered C3 Corvette. I may not build it for myself, there are a couple people who are interested in me building something with Detroit-speed-level parts and a hyper-LS motor. I'm game since it'd pay to finish my 50 Buick....

anyway, hope you all enjoy the ride and the direction.
 
So I've chosen a direction. Alan said, once, on Corvette Forum that there really wasn't enough of a difference between old vs. new. I'm going to capitalize the next words because they're important I AM NOT CALLING ANYONE, MOST ESPECIALLY NOT ALAN, OUT. I suspect he's right but I want to see for myself. After all, my entire reason for building cars is to learn as I go. I've built a Corvette with EFI, tubular arms and basically upgraded stock suspension. I loved how it handled. This one goes back in time. It will get poly because there really is no argument when it comes to handling (everything I build is meant to operate at 10/10ths - for a stock car, I honestly couldn't care less how it handles because it bores me).

Next up will be a LS powered C3 Corvette. I may not build it for myself, there are a couple people who are interested in me building something with Detroit-speed-level parts and a hyper-LS motor. I'm game since it'd pay to finish my 50 Buick....

anyway, hope you all enjoy the ride and the direction.

That is kind of interesting. My next corvette will probably be more along vintage type lines. Been looking at making things like offset ta's using oem. Klutte, shows some photos, and a Canadian machinist going by strider, posted photos long ago. Good luck with the build and "business venture."
 
I love living vicariously through these builds. Looking forward to working on mine again when time and $$$ allow. For now I'll just grab the popcorn and enjoy the show. :-)
 
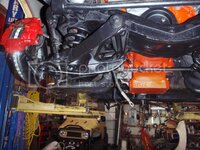
photobucket - it's like they want to go out of business. You'd think that with them booting half their photo accounts, things would get better.... yeah, no. One picture is going to have to tide you over

PA291247_zpstljznxw6.jpg

I spent a good share of time looking for my spare, rear hardlines,,, they've been in the way forever, but now that I could use them they've hidden themselves....

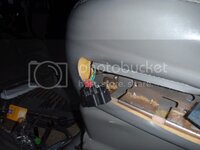
in other news, I fixed the denali's seat issue, headlight, and now the seat heater doesn't work....it's like it has a code which says "only 90 of 100 electrical items can work at once".... I'm not sure I care - the fix included using a glue gun so I'm not exactly being the poster child for high standard repairs.... but still, and the reason it's on this build is because this is the motor that goes in the next C3 I build.
 
looking good!!!!

i am close to being one photo over the line with photo bucket but more for how poor their system is maintained. they havent screwed me with the extra $400, i think i must have a legacy plan that includes it as long as i dont upgrade
 
I read the fine print but I still get the pop up that says I need to upgrade. Though if I do upgrade, the next level allows me to continue doing what I'm doing under the legacy plan.... there is certainly room in the world for another online picture hosting site....

Promised pictures...
hot glue and crimp connectors - it works
PA291243_zpst43me3c0.jpg

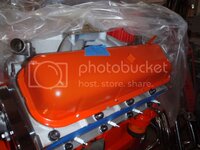
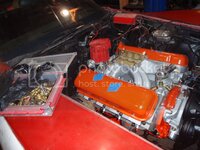
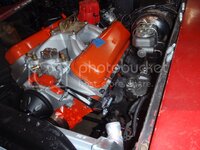
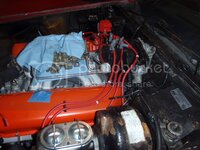
how boring, right? stock, yet tall, valve covers
PA291246_zpszr0gih1y.jpg

 
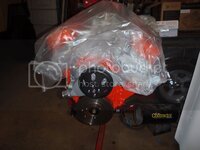
pulleys arrived
PA301249_zpsonkeagcp.jpg

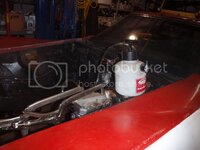
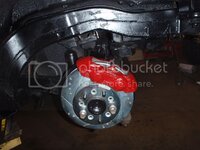
brake bleeding time
PA311251_zps0bqvcdse.jpg

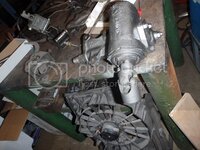
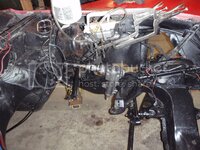
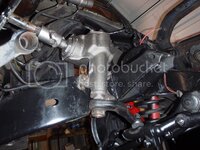
and steering
PA301250_zps8wcnxtpl.jpg

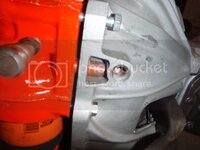
I finally did it, I put a tack on the inside of the u-joint to make it fit. I did not have this trouble with the last car; but good grief. I tacked it, then ground it a bit so it fit snuggly to the input shaft
PA311252_zpsbutcrkcc.jpg

and voila
PA311253_zps100cvamh.jpg

PA311254_zps8w5m18vb.jpg

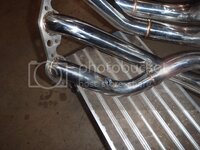
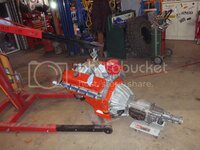
Tomorrow or Thursday I'll finish the last dent I need to put in the headers then button the motor and trans together.... if I get lucky, I'll drop it in on Thursday for permanent
 
pulleys installed
PB021255_zps5vuqjs0a.jpg

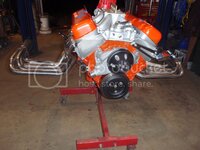
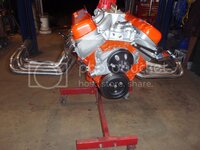
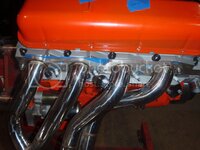
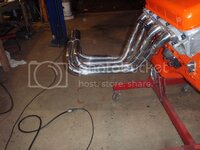
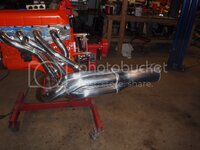
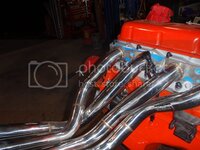
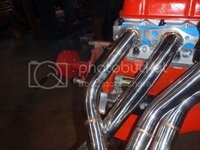
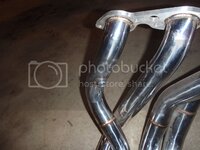
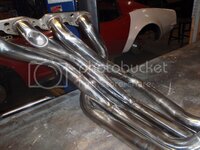
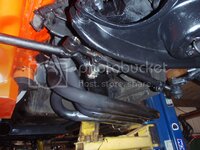
final test fit of the headers
PB021255_zps5vuqjs0a.jpg

some clearancing is required
PB021256_zps2rcuexg4.jpg


time to work on the finish
PB021257_zps4ujeygzq.jpg
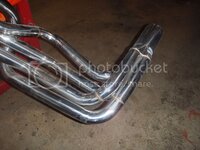
shiney
PB021258_zpsa5tbnewe.jpg

brushed
PB021261_zpswqswv0f9.jpg

this falls under future proofing - install of a o2 bung
PB021263_zpskkd0csxn.jpg
PB021264_zpshx3bvb02.jpg
PB021265_zpsskvtxhup.jpg

I'm going to wrap what is under the hood to keep temps down and get rid of some of the shiney - presuming that arrives tomorrow, Sunday I'll put the beast in :)
 
I see you're using the stock steering box, do you plan to have the steering assisted or not?
 
I see you're using the stock steering box, do you plan to have the steering assisted or not?

I go to the gym, and wear unbuttoned shirts* so I don't need power steering :drink:

no steering assist - at this moment I don't think it's necessary. Not just that, but I've yet to find anything which gives decent feedback when playing on the track. With that said, I may change my mind once I put 11" wide tires on the front...

*for proper cooling
 
Today's plan was to get the motor in for permanent (or as permanent as they tend to be with me)
First problem was the Amazon delivery of header wrap didn't happen. No problem, I'll give them a jingle. "we will have it to you today." As of 7:30pm, it is not here - remind me again why I didn't just get a refund and go buy it from O'Reilly's?
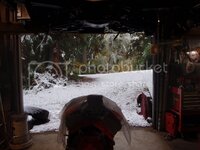
then there was 'problem' two
PB051266_zps0bgw6pen.jpg
which isn't a problem it's more a distraction :D snow men were made and destroyed in a callous manner.
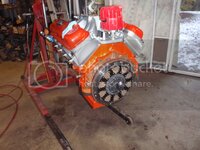
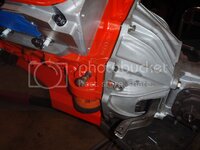
back to work.... clutch install
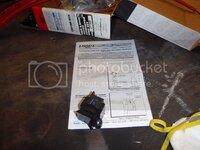
PB051269_zpseimseovd.jpg

oh good lord
PB051270_zpsgji5tmrp.jpg
let's look again
PB051271_zpsn8kxuh16.jpg

plugs arrived via Amazon
PB051272_zpsnijz1v1g.jpg

but still no wrap
assembled bullet
PB051273_zpsku0lchzv.jpg

installed - sort of - I still need to lift it back up to get the sidepipes in once I get the damn wrap
PB051274_zpsj9diradu.jpg

that is the appropriate hole for the Z bar
PB051275_zpsfzhbahe3.jpg

of course, I can't attach that until I get the wrap
hmmm, this looks a bit short on one end
PB051276_zpsceusi9p4.jpg

fortunately, I have a non-modified support so the fix is pretty simple

 
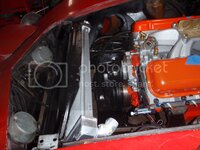
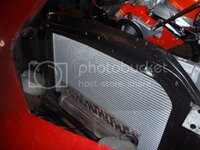
Radiator installedish
PB061277_zps7l52cy3p.jpg

and plugging some holes
PB061278_zpsya4w8tne.jpg

time to reduce some underhood heat and get rid of that ugly dent
PB061279_zpsjtcz1pel.jpg
PB061281_zpsggqso6kn.jpg

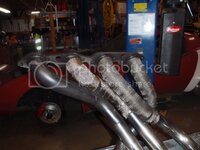
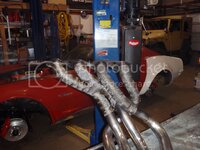
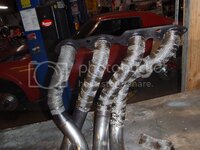
wrapping just what is in the engine compartment
PB061282_zpshjq0wvpx.jpg

then a coat of black to keep the fraying down
PB061283_zpsopvalect.jpg
 
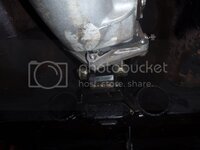
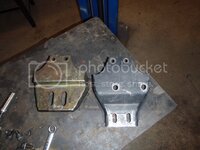
For those who are curious what the transmission mount looks like for a TKO600 - it's the shinyish one
PB071285_zpsrozhwqsa.jpg

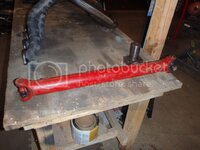
driveshaft, red.... not sure why but I do see I need to find another u-joint
PB071286_zpsjlpu1pdi.jpg

this was fun
PB071287_zps82hks1c9.jpg

PB071288_zpseqjnviz7.jpg

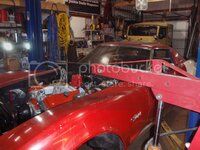
plan b was set on jackstands and lift the engine with the cherry picker
PB071289_zpsaonzmdcg.jpg

PB071290_zps4lkjoujq.jpg

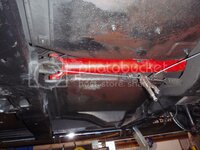
z-bar.... I know I'll be glad of it when it's all installed, but right now I'm not too keen on it
PB071291_zpsagifb5tf.jpg

 
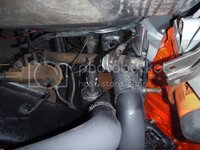
as with most, cheap headers, these sort of fit
PB071290_zps4lkjoujq.jpg
PB071291_zpsagifb5tf.jpg
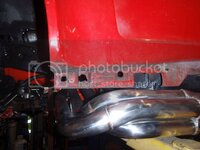
some trimming required
PB091292_zpshkhpudp9.jpg

PB091293_zpscexdm1xb.jpg

yum, tasty fiberglass
PB091294_zpsxrq2fxyo.jpg

oddly, it's not at the same level (horizontal)
PB091295_zpsmgupssax.jpg

more hacking
PB091296_zpsqwnjb8yr.jpg

and this side (passenger) looks to need nothing
PB091297_zpsry1dki5j.jpg

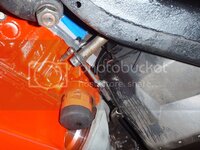
first step, put spacers in the motor mount
PB091298_zpsisck6wpz.jpg

better but where those lines are need heat
PB091299_zpsodbxk04z.jpg

now it fits
PB091301_zpsebtexta9.jpg

however, all is not peachy
PB091303_zpsytqxnhmx.jpg
I had this same issue on Plastic 1
PB091305_zpsdypbvhvv.jpg
PB091306_zpshsffithz.jpg

driveshaft mostly installed (need 2 more clamps)
PB091308_zps4swsc62p.jpg

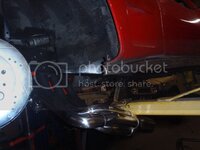
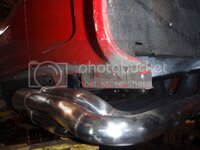
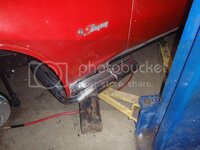
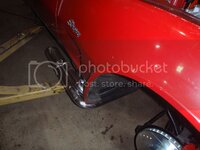
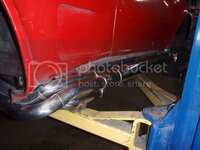
someone asked me once how far the side pipes hang down.... not at all
PB091310_zpstkyvjvxh.jpg

and Photobucket - I'm moving host, but that means that some of my old threads are going to be de-pictured... sorry, but at this point it's kind of the only choice (and I'm not backing off fighting them)


more bits waiting
PB091300_zpscpryuxdx.jpg

this is cool
PB091307_zpsoci5ntsd.jpg
 
I think hookers fit better than those. I did buy a special spark plug socket with integral u-joint and cut it down some, but otherwise no issues.

Looks good, great progress.

Thanks for the clone greenwood chassis link. Rpmdyno.com, anyone seen more of his build?
 
I had hookers on my prior C3 but it was a SBC. This wasn't terrible, it just took fiddling. That said, I think I'll really appreciate the stainless steel tubes rather then the steel of the Hookers.
 
what hosting are you going to? I may follow.

that engine install really looks great. it certainly does take up all the space there is to offer....
 
the Corvette engine compartment is spacious considering I used to my make my spending money building V8 S-10 trucks and Blazers.... there, 1/4" would make or break a fitment
 
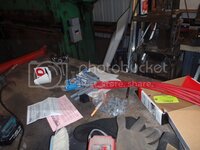
Starter, wired
PB121313_zpsnfrquvcp.jpg

distributor with adjustable collar, arrived
PB121314_zpsakktbhyc.jpg

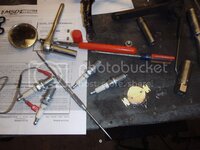
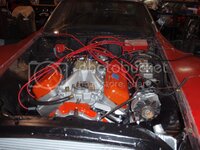
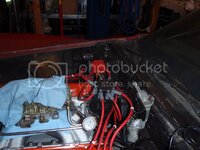
Spark plugs, gapped and installed. In case your curious what lights off the beast - Briggs and Stratton spark plugs.
PB121315_zpsjhlgw3os.jpg

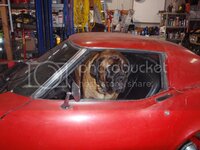
Dog installed
PB121316_zpssmqf0yql.jpg

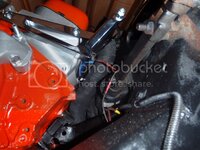
linkage, installed - one of those times I'm really glad to have a shop full of parts, my goodness that was a pain finding all the bits that worked together
PB121317_zpsb0p3tkn6.jpg

I think the oil cooler is going in front (just not that oil cooler)
PB121318_zpsh946gub4.jpg

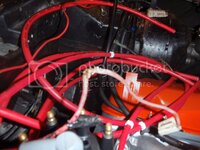
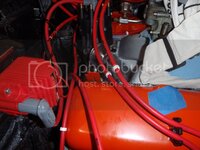
Spiderman had red webbing today
PB121319_zpsihahair2.jpg

still need to do a fuel system but at this point the drivetrain is together (brakes, clutch, driveshaft, etc)
 
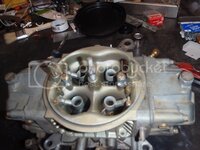
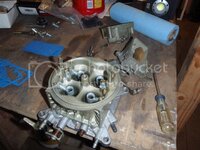
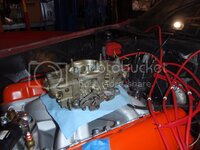
Time to build a carb
PB141320_zpsntqn32tx.jpg

all cleaned and on the new base
PB141328_zps2otgh5ew.jpg


I modified the base for boost-reference, so I had to 'fix' that
PB141321_zpsetnmksmv.jpg

I know the PO reads this, so normally I don't point stuff like this out - but really, stop it.
PB141322_zpsfy4ln7jb.jpg

should look like this
PB141323_zpsrmhvlnip.jpg

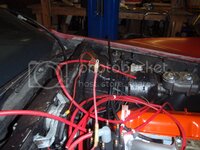
my favorite, bare wire to nowhere.. think it's a horn wire..
PB141324_zpsjsgaaq5e.jpg

tempted to one-wire this
PB141325_zps7scsekk9.jpg

'the right hose' yeah, no... oh well, I was looking forward to building another upper hose out of stainless
PB141326_zpsb3v8bwxp.jpg

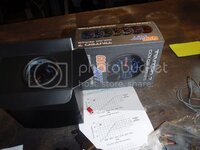
this is probably too close to rice, but I like these gauges because they're easy to read
PB141327_zpsr33ramyc.jpg
 
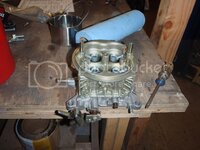
Carb assembly
PB161330_zpsvy70ik3f.jpg
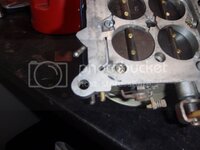
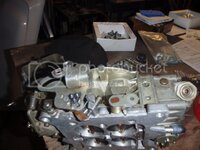
and a problem - the base uses a lever that turns on the body of the carb... which isn't on the proform body
PB161331_zpsl8onx1ws.jpg
PB161332_zpsvf2apueb.jpg
so now I wait for another base...

but it still works for what I need right now - wire routing and fuel system building
PB161333_zpsclt0v6zd.jpg

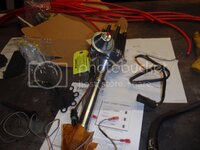
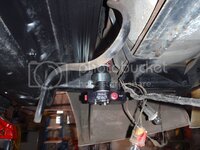
the pump
PB151329_zpsh2024hxf.jpg
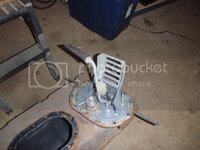
first step is to pull the tank apart so I can install - 8 feed lines and cap the other lines that I won't be using.
PB161336_zpszd0vota1.jpg
pump will go here...
PB161337_zpsj9fm1kv0.jpg

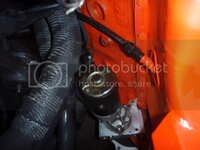
oil sender installed
PB161334_zps0dygpjcc.jpg

and wiring commences
PB161335_zpsuyk0bgn8.jpg
 
Progress - I cut up several trees that fell in the last windstorm and got prepared for the one that's coming tonight... that said, I did get a bit done

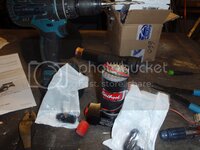
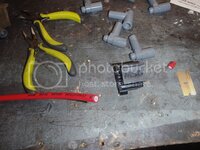
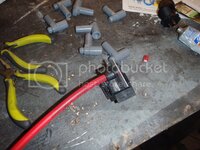
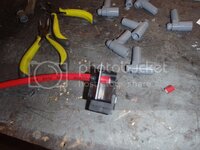
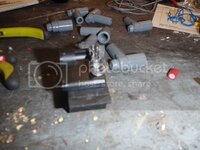
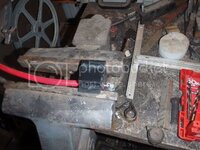
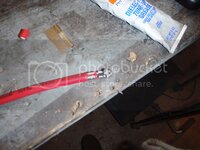
a quick how to make wires
PB191340_zps7gst2hqq.jpg
PB191341_zpsrewxykeu.jpg
PB191342_zpsxnssduke.jpg
bend tabs more
PB191343_zps50mmpb9i.jpg
crimp
PB191344_zps7zxy9nni.jpg
PB191345_zps2rdwwlxh.jpg
halfway there
PB191346_zpsowup9mdy.jpg

all the way there
PB191347_zpspyzlzb06.jpg
 
Back
Top