Project "Rolling Thunder"

VetteMod - Corvette Restoration, Modding & Performance Forum

Help Support VetteMod Forum:

Rolling Thunder

Well-known member
Joined
May 3, 2008
Messages
86
Reaction score
0
City & State/Province
Paducah, KY
Long story short, I started building my dream Vette about 6 years ago. Several personal issues put it on the back burner for way too long, but the project is finally back up to speed. I am down to the last month or so of glass work and paint prep so color on the car is only a short time off and I will then turn my attention to a new updated chassis (thinking SRIII) to transplant the body to.

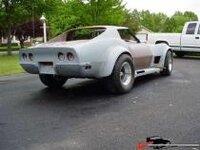
Mine is '71 coupe. I have flared all for corners, modified an L88 hood for ram air, relocated the headlights to the grille area, installed an FGregg spoiler in the front (modified and glassed on) and installed external louvers (motion and mako style) to replace the eggcrates.

It has a ZZ502 with Accel digital sequential fuel injection and dual sync distributor. The TH400 was replaced with a BTO 700R4. I'm using a Griffin nascar radiator with dual Spal fans. I have installed Stahl side mount headers with 3" exhaust under fiberglass 69 style covers (widened to accommodate spiral flow mufflers and modified to suit the front and rear flares).

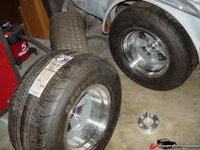
I chose AR Torque Thrust D's 8.5 x 15 front and 10 x 15 rear using 1" adapters all around. Tires are BFG TA's 245/60 front and 325/50 DR rear.

Much work remains, but it's beginning to look like a car again. Will share some pictures soon.

Dave
 
That all sounds pretty neat Dave but I think the comment...

...Will share some pictures soon...

is against forum rules - you have to share pics straight away. I mean, you can't come in here talking about all those cool sounding mods then NOT share pics!

We want pics!

Now!

Obviously, I'm looking forward to seeing some pics :lol:
 
Well I certainly don't want to break the rules. :D

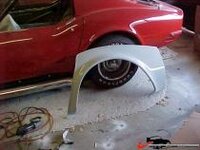
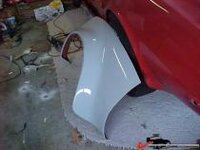
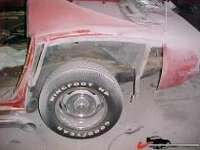
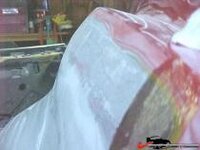
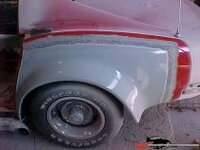
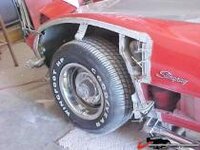
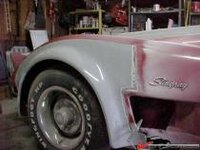
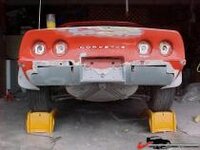
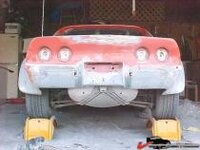
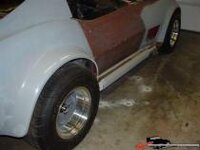
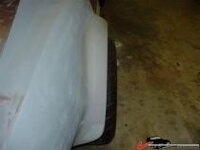
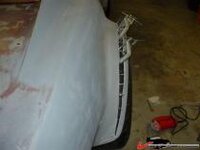
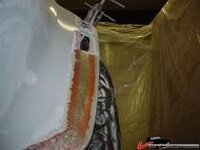
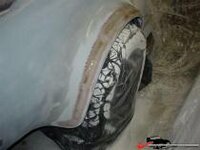
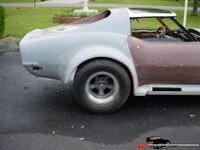
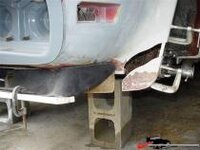
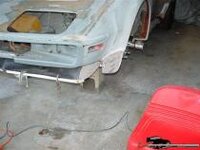
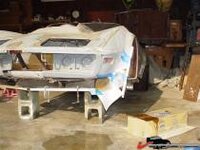
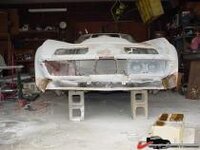
I'll run through a real brief history of the project in pictures, starting with front and rear flares.

thum_2034832087457667.jpg

thum_2034832087509251.jpg

thum_20348320875946db.jpg

thum_203483208760bb55.jpg

thum_2034832087677221.jpg

thum_20348320876ec533.jpg

thum_203483208777c061.jpg

thum_203483208783539f.jpg
 
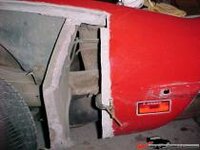
After the flares, the rear panel was replaced to do away with the openings for under car exhaust.

thum_203483212cd96477.jpg

thum_203483212ce2865d.jpg

This might be a good place to add that the whole project started with the passenger side window not working properly. Tracing down the circuit uncovered lots of problems in the wiring which lead to removal of part of the interior. Discovery of painted upholstery made me decide to replace it.... all of it. Then I got bit by the 'while I'm at it" virus. Took a good close look at the wiring under the hood and discovered that what I really needed was a big block. Funny how that worked out. :D
 
Last edited:
Lot of work there Dave but it'll look great when you're done. Have you decided on a colour or are you going to keep it the same?

Funny how many of us get bitten by that "while Im at it" bug...
 
Lot of work there Dave but it'll look great when you're done. Have you decided on a colour or are you going to keep it the same?

Funny how many of us get bitten by that "while Im at it" bug...

Yes there is a ton of work that remains..... but the pics so far are a snapshot of where I've been. Stay tuned for another batch tomorrow. :drink:

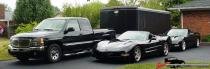
Just a hint on the color scheme, I'm a creature of habit... here are my other toys: :D

thum_20348321c5328143.jpg
 
As an Amazon Associate we earn from qualifying purchases. Product prices and availability are accurate as of the date/time indicated and are subject to change.
Black's a bitch to keep clean, then again, I spose you already know that :oh:
I saw a copper coloured C6 today. Gorgeous colour, I wonder what it would look like on a C3...

You are right about black being a pain in the ass, and I'm no :waxer: :)

I first bought a short L88 hood, but soon decided that for the over all effect I needed to go with the long hood. Mods to that will follow. It also was time to get all the layers of paint off.

thum_20348330795b4e2d.jpg

thum_2034833079a7bdb3.jpg
 
As can plainly be seen in the previous post, it would take some serious meat to fill up the flares. Turned out I "overstuffed" them and made even more work for myself. It should be noted that I am a rank amateur at this, so I have paid dearly for my education, both in dollars and sweat.

thum_20348330f63a3b40.jpg

thum_20348330f651d6dc.jpg

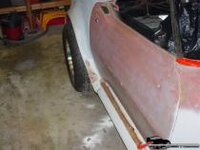
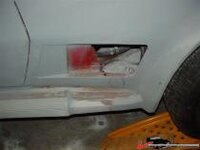
You can also see that I chose to go with the fiberglass side exhaust covers. I had already cut them lengthwise and widened them to cover 3" exhaust with spiral flows. Part of my plan was to mold the exhaust covers to the flares so the design flowed. That too, evolved over time as i re-flared the flares to cover the tires. Eventually, I did a similar mod to the front end of the covers and the front flares.


thum_20348330f65cac3c.jpg
 
Last edited:
With the final adjustments to the flare, the forward side of was built to match the modified exhaust cover. The cover was widened and the turnout was lengthened. Also, you will see a cutout made to the ribbed area of the cover. This was replaced with a flat surface for the custom "Rolling Thunder" badges.

thum_20348330f6b7a32e.jpg

thum_20348332cfd1db1f.jpg

thum_20348332cfd8b7c8.jpg

thum_20348332cfe13d4b.jpg
 
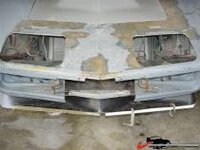
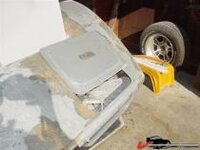
I worked for a long time trying to build my own custom headlights but finally found a new old stock set from Ecklers that mount in the grille area. These included the filler panels to blank the original openings. I also bought an F Greg spoiler and as everything else, found myself modifying it. First thing however was to blend the front flares into it.

thum_20348333455c1d80.jpg

thum_203483334563916c.jpg

thum_20348333456bce62.jpg

thum_203483334574554f.jpg

thum_20348333457d7c49.jpg

thum_20348333458564a4.jpg
 
Thanks Wayne, I won't swear that it has been done right, but it has been done and redone many times trying to get it right. Can't really say how close the car is to being done, but the bodywork is rapidly winding down. Up until recently, I have been the only person to touch the car. I still do all of the glass work, but I have contracted with a young bodyman who is doing the surface prep and sanding. He will also be doing the paint job, hopefully in another month or so. By the time I hit my 50 picture limit I should have you all up to date.
 
It certainly does not take long to use up 50 alloted pics. I only wish the actual work went that fast.

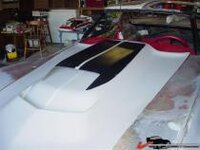
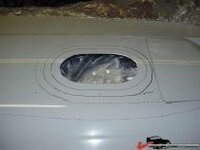
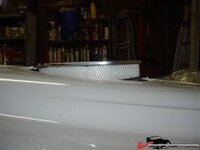
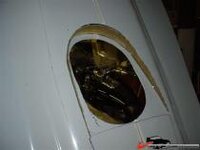
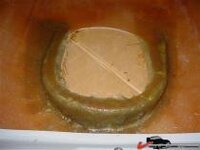
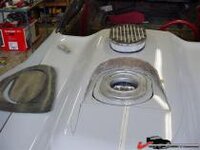
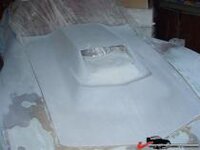
These following pictures are of the mods to the L88 hood including addition of an airchamber and scoop. I am not all that happy with the filter I selected so that is apt to be one of those re-do's that I am famous for.

1st is the scoop that required a lot of trimming and then added glass work to get it to clear the filter.

thum_2034833617d8a5ac.jpg

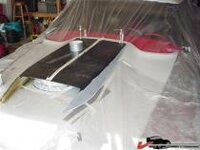
Next is the layout of the hood both for the filter opening and for the airchamber.

thum_2034833617df0e44.jpg

Here you can see the filter sitting on the throttle body and rising through the hood.

thum_2034833617e65ff2.jpg

thum_2034833617ed3a35.jpg

thum_2034833617f63788.jpg

I used the initial cutout piece as a contact base for my filter. It bolts to the filter base plate and will be the landing surface for the seal separating the intake air from the engine compartment air.

thum_2034833617fe9981.jpg

thum_203483361809b7ce.jpg

thum_2034833618141206.jpg

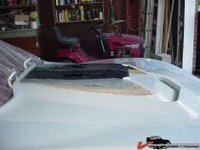
Next we have the modified scoop ready to be bonded to the hood.

thum_20348336181b8c3f.jpg

...and last, the finished product. Note: the opening will have some sort of mesh over the opening and will match the center grill.

thum_203483361822b2d2.jpg
 
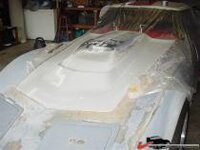
Okay, almost up to date. The filler plates for the old headlight buckets are in, and the new buckets have been fiberglassed in to the grille area. Still a little more cosmetic work to do in that are.

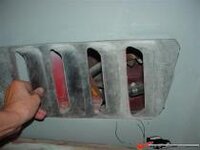
One of the items I decided on early were the shark gills. I never liked the eggcrates of the 70-72's, but I also didn't want to be a 68-69 poser. I noticed some of the Motion Vettes and the Mako's had inverted louvers and I liked the look. So, I bought some fender panels from a 69 and installed the inside out. I think it is a nice touch without going too far towards the Corvette Summer car.

If you look down at the sidepipe cover, you'll also see how it is blended to the back end of the front flare. Still has some touchup work to be done, but you get the idea.

thum_203483362590c4d7.jpg

thum_2034833625986603.jpg

thum_2034833625a04fbc.jpg
 
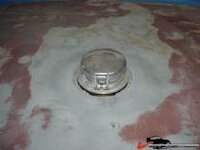
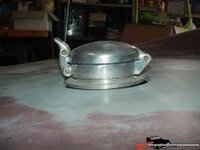
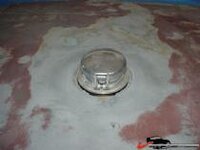
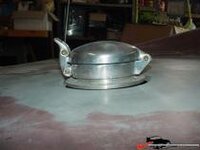
Thats brings us to the back deck where we just could not stop without installing a LeMans (or cobra if you prefer) fuel fill. I bought the cap from a cobra site. With the input of a couple guys on the CF and especially my old buddy Len who has joined this site, I came up with a way to mount it direct to the tank so it is fully functional and does not make contact with the body. I glassed in the thumb gouge on the back deck and re-cut the land where the original gas door frame mounted. The height of the tank mounted adapter is just right so the neoprene gasket (cut 3/4" od larger than the flange) between the top flange and the cap flange will lay in the land to close the now visible opening.

thum_2034833625a95074.jpg

thum_2034833625b1af5c.jpg
 
Last edited:
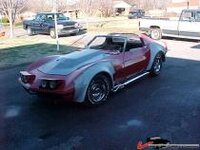
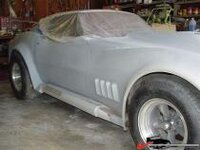
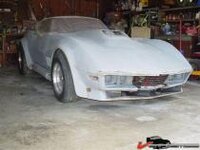
Ok, one final post. Here is the car as it sits today.

thum_203483363f72ad42.jpg

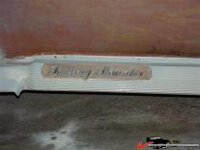
Oh yeah, one last thing. I mention the Rolling Thunder badges to be mouted on the sidepipe covers. Laser cut and chromeplated.

thum_2034833625b977ac.jpg
 
Thats brings us to the back deck where we just could not stop without installing a LeMans (or cobra if you prefer) fuel fill. I bought the cap from a cobra site. With the input of a couple guys on the CF and especially my old buddy Len who has joined this site, I came up with a way to mount it direct to the tank so it is fully functional and does not make contact with the body. I glassed in the thumb gouge on the back deck and re-cut the land where the original gas door frame mounted. The height of the tank mounted adapter is just right so the neoprene gasket (cut 3/4" od larger than the flange) between the top flange and the cap flange will lay in the land to close the now visible opening.

thum_2034833625a95074.jpg

thum_2034833625b1af5c.jpg

Dave! Glad to see you back working on Rolling Thunder. Looks awesome. When was the last time you fired up that 502?

How's your health?
 
Dave! Glad to see you back working on Rolling Thunder. Looks awesome. When was the last time you fired up that 502?

How's your health?

Hey Len!!!!! It's good to be back in the garage although it is hit and miss at best. The 502 has been quiet much too long, but will be coming back out shortly for a thorough cleanup and inspection, followed by setup and tweaking of the Accel fuel injection. If all goes well it will be mounted on a new frame and updated chassis.

Don't like to bitch about the health so let me just say I decided to hold off on the dirt nap until I finish this project. :goodnight:

:drink:

Dave
 
I like the adapter you have there for the flip up lid, any details on that?

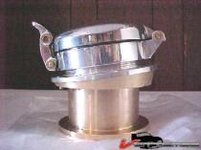
Installing a LeMans Gas Filler is not difficult. The hard part is in determining the relationship of your tank filler neck mounting surface to the rear deck and gas door on your car. My goal was to make the cap functional, integral to the tank (independent of the body) and yet cosmetically aligned to the body.

The adapter is machined from a solid piece of brass, although I prefer one I made for another member out of aluminum due to the lighter weight. These adapters could also be easily produced as welded fabrications.

thum_203483da94743a71.jpg
 
Well I guess the final step has begun. I went to east Tennessee Wednesday and picked up a wrecked Vette. It has the complete VBP performance plus suspension setup, new offset trailing arms, new Eaton 3.70 read end and a beautiful frame. The car was truely awesome and will be rebuilt after my Rolling Thunder project is completed. For now, it will be the donor car for a complete rolling chassis swap to my car.
 
Nice work!That's gonna be a nice lookin vette!!!Good to see another custom 71!(One of these days I'll have to finnish mine!)Hang in there and finnish that badboy!!:thumbs:
 
Well I guess the final step has begun. I went to east Tennessee Wednesday and picked up a wrecked Vette. It has the complete VBP performance plus suspension setup, new offset trailing arms, new Eaton 3.70 read end and a beautiful frame. The car was truely awesome and will be rebuilt after my Rolling Thunder project is completed. For now, it will be the donor car for a complete rolling chassis swap to my car.

Hey Dave. You take care of that car and post us some pics of it. Would love to see what you have done with it so far. It has a lot of good stuff with it. All new harnesses front to back. As you know, VBP suspension, C6 seats, newly rebuilt tilt tele column, etc etc.

Do enjoy the car. I enjoyed working on it.
 
Showme - Thanks for the encouragement. It's been a long road but it is finally back on track. Who knows, I might have it done in time for some of the Missouri events next year. :thumbs:

Eddie - Glad to see you made it to VetteMod! Every time I look at Mike's car I am even more impressed. No work has started on it yet, but I removed the body from my RT car yesterday. If all goes well, I should have the body off of the 70 next week. The frame horns will be straightened, the crossmember will be cut out and replaced with a BTO bolt-in (for my 700R4). Can't wait to get the 502 transplanted as well. My goal is to have my Rolling Thunder project complete including paint by September.

I have a young man named Sam helping me that has become a Corvette enthusiast. I have seen him wrenching on old cars since he was in high school and he is now working in a body shop. I believe he has the potential to build a business around Corvette repair and restoration given the right opportunities. I am giving Mike's Vette to him as a starter project. He will be restoring the chassis removed from my car, rebuilding the original 454 to go back in Mike's car and of course repair/repaint the body. We have agreed on a one year time limit to complete it, at which point I will hand him the title. Worst case, he doesn't complete it and I keep the car. Best case, He gets a nice car and launches a career.... and I get the fun of watching.

Dave
 
Showme - Thanks for the encouragement. It's been a long road but it is finally back on track. Who knows, I might have it done in time for some of the Missouri events next year. :thumbs:

Dave

That's AWESOME! I'll look for ya!(I guess I need to kick it in gear on mine!)
 
Sounds like a win-win for you. I would love to see some progress on your projects as you guys make your way through. It sounds like you have a great helper and just enough motivation to keep him into it. For his sake, I hope he gets it done in time. Sounds like both vettes are going to be going on at the same time.
 
Where did you buy the headlight filler panels?

A neighbor friend had those, or damn similar in his chrome shark, and he cautioned me that they were ILLEGAL in Faryland as they are not high enough for NHSTA standards....think that is 18" off the deck to H/L center.....

may want to check your inspections/state requirements about that.....

hate to see someone putting tons of work in there only to have some damn idiot bust your nutz over it.....

:drink::drink::crylol: I was wanting that change for my shark once, but that turned me off....

:beer::shocking:
 
Back
Top