SBG's C3

VetteMod - Corvette Restoration, Modding & Performance Forum

Help Support VetteMod Forum:

So more refinement
I have a couple friends who work with Corvettes daily and neither noticed this until I asked about it
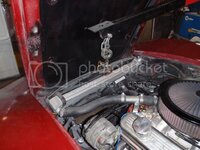
P9160004.jpg
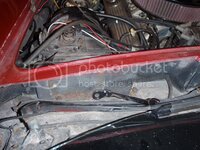
See the nice bow? That allows air to go over the radiator - so today was fix it day
with some heat, paint and foam strip, now the air goes under the arch, not over
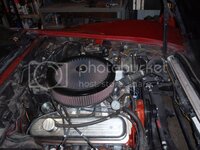
P9160010.jpg

and yes, I'll be making a metal piece to fill that - but I'm out of sheet aluminum so that will have to wait to another day

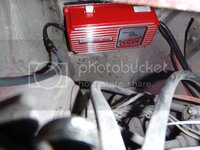
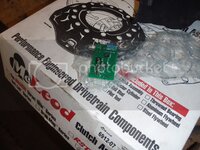
Then installed a MSD ignition
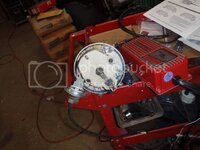
P9160005.jpg
P9160008.jpg
and it even started the first time :)
 
I love Google. I thought my tach was reading too high, so to google I went; and voila, tach filter. Until 5 minutes ago, I never realized they existed - now I can't live without one. If anyone is curious why getting old sucks, not only do you have to remember more stuff that you can't live without; but your memory can't store it :bomb:
 
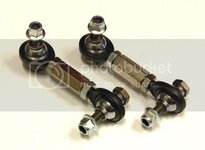
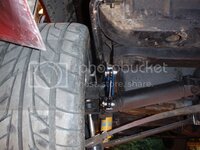
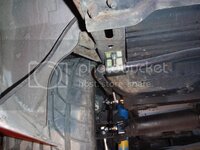
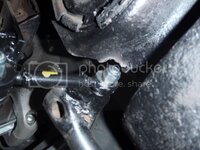
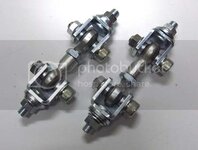
replaced the poly bushings with heim joints on the rear

P9230007_zps0ddb26ed.jpg

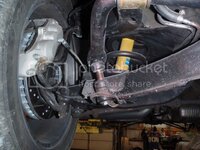
still need to figure out how I'm going to do the front

that poly joint has maybe 60 miles on it
P9230008_zps1fe67bdb.jpg
 
I love Google. I thought my tach was reading too high, so to google I went; and voila, tach filter. Until 5 minutes ago, I never realized they existed - now I can't live without one. If anyone is curious why getting old sucks, not only do you have to remember more stuff that you can't live without; but your memory can't store it :bomb:

I have a T shirt that says......'I do know it all, I just can't remember it all at once'.........:beer::gurney:
 
As an Amazon Associate we earn from qualifying purchases. Product prices and availability are accurate as of the date/time indicated and are subject to change.
more work with the rear suspension

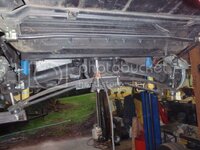
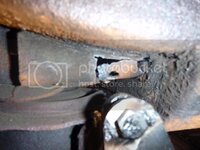
rear sway bar... what a PITA
the problem(s) the bar was bound up, and actually jacking the right side.... not good. Add to that problem there was little if any rear suspension because the bar couldn't go up. I took the bar off, and it drove - kind of - better, but I kept feeling like I was going to lift a front tire on hard corners.... so tonight I worked on it. As you read, keep this in mind - I'm completely changing the rear suspension to a guldstrand suspension; so this is temporary.

round 1
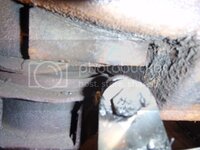
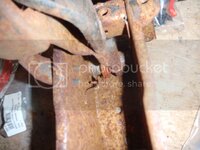
it's hitting the support that holds the rear differential up (maybe a half inch above at ride height)
P9250001.jpg
round 2
move the heims to the other side
P9250002.jpg
round 3 and 4
flip the sway bar over and notch the offending member
P9250004.jpg
rounds 5-7
move the sway bar back, put a spacer between the sway bar, and heat the new contact point
P9250006.jpg
round 8
cut more
P9250007.jpg

now I have 2" of vertical compliance, and 4" of drop. the tab now hits the frame - but I can't shorten the heim because it would reduce the amount of travel. Anyway, I'll drive it tomorrow and see how it's doing - if it doesn't hit much, I'll probably leave it until I do the new suspension.

also, there might be fuel injection in its near future... to be continued
 
SBG, I tried a thick bar like that in the rear, and found it way overkill, make the '72 vert very skittish in the ass....went back to a thin stock bar.....which when I got it, had no end links....so being cheep I just heated and twisted the ends till they were flat to the ground and bought a set of sway bar links, and bolted it all up, works like a charm.....:surrender:
 
SBG, I tried a thick bar like that in the rear, and found it way overkill, make the '72 vert very skittish in the ass....went back to a thin stock bar.....which when I got it, had no end links....so being cheep I just heated and twisted the ends till they were flat to the ground and bought a set of sway bar links, and bolted it all up, works like a charm.....:surrender:

That could be next - I have a good friend that autocrossed a C3 20 years ago; so I'm starting with where he suggested (soft springs, large bar, etc).... so if it doesn't make sense today, that's why :)

I guess I'm going to have to put my Perry Mason hat on and cross-examine him a bit - because of the interference - and find out what he did....

and if all else fails - I saved my front bar from a recent trip to the scrap yard for that very reason :)
 
I cut the tabs off, welded pins to the bar, and drove it today. Wow, what a difference. I still may put in a stiffer rear spring; but for now, I'm going to drive the tires off it - man is this thing fun to drive.
 
I cut the tabs off, welded pins to the bar, and drove it today. Wow, what a difference. I still may put in a stiffer rear spring; but for now, I'm going to drive the tires off it - man is this thing fun to drive.

Watch that ass end man, they get vicious with thick bars in the rear, I gave up on my VBP bar for that reason....:devil::devil::friends:
 
I cut the tabs off, welded pins to the bar, and drove it today. Wow, what a difference. I still may put in a stiffer rear spring; but for now, I'm going to drive the tires off it - man is this thing fun to drive.

Watch that ass end man, they get vicious with thick bars in the rear, I gave up on my VBP bar for that reason....:devil::devil::friends:

weeeeeee :D
 
so this last weekend I made the pilgrimage to Portland to go to a past favorite swap meet.... and picked up this thing for 12 pack of coca cola money
PA010001_zps833e14c9.jpg

and while I was down there.... I formed up this for the Corvette
PA020002_zps160a490d.jpg
 
good information - thanks

I was waffling between the 360 and the 420.... I asked Vansteel to change what they're sending me.... even though my car is going to be lighter, it's low enough that I need the increased weight to keep it off the bumpstops... and even so, I may put progressive bumpstops on the car (it's a 4x4 item that works well for people who want a soft spring rate when driving and increased rate when racing because the resistance to bottoming out increases when the spring moves faster
 
Last edited:
All I can say is that back in '95 when I got this '72 vert, I put on a VBP 360 rear plastic spring, with KYB shocks....

and with the grossly undulating bridges here in Florida, I finally took some advice, and put Bilstein shocks on all 4 corners, that was a HUGE improvement......wish I knew of them back earlier.... but instead of bouncing like a basketball for 3.5 miles, it feels like a normal road now....

something about the way they build bridges here, the cross supports and sagging beams, they even grind out the peaks and redo concrete, it's so bad....but I don't give much intelligence to road folks anyway.....:tomato:
 
So, I got the board to fix the tachometer - so here's a step by step installation instructions
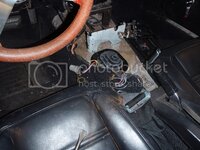
1) Remove center console
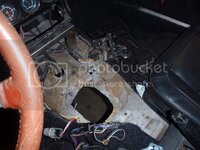
PA080007_zps816d150f.jpg
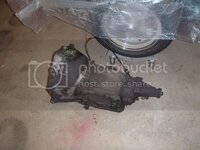
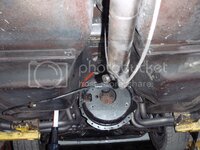
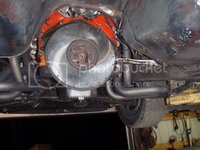
2) Remove transmission
PA080006_zpsca5d0652.jpg
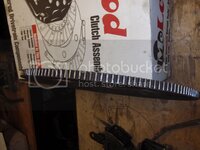
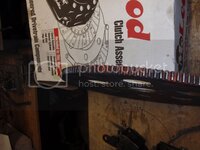
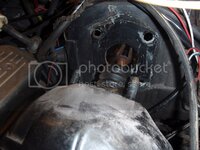
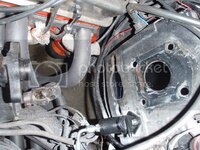
3) say "ah ha" as to why the starter was having trouble engaging
PA080004_zps9be221d6.jpg
PA080003_zpsd7c3498a.jpg
(note how there's paint on the tops of the teeth on one side, and there's no paint on the other side? stupid thing was out of round

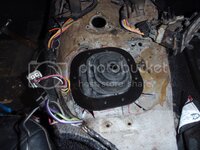
4) adjust linkage for transmission
PA080002_zpsc7f27eb8.jpg

that's it for tonight

Tomorrow I'll put the transmission in, then pull the dash apart.

stupid willcox never put these steps in his video to replace the board... dunno what he was thinking!!!:search:
 
I like the way you work!! Go right at the problem! ;)

I really like the way the auto tranny turned into a 4 speed - MAGIC!!!!

Good luck with getting the tach repaired.:thumbs:
 
It gets worse

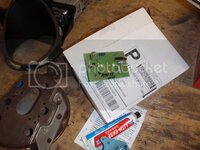
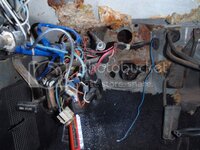
The tach board

PA090001_zpsdedff56e.jpg

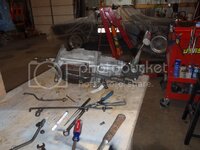
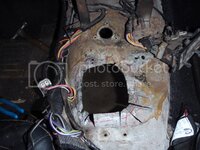
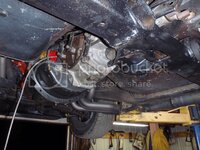
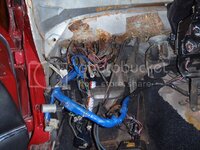
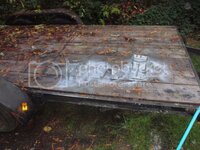
and here is the nice blank space where a transmission will be
PA090002_zpsf8304529.jpg

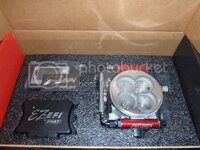
I'm also changing the entire fuel system and gas tank to a FAST efi setup.
I took my car to a private autocross (parking lot with friends at 2am, private) and I kept having trouble with the carb spilling fuel out of the vent tubes on hard corners.... so I'll fix it with a planned upgrade.
so yes, my Corvette will be a knuckle dragging, side pipe wearing, power steering avoiding (pun intended), a/c losing, efi car.
 
Didn't get much done tonight - have to load up to go to Spokane tomorrow - but got the hole cut
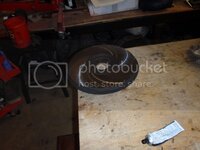
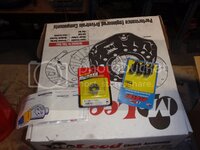
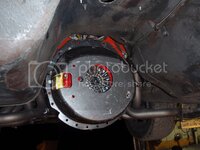
surfaced the flywheel - I got lucky because it's a steel that I got basically for free :)
PA090001_zpsa8071c9d.jpg

PA090002_zpsd1e3778e.jpg

PA090003_zpsec77c631.jpg

PA090004_zpsfcc5491d.jpg

PA090005_zpsbe3898e6.jpg
 
my UPS (Amazon) girl brought me presents :grin:

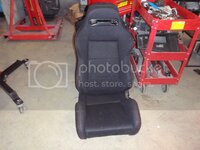
PA110002_zpsf156a107.jpg

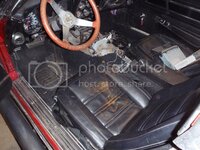
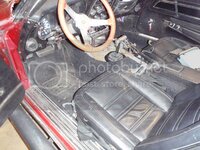
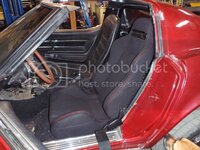
these were an amazing deal - $230 to my door with brackets - I was concerned about the quality... these are nice; now I can stay in my seat, use my harness, and sell my original, black, unripped seats for a lot more than what I paid for these :)

PA110001_zpsfe180fad.jpg

and the piece de resistance (I always wonder at that phrase, it means dessert but translates to something to make you slower)

PA110003_zpse3e9591c.jpg

to the whys:
1) they are a site sponsor
2) I don't need a custom system
3) with Summit's price matching, this system costs about the same as piecing one together
4) I have the megasquirt for the Spider so I'm equal opportunity in my buying :)

I am a bit disappointed, I thought I was getting braided SS lines with the system - nope; so I'll probably upgrade that.... so off to work to pay for this :)
 
I learned something new.... the output shaft on a turbo 400/ST-10 is a Corvette only part.... now no need for a shorter shaft

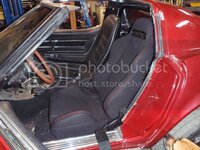
so I tried out my new seats... I think they will fit, it'll be tight, but it will be awesome to have side bolsters!
PA140012_zpsb1f41273.jpg

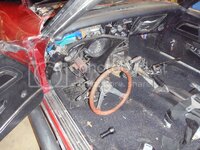
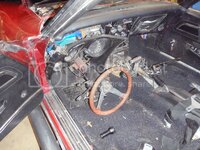
and I took the steering column out so I can finish up my tach rebuild what a pain. Normal GM the bottom joint is flexible and you can drop the shaft a bunch.... not so on Corvette, it requires taking the shaft off the steering box

PA140013_zps01d8aa90.jpg
 
still undecided on whether I'll keep posting here or not... but while I'm deciding
So, time to update progress.

test fit the seat
PA140012_zpsb1f41273.jpg
pull the gauge cluster
PA140013_zps01d8aa90.jpg
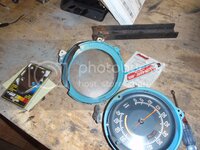
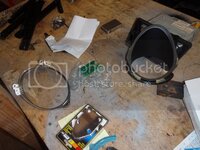
pull the tach apart
PA150001_zps165575ae.jpg
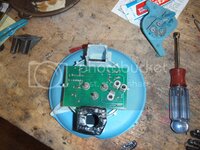
new board
PA150002_zps9805239b.jpg
old board
PA150003_zps0cd468ff.jpg
old board was a replacement board
PA150004_zpse3204e4a.jpg
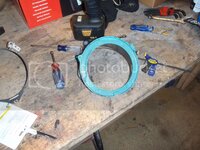
epoxy the ring back together
PA150006_zps700f97a2.jpg
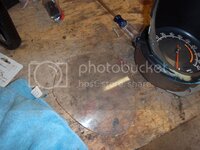
polish the plastic
PA170007_zps3987bf48.jpg
 
part II
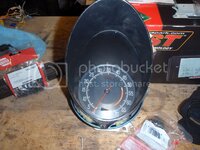
reassemble
PA170008_zps7921a1b6.jpg

it tested out fine... seems to finally tell me the correct rpms.


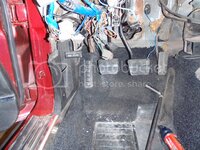
enjoy the last look at a two pedals
PA170009_zpsa95b7b9f.jpg
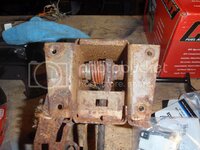
so this cute plate holds the brake pedal up
PA170010_zps333a21a2.jpg
reference picture
PA170011_zps591e5dff.jpg
spring reference
PA170012_zpsec5b4d73.jpg
might as well paint them while they're out
PA170013_zps55351e6d.jpg
and yes, silver - makes it easier to see up under the dash
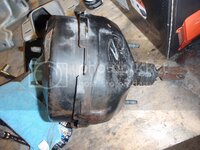
remove booster
PA170014_zpsd76f10ce.jpg
install clutch master cylinder (left of brake hole)
PA170015_zpsb859ace4.jpg

as an aside, there isn't much room for the master cylinder

PA170016_zpsb4aea18a.jpg
beat it to fit, only paint when it's seen
PA170017_zps3a91e6a0.jpg
look 3 pedals
PA170018_zps2417b505.jpg
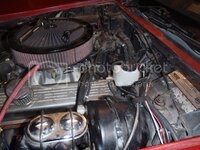
everything back in place
PA170019_zpsf7c4f448.jpg
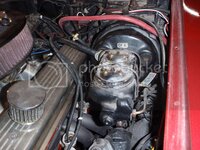
this seems to be the only spot for the reservoir.
PA170020_zpse1956947.jpg
 
so we'll see how this scoop looks on the car (it's 2 weeks out, so it'll be a bit)
SC104optH.gif


I figure its benefit is I can draw cold air from the front; and let underhood pressure out the back
 
Hi there,

Please keep posting here! You have much "go" in your work and alot of pictures for refernce! I appreciate it even if i do not post and comment the whole time.

The hole where you assembled the clutch cylinder, what was it for originally??

Regards, Daniel
 
Hi there,

Please keep posting here! You have much "go" in your work and alot of pictures for refernce! I appreciate it even if i do not post and comment the whole time.

The hole where you assembled the clutch cylinder, what was it for originally??

Regards, Daniel

it was blocked, the hole was there in the sheet metal, just not the fiberglass. No idea the purpose. I still would love to find a dual diaphragm booster, but at this point, I'm putting it back together and should I find one tomorrow - it'll be too late.
 
time to connect the pedal to the master cylinder
PA180001_zps436372c3.jpg

That's just a nut welded to a tube that's welded to the heim joint
PA180002_zpsa83b14ad.jpg
It's hard to tell in the pictures, but I did modify one thing. With the hydraulic clutch, I don't need to be 2' off the floor with the pedal.... so I'm not, it's the same height as the automatic brake pedal (I didn't change the rod length for the brake pedal). I'm not short, and wanging my leg into the steering wheel was one of the reasons I hesitated to convert to a manual transmission.
PA180003_zpsf2ce46ae.jpg
starting to go back together....
bled and installed. I put the reservoir where I proposed... about the only spot it'd fit
PA170020_zpse1956947.jpg
 
Back
Top