My '76 restoration (long post)

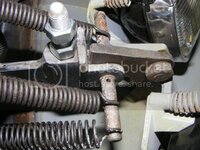
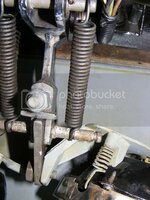
Hey Larry, found the problem with the shortened headlight lilnkage.

headlightlink5_zpsfaa04bff.jpg

headlightlink4_zps1a5a186d.jpg

First there was the outer spring that was hitting the headlight support, and when I removed it, that was the bar itself that hit the support.
The stop tab almost reach its destination.

At least that validates the motion range, now I have clear stable state on both end of the motion, but even with modified spring I don't think the headlight support is going to be happy to be hit every time.
 
It is close on mine but the springs clear the doors. The link should just barely go past center when locked in the up position. Clearancing the doors would be pretty easy also.
 
To the list of things done, I can add my door upper curve fitting.
After ungluing the fiberglass, banging the suporting metal frame and gluing it again, I now have pretty decently matching body curves

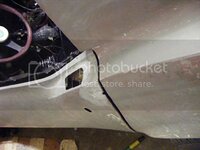
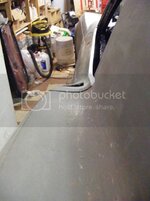
doorgapgooddriver2_zps75d786e2.jpg

doorgapgooddriver1_zpsf3842003.jpg

doorgapgoodpassenger1_zps774ae9fd.jpg

doorgapgoodpassenger2_zps478be59b.jpg


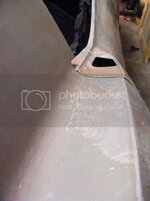
Then I started the body seams.
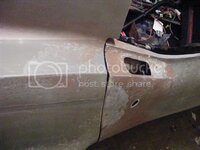
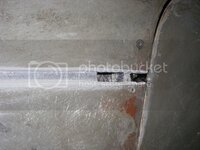
First I chiseled out the original glue down to the underlying bonding strip

fenderseam2_zpsb154451e.jpg


fenderseam3_zpse9b0ab23.jpg


Here you can see I cut the bonding strip at the back of the front clip. At the time I found it was easier for adjusting the front clip with the doors.

fenderseam1_zpse46defef.jpg


Then I ground a slope along both side of the fiberglass.
With a mix of epoxy and fiberglass powder I then filled the gap formed by the glue. So I got a continuous V shaped groove.
Sorry no pic of that, will take one when I do the next seams.

Then glassing.
If I'd say I got it right the first time I'd be lying big time.
Took me 4 attempts go get it right. Each time I had to remove everything and start from scratch.
My biggest mistake, and it's a newbie one, was not to break the fiber before laying it.
Basically I was trying to make piece of fiberglass rigid as cardboard to stick to in a concave shape. Did not fly.
It was ok doing this way when the surface are flat and/or can be kept under compression while curing, like all the repairs had to do so far.
I had to get back to fellow restorers thread to understand that.
So with every patch of fiberglass mat gently pulled in every direction until it get soft as cloth, I could finally math by fiberglass to follow the shape.

fenderseam6_zpsf115e122.jpg

fenderseam5_zps9449b8c7.jpg


fenderseam4_zps6a5ad851.jpg

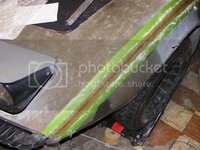
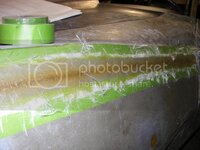
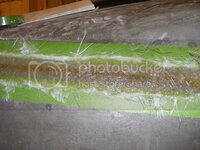
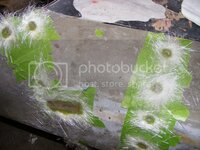
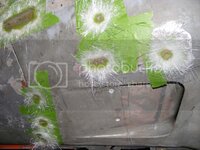
Bubble is the other big deal breaker, and I found it's important to keep checking the setup while it cures, chasing bubble with a spotlight and a razor blade, making sure every inch of mat is fully soaked in resin.


The painter tape trick, I learned from Jeremy's thread, is a must. Without them I'm sure I couldn't get back to the original shape.
Took me 5 layers to match the body panel thickness. I don't know how thick is my mat, I took the regular-medium-usual local fiberglass supplier sells.

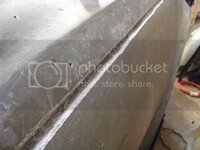
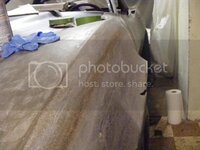
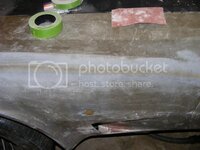
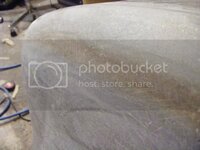
Here the sanded result :

fenderseam9_zps4c43f6c6.jpg


fenderseam8_zps196fc3d1.jpg


fenderseam7_zpsdac046fd.jpg


fenderseam10_zpsf7cc2536.jpg

I'm gonna probably sound cocky here, but I'm damn proud of the result.
A handfull of surface bubble (I couldn't monitor the last layer as I wanted), it feels solid, and the seems are barely noticeable.


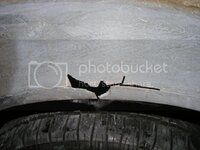
Last pic is a crack in my donor front clip I discovered some time ago. Cracked fiberglass backed by a generous layer of bondo.
I ground into every cracks and removed all the bad fiberglass
fendercrask_zpsee71215b.jpg
 
I too noticed the use of painter tape but didn't really understand it's use. All of my glass work was a total mess compared to what smart people were doing.

Can you explain how to exploit the tape?:confused2:
 
Here diagram that show what I did on the seams.

Initial state : fiberglass and the pink factory glue

glassing1_zpse4308d98.jpg


Remove the seams

glassing2_zps90afc50a.jpg


Grind the border

glassing3_zpsa9061275.jpg


Form the groove with epoxy+fiberglass powder

glassing4_zps0c3094e3.jpg


Glassing, several layers

glassing5_zpsa0ec7ec0.jpg


Then sanding

glassing6_zps16670f4c.jpg
 
I too noticed the use of painter tape but didn't really understand it's use. All of my glass work was a total mess compared to what smart people were doing.

Can you explain how to exploit the tape?:confused2:
Steve, do you see in the diagram above how the tape tells me when to stop?
Without you'll never now if you left too much, leaving a hump, of ground to deep, forming a "crevice".
When you start grinding the tape itself, you know you have to slow down, make sure your sanding block stays flat again the tape.
Grind until the tape is all gone, when you just start sanding what was under the tape, you just a the right level.

I hope I don't sound, too professorial. :huh2:
 
Front fender seam, passenger side, done :

fenderseam11_zps426949e4.jpg


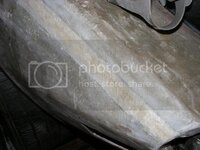
I started actual repairs, like this big scratch:

glassingholes2_zpsd461a548.jpg


This parts was filled with bondo, ground it out, replace with fiberglass :

repair_zpscb4c2215.jpg


This one was cracked

rockerpanelsupportrepair_zpsc4fe2aa3.jpg


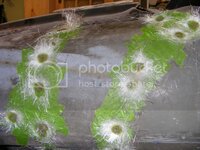
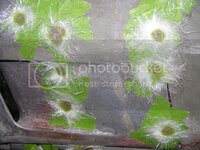
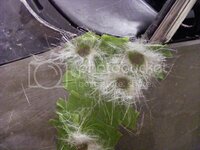
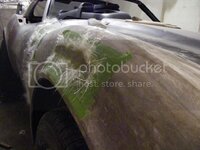
Now it's hole filling time !

glassingholes6_zps689ddc1d.jpg


glassingholes3_zps84538b52.jpg

glassingholes1_zps4a894478.jpg


glassingholes4_zpse1c3ff68.jpg


glassingholes5_zpsad9811d4.jpg


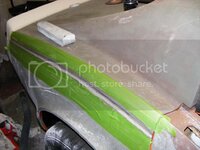
Rear fender is ready for glassing

rearfender_zps611f3aac.jpg


I'm moving really fast, and Sovan will come help me this week's evenings.
I expect the bulk of the bodywork to be done this week.
 
glassing, full force ahead!

(Almost all) fender holes glassed

glassingholes9_zps740150a1.jpg


glassingholes8_zps8e851ce1.jpg


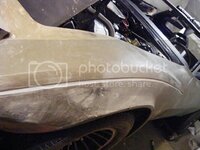
The fender crack repair is on its way, still need some work to get the wheel arch right.

repair2_zps261f5a36.jpg


The rear fenders will get sanded tomorrow

glassingholes7_zpsdbeb1650.jpg


rearfender2_zps4dd0aa44.jpg


Next in line to be glassed off : T-top carrier, antenna and mirrors holes.
 
:shocking: ANY idea why those odd holes were drilled in the front fenders??

WTF was going on there???:beer:
 
:shocking: ANY idea why those odd holes were drilled in the front fenders??

WTF was going on there???:beer:

I'm no expert, but I suspect it's related to the crash damage the front clip had. Maybe they drilled holes to help realign the two fender parts before applying tons of bondo. Just a guess.
 
:shocking: ANY idea why those odd holes were drilled in the front fenders??

WTF was going on there???:beer:


Making sure the front clip stay put until the glue set.
Some are also emblem holes, better have to drill one when needed rather that having a holes without emblem.

glued_driver.jpg


gluef_passenger.jpg
 
Top