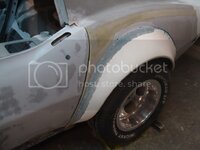
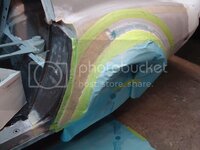
Rookie's First Restoration Attempt...

VetteMod - Corvette Restoration, Modding & Performance Forum

Help Support VetteMod Forum:

I'm still not sure about the storage doors...I was just messing around at the time. It was some garbage bondo I had laying around in the garage so it didn't really cost me anything. It's still up in the air right now.
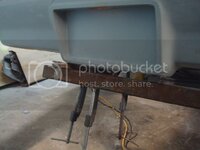
 
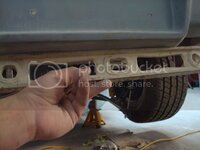
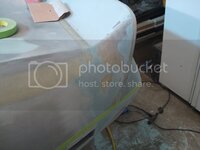
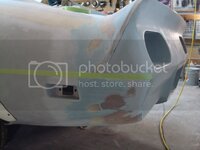
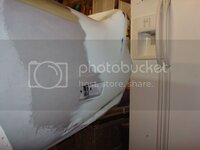
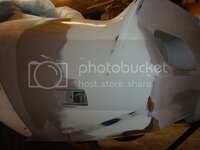
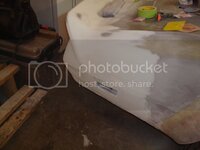
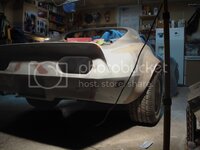
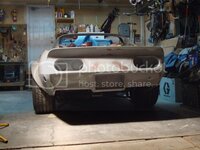
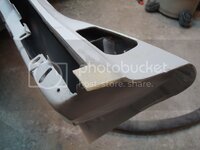
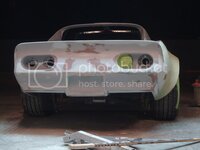
I finished the glass work on the rear bumper. I straightened out the flanges using clamps and heat over the course of the day. The rear bumper is now 3/16"-1/4" thick, so it won"t change shape over time.

DSC08680.jpg

DSC08684.jpg

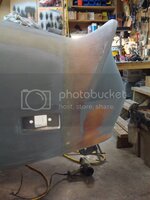
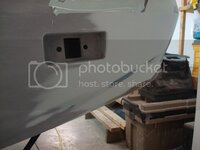
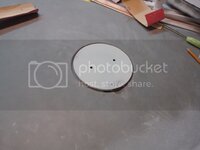
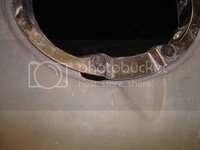
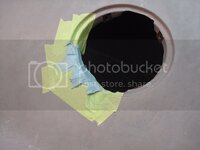
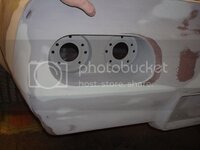
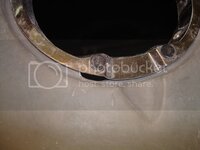
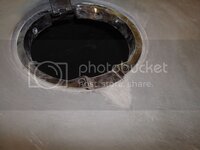
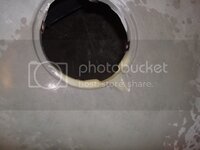
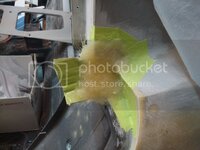
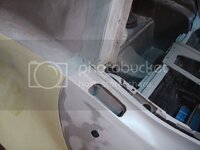
Cut out the hole for the license plate light (you can see how thick the bumper is in this picture)...

DSC08681.jpg

Finished blocking the left side of the bumper...

DSC08682.jpg

DSC08689.jpg

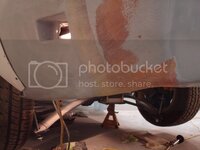
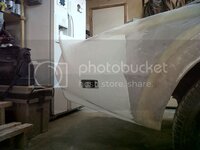
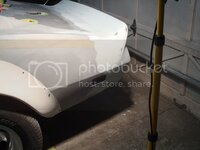
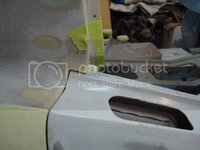
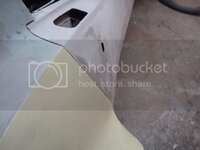
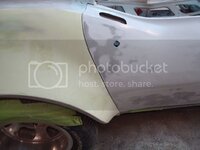
Finally cut the flanges flush to the quarters....this thing looks really clean.

DSC08686.jpg

DSC08688.jpg

DSC08690.jpg

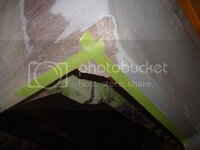
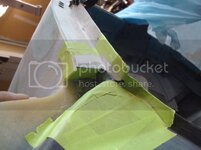
One last fiberglass repair on the bumper before filler...

DSC08692.jpg

YES>>>IT IS DONE>>>>TIME FOR SOME REAL BODYWORK!!!!!

DSC08694.jpg

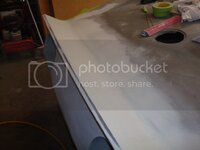
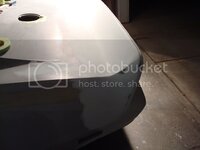
Body line...

DSC08693.jpg

DSC08695.jpg

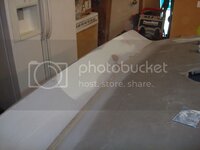
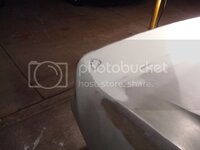
Rear spoiler...

DSC08696.jpg
 
I have incredible news! I am switching shops - I was just hired by Alternative Restoration (just around the corner from my house).

Byron, I can't thank you enough for hiring me!

You guys have to check out his work...absolutely incredible craftsmanship...and I'm going to be apprenticing there, getting my ticket!


www.alternativerestoration.ca
 
I have incredible news! I am switching shops - I was just hired by Alternative Restoration (just around the corner from my house).
Byron, I can't thank you enough for hiring me!
You guys have to check out his work...absolutely incredible craftsmanship...and I'm going to be apprenticing there, getting my ticket!
www.alternativerestoration.ca

Good news! It doesn't hurt to move around. Will be good for the resume as well!
 
Good for you! I checked out the site and he does very nice work..Good luck!


Danny
 
As an Amazon Associate we earn from qualifying purchases. Product prices and availability are accurate as of the date/time indicated and are subject to change.
yup, looking good :thumbs:

eventually i want to re-do my rear bumper and get rid of the side marker like i did on the front.
 
I haven't been getting much sleep lately (I have this week off before I start my new job)...but look at what I've been able to accomplish.

DSC08717.jpg

DSC08719.jpg

DSC08720.jpg

DSC08725.jpg

DSC08729.jpg

DSC08730.jpg

DSC08727.jpg

DSC08726.jpg

DSC08721.jpg
 
The rear bumper is ready for primer (I just have to fit the tail lights and she's good). So as I move from the back of the car to the front, every project will be ready for primer - no jumping around anymore. The next item I had to tackle was the rear flare.

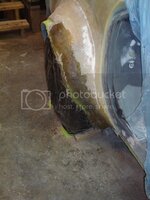
Here is what it looks like at the moment...

EdittingFlare.jpg

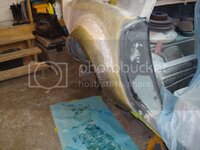
I am shaping it to be more flat, and less angled. You'll see it transform into a nice arch over the next couple of weeks. This shape was left after I cut the wheel opening round.

DSC08746.jpg
 
I worked all weekend on the right rear flare. Hopefully by the end of the week I will have some mud on it...I still have a lot of grinding, glassing, and shaping to do, but at least now I am happy with the overall shape. Next thing I need to concentrate on is making it round...

DSC08768.jpg

DSC08770.jpg

DSC08772.jpg

DSC08774.jpg
 
Looks very nice! That flair is turning out way cool. Can't wait to see the driver's side
complete...
 
Been really busy this past week. Work is amazing, Byron is teaching me so much, and I am working on my dream car right now...a pro touring 69 camaro. After hours I'm working on Rick's 3000 HP, '65 Ford Fairlane. That thing is a beast of a machine.

Then, with whatever time I can scrounge up, I have been chipping away at this rear flare. Mike gave me the go ahead today to start laying some everglass. So here is an update with pics...

DSC08796.jpg

DSC08795.jpg

DSC08798.jpg

DSC08797.jpg

DSC08799.jpg

My goal is to have this flare finished by the end of next week.
 
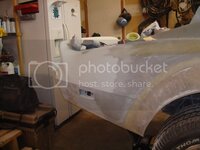
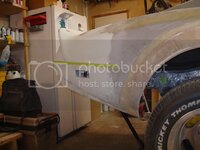
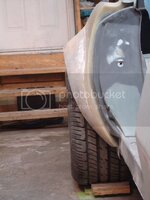
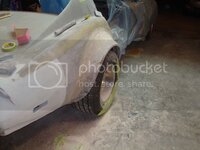
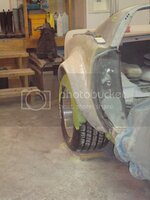
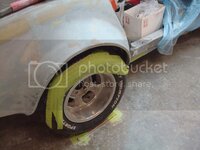
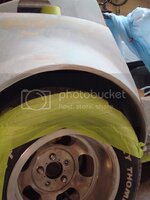
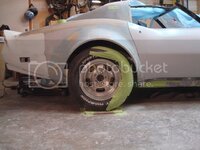
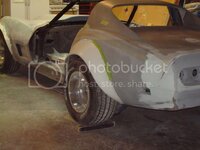
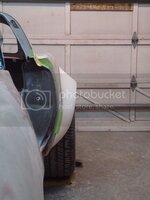
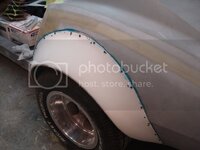
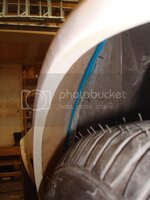
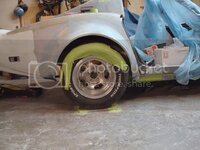
Getting closer. The finished lip on the rear flare is 1/4" higher than the lip on the front flare. I couldn't be happier with the way it turned out. Its functional, yet still looks great from every angle. The tire is centered perfectly in the opening, and remember, this car has been set to ride height already (both the front and back).

Lots of the flares I have seen are mounted lower than the front ones, with the tire extremely close to the lip. Mine pretty much look stock from the side, but still have that aggressive look. They are functional, and allow you to play around with a different rim and tire size down the road.

The other thing I have been taught by Mike is to make sure they look identical to the front ones, only on a larger scale. They are symmetrical to the front ones.

DSC08802.jpg

DSC08803.jpg

DSC08811.jpg

DSC08809.jpg

DSC08804.jpg

I have an idea on how I am going to duplicate the right rear flare for the left side. I'll show it to you once I finish the right side (almost done).
 
DSC08842.jpg

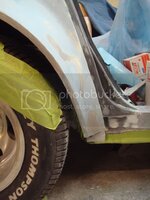
You guys remember when I built the quarter panel edge forward so there was almost zero gap to the back of the door? Well, once all the filler work is complete, all I have to do is sand down the edge to open it up to the correct size. See, I planned ahead! The door is perfectly centered between the a pillar and b pillar, exactly where it needs to be so the weatherstripping seals and doesn't bind on the door when shut. All this prefitting and planning is coming together.

DSC08844.jpg

DSC08843.jpg
 
The right quarter panel is all roughed in. It just needs a few touch ups before slick sand.

DSC08852.jpg

DSC08824.jpg

DSC08862.jpg

DSC08855.jpg

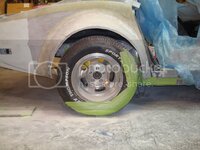
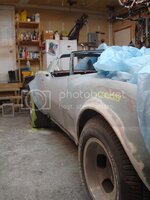
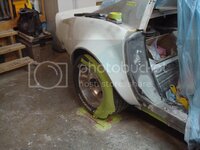
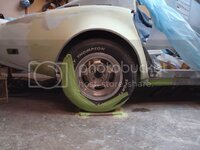
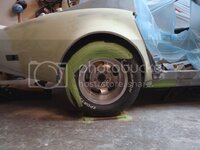
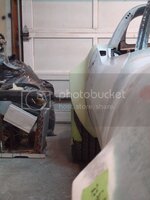
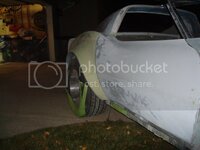
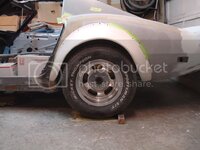
Throughout the entire build, I have been using 4 marked spots on the garage floor which have been levelled with boards. This is crucial when you build any car for that matter. You need to take measurements of everything. Allthread has been used to simulate the stance of the car once complete. Once its all together, the front springs will be cut to get the car to sit exactly like it is now. Always check to see if your frame is still level, when there is no weight in the car, stuff can change ever so slightly when you push the car in and out of the shop - I have had this happened to me once. It wasn't much, but a readjustment of the front allthread was needed to fix the problem before I mounted all the flares in position for good. Here's another thing to consider. If you have all brand new tires with no wear, then all you have to do is set the psi to 30 for each tire. However, if you have worn tires, setting all of them to 30 psi will set the height different on each tire to the ground (not all tires wear evenly). So play around with the psi in each one until the bottom lip of the rim is the same distance to the ground on all four corners.

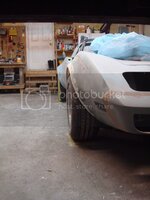
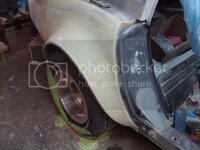
I am jumping to the left quarter panel and starting the flare work. I want to show you what you get out of the box.

DSC08859.jpg

DSC08866.jpg

DSC08861.jpg

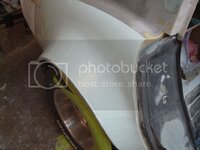
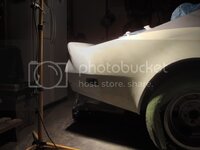
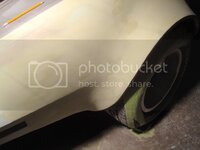
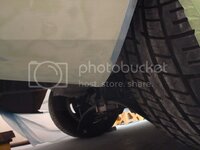
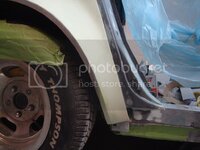
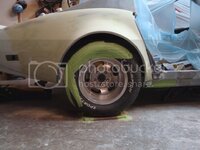
I don't know about you guys, but I think they look like garbage. They are not round. There is no even lip around the perimeter of the tire. The gap behind the tire has not been fixed to make the wheel look centered in the flare. Get this - the three pictures I posted above were taken with the frame levelled, all tires having 30 psi, and the highest point on this lip is equal to the highest point of the lip on the right side. So, this is where it has to be bonded. From there I have to modify it exactly like I did on the right side, which is no easy chore. And to be honest, I don't think they look good from any angle out of the box. Which is why I am completely reshaping them so they look over the top.

More tomorrow.
 
Last edited:
Very glad to see you made it to the drivers side! You about got it kicked in the butt.
Won't be long before your first speeding ticket...8-)
 
Back
Top