Rookie's First Restoration Attempt...

VetteMod - Corvette Restoration, Modding & Performance Forum

Help Support VetteMod Forum:


The son of the owner I bought my house from up north, stored his Mustang project in the work bay for a month....kid hated loosing that garage....his project was very similar a total resto...'66 stang as I recall, similar to one next door with a sad ending.....

and a old buddy bought his daughter a '71 light blue Mach 1 convertible white top and interior, to go to college in, broke a bunch of hearts, cute blonde....

:lol::lol:
 
.........white can with red lettering if I recall correctly.....

That's SEM brand. If prepped and applied correctly, that stuff will last forever.
 
Just a thought. Do you think its a good idea to use 40 year old wiring? If it was me I would replace it with the wire with the newer type of coating on it instead of what they used back then. Old wiring could crack as your bending it back into place and you don't need a fire at this point of the build.

You bring up a good point. I have found Ford wiring looms that are total trash after 30 years. Bad quality insulation.
I have found wiring from GM to last longer, although, as Gene stated, heat will embrittle it, such as the fusable links around the starter.
I say if it looks good, and feels soft, use it, But do use caution, and if it cracks as you reinstall it, it's done and MUST be replaced. $$ or not, if it burns down, it's rubble. Expensive rubble.
 
Just a thought. Do you think its a good idea to use 40 year old wiring? If it was me I would replace it with the wire with the newer type of coating on it instead of what they used back then. Old wiring could crack as your bending it back into place and you don't need a fire at this point of the build.

You bring up a good point. I have found Ford wiring looms that are total trash after 30 years. Bad quality insulation.
I have found wiring from GM to last longer, although, as Gene stated, heat will embrittle it, such as the fusable links around the starter.
I say if it looks good, and feels soft, use it, But do use caution, and if it cracks as you reinstall it, it's done and MUST be replaced. $$ or not, if it burns down, it's rubble. Expensive rubble.

Yep, bad wiring blew a 747 to kingdom come.
 
Just a thought. Do you think its a good idea to use 40 year old wiring? If it was me I would replace it with the wire with the newer type of coating on it instead of what they used back then. Old wiring could crack as your bending it back into place and you don't need a fire at this point of the build.
This thought crossed my mind also. This just isn't a place to be frugal! Now's the time to plan ahead on electrical as well.
I've got a few ideas, if you want shoot me a PM.
:beer:
 
I used SEM Color coat - the stuff is great. Absolutely no cracking and no fading from handling; it feels and looks like brand new vinyl.
 
As an Amazon Associate we earn from qualifying purchases. Product prices and availability are accurate as of the date/time indicated and are subject to change.
You should change your user ID from stinger12 to MrFiberglass.
Great work as always!
 
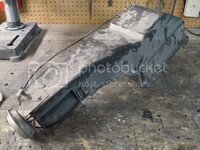
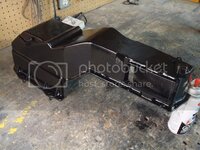
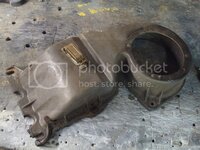
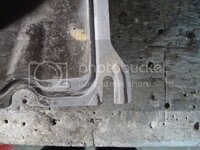
Here is the heater box painted.

DSC08597.jpg

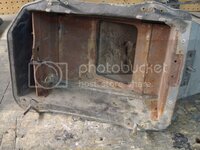
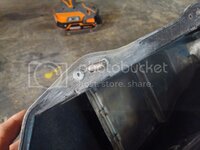
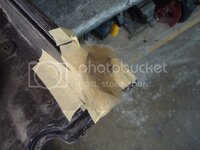
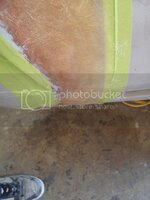
And here is the finished repair on the corner.

DSC08596.jpg

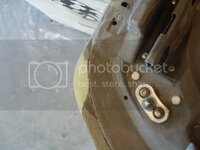
I sandblasted and painted the seat latch release mechanism for one of the seats. The other seat's latch (and the strap) is destroyed...so I'm now in the search for one of those.
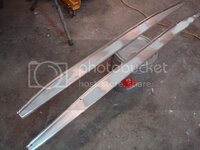
DSC08598.jpg

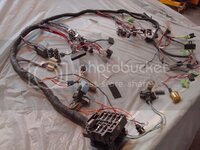
I also finished the console wiring harness. Mike labelled every wire for me off the top of his head...that guy is unreal.

DSC08599.jpg
 
Last edited:
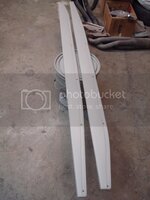
Binnie "donated" his rocker panels to me (once again, thanks a bunch Binnie!). They were in awesome shape. I decided to go one step further and puttied the dents in the panels, then I primed them.

DSC08605.jpg

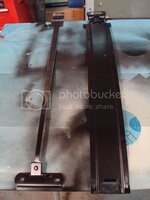
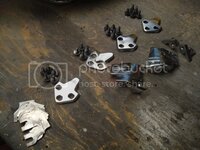
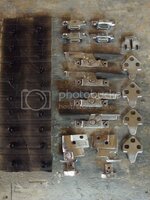
I also cleaned up some of the t-top hardware.

DSC08603.jpg
 
I finished cleaning up the t-top hardware.

DSC08608.jpg

I also did a bit of fiberglassing!

DSC08610.jpg

Mike ordered my Dewitts radiator this week. He also got the AFR heads for the engine.
 
Mike ordered my Dewitts radiator this week. He also got the AFR heads for the engine.

wow ... I thought you were on a budget ?? Buying some high dollar parts there :D

I am on a budget. I wouldn't have been able to purchase the radiator without the help of all the forum members who have sent me money and parts over the years.

Mike also insisted that this engine deserves a quality radiator. He doesn't want me to cheap out on the rad for one reason - it isn't worth the risk.
 
Jeremy made a mistake.

I primed the rocker panels a week ago with some spray can primer...which did not harden. I have no idea why...I shook the can forever to get it to mix before spraying.

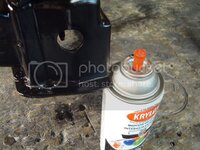
I ended up stripping everything and starting over. This time I sprayed it with some K36.

DSC08615.jpg

I also fiberglassed for 4 hours last night...I'm almost done the inside of the rear bumper, which is a major milestone!
 
what's the purpose of glassing inside the rear bumper? the transition to the fenders ???

When I bought the bumper this thing was paper thin...I'm all about strength. I also want this thing to stay in place when I'm driving...I don't want it changing shape on me once there is paint on the car.
 
I need to thank forum member black75 (Jon), for the heater box he sent me for free. Jon, I can't express how much this meant to me! Like I've told you guys before, I never expected to get anything in return from this thread. I just wanted to document my progress and teach others what Mike has taught me, and what I have taught myself. Binnie just shipped me his t-tops free of charge too (with the interior panels). Thank you Binnie!

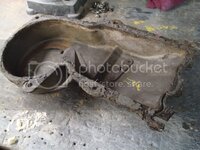
Here is what it looked like when I opened the box.

DSC08619.jpg

DSC08620.jpg

I scrubbed it with thinner and scotchbrite until it was clean.

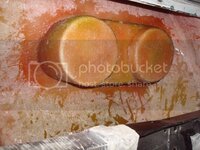
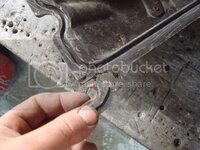
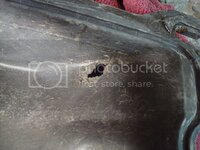
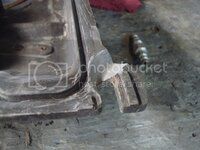
This tab was broken, and there was a hole in the face of the cover.

DSC08621.jpg

DSC08624.jpg

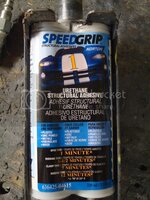
I glued the piece back on with this glue to hold it in place for the time being...

DSC08622.jpg

Then I v'd it out...

DSC08626.jpg

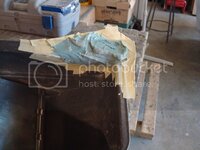
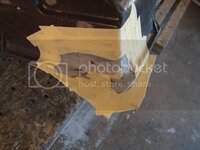
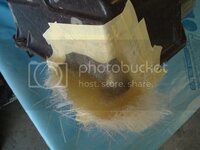
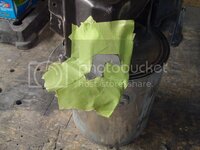
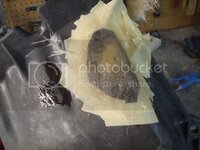
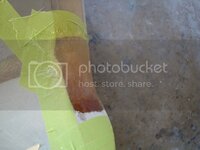
I masked it, then glassed it with epoxy resin and matt. I carefully sanded it back into shape.

DSC08627.jpg

DSC08632.jpg

DSC08634.jpg

Here is the other repair.

DSC08628.jpg

DSC08630.jpg

I primed the rocker panels with K36 this time. Sanded with 320 grit, then painted them.

DSC08604.jpg

DSC08637.jpg

DSC08638.jpg

Its too bad most of the panel will be covered up by the sidepipes, because these things look perfect!

PS: Mike is being featured in the next issue of Auto Enthusiast magazine. Its about flippen time he's hit the magazine rack. Way to go Mike!
 
Last edited:
As always, nice work! Your glass work is nothing short of art.
Standing by for your next post!
 
DSC08643.jpg

DSC08642.jpg

DSC08641.jpg

DSC08644.jpg

DSC08646.jpg

DSC08645.jpg

DSC08647.jpg

DSC08649.jpg

DSC08648.jpg

I also glassed some more of the inside of the rear bumper...I'm so close to being done that project!

Binnie, your t-tops showed up the other day. Thank you!
 
Last edited:
My Gawd, that is so magnificently more elegant than my grafting job. It's artistry vs Bubba I'm afraid.

And sadly I just said to the bride a moment ago how good my work was looking:pprrtt: I'm not worthy!!!!!:kissass:
 
Stinger--

Any progress over the past three weeks??

Rogman

A little...not much though.

I took a break this August. My sister got married, then I went to visit my friends in Winnipeg for a week. I went camping too. I plan to get back at it again sometime next week. Its been nice having a break from the vette this past month.

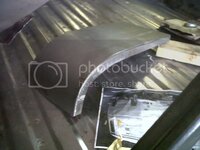
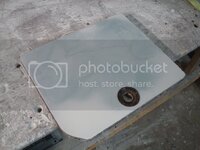
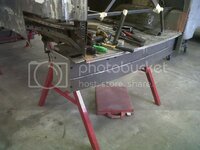
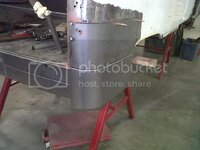
I do have some pics of some of the stuff I have been fabricating at work lately. Nathan has taught me quite a bit these past few weeks...thanks a bunch buddy. All the "new metal" in the following pictures are panels which I fabricated. There was nothing left of the original panels, so these projects took a ton of fitting...pulling the doors on and off, refitting...you get the idea. I love my job.

1.jpg

3.jpg

4.jpg

2.jpg

Oh yeah and Mike said he pretty much has my entire engine now...and that he just has to put it together lol.
 
Last edited:
Sorry for the lack of updates guys.

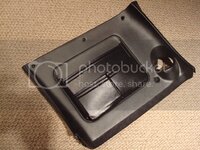
I finished dying the map-pocket for the dash the other day.

DSC08660.jpg

I also dyed the t-top panels which Binnie sent to me a while back.

DSC08661.jpg

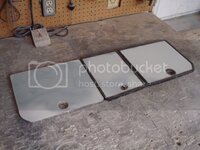
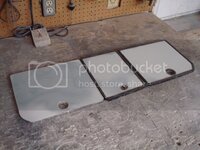
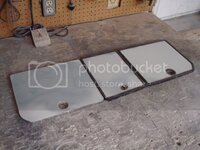
I stripped the carpet off of the old storage doors, and decided I was going to take a different approach to refinishing these pieces. Everything will be exactly the same, however, instead of carpet, there will be flat panels painted black (basecoat then clearcoat). It should look really clean when its done.

DSC08664.jpg

DSC08663.jpg

DSC08662.jpg

I thought I would also post some of the other panels I fabricated at work last week.

2.jpg

1.jpg
 
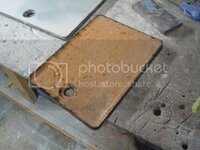
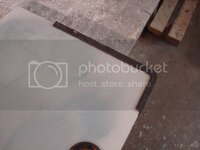
My hatch cover, the old chipboard had pretty well disintegrated so I made new ones out of plywood, and then laminated with formica....

:thumbs:
 
"Everything will be exactly the same, however, instead of carpet, there will be flat panels painted black (basecoat then clearcoat). It should look really clean when its done."

That will look good. Just remember that the clear will eventually get scratches on it from the ttops or whatever you may chuck back there.
 
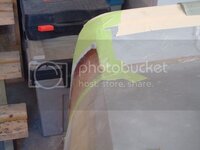
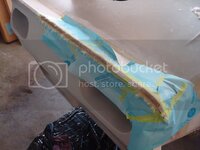
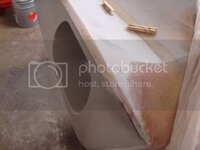
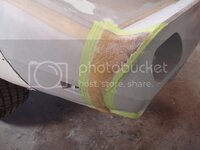
I finished glassing the inside of the rear bumper late last night. Now I need to finish a few small repairs on the outside of the rear bumper, then comes the filler work.

DSC08671.jpg

DSC08677.jpg

DSC08678.jpg

DSC08669.jpg

DSC08675.jpg

DSC08674.jpg
 
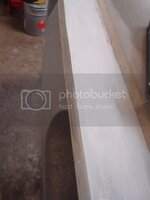
Ready for prep.

DSC08665.jpg

DSC08666.jpg

Like a lot to see all your personal progress and the progress on your car.
Great work.

Just would think twice really to paint the storage covers.
Would be sad to have them nicely painted and then they get scratched, what i think is allmost sure in time. Why not protect them with some thin plexiglas ?
When it's getting scratched you just replace it and all looks fresh again.

Greetings
Robert
 
Back
Top