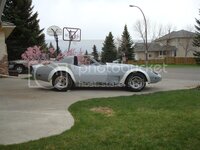
Rookie's First Restoration Attempt...

VetteMod - Corvette Restoration, Modding & Performance Forum

Help Support VetteMod Forum:

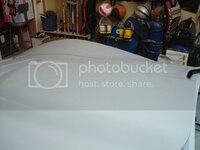
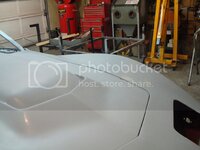
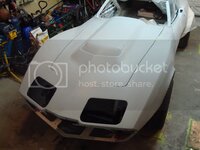
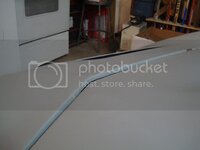
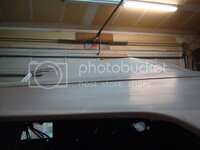
Hey Jeremy ... that hood looks awsome ... way better than when we were scratching our heads for hours on end, last friday in your garage ... boy you have mad tallent ... i can't wait until you get some paint on that thing... The only problem with coming over to try to help you with that is that it makes me think about all the inperfections mine has ... mine is a piece of crap compared to yours now ....:crap:
 
Hey Jeremy ... that hood looks awsome ... way better than when we were scratching our heads for hours on end, last friday in your garage ... boy you have mad tallent ... i can't wait until you get some paint on that thing... The only problem with coming over to try to help you with that is that it makes me think about all the inperfections mine has ... mine is a piece of crap compared to yours now ....:crap:

I had a long talk with Mike after you left. He explained everything to me step by step to make it easier, and I eventually got it done.

I don't know why you would think that yours is a piece of crap compared to mine...mine might look pretty, but I don't have the upgrades you have on your vette. Plus...you actually get to drive yours!
 
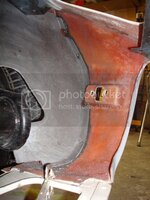
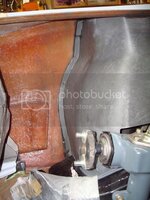
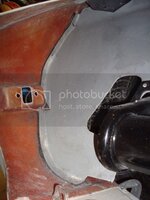
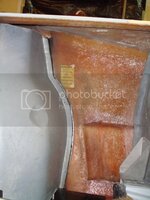
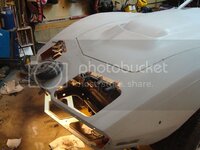
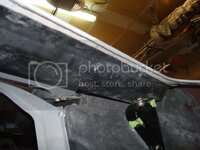
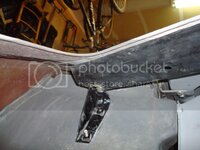
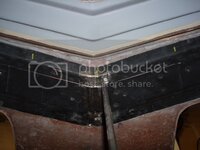
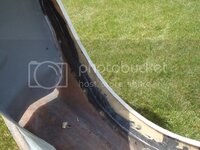
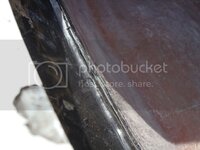
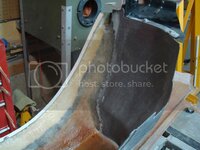
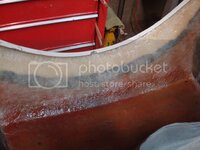
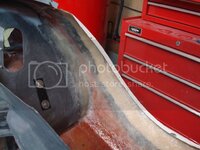
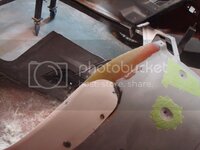
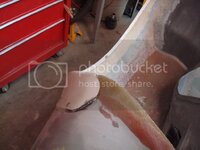
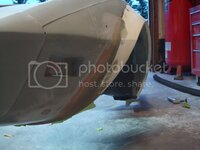
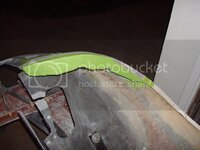
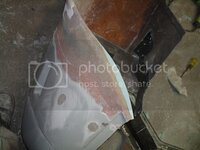
Stayed up all night and FINALLY finished bonding the inner fenders in place. I did this with the front end still on the car...it was a pain, but I didn't want to mess up the alignment of the panels (if I had pulled the front end off and flipped it upside down). Sanding these areas with the clip on was a bitch, Make sure you sand the areas before you put the front end on (prep for bonding)...it will save you a ton aggravation and bloody knuckles.

DSC07348.jpg

DSC07350.jpg

DSC07349.jpg

DSC07355.jpg

DSC07338.jpg

DSC07346.jpg

DSC07347.jpg

DSC07341.jpg

DSC07342.jpg

DSC07345.jpg

DSC07340.jpg

DSC07370.jpg

I am very happy that they are done and out of the way...now I gotta work on fitting the front end to the bonding strips on the firewall so I don't need 1/2'' of adhesive to fill up the gaps. I'll post more on that later. Once that is finished, the front end gets pulled off. I bond the firewall in place, all of the bonding strips are bonded in permanent, then I finally get to glue to nose on.

DSC07374.jpg
 
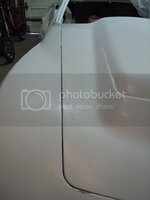
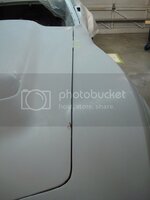
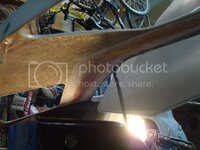
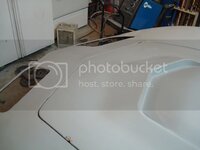
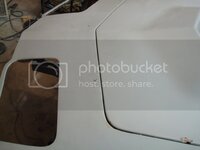
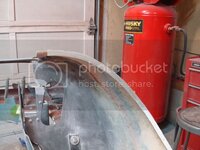
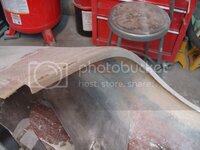
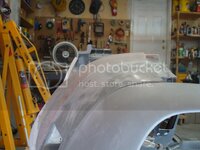
The point on the center of the surround was too high in comparison to the hood. Mike wanted me to cut the header bar, then step on the surround to bend it, and then reweld it. It worked, but I still came up about a 1/4'' too high in comparison to the hood. It also popped the the header bar loose from the bottom of the fiberglass. The only way to fix it properly now was to remove the header bar completely, reshape the metal, level the surround using weights, and then rebond it back into place.

The problem...

DSC07293.jpg

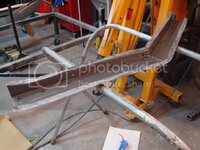
Header bar removed from the fiberglass...

DSC07418.jpg

DSC07419.jpg

DSC07417.jpg

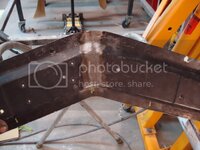
I cut it in half, and bent the bar into shape, and rewelded it. I put 4 beads on the inside of the bar, where you cannot see them. I welded the outside of the bar and smoothed it out.

DSC07421.jpg

I then reshaped the fiberglass using weights, my body, and a heat gun, until it perfectly matched the hood.

DSC07422.jpg

I test fitted the bar one last time befrore bonding, reshaping it little by little till there was a little gap between it and the fiberglass.

DSC07415.jpg

DSC07414.jpg

DSC07411.jpg

I put two thick coats of paint on the inside of the bar for extra rust protection, then glued it into place. Done! Thes pics are from when I was done fitting it...couldn't find any after I bonded it in place...but it turned out exactly like the pictures show.

DSC07404.jpg

DSC07400.jpg

DSC07401.jpg

This little project sucked big time.

DSC07406.jpg

The rest of the hood will be fixed with bodywork, fiberglass and lots of sanding. The better you fit your panels, the less bodywork they need - I fit it the best I physically could get it. I think it turned out awesome. And, like always, I need to thank Mike for his help on this!
 
hey Jeremy whats up no powder coat on the heater bar before you glued it back on .... your slipping buddy .... or are you just getting to excited .... haha
 
sorry i ment to say header bar instead of heater bar ... was a long day at work ... haha
 
As an Amazon Associate we earn from qualifying purchases. Product prices and availability are accurate as of the date/time indicated and are subject to change.
hey Jeremy whats up no powder coat on the heater bar before you glued it back on .... your slipping buddy .... or are you just getting to excited .... haha

The reason I did not powder coat it was because the entire bottom of the front end will be painted with epoxy. I want it too look like its part of the surround...so it blends in. That and because it was too big to fit in my oven and sandblast cabinet. Later Terry:zzz:
 
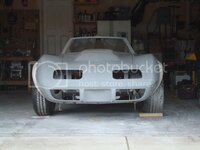
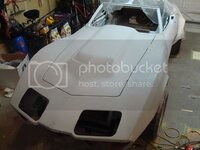
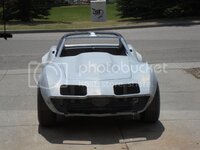
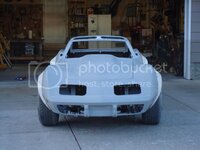
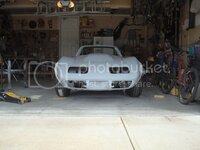
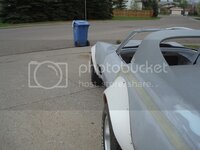
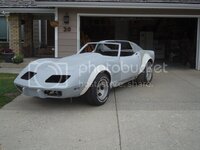
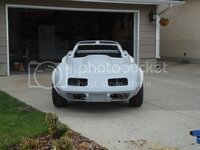
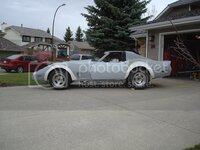
I finally had a chance to roll the car outside to see how everything looked from a distance (after fixing the drip rail in place, and redoing the entire header bar). Still have a lot of fitting to do.

DSC07423.jpg
 
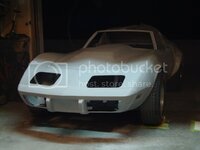
I started working on fitting the front bumper.

DSC07437.jpg

I will be getting rid of the "bumperettes". The whole mouth is going to get cut open, and I will be installing a custom grill when the time comes. The bumper is also getting glassed in.
 
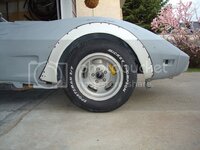
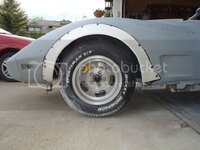
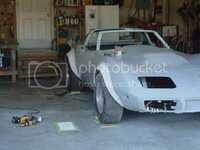
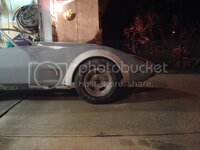
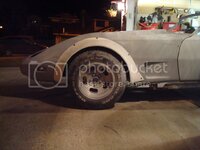
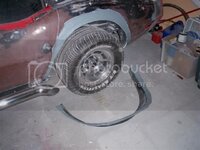
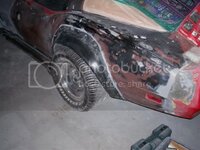
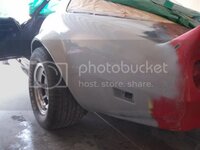
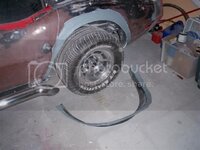
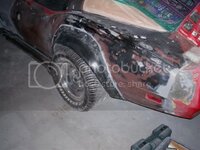
I spent all day screwing around with the flares, so I could get a nice round fender lip. Had to use a heat gun and lots of force in some areas, but I think I am pretty close to where I want them. Some of the lip will have to be fixed later on, once I bond them. There is only so much you can do with the screws and forcing them into place.

DSC07470.jpg

DSC07473.jpg

:sleep:
 
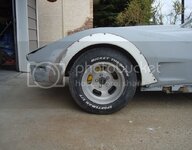
Mike and I did some math yesterday and we decided on a tire size. He said the rake of the car is perfect, and so are the flares.

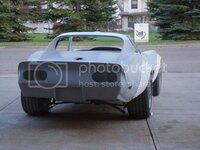
The left rear flare needs an insane amount of work. The wheel well lip is not round, so it looks like crap right now. That will all get fixed with grinding, fiberglass, grinding, fiberglass...you get the idea. I got it the best I could with what I was working with. Its just a base for my work.

DSC07506.jpg

DSC07499.jpg

DSC07492.jpg

DSC07491.jpg

DSC07493.jpg

DSC07490.jpg

What does this all mean? I am finally ready to start bonding the flares in place:D What a relief.

The Pedicament With L88 flares on Rubber Bumper Cars


Most of you know that the corvette is known for having a larger gap at the back of the rear tire, when compared to the gap in front of it (behind the dogleg). You have to do two things. One is close up the gap behind the tire to center the wheel the best you can get it. The other problem to address is you NEED to get your fender lip round. If you try and mount the flare at the exact same height of the original quarter panel, and then you make the wheel well arc round, it will look like a semi circle that's been stretched. The reason is because of the quarter panels being longer. The quarter panels on 74-82 corvettes are longer that the 68-69 vettes. You need to make a balance between the two problems.

I set my rear ones a little lower than the original fender lip, about 1'' lower. The front ones were set at the exact same height as the original fender lips. This way I can close up most of the gap behind the tire, and still have a round wheel well lip. Its a battle fitting these things correctly. Get it wrong and it will look funny.

You also need to make sure your rear flares are higher in relation to the ground than the front flares. You need to have rake. My rear ones are 5/8'' higher than the front flares. I made sure to set them like that. It took a lot of BS to get them set right.

Take your time, and remember measure 18000 times, and glue once!
 
Nice deep mags you have there :)

Yeah, getting the rear flares in is a PITA if you want the wheel arch centered over the wheel.

With my car I took a shortcut that wasn't so much a short cut but a while I was at it, I moved the whole rear suspension back about 1.5"
 
You need to set your steering up before you fit the flares. Get your toe set first. I used a string against the wheel and measured two spots on the frame rail - one measurement at the back, and one at the front. Get them exactly the same, then lock your tie rod down. The wheel will be set perfectly straight using this method, or pretty damn close. Make sure when your wheels are pointed straight, that the flat on the steering worm gear is pointing straight up (12 o'clock position). This flat...
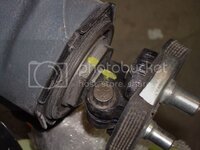
DSC07513.jpg

And here is how I set the wheels perfectly straight (I also measured the toe in/out at the tire tread just to make sure it was spot on, and it was).
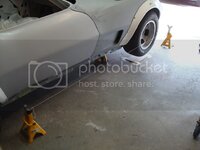
DSC07512.jpg

Mike also wanted me to set the caster to 2.5 degrees before I did a final test fit on the flares. The reason is because caster moves the wheel forward and backward inside the fender. Most people just mount them and deal with the way they look after the alignment. I'm not doing that. I want this thing to look perfect.

When I am finished the car, I will cut the front springs to match my "all-thread setup". This way everything will be so close, that an adjustment in caster will not move the wheel much, if any at all. I had to buy a caster/camber gauge to do this correctly...it cost me $190. I will be able to do my alignment at home now, and will have it for the rest of my life. Money well spent in my opinion. Make sure you set your camber to 0 too.
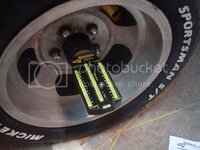
DSC07525.jpg

Next I finished fitting the flares, and marked the areas they would be bonded too. Then I took the flare off, and marked the outline 1.5'' below the flare outline.
DSC07507.jpg

Next I took my cutoff wheel and cut the lip off - no turning back now!
DSC07509.jpg

Now most people just glue the flare on top of the original panel, then deal with it later. However, Mike wanted me to grind the glass thin, so the flare would not sit on top of the surface as much. When it comes time to glass them in, its gonna save me a lot of sanding time.

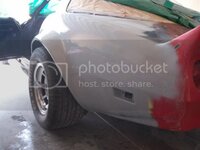
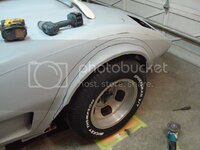
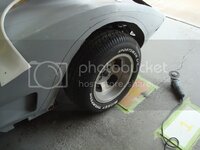
Here they are glued in place. Keep in mind I have to do a ton of work to these still. On my levelled out floor, each fender lip is exactly 27 3/4'' to the ground. I promise you, these will be the nicest set of flares you've ever seen after I'm done with them:D

DSC07548.jpg

DSC07543.jpg

DSC07541.jpg

Mike's little recess idea...

DSC07545.jpg

DSC07544.jpg

SO FLIPPEN TIRED!
 
Last edited:
Looking good :thumbs:

I did the same when I fitted my rear flares, ground both parts thin at the 2" overlap. My flares fit great, got them from Vanacor. Too bad they seem to be out of business... now I have to make my own front flares to match the rear.... :cussing:

100_1666Small.jpg
.
100_1671Small.jpg
.
100_1711Small.jpg
.
 
By setting up the flairs now aren't you concerned about ride height and wheel to flair issues once all the weight is back in the car and the suspension has settled?
 
Looking good :thumbs:

I did the same when I fitted my rear flares, ground both parts thin at the 2" overlap. My flares fit great, got them from Vanacor. Too bad they seem to be out of business... now I have to make my own front flares to match the rear.... :cussing:

100_1666Small.jpg
.
100_1671Small.jpg
.
100_1711Small.jpg
.

I believe I read that Vanacor is back in business.

as posted on CF:

Michael and Jackie Vanacor the son and Daughter-in-law of the late Bryan Vanacor, is now the owner of Vanacor's Corvette Parts.
We will be fully up and operational within a few months.
If interested in ordering from us please call 985/210-3762(Michael), 504/710-8288 (Jackie ) or email us at [email protected].

Vanacor's Corvette Parts is not affiliated with ANYONE in Mississippi, we are only located in Des Allemands, LA.

The number 1-800-225-6508 is not Vanacor's and they do not have any of our molds or parts.


Hope this helps.
 
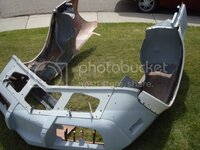
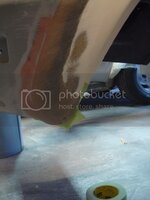
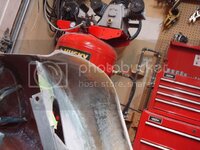
I pulled the front end off today. I chopped up my body dolly and modified it to hold the front end upside down, with lots of support, so nothing will change on me over the next few weeks.

DSC07575.jpg

DSC07572.jpg

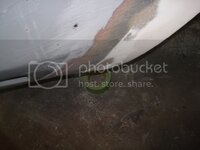
I will be glassing in the flares, as well as the inner fenders. Inner fenders pop loose all the time, and I don't want that to happen to me. As great as this bonding adhesive is, it does not like flexing. Here is an example of it cracking when flexing...

DSC07571.jpg
 
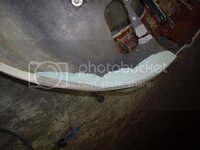
Started to glass the flares and inner fenders in for good.

DSC07630.jpg

DSC07629.jpg

DSC07628.jpg

NEVER use fiberglass cloth on a vette. Always use fiberglass matt - cloth will checkerboard through a paint job within a few years.

Holy crap do I have a lot of glass work to do...:willy::willy::willy:
 
I've followed this thread from both forums and your work is amazing! Someday I'll have the courage to fix my '70 vert properly - it has an '80 nose on it, mid '70 L82 hood and fenders, and a mix of inner fender panels - all cobbled together from previous owners. When I do, your documentation here will be my inspiration to do things right.

 
I started molding the flares in.

DSC07632.jpg

DSC07635.jpg

This thing is ridiculously strong. I tried pulling it off, twisting it, pushing on it...SOLID. I love fiberglass:D
 
I finished work at 9:00 pm yesterday, then headed into the garage and started working on sanding the flare into shape. Here is how it looks...

DSC07637.jpg

DSC07639.jpg

DSC07640.jpg

DSC07634.jpg

Then I started to make the fender lip. I used bondo on the backside for support.

DSC07648.jpg

DSC07650.jpg

I also extended the lip closer to the front of the wheel for more "curves". The blue is the area I am talking about...

DSC07647.jpg

And, as of 10 minutes ago...

DSC07652.jpg

DSC07654.jpg

DSC07651.jpg

Now I gotta wake up in 6 hours and go to work:ack:
 
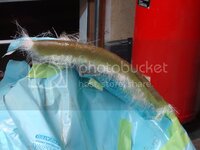
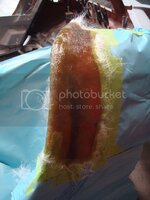
The drip rails on these cars always pop loose. They are bonded to the inner fenders, which sets your surround to hood height. Mike wanted me to glass it in to make it one piece with the front end. Fiberglass flexes and takes abuse...the bonding adhesive tends to crack when stressed.

DSC07694.jpg

DSC07689.jpg
 
Back
Top