Rookie's First Restoration Attempt...

VetteMod - Corvette Restoration, Modding & Performance Forum

Help Support VetteMod Forum:

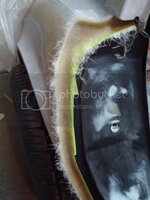
I worked a full shift today, and got home around 7:30. Then I busted my ass all night to get some fiberglass laid. I'm beyond tired right now - almost fell asleep on the cold floor in the garage when I was glassing behind the flare:rolleyes:

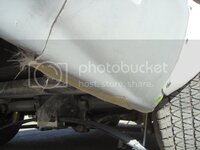
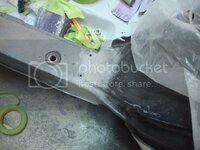
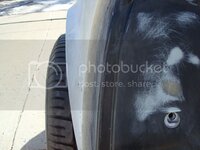
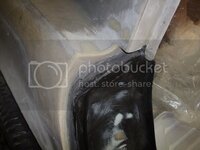
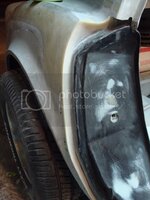
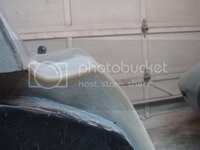
Here is the outside after I pulled off the bondo and tape...

DSC06803.jpg

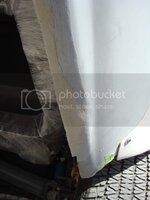
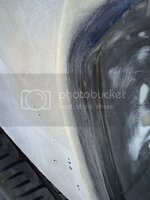
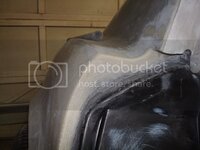
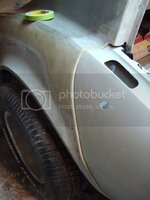
Then I ground down the entire thing until it was below the surface of the panel.

DSC06805.jpg

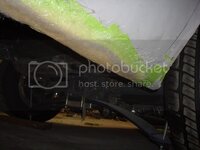
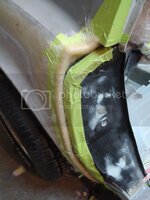
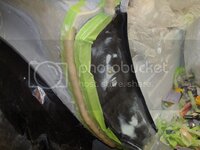
Then I masked and glassed it like usual...

DSC06833.jpg

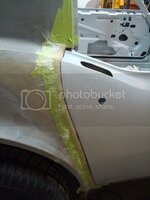
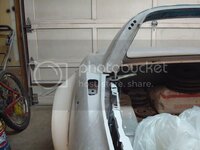
Next project was to start glassing my lock pillar edges in front of the flares.

DSC06832.jpg

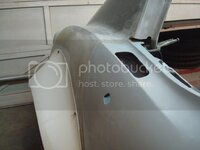
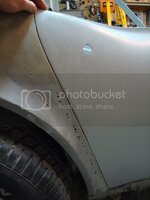
And I finished the left lock pillar to rocker cover join line. This was done all with fiberglass

DSC06837.jpg
 
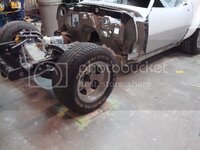
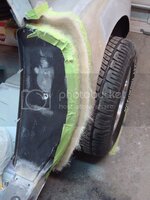
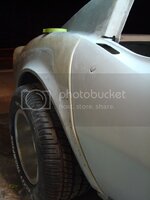
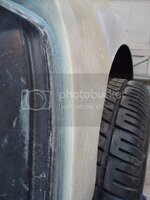
I mounted my new front rims on my old tires for mock up. Once I test fit the front flares, I will decide what size tire to go with (same process as I did with the rear flares).

DSC06847.jpg

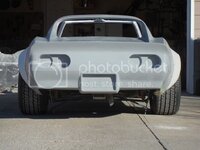
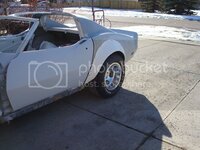
I also got some clearer pics in the sun before I headed to work today.

DSC06845.jpg

DSC06842.jpg


PS: HAHAHAHAHAHA (in my best Cartman impersonation) Canada won gold! F'in rights!!!!!!!!!
 
I sanded the first application of fiberglass. This was more of a void filler than anything. Trying to build the door gap and fill in the void at the same time would have been a complete nightmare, so I did it in two stages.

DSC06848.jpg

DSC06851.jpg

Once that area was sanded, I started to glass the door gap. You wouldn't believe how long it took me to lay all this matt - 3.5 hours!

DSC06853.jpg

DSC06854.jpg

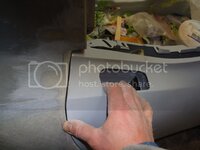
Remember, all of this gets smoothed out with Dynaglass and mud after. This area is a bitch to block, and it will not be pretty until it is all done. The very edge of the lock pillar will be fiberglass - nothing else.

My damn body gave up on me again tonight. I will have to get back at it tomorrow morning. Night.
 
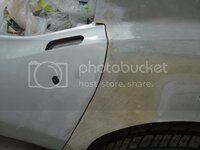
Another late night post. I sanded the second application of glass.

DSC06865.jpg

DSC06864.jpg

DSC06863.jpg

I came up a bit short, so I had to glass some more.

DSC06868.jpg

But, as you can see in the first picture, my door gaps are looking better and better. :zzz:
 
Now thats nice work - your making me feel guilty that I don't make the same efforts on mine..........
Frank
 
One thing I've learned about bodywork - JUST DO IT. Don't even think about it. Take your sandpaper, and roloc disc, and get to work. You've gotta make it look like crap before you can make it look beautiful. I once felt the same way you did when I saw other people's projects. In fact, I still feel that way sometimes.
 
You got that right. Thats how I learned, before I moved I 'taught' many Calgary guys by the same method - "just do it, you'll learn fast". And they did.
I do very nice body work. I'm just not willing to put the time in lately - tho somehow I have inspiration from your posts and am adjusting the hell out of the doors now that I have my body back on. I had them shutting perfctly but now I think they'll fit pretty good for a change.
Frank
 
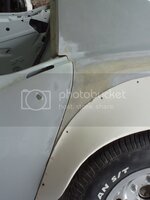
I had a very long conversation with Mike earlier today. He told me to get the door to match the fender perfect from the top of the fender down to the beauty line. I already reglassed that whole area, and needed to finish blocking it so it matched the door. Here it is finished.

DSC06894.jpg

Mike also figured out a few months ago that bubba sanded the corner down on my door (where the hard edge is). As a result of this, the door is low in this area, so once it is built back up, the edge will move up and in, lining it up perfectly with the deck's hard edge. This is all finishing bodywork. This line has a slight arch to it, it is not a straight edge - but if you look in the picture below, you will see that mine looks like it is a straight edge, and that is because bubba sanded the corner down! Once I build the edge up, and put the arch into it, it will all match up. Everything will line up when all is said and done. I thought I would point this out to you guys, as I would have never have noticed this if it weren't for Mike. Saved my butt again!

DSC06895.jpg

DSC06896.jpg

And I started the left door jamb.

DSC06898.jpg

I can't wait to get started with those flares. I'm really excited about that project. I can't wait till they are finally bonded on, and one piece with the body.
 
Last edited:
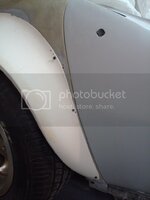
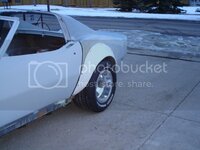
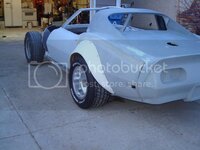
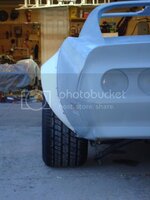
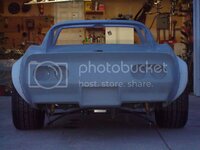
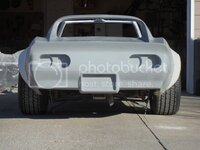
My package from Mike showed up today and I finally got the rear tires mounted on the mags. These were the largest radial I could find without going to a drag radial, which I didn't want to do. I am very happy with the fit inside the flare.

DSC06816.jpg

DSC06817.jpg

DSC06818.jpg

DSC06823.jpg

I can't believe this is my car!!!!


What size is the wheels? I run the same size tire on my VW on a 15 X 12 rim but darn it the car will still spin them at 100 MPH lol. Yeppers a VW Type 1 2180 CC lol.

Your Car is looking fantastic.

 
What size is the wheels? I run the same size tire on my VW on a 15 X 12 rim but darn it the car will still spin them at 100 MPH lol. Yeppers a VW Type 1 2180 CC lol.

Your Car is looking fantastic.
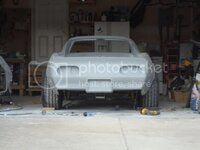
The rims are 15X10 with 3.5'' backspace. The tires are 295-50-15's. I couldn't find a radial tire any larger for a 15'' rim. The next choice was a drag radial, which I did not want to go with.
 
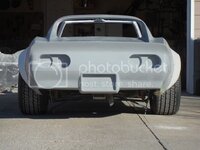
Mike told me to bond the right splash shield back in place (it popped loose about 6 months ago). This needed to be done before I could start glassing the sides of the bumper. Time for me to go back to sanding that left door jamb. Once that is done, my focus will turn to finishing the fiberglass work on the rear bumper.

DSC06933.jpg

The splash shield holds the quarter in place. Its important to get it in the right spot, or else the car will look different side to side when viewed from behind. I had the splash shield screwed in place these past 6 months, so none of my fitting work will change.

DSC06923.jpg

Man this car looks funny when the flares aren't on it!
 
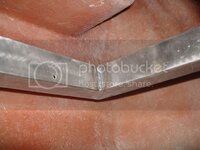
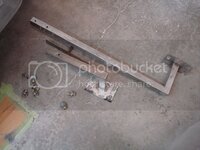
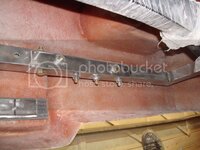
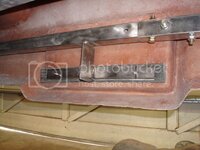
Mike wanted me to finish the support bar before I started the glass work on the rear bumper.

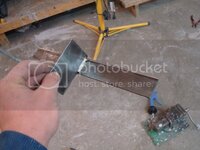
Some welds...

DSC06952.jpg

DSC06960.jpg

I designed it so its flexible, and has lots of give. The great part about it is that its really solid right where the vertical 1/8'' plate is. On either side of the plate, the 12'' long bar has give when you push or pull on the sides of the bumper, but its still solid. I am happy with the way it turned out.

The bar breaks down into two pieces. Once the gas tank goes in, I won't have a lot of room to work with, so making it in two pieces that bolt together was the only option. Its really easy to bolt in.

DSC06953.jpg

DSC06958.jpg

A 1/4'' thick piece of rubber between the metal plate and the fiberglass. there are two screws that hold the bumper to the support, and once the license plate goes on, you won't be able to see them.

DSC06957.jpg

Another item checked off the list. Time for me to head to work:cheers:
 
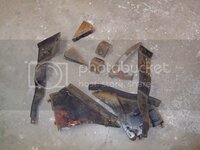
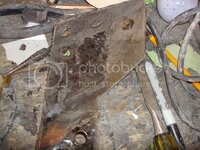
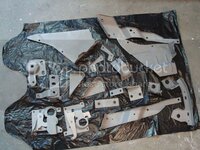
I sandblasted some parts today. I need these for setup reasons. I cant stand mocking up rusty old parts for fitting, so I am going to paint them before I start the fitting process.

DSC06961.jpg

DSC06962.jpg

DSC06964.jpg

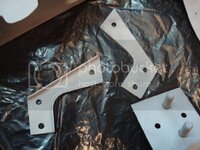
I ended up making one of these plates (I lost my old one for the driver's side).

DSC06965.jpg
 
My Bad During this 50 page thread he mentioned he used all thread for set up. And he will use the correct bolts as needed when everything is where he wants it. :)
 
I remember that now that you mention it. From the photo it's hard to tell if it's a bolt or all thread..... anyways, my point is... these seem to be like 14" long.... if you install a shorter 10" or 8" bolt it will raise the rear a lot.... the weight won't change that much even with tank and interior....
I hope he didn't end up with one of those springs that make the car look like a 4x4 with a lift kit....
 
It should all work out in the end. After he puts all the stuff back on and in the car he will add about 500 pounds or so. That is if you add the 128 pounds of fuel lol. But if not he will have more to tinker with. :)
 
I'd like to mention that everything I am doing is coming from Mike's brain. The man has more experience than ANYONE on any vette forum. Period.

I remember when I was getting poked at saying that the tires were going to be too small, and that I need spacers with my 10" wide rims. Mike said exactly the opposite. Guess who was right? Mike. The reason - more experience and a better eye (my god does he have a good eye).

I'm not trying to knock you guys for posting your concerns...but just remember, I have THE BEST corvette god helping me build this thing. He's done it all. Heck he does it all for a living. 30+ years.

Karsten, the all thread is for setup only. The spring I went with is not the one made by TRW (the 4X4 one). It is made by Hypercoil, it looks like the TRW spring. I have not heard any negative comments on it. If the car sits too high in the end, I can always swap it out for my stock one...no big deal. You've gotta remember that I don't have anything in this car at the moment. No engine, tranny, fuel tank, interior, seats, door guts...I still have lots of weight to put in it.
 
Last edited:
I fail to see how this is about being right or wrong. How you fit the rims and tires under the flares is personal preference and if you go back a few pages you'll find that we talked about personal preference and taste back then. Believe it or not, there are guys out there who run 255 tires with L88 flares and the rims 3-4" inboard of the fender lip - to each his own. If you like the tires 1 or 1.5" inboard that's fine. No sweat.... not everybody likes my sidepipes, my red interior or the loud exhaust on my C6... that's fine with me too. If we all had the same taste and preferences we would all have identical cars - boy would that be boring :)


About the suspension: I simply wonder how the car can sit at ride height with this long all thread (I'm guessing it's about 12" long) and then it's supposed to be at ride height with a 8" (6" is stock length) bolt. You're not adding THAT much weight back there - that's why I asked...
Maybe the spring is so soft that the little weight you're going to add is compressing it enough so that a 8" bolt fits. Hopefully.
 
I'm not trying to knock you guys for posting your concerns...but just remember, I have THE BEST corvette god helping me build this thing. He's done it all. Heck he does it all for a living. 30+ years.


Looks like we can all pack our bags and go home fellas!
 
I'm not trying to knock you guys for posting your concerns...but just remember, I have THE BEST corvette god helping me build this thing. He's done it all. Heck he does it all for a living. 30+ years.

I don't see anybody saying that Mike is wrong. People asking questions and discussing your setup is what's supposed to be going on on a forum. Did I miss negative comments that might have upset you ?
 
You forgot to drop on your knees and bow! We should all bask in the light emanating from this glorious build, the be all end all of all builds.

If there is one thing i learned, no one knows it all and there's always someone who's smarter than you or knows more than you.
 
I wouldn't worry that it may sit to high. After jacking my 82 up the car always has a high ride height until powerbraked just a bit, then it settles right down.
 
I did not mean to upset you guys or sound rude and cocky. I enjoy posting on here for all to see and comment, and will continue to do so. Later.
 
Last edited:
Back
Top