stinger12
Well-known member
- Joined
- Mar 28, 2008
- Messages
- 832
- Reaction score
- 0
This is a long explanation on how to fit the flares, so bare with me. Read it top to bottom and you'll understand why it is so important to do this correctly. A big thanks to Mike for helping me with this. Most of this information is coming straight from him, I'm just typing it out for you guys. There isn't much info in books or on the internet explaining how to install these correctly, which is why I am going through the effort of posting all this. I had to research this issue with the flares (and how to center them) several times, and asked lots of questions along the way.
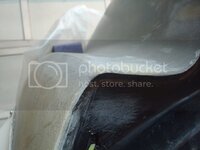
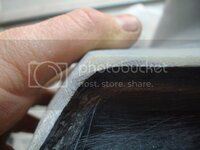
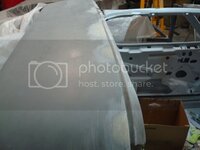
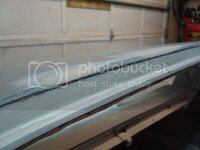
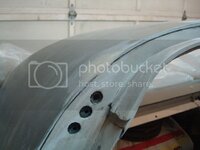
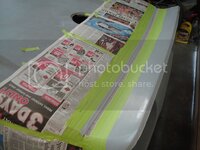
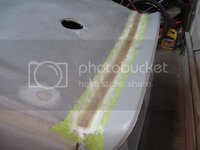
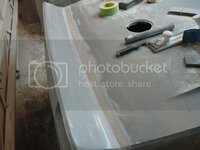
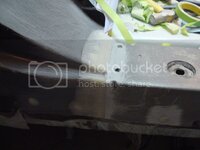
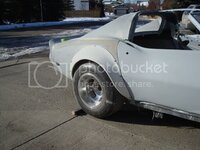
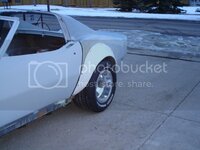
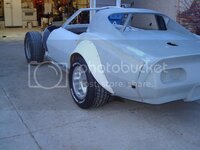
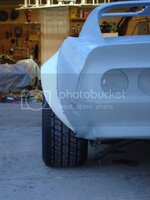
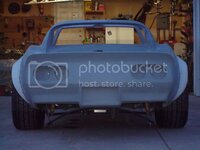
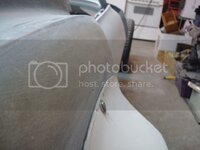
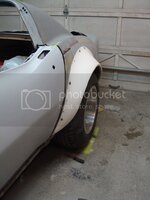
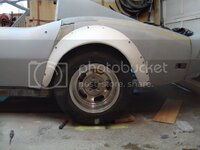
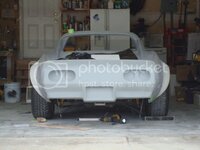
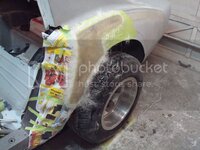
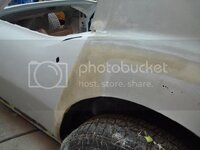
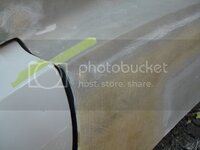
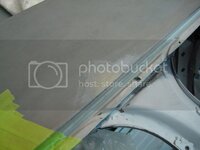
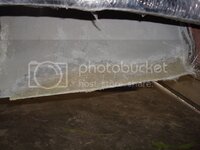
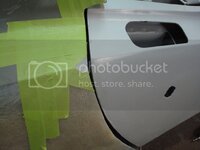
I finished fitting one of the flares today. It took a lot of tweeking, but I think I have it where I want it. I need my new tires to verify that it is perfect, so I'll have to wait until they arrive. Here are some pics.
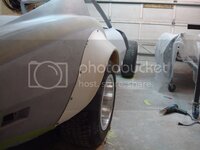
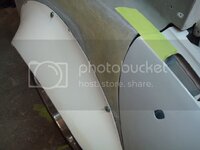
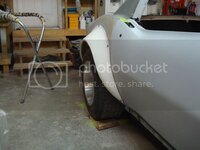
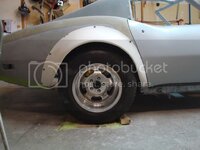
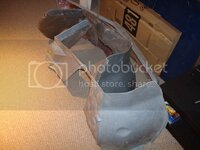
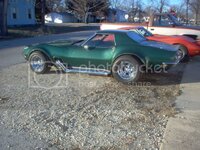
Now, I know what you are thinking right now. "The gap at the front of the tire is too small in comparison to the rear of the flare". I am aware of this. When it comes to fitting the flares properly, you need to take several things into consideration. The first is you want the radius of the flare to be as round as possible. But here is the catch - the factory built these cars with a larger gap behind the tire, and a smaller gap in front. Now, it is minimal, but when you install flares, it is really exaggerated because they "hug the tire" unlike the original fenders. But, while keeping the radius round, you need to make sure you close the gap up behind the tire, so it doesn't end up looking like this...
Now, remember when you levelled your frame, and set the ride height using all thread up front and in the rear? You did this because you needed to fit the flares to the car correctly. The half-shafts MUST be level when you are doing the setup on the rear - that is your ride height, and it is the point the tire is going to ride at when you are driving the car. It is also the farthest point that the rear tire moves backwards. Any arcing of the wheel upwards from this point will also move the tire forward. Remember, the trailing arm moves in an arc, like a compass, pivoting on a central point.
So, how am I going to open the gap up at the front of the tire you ask? Easy. Its so minimal (because of the fitting I did on it) that I will grind on the edge of the flare and clearance it. But before I do that, I will add lots of glass on the inside of the lip of the flare, so that the lip doesn't disappear. Once the clearancing is done, I will add glass to the outside of the flare and resahpe the fender lip until it is a nice round arc from front to back. And, The fender lip will still be a consistent thickness all the way around the flare. Now I will have a perfectly centered wheel in an L-88 Flare. I can also do vise vesa, and bring the lip closer to the tire if I need to in some areas (which I'll probably end up doing in a few spots to make it more round). Stan's flares close up the gap at the rear of the car nicely. I will just have to do some extra work at the front of them. I will also have to extend the flare on the bottoms using glass and lots of shaping once they are bonded in place.
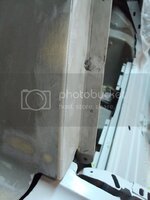
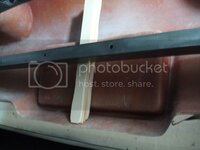
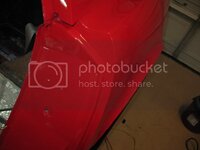
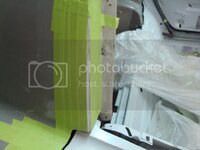
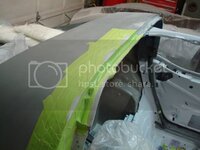
Some of you may have noticed that I haven't finished my door gap at the rear of the doors. And you are right in thinking that it affects the placement of the flare on the dogleg, because the edge of the dogleg is essentially where the flare begins, and that edge also needs to be perfect for your door gap. And here is why none of this matters right now. The following picture is of Zwede's car, the one Mike totally rebuilt. Notice how he glassed the lock pillar plate in so that the edge of the dogleg is one with the lock pillar plate. It makes it stronger, and sexier!
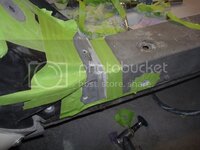
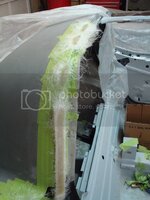
I will be glassing in my lock pillar plates as well. The flare will be glassed in at the front of the dogleg. Everything will become one piece in the end, with one common edge, which is essentially going to be the door gap edge. This edge will get shaped and sanded until the door gap it absolutely perfect. the flare will get glassed, sanded, glassed, sanded until it is perfect with the door edge.
This is why installing flares takes a ton of time. I've seen several pictures of cars where the flares just don't sit right and it isn't pleasing to the eye. In my mind, a flare should look good no matter what angle you look at it from. Take the time to do it right...its worth every bit of aggravation in the end.
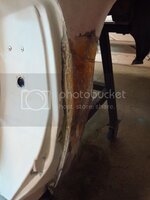
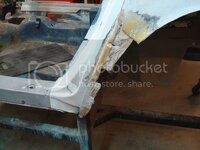
I also finished bonding the left dog-leg. Once that cures over the next day, I will begin fitting the left fender flare. I've also figured out that I really enjoy doing this type of work, and I'm pretty darn good at it (thanks to my buddy Mike!!!!!!!!!!!!!!!!)
I finished fitting one of the flares today. It took a lot of tweeking, but I think I have it where I want it. I need my new tires to verify that it is perfect, so I'll have to wait until they arrive. Here are some pics.
Now, I know what you are thinking right now. "The gap at the front of the tire is too small in comparison to the rear of the flare". I am aware of this. When it comes to fitting the flares properly, you need to take several things into consideration. The first is you want the radius of the flare to be as round as possible. But here is the catch - the factory built these cars with a larger gap behind the tire, and a smaller gap in front. Now, it is minimal, but when you install flares, it is really exaggerated because they "hug the tire" unlike the original fenders. But, while keeping the radius round, you need to make sure you close the gap up behind the tire, so it doesn't end up looking like this...
Now, remember when you levelled your frame, and set the ride height using all thread up front and in the rear? You did this because you needed to fit the flares to the car correctly. The half-shafts MUST be level when you are doing the setup on the rear - that is your ride height, and it is the point the tire is going to ride at when you are driving the car. It is also the farthest point that the rear tire moves backwards. Any arcing of the wheel upwards from this point will also move the tire forward. Remember, the trailing arm moves in an arc, like a compass, pivoting on a central point.
So, how am I going to open the gap up at the front of the tire you ask? Easy. Its so minimal (because of the fitting I did on it) that I will grind on the edge of the flare and clearance it. But before I do that, I will add lots of glass on the inside of the lip of the flare, so that the lip doesn't disappear. Once the clearancing is done, I will add glass to the outside of the flare and resahpe the fender lip until it is a nice round arc from front to back. And, The fender lip will still be a consistent thickness all the way around the flare. Now I will have a perfectly centered wheel in an L-88 Flare. I can also do vise vesa, and bring the lip closer to the tire if I need to in some areas (which I'll probably end up doing in a few spots to make it more round). Stan's flares close up the gap at the rear of the car nicely. I will just have to do some extra work at the front of them. I will also have to extend the flare on the bottoms using glass and lots of shaping once they are bonded in place.
Some of you may have noticed that I haven't finished my door gap at the rear of the doors. And you are right in thinking that it affects the placement of the flare on the dogleg, because the edge of the dogleg is essentially where the flare begins, and that edge also needs to be perfect for your door gap. And here is why none of this matters right now. The following picture is of Zwede's car, the one Mike totally rebuilt. Notice how he glassed the lock pillar plate in so that the edge of the dogleg is one with the lock pillar plate. It makes it stronger, and sexier!
I will be glassing in my lock pillar plates as well. The flare will be glassed in at the front of the dogleg. Everything will become one piece in the end, with one common edge, which is essentially going to be the door gap edge. This edge will get shaped and sanded until the door gap it absolutely perfect. the flare will get glassed, sanded, glassed, sanded until it is perfect with the door edge.
This is why installing flares takes a ton of time. I've seen several pictures of cars where the flares just don't sit right and it isn't pleasing to the eye. In my mind, a flare should look good no matter what angle you look at it from. Take the time to do it right...its worth every bit of aggravation in the end.
I also finished bonding the left dog-leg. Once that cures over the next day, I will begin fitting the left fender flare. I've also figured out that I really enjoy doing this type of work, and I'm pretty darn good at it (thanks to my buddy Mike!!!!!!!!!!!!!!!!)
Last edited:







![Pampers Sensitive Baby Wipes, Clinically Proven, Fragrance Free, Unscented, Water Based, Hypoallergenic, Multi-Use, Hand Wipes 336 Wipes Total (6X Flip-Top Packs) [Packaging May Vary]](https://m.media-amazon.com/images/I/41KLBHu9CAL._SL500_.jpg)