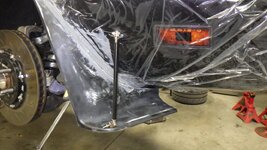
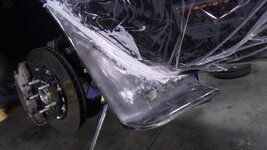
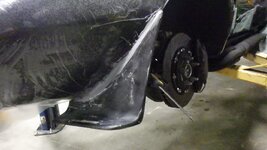
Plastic Fantastic 2

VetteMod - Corvette Restoration, Modding & Performance Forum

Help Support VetteMod Forum:

That is similar to what I had planned. Any tips or tricks to seal what you have to the underside of the hood?
 
not much to update today - spent the day doing a bunch of things but nothing really photoworthy
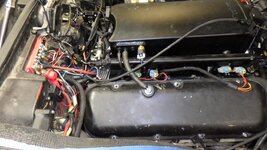
the blocks installed
XagSmCYh.jpg
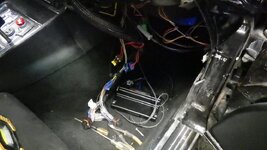
and pulling wiring out to find out why #8 isn't firing
XMH3jECh.jpg
if only I was one of these alleged experts....
 
As an Amazon Associate we earn from qualifying purchases. Product prices and availability are accurate as of the date/time indicated and are subject to change.
That must have been a satisfying moment to find the #8 issue.

Looks good.
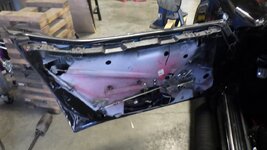
 
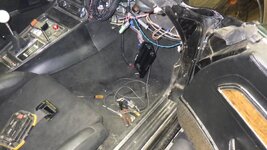
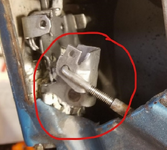
today's fight.... that lever near the top corner of the door is a hateful thing.... the tl;dr is you can't open the door from the inside
Ev4vDXFh.jpg
but before I get to that.... time to fasten the spoiler
4MhJxCdh.jpg
2nd
Skoqbvwh.jpg
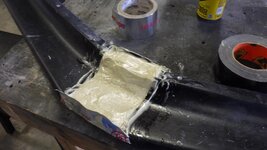
install with panel bond
UDhiQROh.jpg
before
fJEfGKJh.jpg
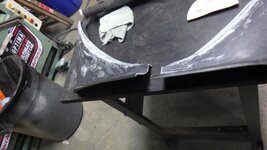
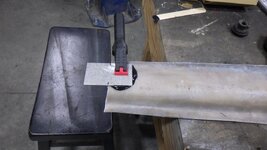
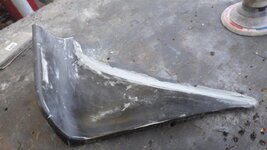
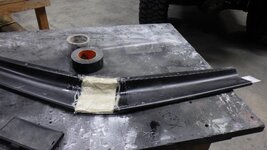
I'm making this in 3 pieces, I need to put a bit in to account for the 2" width change
kltwxWRh.jpg
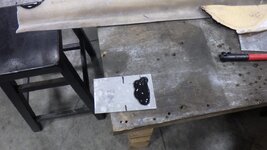
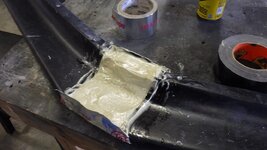
goop
QS0QSUDh.jpg
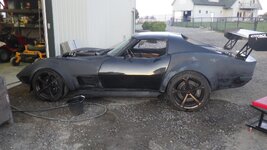
oh look at me all race car and stuff
Gw6NoYuh.jpg
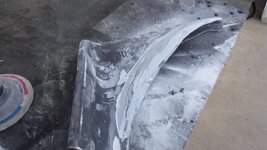
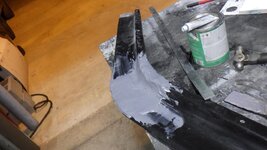
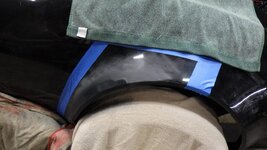
but before that, time for filler to smooth the transition
TnaxK8ah.jpg
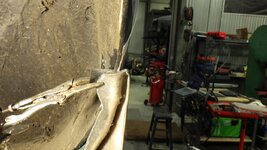
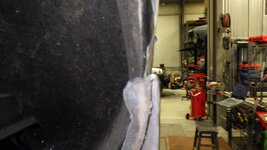
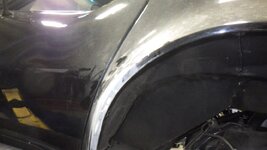
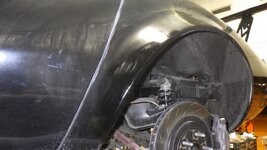
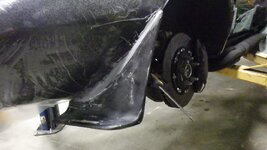
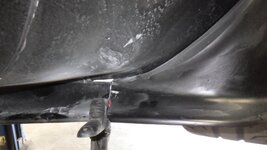
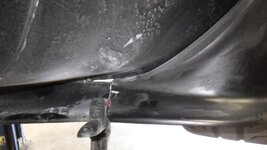
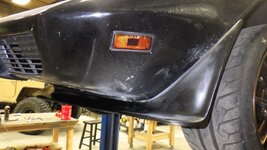
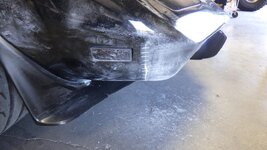
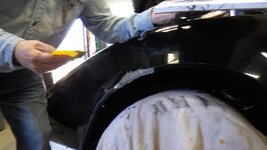
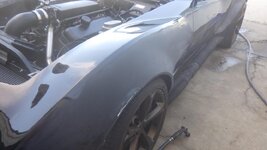
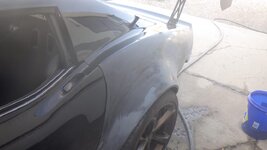
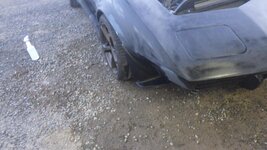
and to fix the body damage from the sidepipe coming off
vR9bygdh.jpg
and the other side
1vm8aSSh.jpg
 
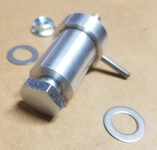
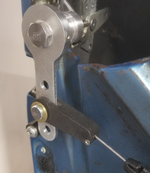
That door latch lever is crap. First off, the lever is made out of sheet metal with an offset pivot (a rivet) that guaranteed to bind. Also the control rod is pushing, causing the rod to bend at the ends. Then the handle breaks, etc. Worst design ever.

I replaced mine so that I can use a cable to pull the latch, not push:
1710934458873.png

1710934491257.png

1710934523603.png
 
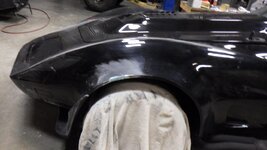
aero and bodywork continued
gRbEyEJh.jpg
ready for the next hit
YwBD6A9h.jpg
fitting flares
1vm8aSSh.jpg
sand
Hu3dg0qh.jpg
and more sanding
focZENvh.jpg
then fit the center piece
gPQbkV3h.jpg
of course it doesn't work
uabfZwch.jpg
but maybe, once you chop it in half
UNdeu4Hh.jpg
anyway, that's where I stopped for tonight.... probably pin it together tomorrow then start blending stuff together but yet making it removable in pieces. My plan is get this 3d scanned then save the print file - thus when I break it (and it will happen) I'll have parts ready to go
 
grand, Imgur seems to have jumped the shark tank...
but I digress.... very illustrative photos today
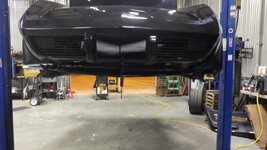
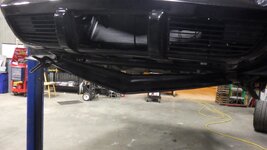
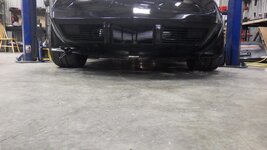
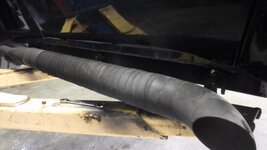
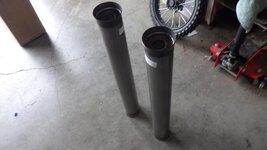
sidepipes
B8quCvS.jpg
new insert
BCoKrZQ.jpg
onto the front
first, make them butt together
wASIiWn.jpg
then figure out how to glue the two pieces back together
wASIiWn.jpg
and voila, glued
AHA7MNw.jpg
 
Interested to hear how the new inserts compare to the baffles. Are those the hooker or sweet thunder?
 
nice work, and where do you get this energy from? are you like 20 again, i need to start drinking whatever you are
 
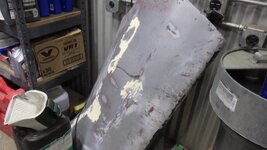
part of yesterday was remove the doors from the 68 shell... I need a part out of one, but that wasn't the reason I took them off
if that hole looks like a trailer hit it.... 100 mph winds move trailers... go figure
RTPaHx5h.jpg
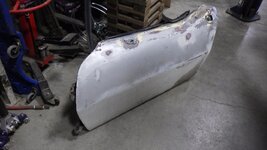
other door... the reason for removal was more to get the crank windows out of the doors... I'll sell what's left once I've done the swap
fazdZvrh.jpg
love the epoxy, for those who forgot, total boat sells a powder you can mix into resin to make a bonding agent
2SDxybPh.jpg
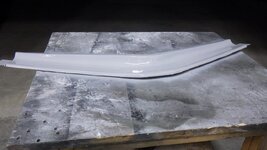
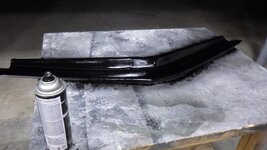
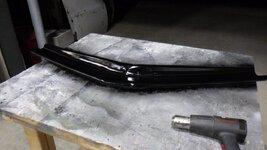
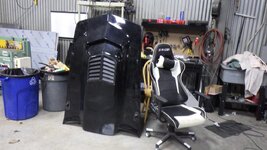
then sculpt the spoiler with bondo.... may get this 3d printed too
9XBZBXXh.jpg

the reason I may just run it - I need to run a brace to the center of the spoiler - at this point, that's probably the strongest point with the aluminum backing plate...
 
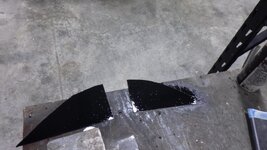
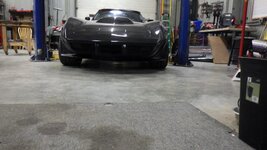
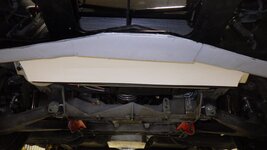
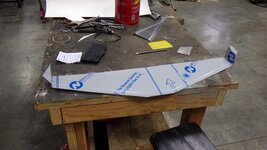
continuing from yesterday, I had to make a blanking plate so the air is forced through the radiator
OkkjLEXh.jpg
this is me being lazy... I have a press brake that could put a nice kink in the metal to get the curve needed... or a BFH. The BFH, in its defense, was more fun
hTI3YHjh.jpg
installed...
I2woHqUh.jpg
and what it looks like now
IFKDSLO.jpg
still need to put braces on it because it does flex a bit then, maybe, canards.... but for now, I have to finish on the gas tank then tuning, oh and door latch....
 
time to do some fixes
o1oJz4vh.jpg
HbIN2Ohh.jpg
fixing a crack
264vfkZh.jpg
in no particular order
hNmIGM7h.jpg
I caught the elf doing the work
M7HwfFsh.jpg
a bit of spot filler
Oku5H26h.jpg
time to primer
UOoO8h6h.jpg
PNb2vjbh.jpg
uVEJwVPh.jpg
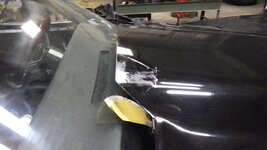
and a hood chip
pJTLBAph.jpg
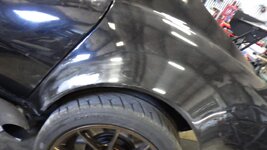
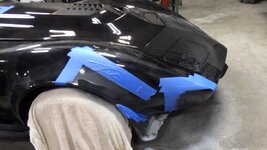
I plan on painting the nose and the left quarter....
 
Great Job! Consider getting some clear Bra (3M product).
I used it in the nose of the "little racer" and it really saved the finish.
I know - One more Thing." But will save some road rash.

Cheers - Jim
 
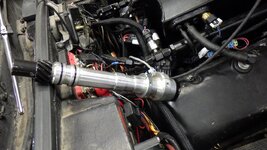
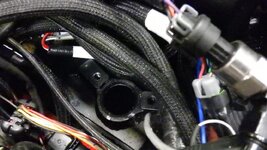
sprung an oil leak
Ue9svzBh.jpg
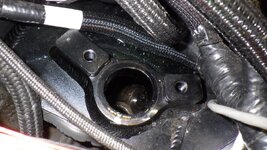
right there on the clamp
Ccozbc1h.jpg
there really shouldn't be that much oil on the outside of the shaft but here we are
obqPBIIh.jpg
and then spent the rest of the evening retiming it - not quite as simple as a distributor.
JXO3Oirh.jpg
 
That doesn't look like fun at all. I can just barely see the timing mark or the distributor hold down on mine.
 
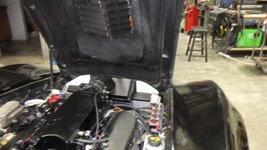
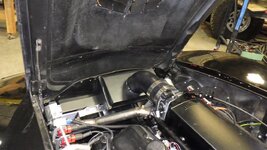
while the hood is off, time to fix a belt alignment issue
2qKNQFJh.jpg
the lesson in all of this is chinese parts are terrible
BQQ3YzAh.jpg
the biggest issue was the distance across the pump was wrong - so it pinched and misaligned pretty much everything....ah well, a few washers and it's back in business
 
Back
Top