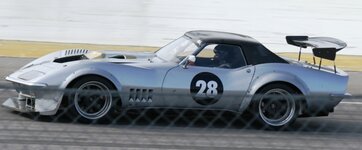
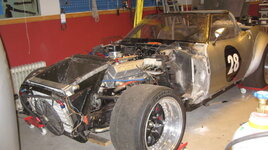
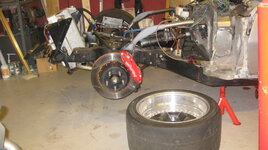
Plastic Fantastic 2

VetteMod - Corvette Restoration, Modding & Performance Forum

Help Support VetteMod Forum:

choices.
The A1000 pump is good for 1200 hp and has -12 lines in and out. The Holley system right now has - 6 lines and makes 500 wheel hp
I've been going back and forth about upgrading lines. I have most of what I need to upgrade to -10 supply and -8 return.
But
at this point I'm already pushing noise limits and 700 hp is at 7000 rpm. As it is now, it's got a physical cap on noise - set the rev limiter to 5500 and life is fine.
But yeah.

my only real concern if I leave it all -6 is it puts a lot of stress on the pump but with that said, I can turn the pressure up to 75 psi if I really want more power... after all volume is a function of pressure

got more done tonight, though.... think I'll stay with -6 for now.... but when I build more power, I'll update. At this moment, the car is fast enough for my skills.
line test
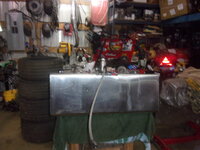
kDNpv6b.jpg
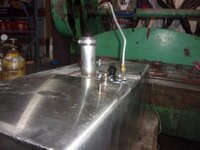
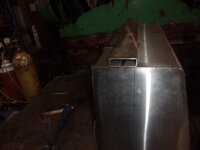
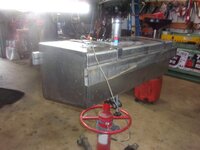
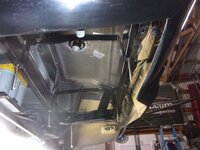
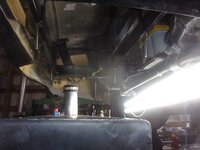
starting to lay out how the tank will be mounted
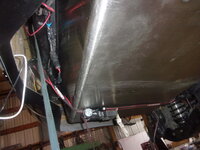
xVfBbBD.jpg
I also need to put an offset in the fill tube to line up with the gas cap (3 7/8 offset)
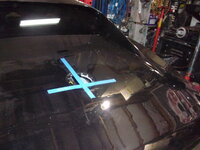
19DWXfL.jpg

I also welded in the braces - brackets got a coat of paint so drying... bolts get here Friday
 
I was looking at similar sizing for my fuel lines. I made my first posting to Grumpy (at grumpy performance) asking the question:

http://garage.grumpysperformance.com/index.php?threads/fuel-line-sizing-return-vs-feed.3067/

He had a lot of good information that at first seemed counter-intuitive, but facts and "figures" to back it up. Might be worth a look see.

Like many forums, he has migrated to another system, and some of the internal (within the forum) links - don't. So, you'll need to do some sleuthing. External links work - if the site is still live.

Quick summary, a larger return line ensures the fuel regulator has its chance to function and not be "choked" by the size of the return. A couple of tables and charts I found helpful. [same link - post#5]

Cheers - Jim
 
I was looking at similar sizing for my fuel lines. I made my first posting to Grumpy (at grumpy performance) asking the question:

http://garage.grumpysperformance.com/index.php?threads/fuel-line-sizing-return-vs-feed.3067/

He had a lot of good information that at first seemed counter-intuitive, but facts and "figures" to back it up. Might be worth a look see.

Like many forums, he has migrated to another system, and some of the internal (within the forum) links - don't. So, you'll need to do some sleuthing. External links work - if the site is still live.

Quick summary, a larger return line ensures the fuel regulator has its chance to function and not be "choked" by the size of the return. A couple of tables and charts I found helpful. [same link - post#5]

Cheers - Jim
went down a rabbit hole, but - 6, according to aeromotive, is large enough for 700 EFI hp....
 
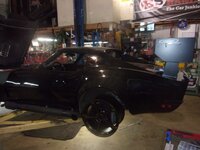
well, look what's back?
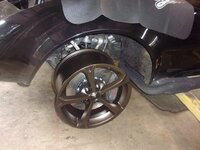
TBXMJg4h.jpg
dark bronze
70Syb4ih.jpg
fuel cap too
T2ebVsuh.jpg
I like. a lot
kJ9Hqhyh.jpg
truly better then I expected.... I thought I went too dark
CxdmyFPh.jpg
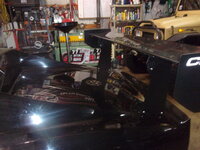
with the wing in place
olBY9k5h.jpg
 
a bit done tonight
more fittings - most important is that stainless one
tMf7JcDh.jpg
the problem is I welded a pipe fitting for the return when I needed an AN one... oops... will use it as a vent
zFIBeUah.jpg
and welded
lotX6oeh.jpg

in other news, I'm a really bad influence.... the red Corvette owner has bbc plans :)
BI0f9HEh.jpg
 
Spoiler is supported by the frame... I also put window glue in place to keep the warp and vibration transmission to a minimum
PBuKL2ih.jpg
measuring done, time to make the tank support
4VyOMYoh.jpg
keep in mind I was about 150 lbs light for where I'm racing.... I'll probably gain 30 or 40 lbs in this... all on the correct end
41BWO5Eh.jpg
nk1HQETh.jpg
framework installed
MVeSTIuh.jpg
not in love with the straps, however, I plan on supporting the defuser off them - so function trumps form
wKSaKYkh.jpg
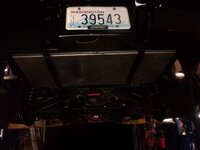
up the tank goes
uzsDJASh.jpg
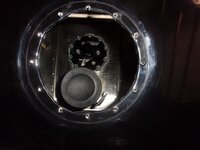
very close - I wanted to make it solid but I wouldn't be able to get the fuel pump out if I did
aOanwENh.jpg
last test fit, next up with the fill neck, lines attached, electrical attached and rubber protection on the metal bands
hlfDYEsh.jpg
 
As an Amazon Associate we earn from qualifying purchases. Product prices and availability are accurate as of the date/time indicated and are subject to change.
a little further
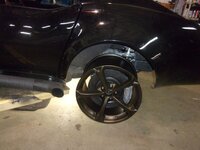
wheels with tires on them
jeSZkNch.jpg
cut down the fill neck so I can use a flexible rubber hose for the offset
3EeXqeEh.jpg
padding/rubber top and bottom
zx8Tg4Gh.jpg
getting close... waiting on a fitting and the fill hose
zDH04cLh.jpg
 
it runs again...
5BZ5wZ2.jpg
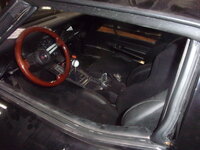
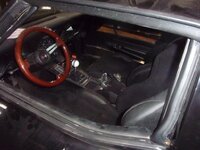
interior is back in it
PSWXy1m.jpg
next up? front stuff
zqSW4dl.jpg
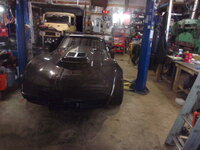
looks all buff in the back.... but more to do...thankfully, this isn't a take the car mostly apart deal
YpF0RWP.jpg
also need to program and do weighing
 
full.jpg

That is a good one. Add some of the "diffuser" like sections to the area under the front valance and you'll increase the downforce, and be able to minimize the forward area.
11833-e922ec7e677f5baa2b937e45271f9831.jpg
those "could be" also setup to provide a bit of aircurtain effect - but I'd have to think some more about that...

To embed - I use the old-skool method ["img"] and then ["/img"] seems to work.. (minus the quotation marks of course...) By using the url reference you can also use off site images.
Cheers - Jim
 
If you click 1648037883575.png in the header, you will see a pop up 1648037983052.png. You can drag or drop an image from the internet or your computer.
 
View attachment 53491

That is a good one. Add some of the "diffuser" like sections to the area under the front valance and you'll increase the downforce, and be able to minimize the forward area.
View attachment 53492
those "could be" also setup to provide a bit of aircurtain effect - but I'd have to think some more about that...

To embed - I use the old-skool method ["img"] and then ["/img"] seems to work.. (minus the quotation marks of course...) By using the url reference you can also use off site images.
Cheers - Jim
I'd love more pictures of that car... I'm also thinking about ducting the air to the radiator then creating a plenum effect to eliminate the lift
 
Took me a while, but found an image bb code under the pic.

If anyone wants more, I collected a bunch on this car as I always wanted to do something like this.

No more fan belts with this.

The other good splitter is on 48 hour corvette.
 
Thanks BBShark!
SBG; I've got some other pics but will need to do a search. Meanwhile, here is a Successful Camaro from a few years back:
full.jpg
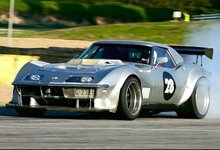
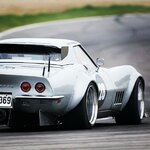
You've already got the wing! A couple of D&Ds from pintrest:
C3 Corvette Race Car.jpgInstagram post by Super Street • Jul 4, 2013 at 2 32am UTC.jpg

I'd like to find an overhead of his radiator setup. Bet it is a lot like others we've seen before.
They are the German Team that was running the Blue as Thunder as I recall. Recent YT video of their new rollout.
Cheers - Jim
 
rtj -
Maybe load the others in a new Thread. And I'll consolidate my radiator ones there too.
t would help keep this build thread clean. Arron has done a nice almost step-by-step here.
I need to get back to sorting a pushrod linkage for the IRS. And, and, and...

Cheers - Jim
 
Oh the tech behind all of those things... that last picture looks like they strapped a 1" plywood piece onto it because the first picture is a highly refined version of it

I may modify my hood, and seeing the reversed radiator gives me many ideas - I love how they went below the stock body line for the radiator... that makes perfect sense... I keep telling myself the front will be easier - but if I follow that blueprint, it won't be...
 
rtj -
Maybe load the others in a new Thread. And I'll consolidate my radiator ones there too.
t would help keep this build thread clean. Arron has done a nice almost step-by-step here.
I need to get back to sorting a pushrod linkage for the IRS. And, and, and...

Cheers - Jim
Sure, I’ll put them in the aero thread. The main ones are here already.
 
time to weigh
QX3YgBkh.jpg
oh and I'm done with this argument.... the weight of a BBC powered C3 Corvette... 7 gallons of fuel in the tank
K6izgAAh.jpg
- something cool, if you look next to the weight numbers, it tells you where the weight is on the tire... didn't realize that - outside has a hair less weight then the inside of the tire
which does create a problem since 3200 is the minimum weight.... Optima weighs after the track sessions - the problem is 20 gallons is 120 lbs. - and without the driver (darn, my non-fitness program would finally pay off).... 30 minute on a track at high speed will burn more then 3 gallons..so I will be adding weight
so with that bad news, I figured I'd fix my window alignment
l3feqXOh.jpg
is 'fixed' the window won't go up again with the switch? oh good lord.
PSWXy1mh.jpg
but it seems fixed as far as sealing - however, I'll be verifying this before I put the door panel back on
that's enough for tonight
 
*oh wait, cue dramatic music... the rack has a small leak - it owes me nothing because I bought it to use to mock up... it worked so it hasn't been changed. It might be the fitting but just one more thing.... lordy.
 
interesting on the weight distribution at the tire level , i wonder of that changes as the tires move up and down?

what happens if a tire has a different elevation then the others does the weight distribution change?
 
interesting on the weight distribution at the tire level , i wonder of that changes as the tires move up and down?

what happens if a tire has a different elevation then the others does the weight distribution change?
the weight would change because of the sway bars...
yes, weight changes if the car isn't level.
 
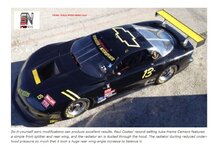
Looking good! That wing should be very efficient. You are definitely going to need a front air dam/splitter to balance the aero forces.
absolutely, I did the back, first, because there were a lot more steps to making it happen then the front... the front is 'just' build the splitter
 
Back
Top