Plastic Fantastic 2

VetteMod - Corvette Restoration, Modding & Performance Forum

Help Support VetteMod Forum:

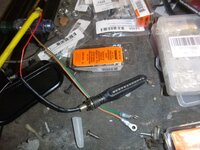
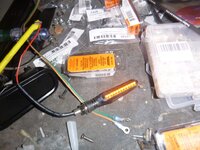
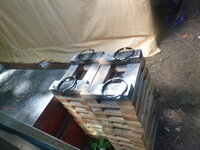
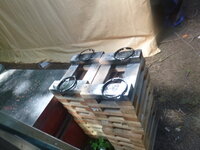
these might end up as front signals

Yt3uE0Lh.jpg
BvurWGih.jpg

oh good grief
R7qYxvjh.jpg
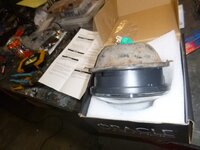
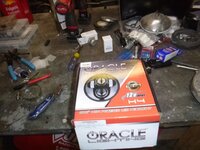
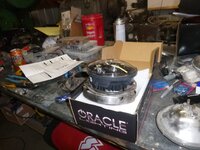
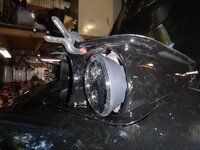
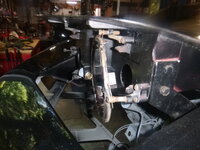
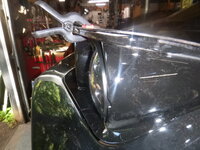
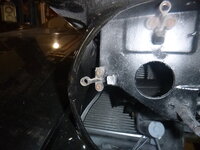
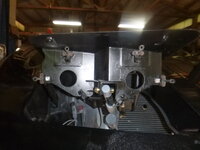
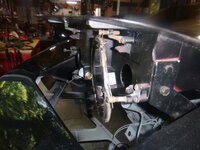
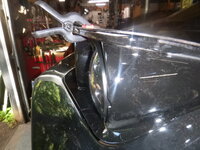
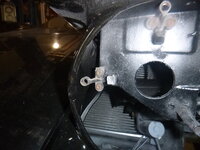
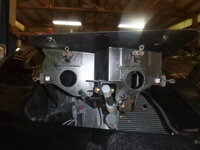
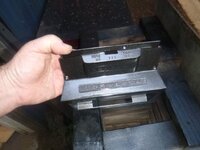
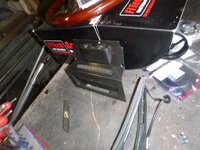
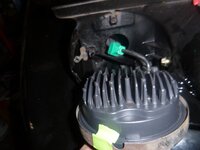
these are supposed to fit the C3 light bucket.
Zg02eHVh.jpg
PpbjE15h.jpg
uh no
F52DDsUh.jpg

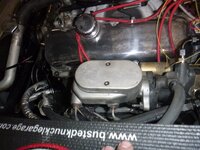
with that fail, time to fix the brakes
suoF6Zdh.jpg
editedfirst trim the spacer down
FJPsfFEh.jpg

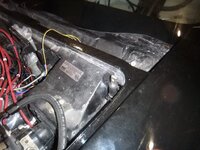
tight without hanging the brakesedited
lIfn8vyh.jpg

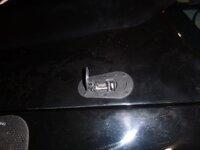
then finally hood pins
fnogec7h.jpg
took way longer then it should have
gEN3WfDh.jpg

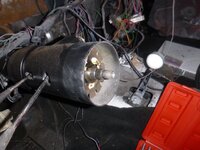
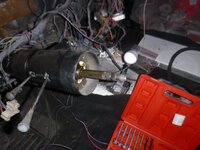
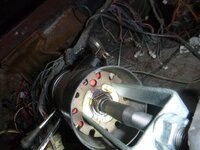
but got a start on the steering column
2PZEwxgh.jpg
 
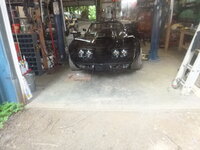
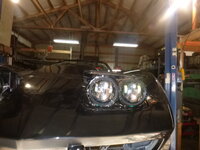
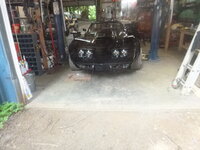
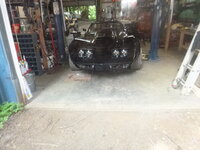
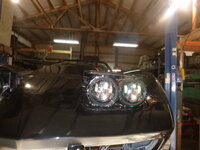
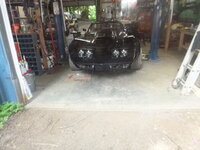
Talked to Oracle today, it seems Corvette Mod is claiming that these lights fit and are specially made for them but aren't.edited I'll make them fit but as you will see when I do - it's not a small hole.
onto more pleasant stuff
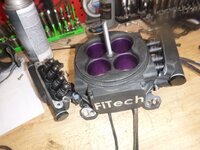
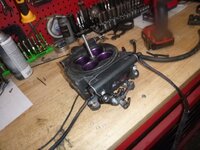
new Fitech computer
5wxr6azh.jpg
yQgYkcXh.jpg
QboSXooh.jpg
back together
3gLRwyRh.jpg
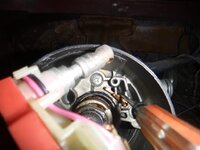
started on the steering column.edited I'm missing a piece that was broken... but it will work for now
ucu9MJuh.jpg
first fun thing, the telescoping portion makes the ring compressor useless
z3rMwJOh.jpg
see the bolt in the end of the telescoping piece? that's to lock it so I can use the compressor
HotlW6ah.jpg
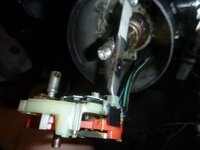
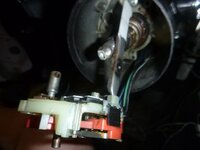
Also, that tab with the white bit.... you need it and it will fall into the column... ask me how I know
HotlW6ah.jpg
XacR05Sh.jpg
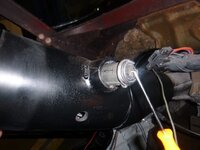
if you wish to remove the key barrel, these are where you need to press
uZO3DqWh.jpg
beside press the button on the barrel, you need to turn the ignition switch then figure out a way to pull it outedited
r3GUOn7h.jpg
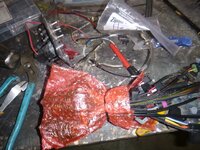
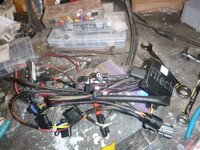
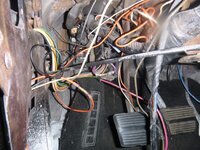
and time to fix the starter wiring (take the alarm and interlock out)
Vd2oHwSh.jpg
 
rubbers and wires
first wires
fans wired
P0WPW39h.jpg

and in even less excitement... rubber installation
jMPbutth.jpg
if you want to know the best way to get good adhesion.... and to be sure you didn't put too much on...shut the door
4VJr5aWh.jpg
4uMC78hh.jpg

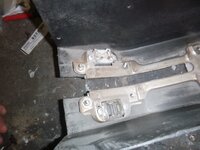
and finally, all I have to trim is everything between the calipers... stupid Corvette Mods...edited
RZmE6Gbh.jpg
 
the tale of two suppliers.edited Where Corvette Mods was absolutely terrible, Genssi was exactly the opposite.edited Genssi acknowledged their mistake, they fixed the problem to my satisfaction, and just now, called to verbally apologize and be sure I had heard that they had resolved the problem.edited editedI look forward to ordering from them again.editededited
 
As an Amazon Associate we earn from qualifying purchases. Product prices and availability are accurate as of the date/time indicated and are subject to change.
lights.
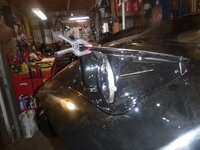
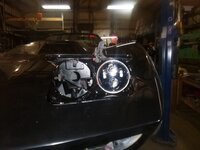
the first test is if it will even fit (depth). yes
OehBetoh.jpg
uilV2zzh.jpg
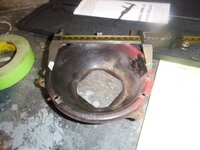
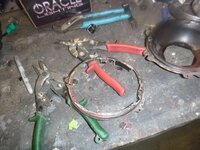
according to CM, you just need to cut a small hole and a notch
iCbxBiOh.jpg
there we go, small hole and a notch
MGoI77Kh.jpg
bastards
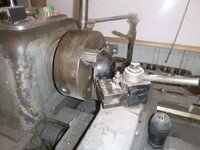
but it's close, one of the stands is too tall but outside of that, I can make it work... whether I use cut up old housings or just lathe something new remains to be seen
kVxADzCh.jpg
IXTOwslh.jpg
and I got to practice my beer can welding
PryHHQ3h.jpg
iEUJKvYh.jpg
I spent some time tonight stacking interior parts and figuring out what I'm still missing
LO3kFB1h.jpg
Oz18w61h.jpg
 
lights...
imagine the 'simple' task - all you do is cut 90% of the housing away and one stand.... fu Corvette mod
zOcNgCE.jpg
and yet, it's not like it was hard
GeErewz.jpg
the stand you have to cut
fahzuPY.jpg
dNcvl0j.jpg
paint light holders
gvg26q1.jpg
and viola
83m5cEG.jpg
rOA43ci.jpg
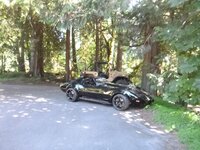
and outside under her own power... where I found that the fuel pump wasn't coming on and Powermaster still makes junk
Rn7mxY6.jpg

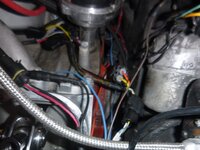
but there could be light... just have to wire it... oh and the plug they wired.... not the same as GM wiring....edited
​​​​​​​9VffAsC.jpg
 
lights...
imagine the 'simple' task - all you do is cut 90% of the housing away and one stand....
zOcNgCE.jpg
and yet, it's not like it was hard
GeErewz.jpg
the stand you have to cut
fahzuPY.jpg
dNcvl0j.jpg
paint light holders
gvg26q1.jpg
and viola
83m5cEG.jpg
rOA43ci.jpg
and outside under her own power... where I found that the fuel pump wasn't coming on and Powermaster still makes junk
Rn7mxY6.jpg

but there could be light... just have to wire it... oh and the plug they wired.... not the same as GM wiring....edited
​​​​​​​9VffAsC.jpg
 
I'll probably put insurance on it tomorrow, while it's probably a month from 'drive' (presuming the last of the parts arrive).... I know me, and I've driven far less complete vehicles ... this one also wins my 'most stated value' car... they wouldn't insure it for less then 50k...
 
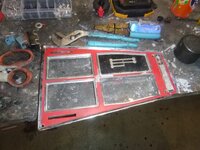
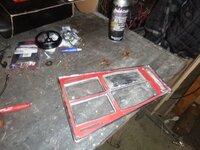
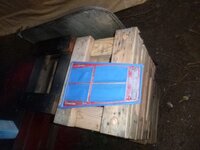
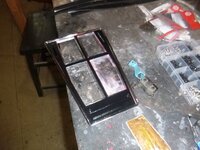
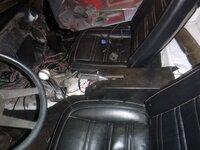
I'm kind of waiting on parts so doing some misc. stuff.... like the console
vbFZjbah.jpg
KNJq2iLh.jpg
​​​​​​​i8yWAPGh.jpg
83QaliZh.jpg
paint the chrome
lAd8PU5h.jpg
nlgTVGTh.jpg

and glue on weather stripping
rPTHVkCh.jpg
yOaB50Vh.jpg
 
so this may go into hiatus for a week or two.edited I'm waiting on a bunch of parts, most notably is a plastic bit that goes in the steering column.edited Without it, I can't assemble much more.... it really isn't an issue with suppliers, apparently they're doing very well as people spend time on their projects - but that reduces inventory, Tomorrow I'll put the new starter on and see how far I can get beyond that.... and try to find the missing headliner. I found 1 of 2, so I guess I need to tear the shop apart to find that other bit....edited
 
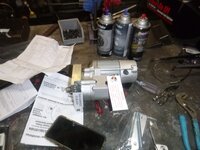
Time to install parts... things did start arriving, so I could carry on for a minute
aWMv7Och.jpg
I refuse to use Powermaster, I'm not really a fan of knockoffs, but these weren't $1,000... for a 3.1 hp starter
1wsM4pth.jpg
looks just like a tilton
yoyE1Dth.jpg
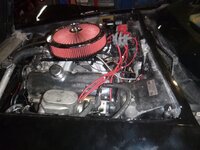
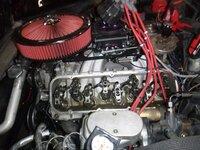
gratuitous engine shot (for those who only have a small block)
bnN4HhUh.jpg
in other news... the glow gauges work-ish.edited well, all except oil pressure and the wideband o2.edited I also tested the tach, and it needs a new board.editededited
so I ordered a Dakota Digital dash
BiNMyw5h.jpg

I hesitated because I still can't get the clock to work in my '40, but outside of that - it's been very reliable... this should also future proof the gauges.edited I'm still not convinced I'm going to keep this car (unlike the FJ40 which can be sold in my estate).... so putting gauge in that are plug and play with anything is a good idea and they look good too.... the best part is I won't worry about the tach dying.edited PF1 had 2 boards during its tenancy here...edited
 
the last time I put anything in this was 20 years ago... still not through it all
huMlhsIh.jpg
though it is getting thinner
HLhlBgCh.jpg

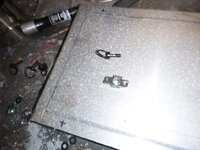
why, you ask? because I needed 4 pop rivetsedited
3E7siRzh.jpg

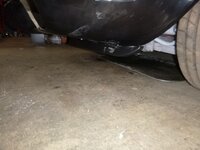
yesterday, installed the spoiler
tXwbQh6h.jpg

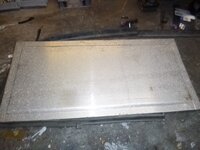
and started on the rear access panel
oRlEpTFh.jpg
did I need to put a seam around the edge? absolutely, I needed to play with my bead roller....
bHT0Sk7h.jpg

not exciting stuff, waiting on parts from pretty much everyone... of course, some was supposed to arrive today, but they sent it via FedUp... so nope.
 
what a useless day.... first
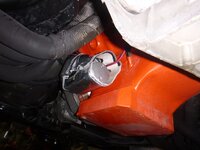
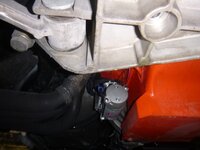
I quite nearly took this out on the street but it wasn't running right then tonight when I went to put it away, the starter wouldn't turn the motor over... battery wasn't topped off, but at 70% with a 3 hp starter... it should have started.
1KwzIjVh.jpg
however
KUftGODh.jpg
the bad news is... why one wheel?edited maybe dirt was on the fringe and it does look kind of like it spun... anyway, that was just the start
​​​​​​​
I bought a lift kit for my Colorado DD pickup.... and 2 very major parts didn't arrive.... and I didn't realize that until I had it apart....
the lower cross shafts are mia.... which means I'm driving my suburban ... and tonight its starter started acting up....
c4Y5QHah.jpg
thankfully, I still have the '40 - but even that needs more time spent tuning....
 
One wheel? Could be positraction slipping too much. Need a diff expert to weigh in. I know my c3’s typically never did that. Car looks good, must feel great.

Edit:
Of course they are trying to sell a new rear end...

“ In addition to multiple gear ratios, Camaro owners also have a wide choice of differential options, depending on how they’ll be driving the car. “The factory clutch style limited slip differential does a marginal job of torque biasing in situations of unequal traction,” Capek explains.”

https://www.lsxmag.com/tech-stories/drivetrain/strange-solution-5th-gen-camaro-rearend-woes/
 
Last edited:
One wheel? Could be positraction slipping too much. Need a diff expert to weigh in. I know my c3’s typically never did that. Car looks good, must feel great.

Edit:
Of course they are trying to sell a new rear end...

“ In addition to multiple gear ratios, Camaro owners also have a wide choice of differential options, depending on how they’ll be driving the car. “The factory clutch style limited slip differential does a marginal job of torque biasing in situations of unequal traction,” Capek explains.”

https://www.lsxmag.com/tech-stories/drivetrain/strange-solution-5th-gen-camaro-rearend-woes/

my warning radar goes up when a magazine article doesn't start with the whole truth.

here's the rest of what they didn't mention.... first, the SS rear is different from the 'regular' Camaro rear, second, the differential was developed from GM's experience with the GTO (Holden), and it is functionally the same as the G8 GT - granted it isn't the mack-daddy ZL1 (love their admission that the ZL1 could be better than theirs).

Most especially the limited slip. One huge problem with the C3 rear differential is the use of the drive shaft as its upper control arm. The clutches rely on spring pressure to put just enough friction on the side gears to make them limited slip... then the Corvette goes around a corner and the inner tire is dragging the clutches apart (those who don't believe cast iron flexes, it does).

The SS differential is functionally the same design, but since it's not trying to keep the tires upright on corners, it can do what it needs to do under all circumstance. That said, the plan always has been for a trutrac. I had one in my GTO, and it really was the only good thing about that car. The biggest hesitation continues to be whether or not the 3.27 gearing is correct for the motor. I like my 4 speed and I'm using brute power and a wide torque curve to mask that I'm "deficient" in the gear selection department... with that said, I need it to hustle off the line - and the cam I selected gives up some torque for hp.... and the other side of that is this transmission has the lower (numerically) first gear but there's even a deeper one that comes from similar vintage Camaros.

also, the tl;dr is I may need to put a friction modifier in... redline claims no, but it wouldn't be the first time that kind of advice wasn't exactly right.... also, I've found limited slips need a few miles on them to start working right - this rear hasn't been powered in at minimum 3 years and perhaps even much longer.... it came out of a 30k car, so it's possible that it could have been sitting since 2012.... we'll see, but the biggest questions - vibration and burnout have been answered.... now to figure out what the starter's problem is....
 
SS rear, ok. I looked for a while and you’ve done so much, I could not find that detail.

Right, the C3 is an old time setup. No argument there.

One other thing, you are probably making way more torque than the original motor.
 
Last edited:
SS rear, ok. I looked for a while and you’ve done so much, I could not find that detail.

Right, the C3 is an old time setup. No argument there.

One other thing, you are probably making way more torque than the original motor.

700hp/525.... you know, something nice and reasonable :hunter:
 
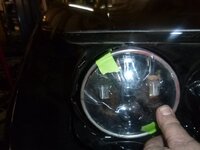
well, back to this.... got most of the parts in - still waiting on window motors, but outside of that.... I think I have everything
BgNtvc9h.jpg
I convinced myself this car was worth a Dakota Digital package... which almost didn't happen courtesy of that company we called FedUp
YmjHTQzh.jpg
wAjCdplh.jpg
qOjV85uh.jpg
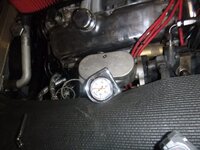
in other news, I wonder at why I had all sorts of pressure when I built this and very low pressure now...
Glj5Cich.jpg
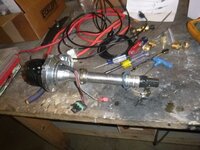
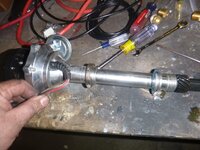
well, if the distributor moves up....
bA1uD4Ph.jpg
2a6Q9hih.jpg
yep, God was watching over me
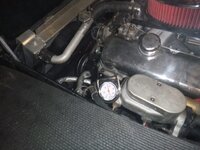
and oil pressure
O6S0hmQh.jpg
locked in place.. forever.. just like before
PIOhrslh.jpg

in other news, I have shaft rockers for this - and the rockers seem a bit loose
​​​​​​​izpH7RSh.jpg
 
Onward
a lot of tonight was change the oil and cut the filter.... it looks okay - no big chunks and about normal for a first-fire oil change
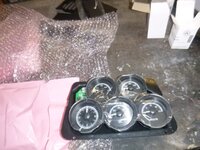
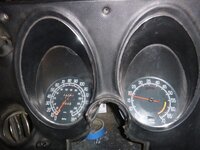
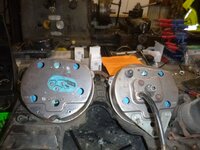
then remove the other gauge stuff for the new gauges
​​​​​​​
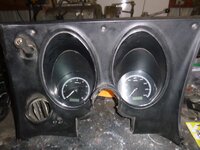
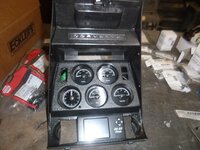
then install gauges in the bezels
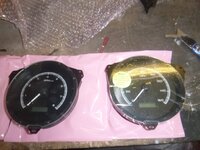
old
PNTxUeZh.jpg
XEKj1yYh.jpg
new... and more breakage.
SIHVgZDh.jpg
new
K2WORVVh.jpg
and the center stack
e4dbpGwh.jpg
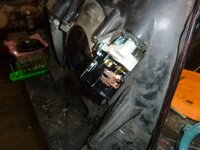
new headlight switch
Y3faWFOh.jpg
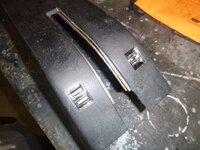
pw switches
qlxwNceh.jpg
4bv2cMAh.jpg
Fx9NPXph.jpg
 
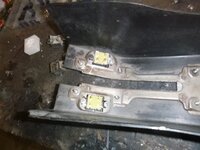
mirror, minus light
eJTXfAXh.jpg

how to wire the doors
11SlOUYh.jpg
use picks to press in on the outside of the brass ferule
6yxzDKjh.jpg
pull out to get loose of housing
HJOFNfBh.jpg
note the silver mark - I mark the wire and its attendant hole so they don't get mixed up going back together
iAog7ZPh.jpg
remove the housing
iJ74Howh.jpg
remove from the wire guard
4EW6GxGh.jpg
there is a hole that lines up with the hole in the door... feed into the door jamb
4D9e8qQh.jpg
feed the wire through the guard then into the door
bAh6BPlh.jpg
snap the wires back into the housing
nOEN019h.jpg
and then install the dust block
gc4AiFqh.jpg


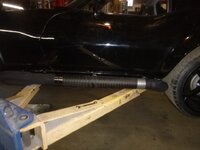
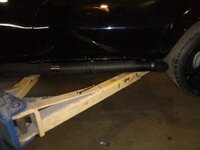
then onto wrapping sidepipes...edited
0RgGM7Eh.jpg
W7m61Ogh.jpg
the stainless is growing on me
uWQ2NS7h.jpg

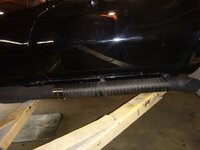
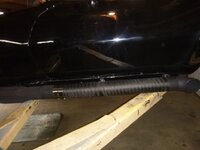
I used DEI wrap, then used two exhaust pipe clamps to hold either end.... that ain't goin' nowhere lol
 
time to show the result.
F7BBD9Zh.jpg
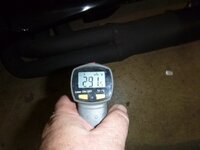
the metal band is over the DEI wrap
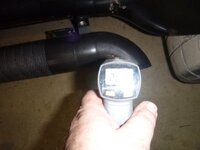
OswCWynh.jpg
right next to it is 215 degrees
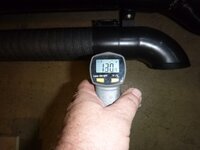
cArR7Brh.jpg
I had to adjust the front band to be sure it wasn't touching the bit that's 379 degrees - because heat does travel... that said, I may still paint "HOT" as a stencil ... stylistically I won't like it but I don't want to see someone get a nasty burn
to be clear, the point of the wrap is to prevent me or a passenger from getting burned getting in or out
0RgGM7Eh.jpg

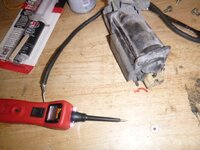
then I worked on the power window motor... it's toast
Qknez0Bh.jpg
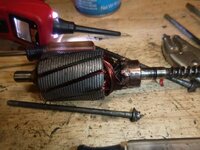
note the step where the brushes ride...
RZ5CB7kh.jpg

hopefully the new motors will arrive soon - been patient because Zip was a lot cheaper... but time's up.
 
lights.... work
qGcV4jFh.jpg
na7JK2Wh.jpg
C7tz3lih.jpg
now to wire the linear actuators... there's a possibility that I'll either be buying more actuators or that they "only adjusted at the factory" means "only adjusted at the factory unless it goes to Aaron"
in other news, starting to get the interior sealed up as well
ky6bBpuh.jpg
​​​​​​​
 
nice work on the lights, thats really impressive wrap to bring the heat down like that on the side pipes
 
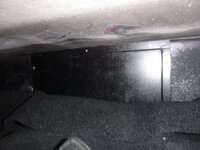
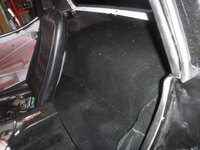
Installed rear bulkhead
Rhz9Ickh.jpg
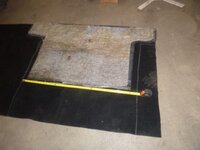
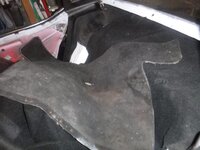
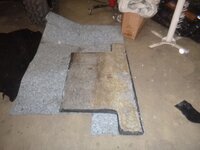
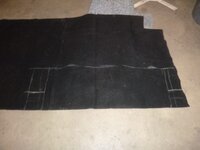
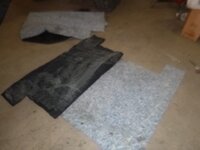
carpet
wJzKthPh.jpg
old stuff makes a good pattern but smells terrible
ljUmQiDh.jpg
gUgmUjIh.jpg
DvnioWrh.jpg
glue new pieces together
BGPbJr2h.jpg
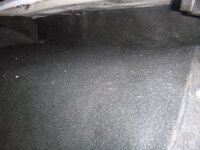
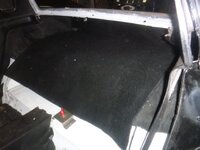
yum, fresh carpet smell
QyPrX6jh.jpg
lots of fitting
ac2OcUuh.jpg
nNzChjvh.jpg

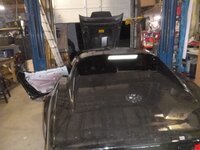
also got the plexiglass rear window
6KEC4N9h.jpg
qNRXcZbh.jpg
 
Back
Top