Plastic Fantastic 2

VetteMod - Corvette Restoration, Modding & Performance Forum

Help Support VetteMod Forum:

usually it's a failure of the vacuum system... in this case, I have no vacuum so it wasn't even an option
figured out the distributor problem, a wire got caught between the base and the intake....edited
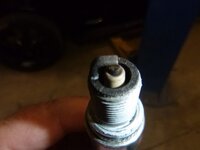
I see a bit lean, late timing....edited
XyzI74Nh.jpg
what is 'stock'edited
aBVBGY8h.jpg
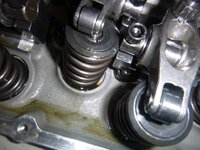
I'm going back to it for the following reasons
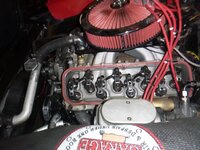
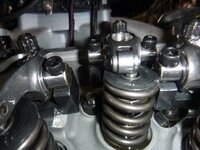
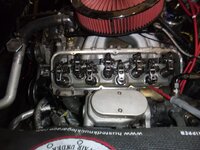
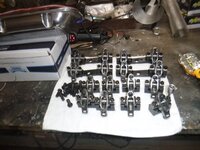
1) there is nothing holding the lower row of rockers in line
VMgmwDwh.jpg
2) note the alignment of the exhaust
SOesXSPh.jpg
3) doesn't fit well
gmEOdewh.jpg
i9Ow0Bvh.jpg

I needed to also adjust the rockers - some were way out, but that's to be expected on a new motor....edited
 
I'm not as technical as a lot of you here, but I do like trying to solve problems. For your actuator limiting, if you can't move the limit switches, could you put the base of the actuator on a floating bracket with a spring. Have 2 pieces of metal, 1 rigid mounted and 1 floating held in place with a guide and a spring to pull when it reaches full bottom. When it goes full up the spring would decompress.

Or use like a drawer slide that will allow enough travel of the actuator "extra travel". For example, if the actuator has 10" travel and you only need 6", have a slide that will travel 4".
 
I'm not as technical as a lot of you here, but I do like trying to solve problems. For your actuator limiting, if you can't move the limit switches, could you put the base of the actuator on a floating bracket with a spring. Have 2 pieces of metal, 1 rigid mounted and 1 floating held in place with a guide and a spring to pull when it reaches full bottom. When it goes full up the spring would decompress.

Or use like a drawer slide that will allow enough travel of the actuator "extra travel". For example, if the actuator has 10" travel and you only need 6", have a slide that will travel 4".

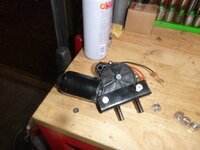
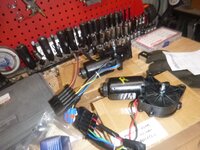
good thinking, it's how GM solved the problem - basically, my thought is remove the vacuum actuators and replace the with linear ones. The ratio is even about what you suggestion. the distance to lift the headlight with the pictured parts below is 9 1/2", with these parts, it's 3" and has springs to do what you suggest

aXPPr7V.jpg
 
anyway
tonight was blowing warranties
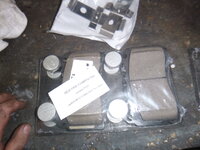
first, I need to start looking at cutting off the anti-chatter from the new pads
JdMfUZV.jpg

then decide how to mount these
but first, take them apart
​​​​​​​G3zmmgm.jpg
 
onto boring stuff....edited
shifter boot
bDeA43kh.jpg
HFcKRbGh.jpg

new post covers
4RBy6L5h.jpg
the problem is the top corner wears out and looks terrible
5fWbVpyh.jpg

no idea how this happened... annoying, but not changing it for now
XuUS1rph.jpg

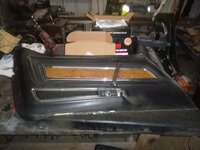
door panels are coming soon.edited I spent the balance of the evening tuning.... something is off - the IAC is wide open, maybe stuck, dunno... also 10 psi hot oil pressure at idle is not making me happy.... 60 psi at full song, but the low pressure....edited
 
As an Amazon Associate we earn from qualifying purchases. Product prices and availability are accurate as of the date/time indicated and are subject to change.
I've said it before, and I'll say it again with illustration.edited The IAC isn't working, so today I called FiTech - they picked up their phone before it rang, answered the question and I have a couple things to do .... and bob's my uncle (well, he was but he died)...

There isn't an aftermarket EFI which works perfect out of the box.I've dealt with all of them now, but that 'doesn't even ring' before their tech line is there to answer my question should be the first thing anyone does when they do EFI.
 
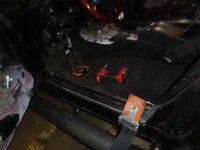
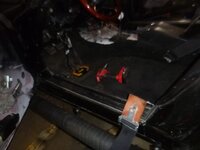
and now, taking it further apart - but with new seat belts
VxSU1F0h.jpg
took a bit of modification to fit

FBTtSoth.jpg


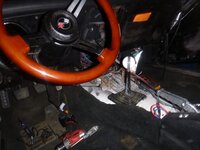
camera battery died, but the next picture would have shown the dash completely removed
Qb580sYh.jpg

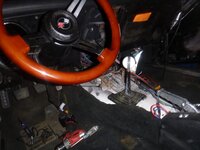
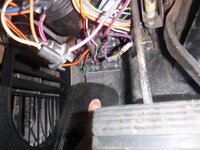
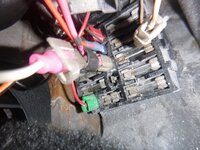
the power windows weren't getting power.edited The short version, I now know where that orange wire with the red plug goes.... of course, I had nicely tucked it up in the dash about the same level as the headlight switch - which meant pulling it all apart.edited Ah well, they work now


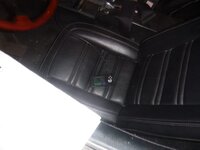
I'm putting the footwell carpet in my car right now. Yours looks like it fits a lot better. Any tips? Glue? Heat gun?


.
 
and now, taking it further apart - but with new seat belts
VxSU1F0h.jpg
took a bit of modification to fit

FBTtSoth.jpg


camera battery died, but the next picture would have shown the dash completely removed
Qb580sYh.jpg

the power windows weren't getting power.edited The short version, I now know where that orange wire with the red plug goes.... of course, I had nicely tucked it up in the dash about the same level as the headlight switch - which meant pulling it all apart.edited Ah well, they work now


I'm putting the footwell carpet in my car right now. Yours looks like it fits a lot better. Any tips? Glue? Heat gun?


.

I reused the front two carpets.... the stuff behind the seats is a cheap carpet that is contact-cemented to the various spaces. The area behind the cage is a carpet made of RV carpet insulation and (again) cheap (low weight) carpet. I love german weave carpets, but there was no chance I was using it here because it is really hard to work with - requiring cutting, gluing and a lot of steam.
 
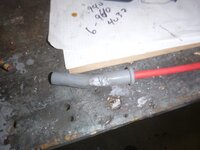
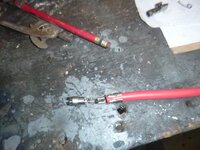
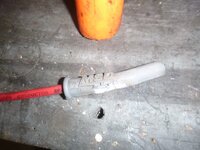
still not 100% on the motor, but the spark plug boots (despite wrap and heat boots) are not surviving well...edited
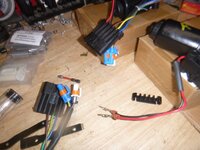
first replace the IAC valve (it was stuck), then reprogram
y4cnKOMh.jpg
INWDTfRh.jpg
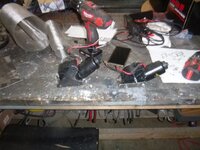
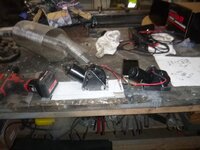
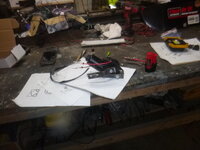
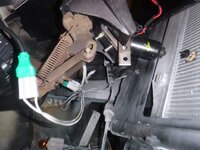
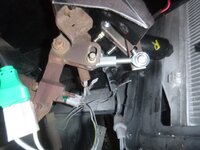
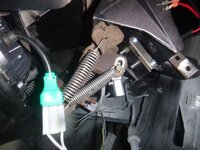
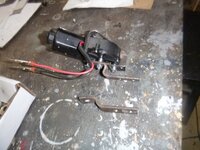
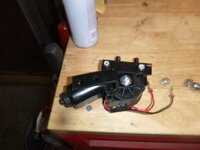
but onto other things. I'm going away from the actuator to C5 headlight motors.edited The biggest issue is opening them if something fails, using the C5 motors makes it possible to open them manually...edited
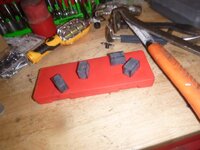
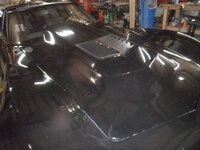
v1HFDvLh.jpg
still haven't decided if I'll use a C4 controller or Arduino... strangely enough, it would probably be easier to learn Arduino then the wiring for the C4 controller... time will tell
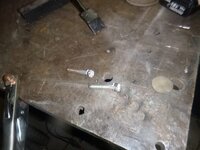
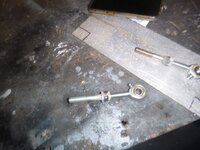
also rebuild the arms
8iilFP5h.jpg
depin the motors
O6CRnoyh.jpg

in other bench-clearing news, rubber bumpers were installed
FSK9HaRh.jpg
O1KpkNlh.jpg
 
Those hood louvers are just asking for an Arduino sketch and a servo motor (maybe an under-hood temp/pressure sensor too)! I've delayed jumping down that rabbit hole (although I have a complete kit and some sample sketches) 'cause I really need to make some progress on the 'vette!

Cheers - Jim
 
Those hood louvers are just asking for an Arduino sketch and a servo motor (maybe an under-hood temp/pressure sensor too)! I've delayed jumping down that rabbit hole (although I have a complete kit and some sample sketches) 'cause I really need to make some progress on the 'vette!

Cheers - Jim

you are not wrong.
 
as discussed before... rubbers
WDKQTFYh.jpg
the most important is the one at the top of the radiator, without it and cooling is likely going to be an issue
2DQVJUph.jpg

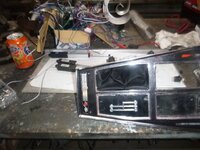
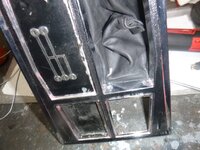
onto metal work... radio block
yp6nATfh.jpg
o4JYlInh.jpg
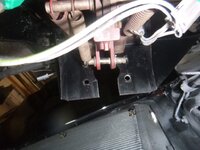
headlight motor bracket
LpGr628h.jpg
pVt20bLh.jpg
dF47Ydlh.jpg
xBtbRXch.jpg

they will work, but I may remake themedited
3nBKnofh.jpg

sOmE35Nh.jpg

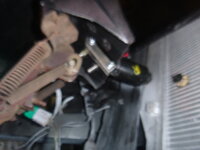
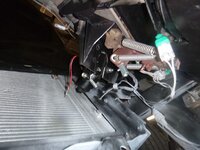
basically it bolts to where the vacuum canisters were - next up, maybe remake and arms
​​​​​​​
 
light work

another view of the setup
BJdIKWdh.jpg
kind of the goal
5VdrBtQh.jpg
new springs
FFwdi6Gh.jpg

time for pottery
yyL6NNdh.jpg
dWzYewFh.jpg
the MSD boots can bend... but not enough
QMWXqCrh.jpg
F98cgaIh.jpg

need to cut the bottom so the rod can go back and forth
fWRpkykh.jpg
Exqf1WCh.jpg
 
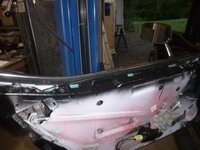
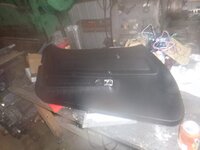
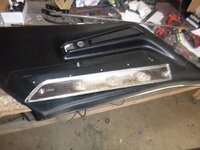
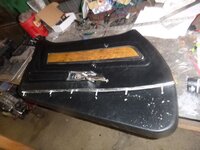
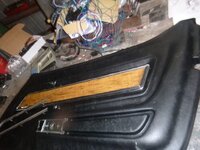
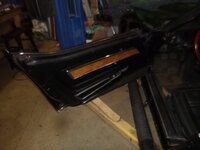
onward with door panel replacement
YG4Jgwmh.jpg

You can $200 by reusing the internal garnishments.... that's per panel
JWmIqIgh.jpg
a0HwZwXh.jpg
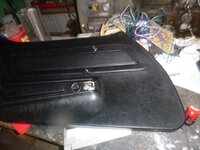
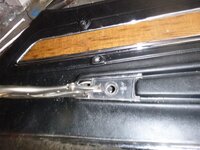
the door lock plate is an exception - it requires being cut off then reattached... I used epoxy
h0bba7Bh.jpg
UwNcIf4h.jpg
looks lots better
VzfpGbHh.jpg

still working on the motors
9mO1VDPh.jpg
 
more fixing
how to test if the switch has failed
LjGFDqsh.jpg
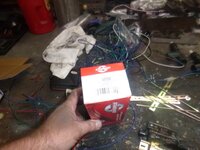
new switch
OqxA7oNh.jpg
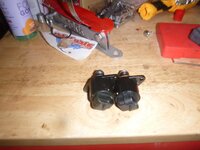
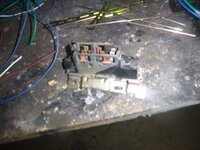
the old broken one... looks new... it was... it would allow zero volts occasionally when the switch was in the run position...
HtAEAMKh.jpg
I'm not sure I'm thrilled with this yet.... but ground some clearance
4hXeZI8h.jpg
 
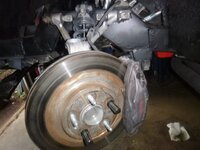
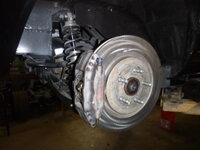
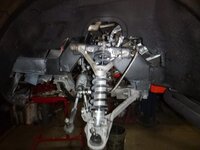
So a bit of backtracking.edited When I did the suspension, I was loathe to spend for new brakes, new brake hoses or even a new, adjustable proportioning valve.edited The suspension works well so time to color in those spots
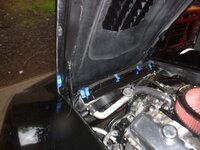
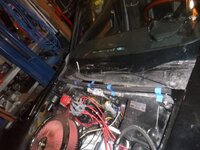
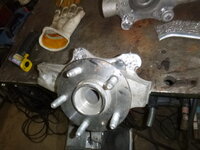
I was close on the holes on the front spindles... time to fix that
rWbXSRyh.jpg
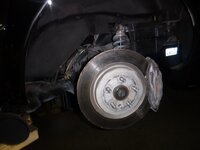
rear is easier - need to turn the rotors to get the glaze/rust off then new pads
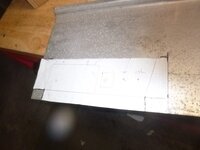
uinMY4Th.jpg
the wiring issue.... plugged into acc2, moved it to the same blade as the ignition...
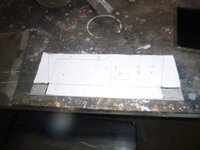
lr1BvnLh.jpg
then moved the fuel pump up to an always on blade - it's controlled by the computer, this is just the power to the relay
e6GsLPAh.jpg
 
got my rotors turned so I could reassemble the rear
14GWF2V.jpg


the fronts.... going to redrill the holes - I should say, a more precise friend is going to
i1PZWOz.jpg
 
onward
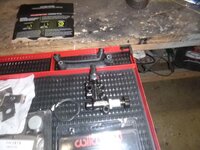
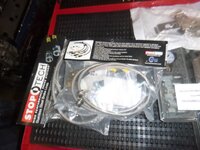
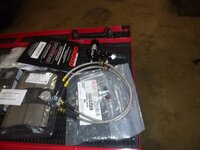
some of the parts arrived for the brake balancer
gw8ISosh.jpg
would you look at that?
YAwKJsgh.jpg
seriously, would you look at THAT!
bdcZkPTh.jpg
mmm, shiney pretty
QtoeOElh.jpg
hopefully I can wrap out the brake upgrades by Tuesday - fingers crossed
 
I'm not "there" yet, but your efforts give me an approximate timeline and pseudo parts list to work with as a guide. Expect it will take longer than you.
:thumbs:
 
I'm not "there" yet, but your efforts give me an approximate timeline and pseudo parts list to work with as a guide. Expect it will take longer than you.
:thumbs:

My goal is by first snow to have this done.... there's more then a little sarcasm in that estimate.

I've got a real shot at making it before the first snow - in Phoenix. May not occur this year. :drink:

Pappy
 
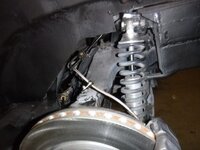
finished up the line install... waiting on the spindles
4I8TxdAh.jpg

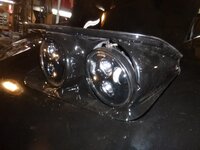
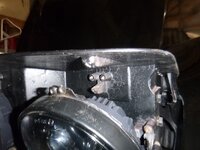
minor fix to the headlight
BUyvMIdh.jpg
UNl9JSUh.jpg
such junk, 40 year old plastic.. smh
mplSz9Rh.jpg
spent a few minutes resolving the pop up issue... simple fix
orzwHLYh.jpg

and also an alignment problemedited
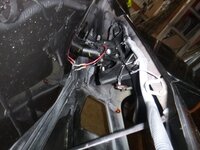
xckgBDmh.jpg
just a bit of bend and no more binding
dIPcGY7h.jpg

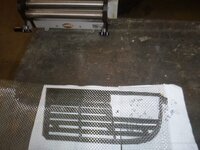
not a fan of them rolling the wire up
DNNnBUCh.jpg
easy enough to flatten with my rollers - however because the wire isn't welded, it can shift (wear gloves)
t7C5LBfh.jpg
Hmm
iawVZmBh.jpg
more hmmm
CJL3SeWh.jpg
 
Back
Top