1958 MGA Coupe

VetteMod - Corvette Restoration, Modding & Performance Forum

Help Support VetteMod Forum:

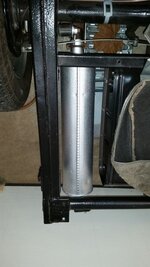
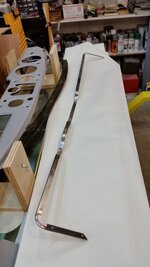
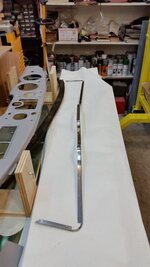
That muffler looks like new with that coat of silver ceramic paint!


you shamed me into making it right.....

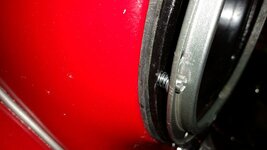
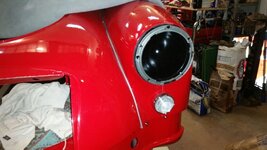
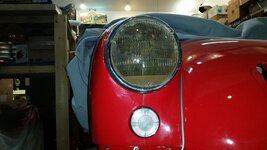
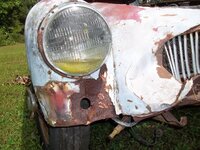
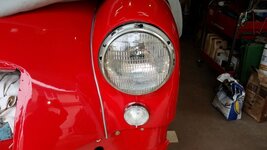
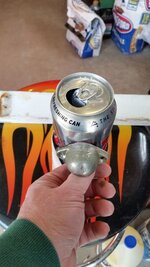
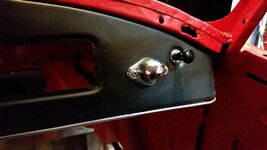
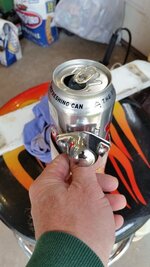
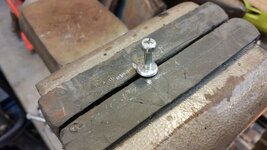
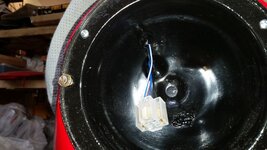
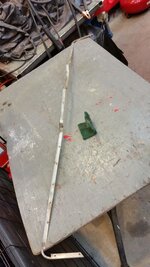
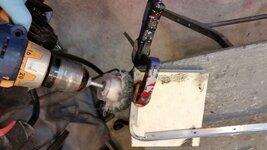
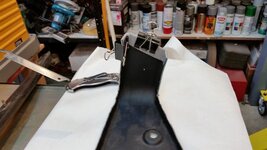
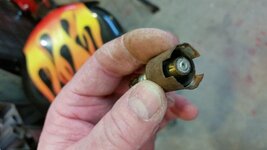
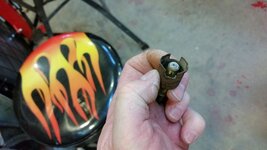
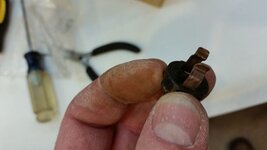
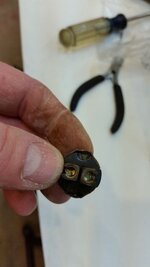
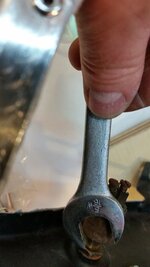
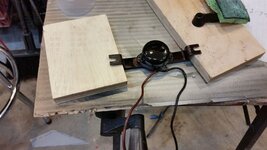
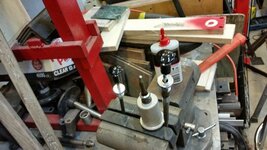
lets start with making the missing headlight adjuster.....for some reason i had to chase the threads with a die to make the screw work, not sure why perhaps it was metric...any way take the head that was a hex head with a lip and turn it on the flap disc unitl i had a nice round head.

20160309_192015_zps9zj3v2ct.jpg

20160309_194416_zpsrpu8sioj.jpg

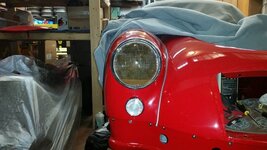
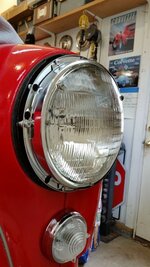
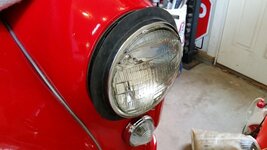
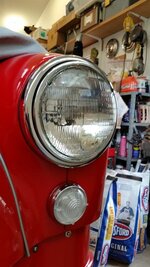
test fit the old head light lamp

lets start with making the missing headlight adjuster.....for some reason i had to chase the threads with a die to make the screw work, not sure why perhaps it was metric...any way take the head that was a hex head with a lip and turn it on the flap disc unitl i had a nice round head.


20160309_194508_zpsalnnfis2.jpg

test fit the old head light lamp


20160309_194358_zpsfayflbv0.jpg


MGA51210006.jpg
 
wow, just wow.

you know, I'm getting to the end of my FJ40 build - and I love the result, I have a 50 Buick (and others) waiting in the wings; but I get get C3s out of my head.... you're in roughly the same stage of completion... how did you get Corvettes out of your head?
 
. how did you get Corvettes out of your head?

there wasnt enough metal body work in the corvette, thats all. i just needed to exercise my metal working skills some. it is hard to get the corvettes out of the mind.....and i am thiinking if i am going to have only one toy what should it be.....a C2 ????? its hard to get them out of the mind. but that big ass buick would be such a fun build. i think that would but corvette fever at bay for a while


easy day today

20160312_103258_zpstt5zzppx.jpg
 
Last edited:
As an Amazon Associate we earn from qualifying purchases. Product prices and availability are accurate as of the date/time indicated and are subject to change.
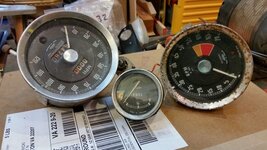
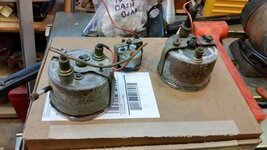
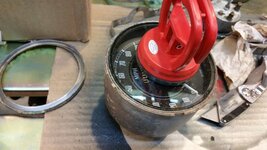
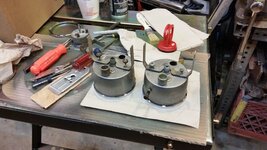
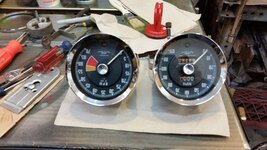
lets do the big instruments, I used a very fine 1" paint brush to carefull wipe down the inner face, to remove some cob webs on one of the gauges, these are new bezels

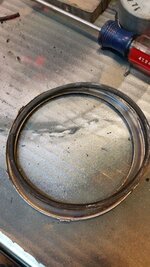
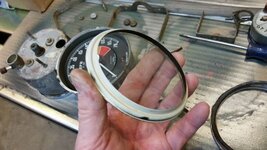
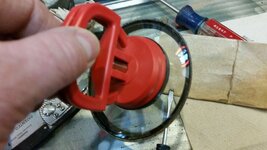
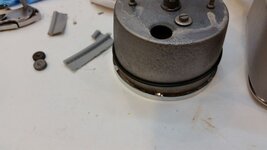
you can see the big O ring in between glass face and chrome ring

20160327_145230_zpszcovng2w.jpg

20160327_145628_zps17b7hphc.jpg

20160327_145645_zpsxs8oq86d.jpg

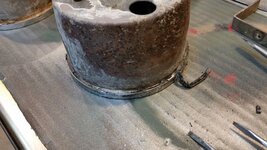
the glass wouldn't come off,easily

20160327_154706_zpsrizrseap.jpg

20160327_154712_zpsivet3gnf.jpg

20160327_160718_zpsas7leekw.jpg

20160327_152618_zps1duyoqph.jpg

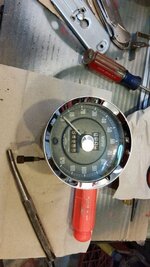
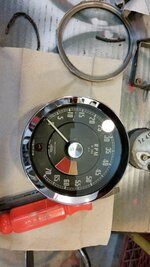
stainless steel paint to freshen it up.

20160327_163020_zpszi7lmio7.jpg

20160327_163051_zpsctqxyzlu.jpg

there is so little chrome on the inside of the coupe it seemed like it was worth it to me to make sure the chrome really popped out.

20160327_220906_zps9m5keljl.jpg
 
Last edited:
Bob - You ARE a magician!! You turn "crap" into jewels. Man, it is a pleasure to look at your expertise in turning things that most people would toss, into precious, usable parts!!!

It is joy following your precesses!

Thanks for the inspiration!

John
 
Glad to see you are using Mothers! We use it on all our stainless steel on deck. Have you also tried Autosol? Been giving it a go - seems similar. Will know after some long term "testing."

Beautiful, just beautiful.

Cheers - Jim
 
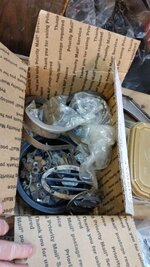
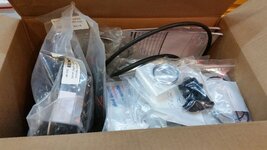
its hard to imagine I still have so many parts laying round with the car so much put together... I need to have clearer picture in my head what parts I have left

20160330_203234_zpsz5nqtoty.jpg

brackets

20160330_203208_zpsg9x4umu0.jpg

new parts

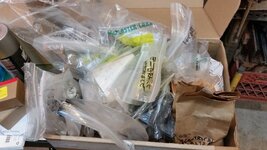
20160330_203139_zpsdqqmxp7n.jpg

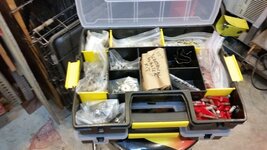
and what got my nuts all twisted.....too many nuts bolts screws washers...and I haven't even sorted the master electrical kit yet

20160330_203105_zpsgaauqu8d.jpg

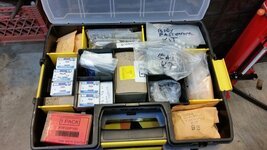
buy two parts boxes

20160330_215611_zpsv8ov2nxy.jpg

20160330_220410_zps2g2epf8x.jpg

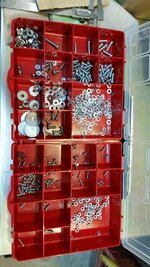
and no more twisted nuts, man do I feel better

20160330_220406_zpspvc3ivev.jpg
 
sorting, painting, wiring


that's the electrical fastener kit sorted
20160401_102827_zps5bbara5g.jpg

painted the big clips for the heater air hose

20160401_111134_zpsskgivc0r.jpg

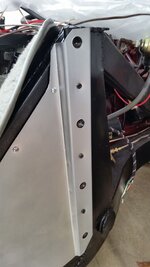
and while I am down here I am pretty sure these screws are going to get replaced with flush rivets

20160401_115355_zps2xxuvhws.jpg

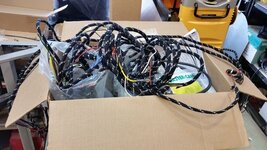
harness mayhem

20160401_111841_zpsftxuvdbp.jpg

20160401_115404_zps9kgtm0bp.jpg

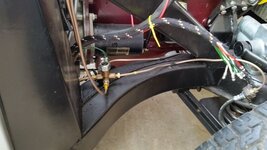
up front

20160401_120113_zpsee8dxicz.jpg

my home made P clips

20160401_124041_zpsjhggciyw.jpg
 
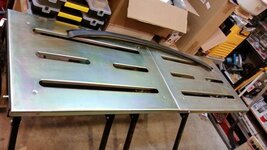
put the two tables together with screws, these are quickly becoming my favorite tables


20160402_100427_zps34b3hmuj.jpg


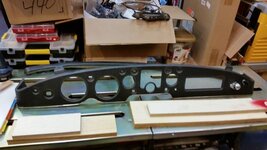
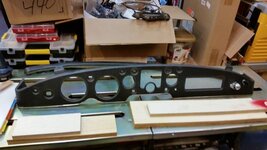
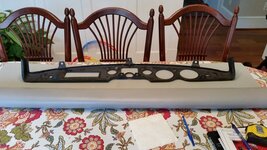
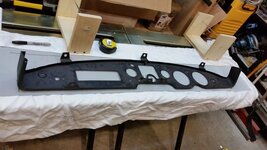
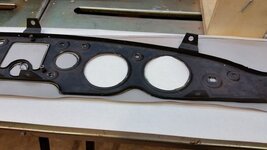
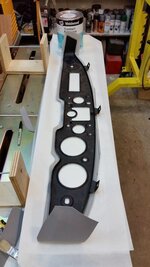
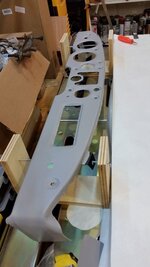
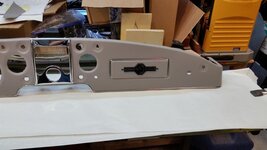
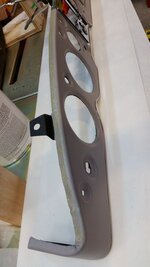
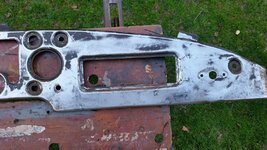
take dash out of car

20160402_101800_zpsghtvogee.jpg

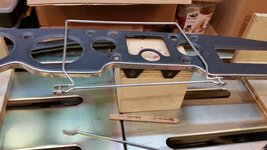
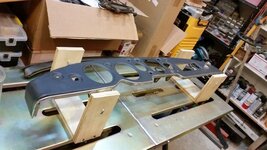
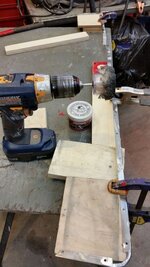
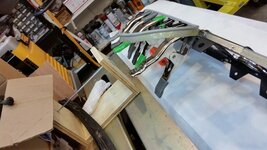
get some scraps to make a holding system for the dash

got the idea from here

https://www.google.com/search?q=reb...LAhXCRiYKHeruDQoQsAQIHg#imgrc=2d3UYa8k-uFZeM:

from an old file cabinet
20160402_103908_zps4gelgdr7.jpg


20160402_101800_zpsghtvogee.jpg

20160402_105229_zpslbhcdgst.jpg


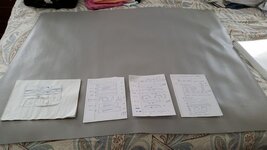
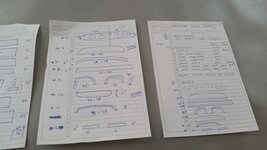
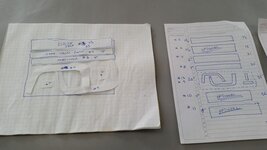
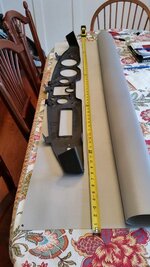
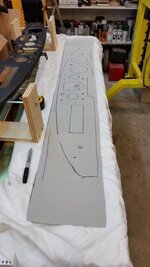
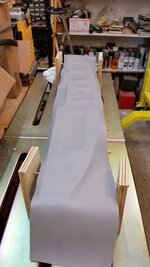
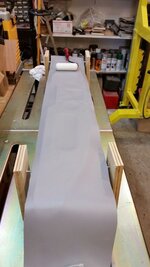
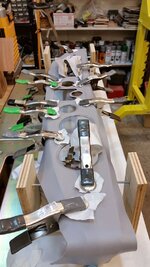
spent way too much time trying to figure a cut pattern only to determine i did not have enough vinyl to do to it all

20160402_121400_zpsz1rclbbo.jpg


20160402_121355_zpsfavbnlpm.jpg

20160402_121351_zpsk0hwlhoh.jpg

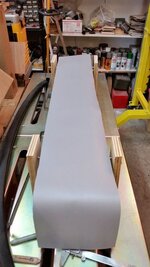
then to find out i didnt have enough vinyl fabric....... &^%$# ^&**(%$# ^%$#@!@# ... so 2 stores, 3 hours and $43 later I am now ready to continue

20160402_161129_zpsyzbnhxc0.jpg

20160402_161540_zpszqtrk0cu.jpg

glue time when i am in a fresher mood

20160402_162211_zpsrks2yoca.jpg
 
Last edited:
put the two tables together with screws, these are quickly becoming my favorite tables

20160402_100427_zps34b3hmuj.jpg

glue time when i am in a fresher mood

Nice work Bob! I just put one of those welding tables together last week. Sturdy and easily adjustable. Harbor Freight????

I have taken on a new tact with the cars - 30 minutes then a break!! :):) I can't risk burning out on either car otherwise I may never finish either one!!!

Keep it up buddy. You give me the little push I need!!

John
 
thanks and yes harbor freight on sale for like $50 each

well time to &^%$ or get off the pot as the saying goes....

dont really know what i am doing but sometimes there are leaps of faith....(.and its not the first time i have done this , these are just not skills i stay practiced on)

i am taking a break for dinner and will do more tonight

20160403_161548_zpsk7qp5yrx.jpg


20160403_161857_zpsjihuxugi.jpg
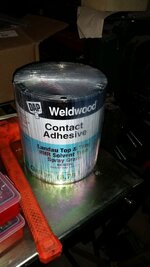
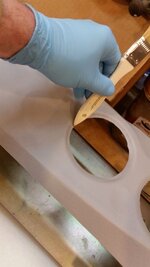
put the contact adhesive on


20160403_164628_zpsbtcauatj.jpg
20160403_165326_zpsfiu3u97f.jpg
20160403_164134_zpsgcqbevfg.jpg

20160403_165452_zpsulbmmskk.jpg

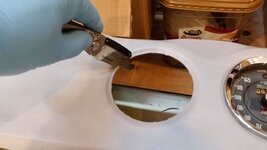
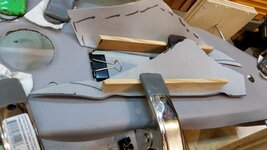
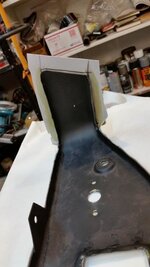
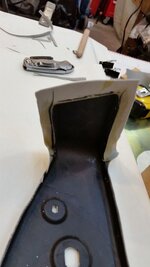
trim inside of opening

20160403_170458_zps884ozo6a.jpg

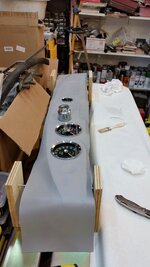
just put the gauges in for temporary pulling the fabric taught

20160403_173426_zpsxeheklse.jpg
 
done for the night ....in another hour or so i will take the clamps off

20160403_203434_zpsjbmqhpiy.jpg

20160403_203443_zpsoibjbpt5.jpg


and we have a wrap for the evening

20160403_213153_zpsedovmy3m.jpg
 
Last edited:
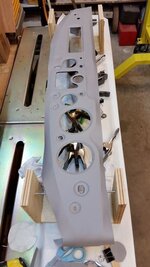
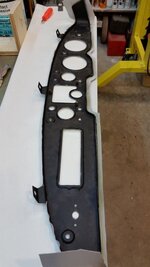
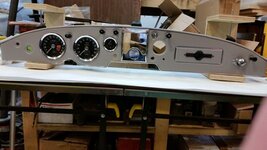
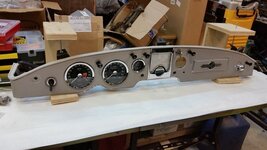
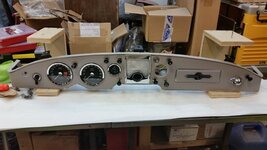
move to finishing the top and bottom of dash, the wrap around sections will get done tomorrow along with the trimming. this dash should be done this weekend for sure.

20160407_212236_zpslupnzbko.jpg

20160407_214756_zpsfbk2dqnd.jpg

20160407_220845_zpszq0lgcvo.jpg
 
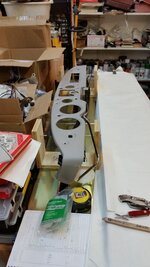
i need to move boxes out of the work space so lets see what i can move from to do......to DONE

20160409_112121_zpszzlgizsf.jpg


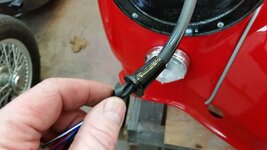
all the other head light adjusters are single slot, so let make this one the same way

20160409_114952_zpsryfudzsx.jpg

put some oil on the grommet and like to see some of the tubing on the inside

20160409_122444_zpsdkxtehq5.jpg

20160409_120054_zpsoxg6q3ah.jpg

20160409_122536_zps40zz35rx.jpg


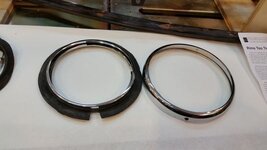
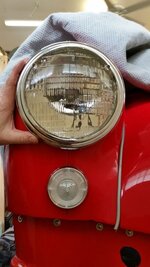
there is a dust excluder in between the outter rim and inner rim

20160409_113408_zpsdnalscgl.jpg


20160409_120225_zps027u8y42.jpg


other then going back to adjust them they are done, (sorry photobucket wont let me rotate them?????)

20160409_121714_zpstvabauvu.jpg

20160409_124950_zpsvvpdtpfo.jpg
 
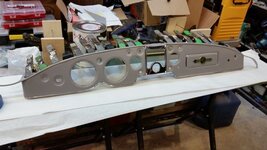
back to the dash.....not all buffing has to be done with fancy equipment

20160409_143147_zpszqh36aeh.jpg

20160409_134420_zpssiwbxwmu.jpg

20160409_144032_zpshztyhe6l.jpg


20160409_144326_zpsduneqbtk.jpg

20160409_144315_zpsujlex4be.jpg

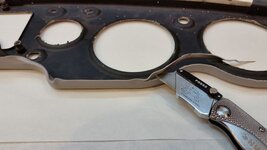
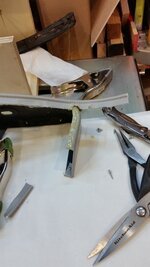
trim the back using a fresh blade and go carefully


20160409_145408_zpsmf2wi4hl.jpg

glue the ends .....

20160409_150912_zpskncl4qci.jpg

20160409_150917_zpsjicahhpe.jpg


20160409_153628_zpsluwhazrt.jpg


tomorrow i wrap the ends and should finish it up......
 
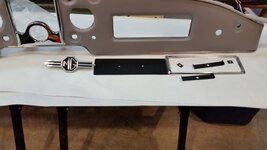
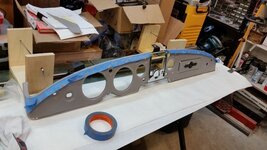
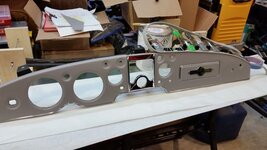
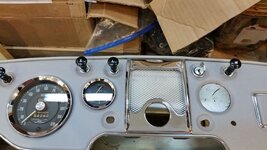
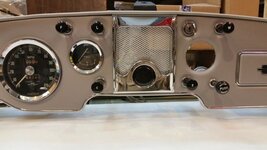
no guts no glory......this is time consuming and you have to bring your A game to the table the entire time, the rivets holes didnt line up in the chrome surround and i needed to drill them, painted the speaker grill with aluminum paint it just would not clean up enough. glued up the blanking plate, held the fininisher in place with #6 screws and had to drill each hole to clean up the vinyl. used about 4 pairs of blue gloves so i didnt transfer any dirt

20160410_113621_zpsbiox9nmf.jpg

screws every other rivet hole

20160410_125539_zpsmnir4oir.jpg

riveted up

20160410_131704_zpsgpb6hhiw.jpg

20160410_131752_zpspxv1vpmo.jpg

20160410_114949_zps66wkwxxi.jpg


20160410_134002_zpsikn3ejvd.jpg

20160410_142903_zpsmjqfzxij.jpg


let me tell you gluing the piping on and painting the glue on a finished dash will make you slightly nervous......after this dries i may try slipping on those moon clips
20160410_150959_zpsa6lz9wkr.jpg


20160410_150952_zpszvsvjqdt.jpg


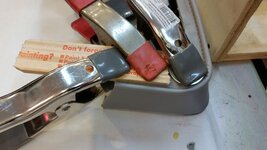
blue tape must be pulled off immediately or the glue sticks to the tape

20160410_144210_zpso2yeuqk1.jpg

20160410_150239_zpsoba17nbb.jpg

20160410_151647_zpsiv1p3emm.jpg
 
any how lets wrap up the corners and add some more chrome....

test fit
20160411_203010_zpsdonkwpp2.jpg

20160411_203311_zpskoicjtzl.jpg

20160411_203850_zps6dxohvqi.jpg

20160411_202151_zpsttslycjd.jpg

we dont want any more MGAs being born so slip over the rubber

20160411_204734_zps56ph1heg.jpg


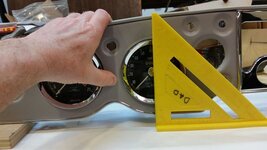
ok i may be a little bit anal......but how do you know the gauges are actually centered...

20160411_210448_zps7fqgdujr.jpg

....the center of the jewel and the numbers at 12:00

20160411_210026_zpsliyrop23.jpg
 
great day today...celebrated 35 yrs of service at work...had a nice ceremony, went out for a good meal with the Mrs and kids that could make it and worked on the dash board!!!!!


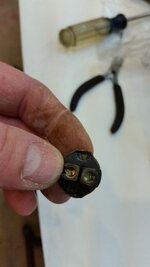
one of the switches wasnt working like i wanted so i took it apart and cleaned it up and it brought the resistance down to nothing

20160412_190341_zpsapehgtaf.jpg

inside guts

20160412_190044_zpsktnlkrxf.jpg

20160412_190033_zpsuhksduip.jpg

20160412_190057_zpsr4vcikjv.jpg

and squeeze those tabs to tighten it up and put it back together
20160412_190341_zpsapehgtaf.jpg


the nut on the switches is both BS and Whitworth just not SAE
20160412_191438_zps0netm9mz.jpg

sorry i cant flip it for some reason, i really like the stands.

20160412_191836_zpschuyx90l.jpg

20160412_191735_zpssutgcoqw.jpg


next to work on the turn signal switch and see if it needs any TLC....


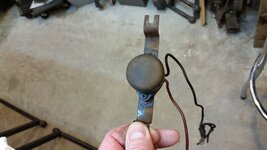
tonight I worked on the electropneumatic trafficator.....I love that term......turn signal switch for the rest of us......, i cleaned all the old caked grease off of it and gave it a new wipe down with dielectric grease and forced some behind the seal lip and wiped some on the cylinder walls and it seems to work pretty well.
the idea is that the switch turns that bar that is inside a V shape on the back of the piston and it pushes the piston down and then the piston slowly comes back up from the pressure of an internal spring and small air orifice that lets air in .. a pretty nifty idea.


20160413_214342_zpsslhuenvc.jpg
20160413_214536_zpspuchxubm.jpg

20160413_214540_zpsebuui8gy.jpg


the piston seal turned up side down

20160413_214724_zps1nsqx5cr.jpg

20160413_225937_zpsy82lqwtz.jpg


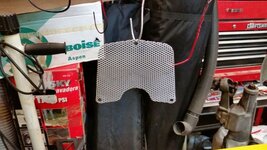
tomorrow i will make a black steel sheet for behind the speaker grille, i think they were card board originally
20160413_230008_zpsi4qrtpet.jpg
 
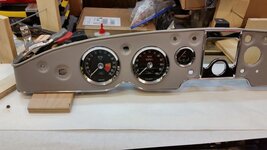
we are getting there slowly but surely...

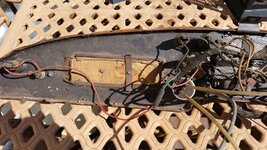
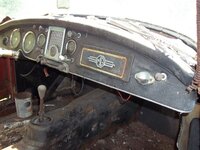
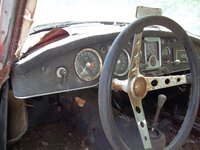
its fun to see where it started

20150308_130523_zpsnv9qph0g.jpg

MGA51012009.jpg

MGA51012008.jpg

20150314_120846_zpsezi2w88f.jpg
20150411_171616_zpsu7zrepwc.jpg

20150411_181031_zpsf912nyof.jpg


so I am at a good crossroad....I am at the point where in order to continue to move forward I need to make my drivable chassis not operational any more, I need that safety gauge for the dash, I have to rebuild the oil line tubing, .....and I see those are not original starter and choke cables so I need to find those original ones to put in the dash tonight......I wanted the chassis drivable until the last moment so this means I see the body mounting happening in the not too distant future

IMG03623-20140209-1312_zpse1edebd3.jpg


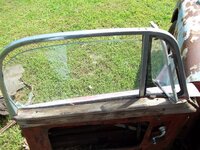
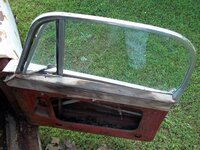
heres a good picture I found of the door caps that also get covered, probably one of the last things I do but I didn't realize I had a picture like this of both sides.

MGA51012021.jpg

MGA51012022.jpg


I have the distributor rebuild, wiper motor and heater box still to tackle......I think those will happen this weekend, I have gone through the distributor and it needs a new vacuum canister and the short wire from the coil lead to be replaced. That will get sent off to Jeff for one of his rebuilds, too much work done here for that not to be running right....so that comes out and the heater box and wiper motor are on the short list....
 
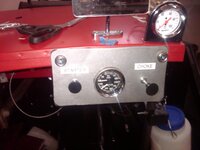
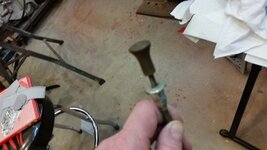
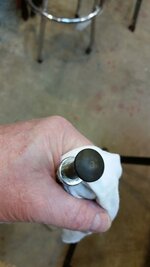
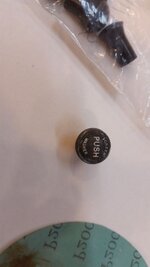
turns out my choke and starter cables are in good shape but do not have removable knobs so lets see what magic i can work...

20160414_194928_zpsog1fahvk.jpg

20160414_195744_zpsukxgoxaz.jpg

20160414_200526_zpsvxnby7rx.jpg

cleaned really well and then cleared.....I will let it dry and i will try and make the S and C whiter

20160414_200756_zpsuvhrflcb.jpg

20160414_200351_zpskcsci9qu.jpg

these are high quality cables from at least 35 yrs ago, the ends aren't even frayed. i did not take the cable out of the sheath just worked around the knobs, went back and added some white paint to the S and C should have done it to begin with and let it dry over night but we worked around it with a hair dryer. did the white paint to the screen washer before the clear. that screen washer pump threads into the hole in the dash it doesnt push through...i am not sure it works though it pushed bubbles out but did not suck any thing in, maybe i need to prime it first.

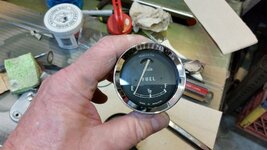
one more gauge and i can move to the wiring, still need to make the grill backing

20160414_210049_zpsytsmc47h.jpg

20160414_222525_zpsuomkme22.jpg

20160414_222509_zpslnlcp36c.jpg
 
Last edited:
That dash looks AMAZING! You are a magician and the before and after photos are shocking as always. Like the rest of us here, reading your updates has become an addiction! Thanks for the inspirational work. :-)
 
thanks

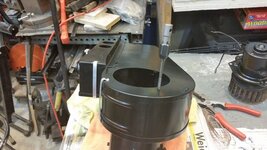
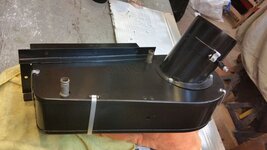
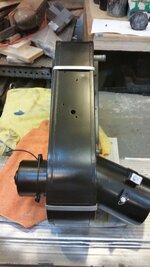
wrapped up dash in plastic and time to move to the Heater box. i have two to choose from. and i am picking the one that has the smoothest opening bottom flap. decided to go with semi gloss black, if i dont like it i will paint it again in gloss black. the motor spins freely and quietly and the heater core does not leak still under pressure filled with water and no leaking
20160415_085251_zpsk7xvdwcn.jpg

http://img.photobucket.com/albums/v494/bobs77vet/MGA%20Coupe/heater%20box/20160415_085658_zpsdvebkjgm.jpg[/IMG

[ATTACH=full]44767[/ATTACH]

this is the one i am choosing

[ATTACH=full]44768[/ATTACH]

on the right
[ATTACH=full]44769[/ATTACH]

[ATTACH=full]44770[/ATTACH]

[ATTACH=full]44771[/ATTACH]

[ATTACH=full]44772[/ATTACH]

[ATTACH=full]44773[/ATTACH]

sand theheater box parts

[ATTACH=full]44774[/ATTACH]

see the sun on the left
[ATTACH=full]44775[/ATTACH]

now on the right, tire is still inflated

[ATTACH=full]44776[/ATTACH]


[ATTACH=full]44777[/ATTACH]


first coat primer

[ATTACH=full]44778[/ATTACH]


then high builder primer
[ATTACH=full]44779[/ATTACH]

paint inside too with primer color coat will come later
[ATTACH=full]44780[/ATTACH]

some extra work on the flange so its nice and flat with no rust pits

[ATTACH=full]44781[/ATTACH]


primer sealer coat on the red primer after sanding with 400 followed by 600

[ATTACH=full]44782[/ATTACH]

color coats going on

[ATTACH=full]44783[/ATTACH]

and done, this is acrylic enamel and after 7 days i can color sand it and buff it..

[ATTACH=full]44784[/ATTACH]

[ATTACH=full]44785[/ATTACH]
 
they had two different ones, one in the actual door vent flapper and the other in the body of the heater box. I like the one in the vent flapper more but the flapper didn't move very smoothly on the one I had and I really wanted a smooth operating cable so I went with the other heater box that was in slightly better shape


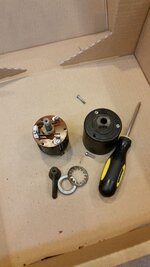
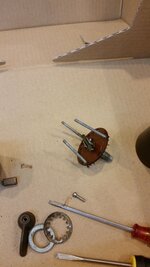
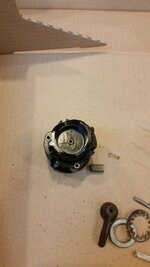
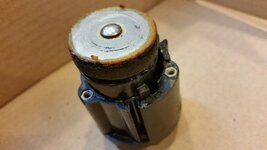
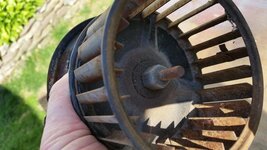
any body ever see a balance weight on the inner fan blower fins?

20160416_163642_zpsxkjxpajk.jpg


and clean up the other parts and paint them.....

20160416_163318_zpsgmid12yf.jpg


funny story....we were driving down to drop my daughter off to visit a college and my son who has helped me with the restoration saw the dash board and called us on the trip.....the car Bluetooth system answered the phone and he said I like the dash when did you get it. I said I made it, he laughed and said yeah your just saying that cause moms sitting next to you.....he didn't believe I actually made it.....
 
Last edited:
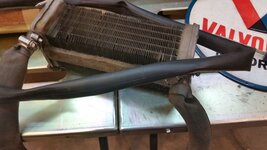
so it turns out my buddy at work saw my heater core test hose and we realized his racing bike tubes were even narrower

20160420_195244_zpsl11p6oq9.jpg


clean the threads on the heater core box, and let me tell you putting those clamps on is just a killer on the paint

20160420_202131_zpsfocfo9jn.jpg

20160420_203954_zps3dq0gsjc.jpg

20160420_204017_zps4ztrjt3s.jpg

20160420_204032_zpspkgpgkoo.jpg

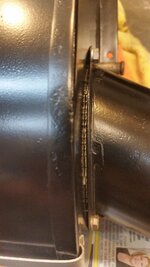
not really happy with the gap, any body use cork as a gasket on this mating surface?

20160420_204253_zpsbhxebsiz.jpg

does the total car grommet kit come with the grommets for the heater core? and i need the new id plates for the top..
 
Back
Top