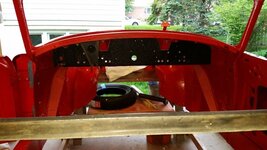
1958 MGA Coupe

VetteMod - Corvette Restoration, Modding & Performance Forum

Help Support VetteMod Forum:

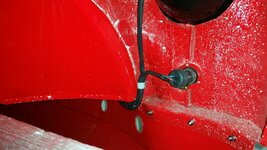
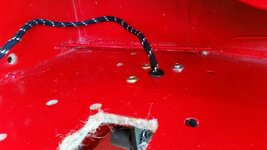
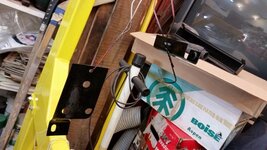
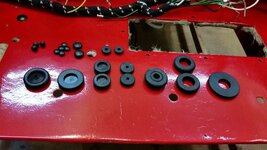
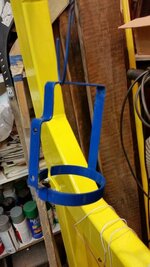
well two steps back....added the grommets


and bent the flanges out to create tension when clamped down
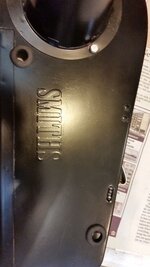
20160421_190217_zpsqposa428.jpg

20160421_191749_zpsr2b51nhz.jpg

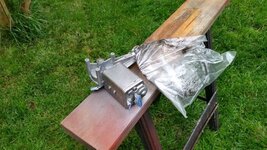
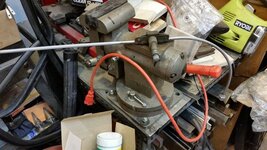
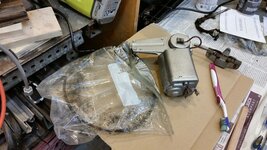
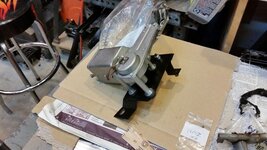
now to the last thing to take apart, degreased the motor with brake clean a puddy knife and tooth brush
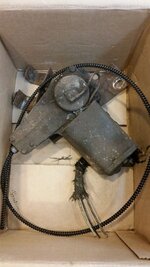
20160421_133931_zps9r0sbxcq.jpg

20160421_134039_zpshclrnggu.jpg


20160421_192805_zpskgdx5rds.jpg

20160421_192814_zpsiuempzki.jpg

20160421_194608_zpslegbh5u7.jpg

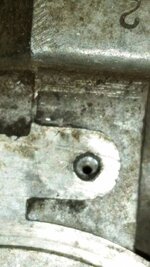
and i think that dimple parks the "parked" position
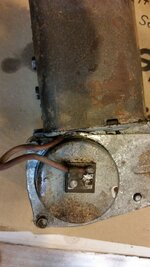
20160421_194629_zpsx2rrodxt.jpg
 
interesting, my FJ40 uses the same button-style arrangement to shut off and center the wipers.... the fj40 is a combination of stolen American and stolen UK tech - so it's not even a little surprising to see the similarity.
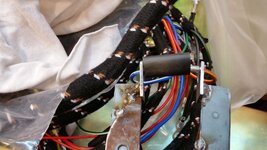
 
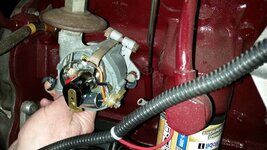
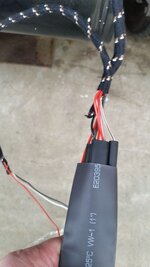
pulled the distributor and mocked up the shrink wrap on the rear wiring


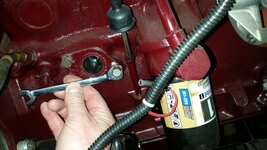
well the distributor would not slip out of the clamp joint and as we all know getting the bolts out is a PITA

this is the spot for a snap on 4 way wrench, it gives full access to the bolt with no interference, and off to Jeff for a rebuild

20160423_130827_zpsqgo0xtzx.jpg

20160423_130510_zpsdd1pdnc1.jpg


heres the shrink wrap for the open ended connectors

20160423_132634_zpsiwomk202.jpg

20160423_132623_zps8vyhm5jx.jpg

20160423_133144_zpso00dsdnd.jpg

20160423_133135_zpsj4ehpa7p.jpg
20160423_133414_zps4yy43ib2.jpg
 
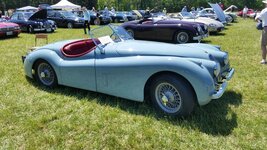
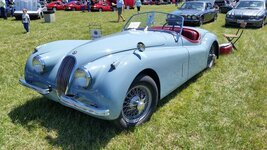
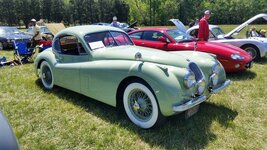
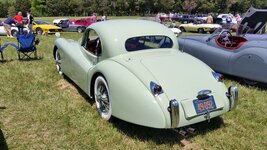
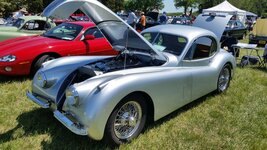
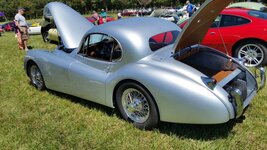
earlier today British on the Green at Gunston hall the home of George Mason a Virginia statemen of the Revolutionary period

20160424_122235_zpsxjpfsh83.jpg

this got my motor running

20160424_130631_zpskrtmzif2.jpg

20160424_130639_zpsblrbdnoq.jpg

20160424_130647_zpsn3pift2w.jpg

i got to sit in this....i like it
20160424_130706_zpshl1ixzov.jpg
20160424_130717_zps9mx5mll5.jpg

20160424_130823_zpszbb6hcrn.jpg
20160424_130845_zpsta5l55dg.jpg

20160424_130758_zpsfxfx192q.jpg


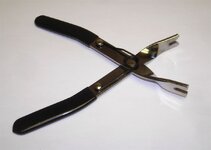
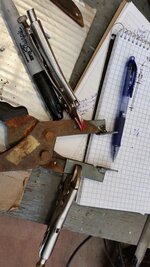
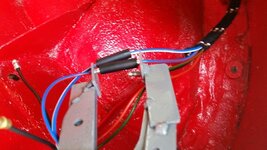
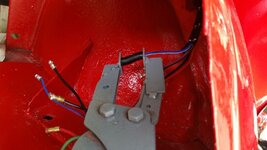
heres a home made snap connector tool for our wiring harnesses.

SSC1-2_zpsnza4hvks.jpg


SteveZBMagnette said:
http://www.britishwiring.com/Tool-Snap-Connector-Tool-p/ssc1.htm

It is the only answer... One pair of the tips is tapered. This is intended to stick into the sleeve before you try to insert the bullet. This sizes the sleeve perfectly so that the bullet fits with a nice snug snap rather than a palm endangering shove and grrr with some improvised implement. Of destruction...

Then, when you get the bullets started, the forked jaws are just perfect for squeezing the bullets fully home in the sleeve...

Works a treat!
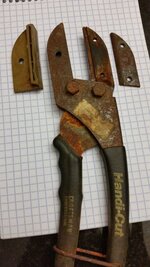
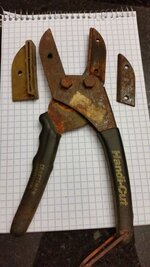
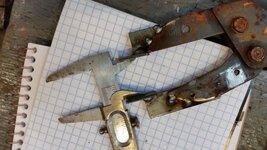
well i spent some time looking at my old broken and abandoned tools......and look what i came up with. a craftsman handi cut

the one side already has the split jaws to accommodate the gold plastic piece that acts as pad for the cutter blade

20160423_212402_zpsrew4wu5y.jpg

spring loaded

20160423_212420_zpshtjax8ku.jpg

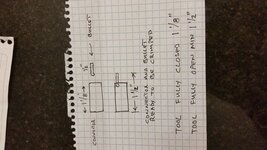
my requirements for the connectors on my wiring harness


20160423_212442_zpsm47owge8.jpg


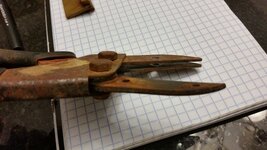
and the open end already the right size for the bullet ends
20160423_212712_zpsexwzxscs.jpg


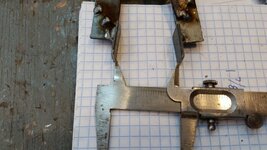
and tip to tip the full opening is 1 5/8.....and full closed is 9/16. so that means i am really close and all i have to do is figure out how the paddle end for the one side is going to get attached.. those two holes in the one side are threaded so i dont even need to compromise the tool...(although what made this tool be in the old pile was that the blade end was broken and needed a new blade)

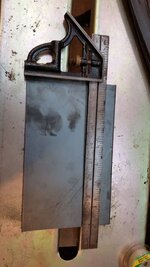
i am thinking a 14 gage piece that gets attached using the two holes with a paddle end


14 gauge


20160424_155448_zpsxazglqse.jpg

20160424_160934_zpsvcw88ibw.jpg

20160424_161641_zpszujdz1hy.jpg

20160424_162411_zpsihrcsjb6.jpg

20160424_164413_zpsqinp6k0k.jpg

20160424_164430_zpsejs2xbfx.jpg

20160424_165839_zpsyqaxv9cw.jpg

20160424_165846_zpslcru4m47.jpg

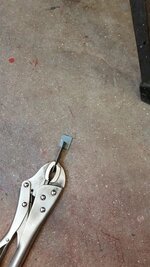
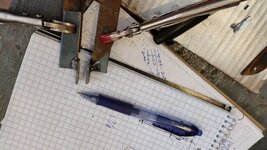
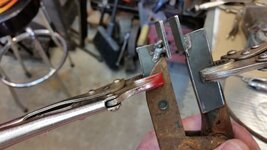
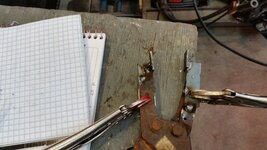
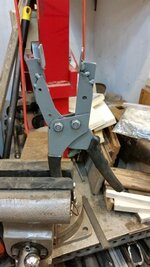
and after contemplation that these pliers were sitting in a bucket on the front porch for the last 3 yrs i decided to weld the tabs in place
20160424_171341_zpseiam164x.jpg

20160424_171437_zpsulvcio3b.jpg

nice and parralel at 1 1/8
20160424_171505_zpseyz9pgqt.jpg

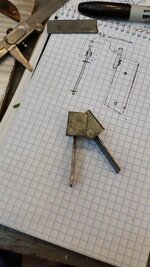
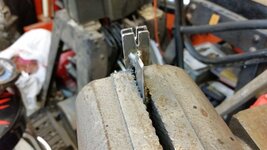
opening up the groove, kept filing it until 14 ga wire slipped through easily

20160424_172628_zpsiftruea4.jpg


and it works

20160424_174135_zpsbphsfud6.jpg


20160424_174147_zpsffqzkdit.jpg

20160424_201214_zpsdm4wlre9.jpg
 
... how did you get Corvettes out of your head?

well this week i was in NY and i swung by the corvette shop of "paulywannafly" in montgomery NY

it was C3 heaven.........nice stuff there, and nice guy.

the corvettes are not out of my head......

i saw a C1 with and LS3 in it.....a c3 with i dont know what but it was freaking big and fuel injected.....


so my whole 5 hr ride home in my newer mustang convertible I was thinking about a C2 with and LS3 set up in it...vs a C5 or C6

i can assure you the corvettes are not out of my head, i wonder what an LS3 in a cobra kit car or daytona coupe would be like.....decisions decisions....time to finish the MGA when the next build starts creeping in
 
As an Amazon Associate we earn from qualifying purchases. Product prices and availability are accurate as of the date/time indicated and are subject to change.
i am thinking seriously of a C5 convertible, spring time gets my corvette blood flowing......


today went to the apple blossom parade in Winchester VA..... a cold gray breezy and drizzly day......I was on my best behavior because my temper tantrum not to go, got me no where...oh well

but tonight and tomorrow is mine.


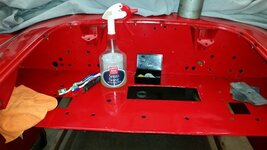
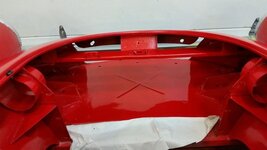
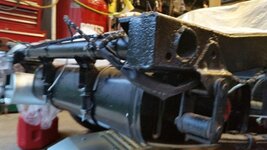
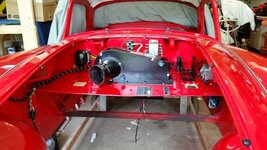
so as I contemplate mating the two halves of the car together its clear to me I need to wrap up the engine compartment area 100%, so I got back to cleaning all the buffing compound off and looking for any areas that I need to buff some more in the engine area....then i can put the wiring harness in and put the under dash insulation pad


20160430_175520_zpslplvqazi.jpg


i found the Griots speed shine worked best to remove the over splatter of the buffing compound, i also used a clay bar and tooth brushes and a detail brush.

20160430_210340_zpsiu5xu3nu.jpg

20160430_210446_zpskungosfw.jpg
 
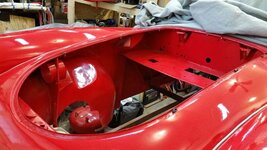
finished the engine bay , it needed buffing in one or two spots that you will never see, but i can see it now so what the hell


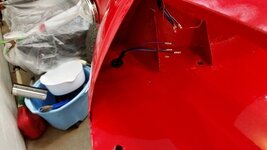
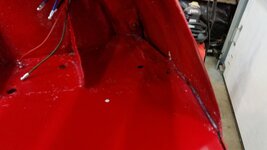
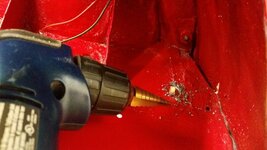
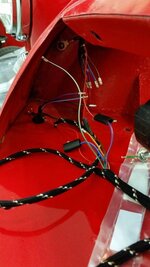
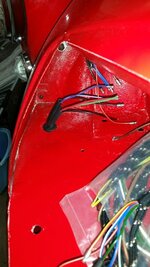
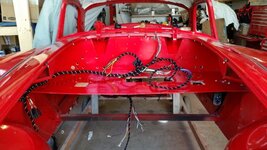
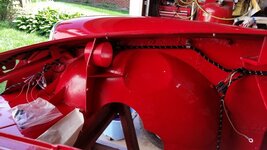
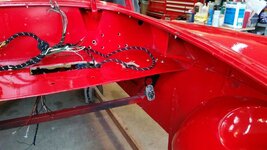
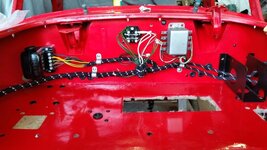
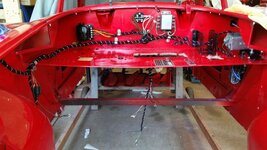
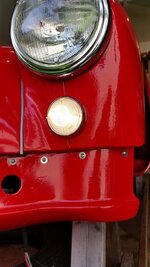
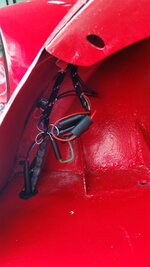
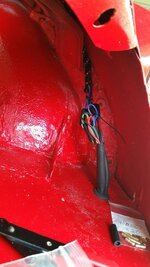
and move on to wiring, adding the longer fender bolts for the wire p clips in the engine bay, adding the front wiring harness and drilling a hole for the head light wires to feed through

20160501_142406_zpskhrcibbo.jpg

20160501_142413_zpsomdj9jxk.jpg

missing this on the other side

20160501_142533_zps8puuukxa.jpg


the sharpie mark is the new destination

20160501_144630_zpsx2adqnzc.jpg

done, I love those Christmas tree drill bits

20160501_144927_zpsrtaa2izl.jpg

and touch up the paint


if there was a place for a plastic P clip this is it

20160501_142559_zpsobjgy2e4.jpg

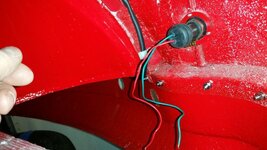
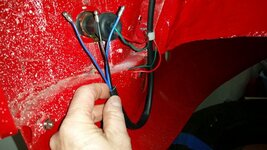
whats the deal with the short parking lights wires???? i guess i will make them longer and put them in PVC tubing and i guess i need to add the ground wire also, so i need some connectors and bullets.

20160501_143118_zpsxltmsorx.jpg


I have some wiring to figure out here...looks like an extra wire for the fog lamp i am guessing and some wires for the horns.


20160501_143953_zpsvi78knpc.jpg
 
Last edited:
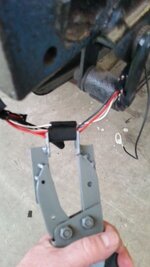
I used the connector tool on the rear wiring harness, it worked great i can say that its worth making one of these. it actually compresses the rubber when its pushing the bullet into place and it fully seats the bullet

20160503_191405_zpsi08nu2vb.jpg

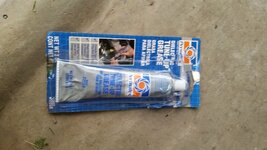
this is the dielectric grease to use, also works good on light bulb bases for out side spot lights

20160503_191208_zps1g5av6lm.jpg

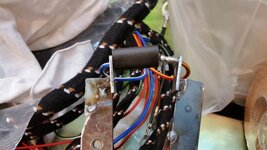
I put the shrink wrap around the connectors and used zip ties to hold it in place, the original wiring is in tact and it gives some weather protection with out compromising anything

20160503_191011_zps8eli0fcq.jpg

20160503_194843_zpstmjofncb.jpg
 
Last edited:
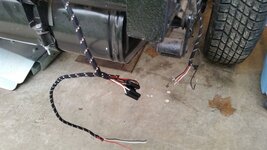
tonight i made the wiring harness for the parking lights, i am doing one thing different here and on the left front I am putting a ringed ground on a fender bolt just like on the right side tied into the same wiring ground harness and the parking light. i also will be bringing individual grounds to each of the tail lights, just because over the years i have realized that its a good thing to have solid ground connections at lights

also the parking light wires are soldered, wrapped in electrical tape (like rolling a cigarette, not like a bicycle handle bar), and shrink wrapped. the splices are off set. you do this becasue if you have an errant wire poking through the shrink wrap when its heated and the splices are in the same place you can create a short or other funny wiring problems. wrapping it in tape and then shrink wrap minimizes the poke throughs

this soldered splice is off set but it sure doesnt look like it in the photo, the off set also lets it slide through the tubing easier

20160504_211833_zpsuf1nd4hp.jpg

20160504_212901_zpsgdvkybx2.jpg

20160504_214442_zps3rint9ya.jpg


20160504_214840_zpsvzsgk1nr.jpg

20160504_221839_zpsi3pnusuj.jpg

20160504_223113_zpsqumsxkpm.jpg
 
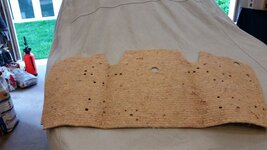
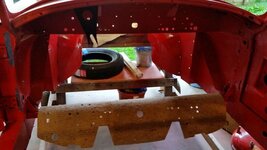
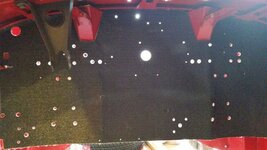
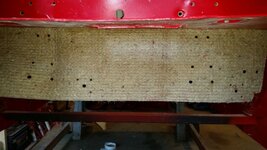
glued the under dash pad in place. the funny thing about contact adhesive is that you paint both of the mating surfaces and you have no ability for repositioning once its made full contact

so i did this in 4 steps....the first was the middle vertical panel with the big hole and that big hole for the wiring harness was my spot that i aimed to get perfect and then i painted the side to the right , and then the side to the left. lastly i did the heater shelf portion as one unit moving from the back to the front. this made it small enough portions that i didnt screw it up. then when it was in place i cut out the heater shelf hole and brake pedal hole.

20160507_180551_zpsenrkylx6.jpg

those are basically the section lines i wound up using

20160507_180557_zpsthpyrwik.jpg

sorry i cant rotate these for some reason

i let hang over my lower support square tubing and painted it

20160507_183546_zpsr2iylhjz.jpg

20160507_185256_zpsko3kvwj0.jpg

looking at it from the engine bay
20160507_185713_zpsp31qduiz.jpg

and done, use a small roller to make sure everything is pressed flat

20160507_192710_zpszwvapbee.jpg
 
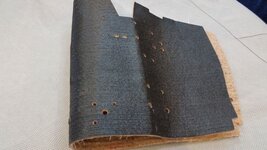
the inner dash pad is a pretty substantial piece, i believe it will work well.


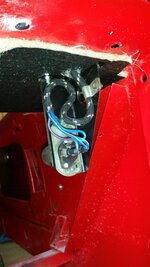
today continue with wiring harness install and put in the headlight dimmer switch. i marked the dimmer switch input with a white dot so for future reference you can see it easily. the dielectric grease also works well to help the grommets slip into place

how much extra wire and i suppose to have down at the dimmer switch end?


20160508_101106_zpsqpwpalbh.jpg

20160508_101112_zps6tqgrzzt.jpg

20160508_110246_zpsdk6xahoi.jpg

20160508_110256_zpsv8r05mcd.jpg

20160508_111556_zpsh52fnukf.jpg
20160508_111606_zpsvbl3zift.jpg


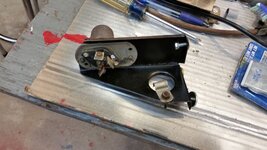
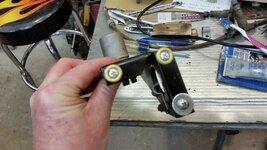
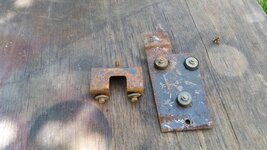
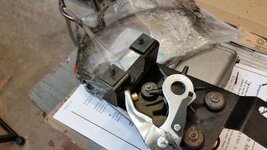
move to the wiper motor bracketry
20160508_111957_zpskvxsqjbs.jpg

20160508_113157_zpsconukpmp.jpg

the end of the hanger right before the hook works well for grabing a stud

20160508_113419_zpscgwhp58g.jpg


20160508_120512_zpsx68vcj9m.jpg
 
oh yeah i agree, i actually see an end....

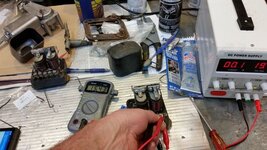
take out dipper switch wiring harness so it can go through the MC bracket, sand and prep the MC bracket, grease the wiper motor and test it and paint stuff, test voltage regulators


20160509_185513_zpsc3s2euzf.jpg


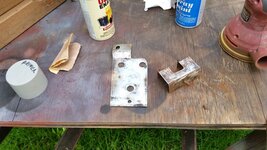
sand MC bracket and use some metal prep on it.

20160509_190406_zpsvpk5fvdq.jpg

20160509_191509_zpsxtwmcoq0.jpg

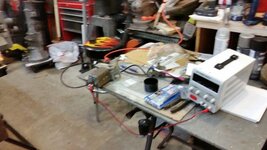
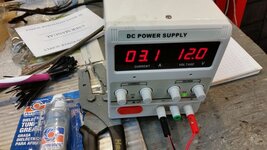
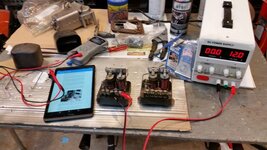
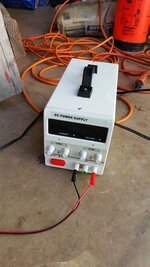
test wiper motor with power supply

20160509_192622_zpsd7lmiu5o.jpg

20160509_192646_zpsxlevwehs.jpg

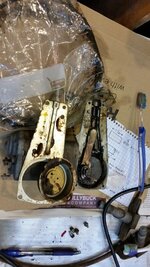
greasse it up with some of my green goop.....i found a thin washer folded in half in the gear area????

20160509_193124_zpsyajzhnuo.jpg


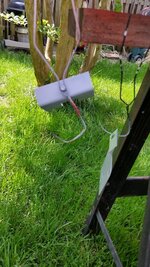
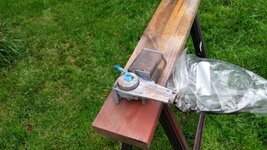
painted wiper motor and tubing

20160509_195321_zpsq2kpgnko.jpg
20160509_195416_zpswssw0jhk.jpg
20160509_200906_zpseg9f6rnk.jpg

20160509_200858_zpsf9mue7rg.jpg

havent we become high tech....power supplies and tablets to read up what you should be looking for

20160509_202510_zps2wd5amw5.jpg

look at that 19v in and 15.4 at the post and all the magic happened at about 16.4 volts


20160509_204825_zpsduj6eemp.jpg


cut out at 9.3 and cut in 12.9...still need to work on the second regulator it is off by 10 volts...
 
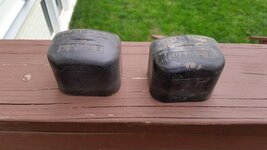
tonight match up fasteners for the electrical parts taht get mounted on the fire wall, i carefully put all screws,washers and nuts back on the parts.

wash with warm soapy water

20160510_174320_zpsv19dr9m7.jpg

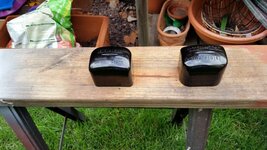
spray with clear

20160510_180825_zps1gsare2k.jpg

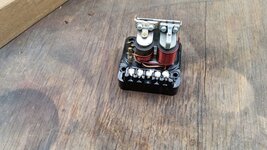
clean terminals stuff with paper and use cardboard to blod off internals and spray with clear

20160510_180833_zps542rlfuo.jpg
 
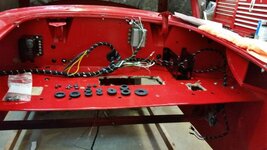
well my preparation for the grommet install was not as good as i thought.....too many parts left over, and my fingers are exhausted


20160511_211840_zpsqvsvnsfw.jpg

i guess tomorrow i will spend some more time researching what goes where

i have all the cables for tach speedo, choke, starter, heater valvbe, water control taken care of as well as blanking plugs for the brake assembly and the oil pressure line

20160511_211953_zpsguxczmza.jpg

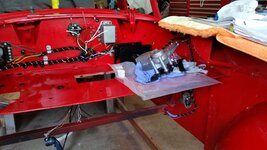
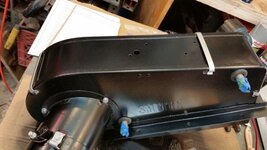
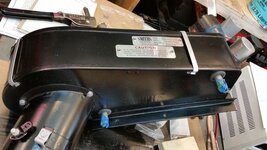
wiper motor ready to go in

20160511_211157_zpsq5fzppvv.jpg

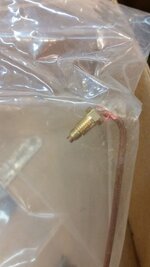
if any one wants to identify the remaining grommets please do.....i do have holes left over for the wiper motor cable, and the water temp capillary tube
 
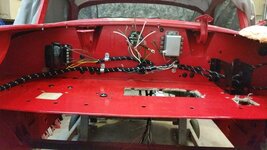
worked a little more on the harness....all the grommets are in place except for the water capillary , it s looking pretty good up close and in person....

20160512_221115_zpsljapxqop.jpg
 
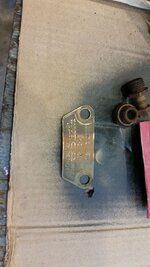
today do more on the wiring harness, install the wiper motor, hook up some wires, add vin tag and tags to heater....about 4 hrs of work.

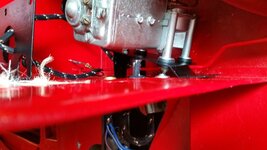
added a rubber gasket fron a tire tube to the wiper motor post and used a leather punch to make the hole

20160513_123320_zpsgs7tb0j1.jpg


installing these wiper motors is a PITA...

20160513_133031_zpsnvvs5o5v.jpg


hook up wires and made this long so its easier to replace, my flasher unit doidnt pass testing so i need to buy a new one

20160513_140148_zpsiuvtohcb.jpg

20160513_140208_zpsefzwlsgo.jpg

20160513_150224_zpsqxh1t4jx.jpg
20160513_160634_zpsfqznjkee.jpg


20160513_152315_zpsf8icr4at.jpg

20160513_153138_zpszhy9mqjf.jpg
 
it says thanks

more electrical work...
connecting tool in action

20160514_102308_zps6q8qhfj5.jpg

full compression

20160514_102228_zpsswz6lio6.jpg

adding a ring and additional ground circuit to the ground to go to a body bolt on drivers side
20160514_103156_zpsdgtvdr8g.jpg

test all circuits to make sure everything works

20160514_101815_zps8gwonlns.jpg
20160514_101442_zpseltj2b4d.jpg


20160514_105047_zps2bxzblyj.jpg
20160514_112251_zps6xqnhpav.jpg


20160514_104054_zpssvevz8t5.jpg
 
Last edited:
yes sirreee its close...


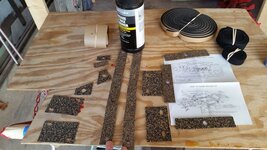
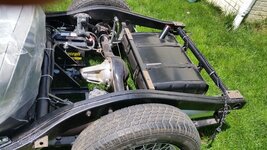
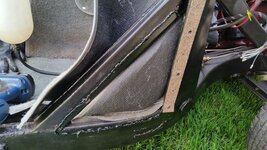
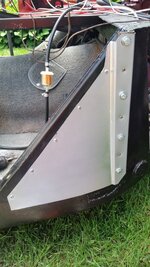
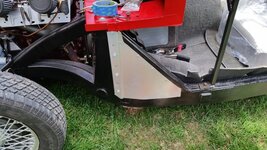
worked on those triangular pieces and putting down cork for the frame to body spots

20160515_112852_zpsigke1t2o.jpg

20160515_113544_zpsmgxulhzw.jpg

some black goop for an air tight seal

20160515_115650_zpsmtcswik7.jpg

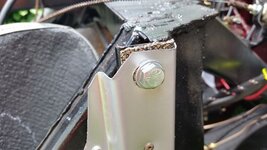
this spot has to be below the goal post top

20160515_120918_zpsricr3iqy.jpg

i used rivets to make it nice and tight
20160515_121129_zpst9dhfxff.jpg
20160515_122847_zpsn4jqj7gk.jpg

seems like a gasket is a good idea here

20160515_150543_zps5kbklcri.jpg

20160515_155841_zpshgrtvjip.jpg

and lastly put in the fuel sender unit
20160515_144156_zpsl5x9roma.jpg
 
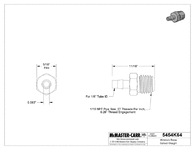
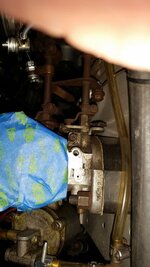
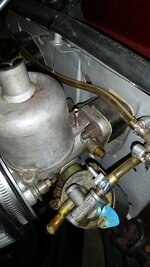
made some progress tonight unclogging my vacuum port on my HS4


20160427_230655_zps0i3ajnio.jpg

i was able to open up the port, this was .030 mig wire

20160520_201558_zpszycjs968.jpg

got the hole open

20160520_203646_zpsmwn5ci9m.jpg

turns out to be about .060

20160520_203714_zpsplocbtdy.jpg

it must have been debris sucked into it i didnt really have to remove any metal to open it up. now what do i put in there to mate up to this

20160520_204436_zpslhjgrpve.jpg

any and all ideas appreciated, what have others done who are using HS4s

thanks bob
 
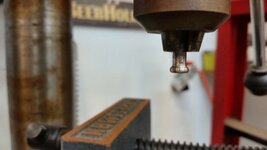
and done, after thinking about it way too much i just drilled the hole. theres no reason not to take the carbs off if you wanted to.

i used an air vacuum ( for AC systems, do not use a shop vac around gas fumes) to clean out the carb infront of the butter fly
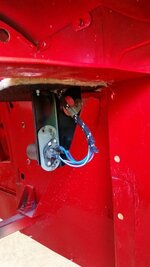
chucked up the bubble flair and did some file work on the profile

20160522_100202_zpsztakolqz.jpg


20160522_103237_zpseij3xjvd.jpg


20160522_105756_zpsxqjldbk7.jpg

just waiting for the rebuilt distributor to hook up the vacum line completely
 
Last edited:
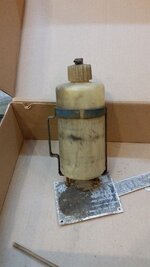
and time to take car of an easy one

20160523_202447_zpslxrdivri.jpg

any body have a good cleaning method for this original bottle?

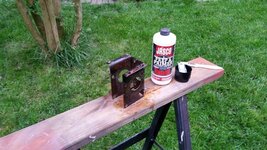
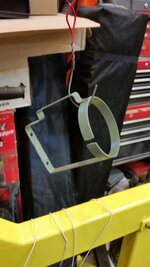
sand , clean, sand , clean....prime and then paint

20160523_204514_zpsauznqv4a.jpg

1464052523220-1744785128_zpsyujhdcrr.jpg
 
Back
Top