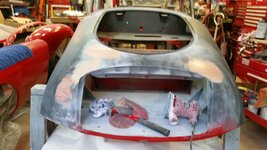
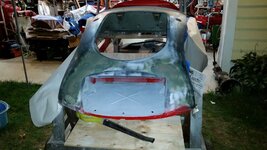
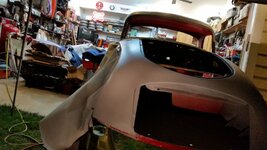
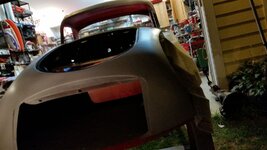
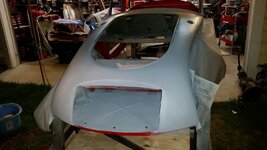
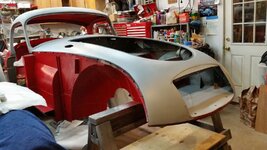
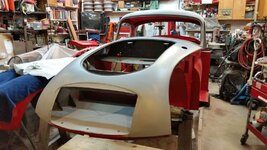
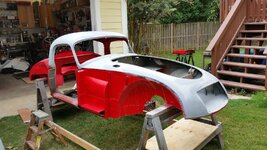
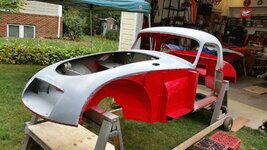
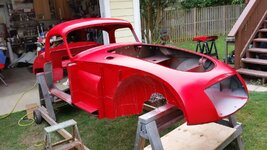
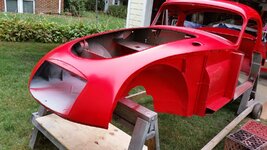
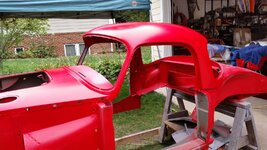
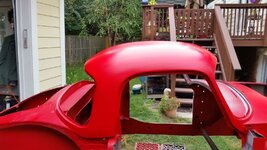
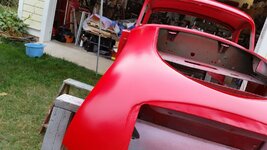
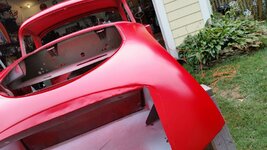
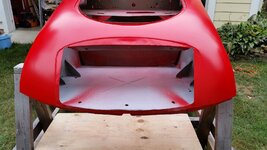
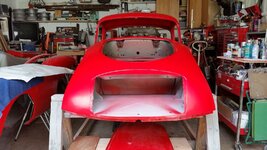
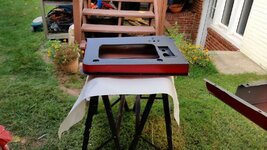
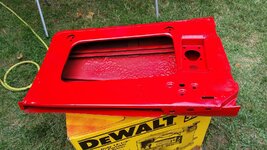
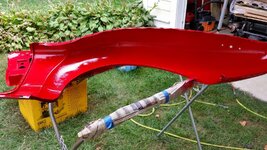
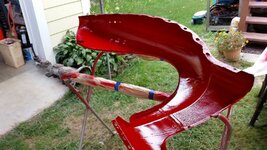
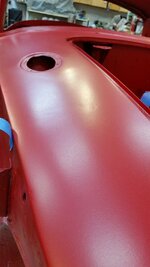
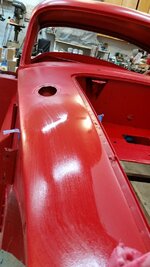
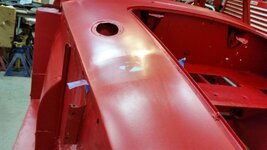
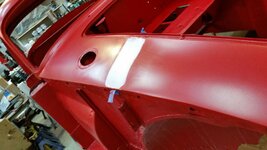
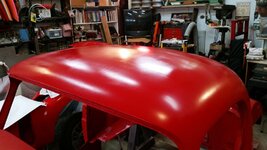
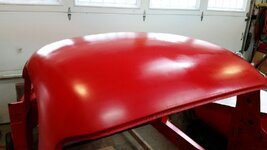
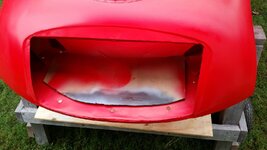
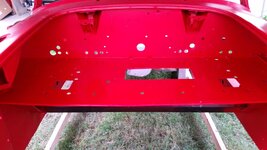
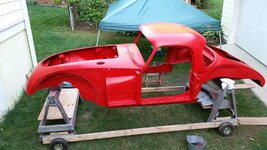
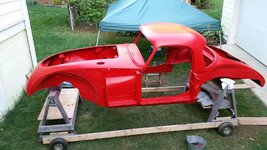
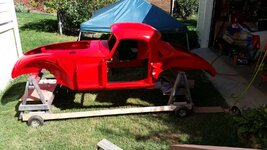
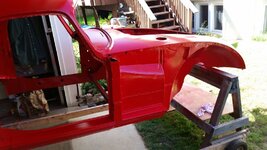
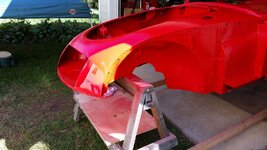
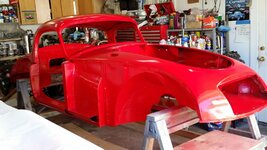
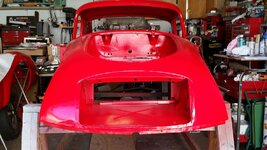
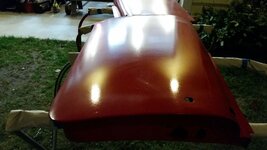
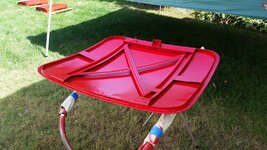
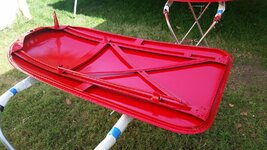
1958 MGA Coupe

VetteMod - Corvette Restoration, Modding & Performance Forum

Help Support VetteMod Forum:

Wtf

thks

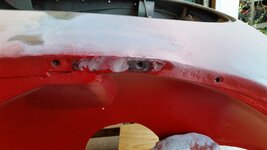
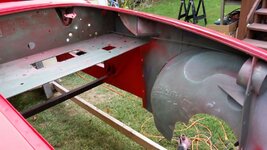
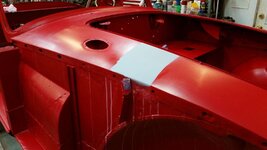
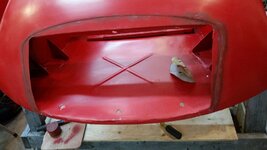
Imagine my surprise when we "righted" the body and I saw this fixed fender nut sitting innocently on the radiator support??????????? remember I did a full dress rehearsal with all the fenders and bolts in place. It must have moved during the fender bolt tightening process and then when we took off the fender to paint it fell off.

oh well just another excuse to weld, so two holes drilled to plug weld it back in place
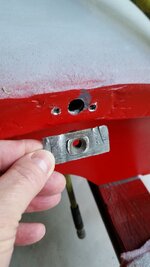
20150923_074353_zpslkngo1ll.jpg
 
panel bonding adhesive is your friend in those situations... a couple dots and bolt it in place... it will be the strongest part on the car.
 
panel bonding adhesive is your friend in those situations... a couple dots and bolt it in place... it will be the strongest part on the car.

thats a great idea....i wish it occurred to me two holes ago.....

I will be using that on the body panel that bridges the inner rocker sill and sits on the frame of the car. i figured that was the easiest way to make sure the height of the bridging panel was perfect.
 
welded the fender nut in place

20150923_175004_zps0xodhl6y.jpg

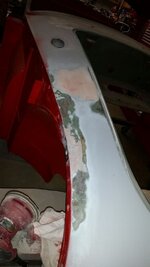
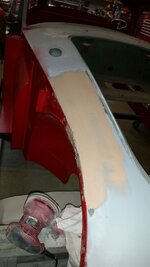
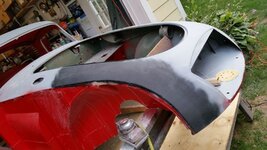
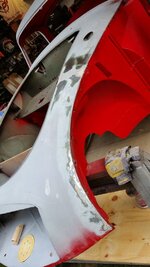
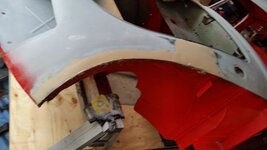
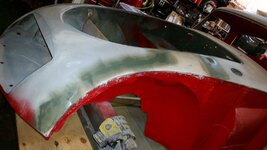
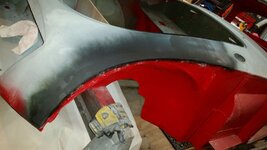
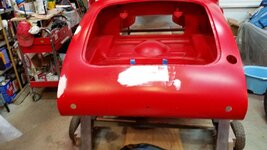
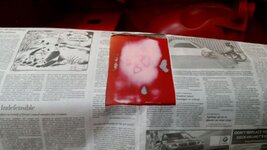
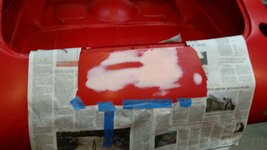
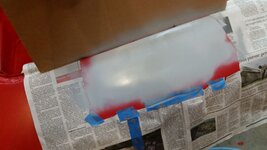
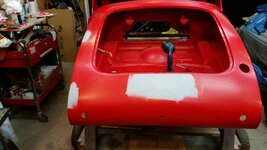
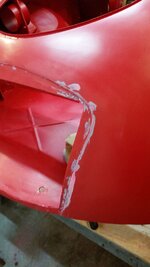
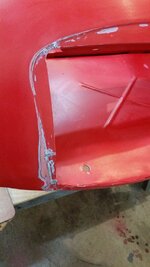
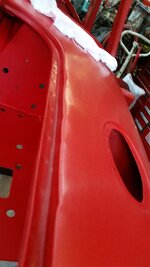
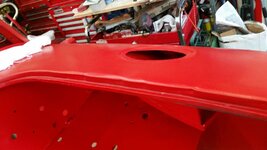
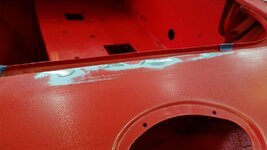
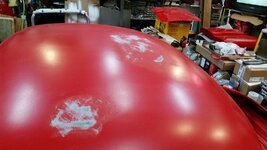
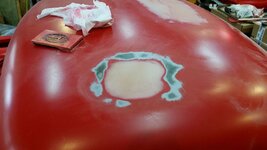
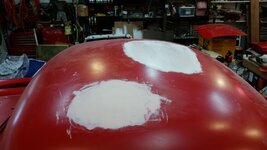
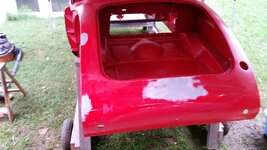
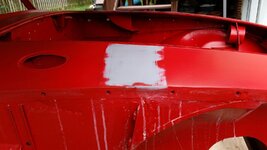
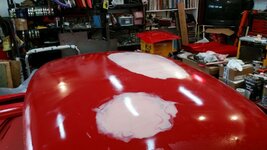
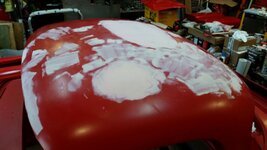
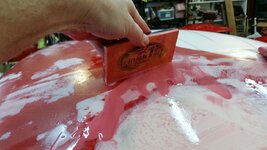
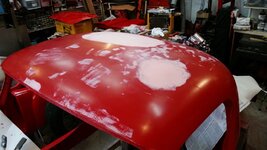
and do some body work on those wavy fender sides.......I was watching a 3m video on using body filler and the instructor liked the idea of covering a larger section and then sanding it off he said it gave you less of a chance of feather edges and a better final product, I usually do it the other way and put less on, but lets try it his way for fun. I am sure his video was more for production shops where they go really fast, I am not so fast.

20150923_201023_zpscmsek8ka.jpg

20150923_202242_zpsgxlitfo5.jpg
 
slow.. HA... I feather the edges then paint the car with flattened paint so no one notices. I can't even imagine how long it'd take me to do it right.

Some say ADHD is a disease that one suffers from, I say ADHD is.... hey look, cookies!!!!!
 
As an Amazon Associate we earn from qualifying purchases. Product prices and availability are accurate as of the date/time indicated and are subject to change.
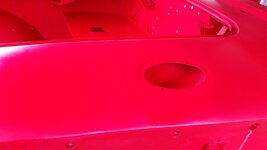
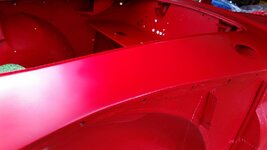
lets wrap this up... I had spent a lot of time previously on the front end so there really isn't much to do

20150925_175840_zps7si9fgea.jpg

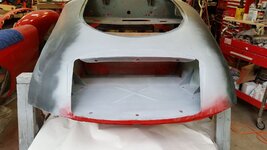
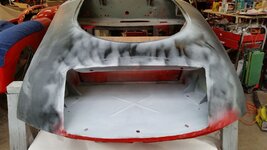
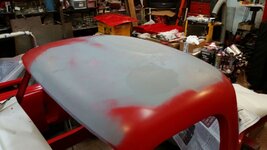
spray primer guide coat

20150925_180028_zpslqoapkbi.jpg

that is what a high spot looks like

20150925_180434_zpsbev1hfvg.jpg

that is really thin body filler

20150925_183535_zpsrnfavkxz.jpg

quick prime with self etching primer in case I hit metal any where
20150925_200256_zpssupxflwo.jpg

nice lines I think I am really close to paint time
20150925_202147_zpsgnupgtbo.jpg

20150925_202156_zpstrglwjow.jpg
20150925_202212_zps9rnde1sn.jpg

20150925_203105_zpsk2yfluol.jpg

20150925_203058_zps3kc1pnir.jpg

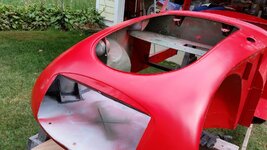
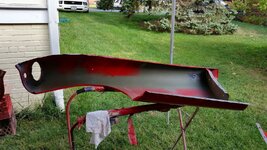
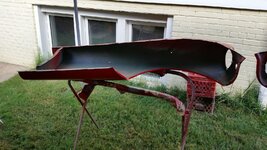
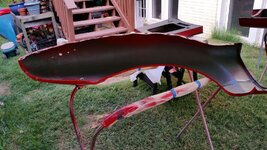
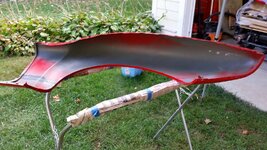
I am going to let that dry for a while before I wet sand it.....there is so little left to paint I may just wet sand the primered areas and paint the rest of the car and thengo back and look for imperfections to fix. I bet the front shroud is not much more then 9 square feet of surface area and the top may be the same.
 
so I pull the car outside and start sanding the top side with 400 grit paper and I realize its not raining there are no bugs and the temperature and humidity are perfect for painting......I am not sure I am done with all the feather edges but you can drive yourself nuts looking for stuff you will never see,

20150926_105508_zpszqgxxyck.jpg

20150926_105516_zpsbkbksoyc.jpg

what the hell its about $12 worth of paint if I have to color sand it and fix a spot or two
20150926_113222_zpstfm61xvf.jpg
20150926_113230_zpswvpxshez.jpg

20150926_113236_zps89ps8ete.jpg
20150926_113250_zpsuanqlehx.jpg

pretty straight
20150926_113310_zpsjtwpywwn.jpg
20150926_113315_zpscdhf50dc.jpg

let this dry for a while then test fit the grille
20150926_113320_zpsxzxrmall.jpg

20150926_114417_zpsjtcbbnlt.jpg


I will color sand it wet with 600 and then see if I have to touch any spots up. and go from there, the entire body will get the gloss coat at the same time. my goal is to have it finished before my 58th birthday in the middle of October
 
then the Boss says at 12:30 .....I am going to take Mom to church and after that go to Joanne fabrics be back around 4PM........


I say ok I am going to finish what I started

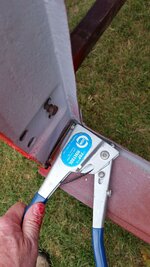
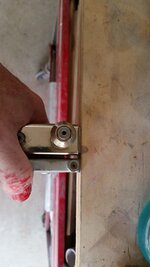
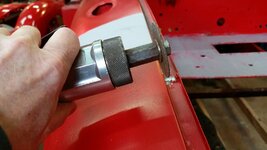
these are flush pop riveters compared to a normal one

20150926_133523_zpsparazqvd.jpg

its get you nice and tight

20150926_134807_zpsmqkzbw3d.jpg

sand away............did I ever mention I hate sanding

20150926_145021_zpsty8jstvw.jpg
20150926_145025_zpsaacud97i.jpg

20150926_145032_zpsrwyvx7s8.jpg


and play gumby and paint
20150926_153828_zpsia7f2cfj.jpg

20150926_153839_zpsw8ct0d8d.jpg

20150926_153846_zpshryv9yxm.jpg

20150926_153852_zps0yw37wkq.jpg

20150926_153859_zpshuu1ravb.jpg
20150926_153908_zpsytbygnpz.jpg

20150926_154104_zpsje0zhytj.jpg
 
Last edited:
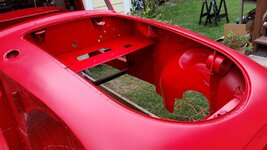
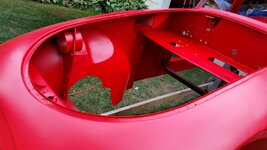
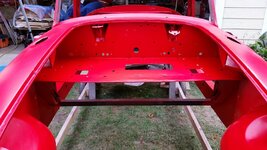
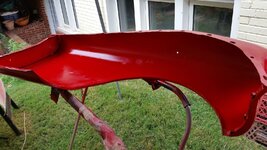
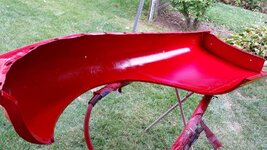
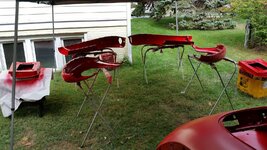
well they said it was suppose to rain but I don't think so lets clean the inner fenders and paint and clear coat them, 3 coats color 3 coats clear

20150927_095531_zpsfb2w8dve.jpg

20150927_095533_zpszxyvaz1k.jpg

20150927_095537_zpsqdfuqhjc.jpg


20150927_095543_zpsnv6yceqr.jpg


20150927_095547_zpsy3gqnjsc.jpg

20150927_112430_zpsi99wz31p.jpg

20150927_112450_zpsk14eljws.jpg

20150927_112459_zpsfvkgkfft.jpg

20150927_112506_zps7jt3mixm.jpg
20150927_112512_zpsoaspau7t.jpg

20150927_113042_zpsa3n4nk3w.jpg
 
thanks. that big ass elephant isn't so big any more....

I am not a perfectionist about body work. my guide is pretty simple if you can see it in the color coat you fix it....after that if it shows up in the clear coat you live with it unless its horrid.

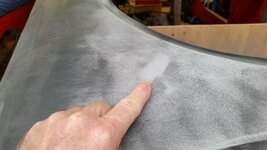
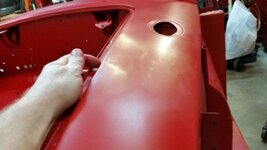
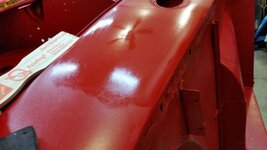
there was a feather edge you could see here and 600 sanding took care of it
20150928_195742_zpstwzesocu.jpg

just to the right of my finger

20150928_200255_zpspq49adwh.jpg

more 600 sanding

the end of the paint stick is the same spot

20150928_200746_zps4etcbil7.jpg

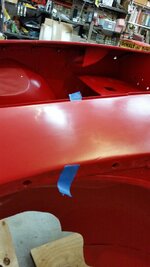
feather edge in between blue tape
20150928_201836_zpsutlrgxlg.jpg
20150928_202135_zpsgsozhzkh.jpg

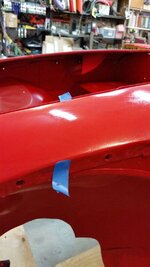
feather edge straight down from blue tape
20150928_202442_zpsgznyp4sg.jpg

600 fixed it but not to my satisfaction
20150928_203758_zpshousqfth.jpg


so hit it with 150 grit and use a two stage glazing puddy
20150928_205714_zpsak5gyzdo.jpg
20150928_210115_zps6xlrsbwd.jpg

some how I missed a big feather edge and some pit marks

20150928_205409_zpsjnoz5nvy.jpg


remember there is about $12 worth of color coat paint on the entire top end of the car, so its no big deal at this stage to fix areas and respray the areas.
I will color sand the entire top before the clear coat.
 
Last edited:
My hat is off to you. I look forward to the updates and make mental notes of all the work required to either help me on a future project or help me decide to not to do one. I admire your patience and especially your attention to detail. Keep up the great work. :-)
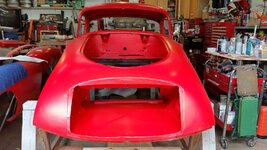
 
thanks,

I wont admit to most but I set a deadline on body work and after that its just done!!! or else it could go on forever.


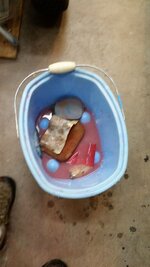
wet/dry sand paper loves to be wet so I just leave it in the bucket

20150929_184653_zpseqonkt74.jpg

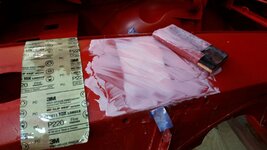
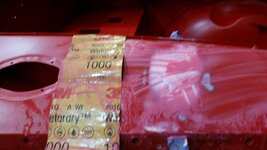
first hit 220 then 400 600 1000
20150929_184706_zpsbopckqtm.jpg
20150929_185249_zpstqpkdjhy.jpg
20150929_192651_zpsv8kenzma.jpg
20150929_195732_zpstcbyhtg5.jpg

20150929_195846_zpsnsrerm7v.jpg
20150929_202034_zpsxb4h5ec8.jpg

20150929_202052_zpsnnw66ih3.jpg


and my cars first rain...well parts of my cars first rain, I needed the space in side to walk around the car.
20150929_203453_zpsavx0msuc.jpg
 
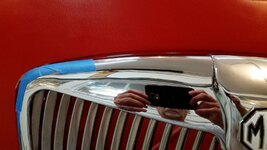
I guess we will have rain for the next week so my fenders can get their " first wets" in true fashion. so I played around with the grille tonight, if there ever was a use for cap screws this is it and I am going to the hard ware store first thing tomorrow to get them....

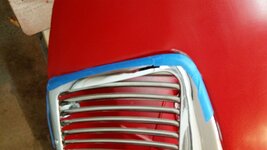
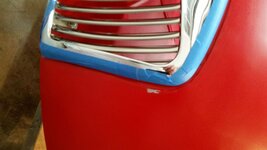
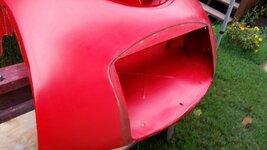
looks like I have an older poor fitting grill and after some massaging of the grill tabs I can get it to sit inside the preformed area. I will need to do some clean up around the grill area but not too much. but the poor fitting grill leaves some exposed areas of the preformed grill. I think I am going to leave what is original just as it is and if you can see the preformed area then so be it. I don't want to fix it to fit the grille and then find an original grille and go to put it in and have to redo body work. so I will fix/clean up the body work just up to the original pre formed area, there really not much to do

20150930_204430_zpskieigcdp.jpg

20150930_204443_zpss7chiwky.jpg

20150930_204450_zpsai420sbl.jpg
20150930_204455_zpsaqflgpvx.jpg


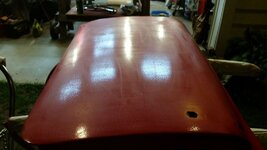
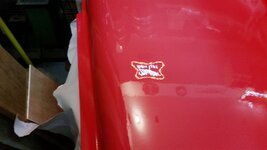
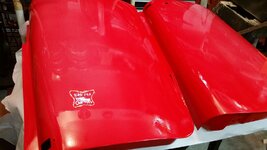
funny the MG logo looks off center, maybe I bumped accidentally in my man handling
 
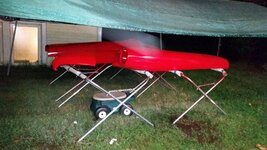
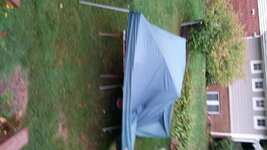
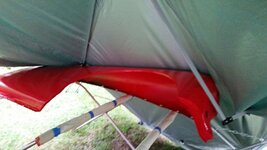
rains, wind, fenders under a canopy tent what could possibly go wrong????????????????????????????????????????????????????????????????????????????????????????

20151001_181518_zpswdsutuwf.jpg

20151001_181715_zpsbknltnye.jpg

a quick look makes think I lucked out

20151001_182255_zpsiopunlv1.jpg

20151001_182302_zpsuhn3q3xr.jpg

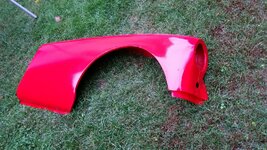
I cant see any big scratches, not sure about dings though although those fenders are pretty beefy

new resting spot

20151001_183405_zpsmodogf0g.jpg

lets put to bed the grille area issue once and for all

didn't take much there was only small slight sanding required cleaning up edges
20151001_225541_zpsambmxwfb.jpg

20151001_225601_zps0qodgedh.jpg

its so small of an area I just sprayed primer on a chip brush, and brushed it on. after all its going to get sanded with 400 one more time before it gets another couple of color coats
20151001_230342_zpsnvgwxi3r.jpg
 
more rain which is letting me be actively looking for things to fix before I can finish the painting....and I found one that I had never seen before. I am pretty sure its not from me

20151002_120756_zps3nl9myab.jpg

20151002_120805_zpswntxxybm.jpg

stick something up under the frame support to act as a dolly

20151002_121411_zpsiy9zluew.jpg

and hammer and dolly away...got called into the house will finish later

20151002_123044_zpsn1tpr4bf.jpg

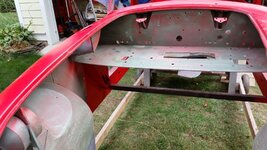
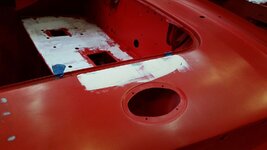
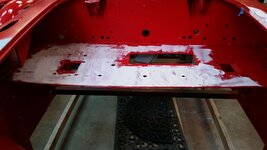
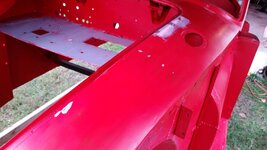
I got the area really flat using a hammer and dolly, I am using a two part body glaze and spot puddy to make it smooth. I also spent some time pondering my engine shelf area and I really like the way flat shiny engine shelf areas look.....its pretty flat just pitted.....not enough pitting for body filler and too much for high build sandable primer.... ..........but just right for this body glazing and spot puddy, what the hell its just more work and more sanding....did I ever mention I hate sanding?

20151002_143744_zpsdositvdr.jpg

20151002_143750_zpsmprhssgv.jpg
 
Last edited:
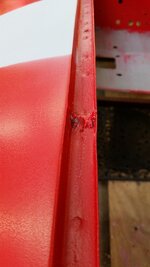
I am so close to being done I am getting excited....taking care of the weld seam

20151003_130137_zps6ilr67yg.jpg

20151003_130841_zpswbkvnq03.jpg

20151003_162100_zpsjzr4lael.jpg

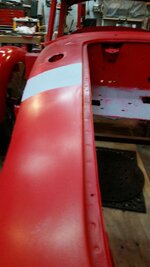
found my two low spots on the coupe top, had to work on a ladder which didn't thrill me too much

20151003_141830_zps8l4nq0fy.jpg

20151003_160011_zps27kgzlko.jpg

sanded and then finished off with two part body puddy and glazing,

20151003_161945_zpsksdvmtpi.jpg
 
Just looked at the first page to see when you started, May 2012.... Time is flying ... Awesome progress !!!
 
yes it will be driving on streets before Christmas


everything is color sanded with 400 and getting three coats of color on the repaired areas

20151004_104913_zps1dbdcwa3.jpg

20151004_110446_zpsyvssktvf.jpg

20151004_110451_zpsn7nrc5dl.jpg

20151004_110456_zps4plmt20r.jpg

20151004_130729_zpskfszfuhc.jpg

going after the big pits ignoring the smallest ones
20151004_133647_zps4ji5820f.jpg

use the body sanding block as a squeegee


20151004_135100_zpspvlztdqh.jpg
20151004_140512_zps1blgs1of.jpg

so I turned the heat on in the garage and I moved the car in and out of the garage in between coats

20151004_141747_zpsjqo7dwca.jpg
20151004_151939_zpsrpfzgifq.jpg
20151004_152005_zpskowux3w8.jpg
20151004_114624_zpsscb5nrm7.jpg
20151004_114613_zpsdjsysgwi.jpg
20151004_114602_zpsdbqz1hzr.jpg
20151004_114556_zpstwxnr900.jpg
20151004_114548_zpsazkzipfq.jpg
20151004_114539_zpsqyecaanq.jpg
 
That thing is a paint hog.....with 2-3 coats on every surface I am at about 3 gallons of paint so far.
 
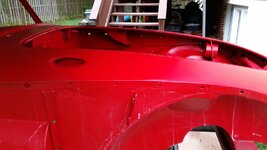
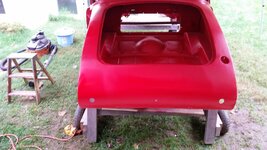
when I got home it was sunny and not too cold so I wet color sanded the entire car with 600, then washed it off with soapy water, hit it with the yard blower then a complete wipe down. its now in the garage with the heat on and ceiling fan. now for the stars to align for the final 1-2 color coats and the 3 clear coats

20151005_174924_zpsz7so8mci.jpg
 
passed another hurtle today....came home for lunch 68* and rising and 67% humidity.....that means paint time......so I wipe down the car with a tack rag, then prepaint prep
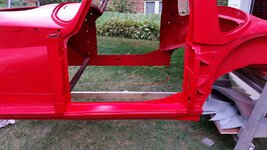
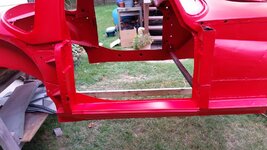
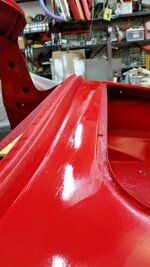
then 2 more color coats on all the exterior and interior surfaces.....then 3 coats of clear. so that makes 5 color coats and they were wet sanded in between coats 3 and 4. and three clear coats. took about 2.5 hours from start to finish...... those clear coats will get wet sanded once they are good and dry and then we will do another 1-2 coats

I did the extra two color coats just to make sure I didnt have any over spray anywhere from my piece meal style of body work. my do a little bit at a time style has inefficiencies built in to it. so you have to throw some extra work at it. if I had a larger garage I would build a spray booth and then do the work like a production shop does it. but that's for the next garage if I ever get out of the highest density county in Virginia.

so heres we left off..


20151005_174924_zpsz7so8mci.jpg

and then done...

20151006_132855_zps915bbut7.jpg

20151006_135954_zpsuruxwvho.jpg

20151006_140007_zpsz6loc4bk.jpg

20151006_140133_zpsb6ivynyk.jpg

20151006_140351_zps6irw1bdi.jpg

once the paint dries some more I will push it back outside and take some better pictures, I just done want a bird landing on it while the paint is still soft....
 
70* and 60% humidity time to wrap up some loose ends after dinner

remember the doors clear coat got goofy because the spray gun setting changed and I didn't notice in time

wet sand quickly with 400 and then 600. and the 4th and 5th coats of clear, last one nice and wet

20151008_191904_zpsgt1a8hrc.jpg

20151008_194924_zpsxm7j1hxz.jpg

20151008_201323_zpscs3vmgi0.jpg

20151008_201344_zpshkb9y4db.jpg
 
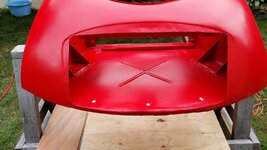
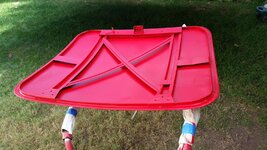
time to clear coat the inner boot and bonnet

20151009_110503_zpsbxiwb0aq.jpg

20151009_110507_zps024wgucs.jpg

20151009_114546_zpsmmkmdano.jpg

20151009_114553_zpsb5elrgag.jpg

I think after looking in the sun at how nice the doors came out, all visible clear coated surfaces will get wet sanded one last time with a really high grade of paper and then a final coat of clear.

20151009_114606_zpsucjd65y4.jpg
 
Back
Top