1958 MGA Coupe

VetteMod - Corvette Restoration, Modding & Performance Forum

Help Support VetteMod Forum:

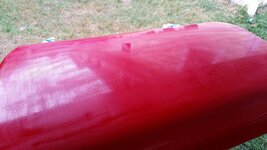
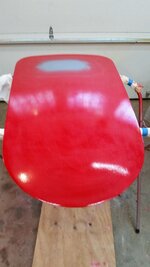
well there is one little dimple in the top end/middle of my bonnet that I just don't think I could look at each day ......so we fix it,
20151014_175124_zpsjld2uks8.jpg

spot repair the area and everything is sanded with 600 wet
20151014_182029_zpsk3fjabl8.jpg

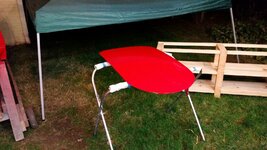
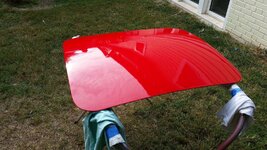
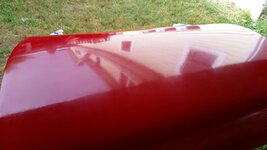
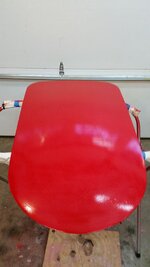
now admittedly this is for fun.....so how flat and shiny can I make my panels??? the boot lid is so small and manageable I am playing with it so I sanded one more time with 600 wet
20151014_203026_zpskplzrtku.jpg

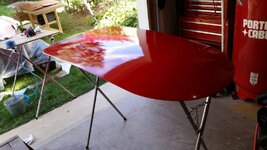
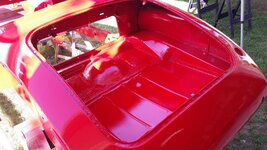
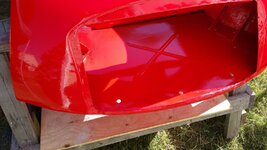
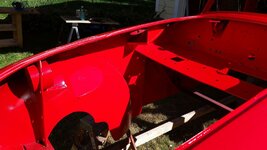
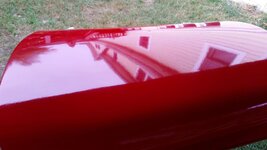
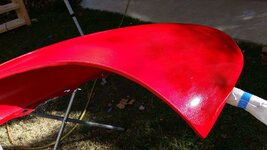
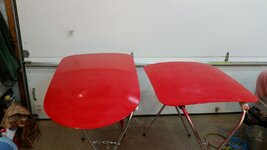
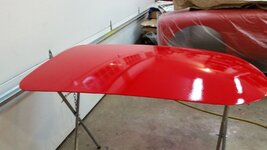
this is with 3 more coats over the repaired area and then 3 more coats over the entire bonnet and boot
20151014_205957_zpseiksoej3.jpg

20151014_210012_zpspsdiunzh.jpg

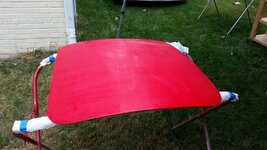
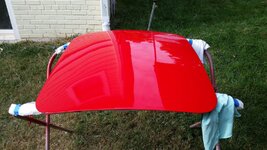
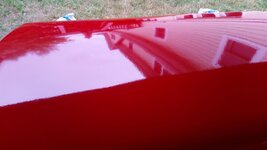
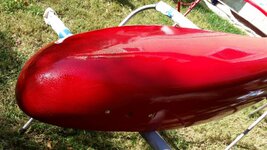
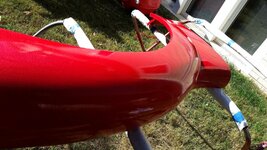
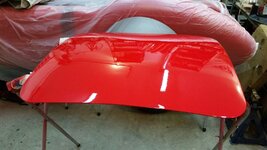
so I think that's 8 coats of clear on the boot and it was sanded twice with 600 in between clear coats 3 and 4 and then between 5 and 6 with two more coats. I probably could have done just 7 clear coats and sanded it only once, but playing around with different methods/techniques should be done on the small panels to perfect the technique and then import that to the bigger panels.
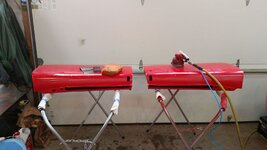
 
this is about 45 minutes worth of work

wet sand with 600 and three coats of clear, that's 8 coats of clear total. once this has a chance to harden in a week or two it will get color sanded and buffed.

20151015_120133_zps6lokmqbp.jpg

20151015_121446_zpsc8mz86hs.jpg

20151015_123603_zps6a95w4dv.jpg

20151015_123608_zpst9qcb71b.jpg
 
push on to the rest of the fenders

these are in good shape with not much orange peel and I am cleaning them and then getting 5 coats of clear on them . usually I like putting on less product and doing it twice just because I like the solvents to evaporate and shrink but I am running out of cooperative weather, these will get clear coat sanded and then buffed. I like to sand and then let that sit for a week before I cut and buff.

before
20151015_181335_zpscrtmhemo.jpg

after

20151015_192608_zpspcrgvdjz.jpg

20151015_192615_zpskpnfsbm5.jpg

20151015_192758_zps3nv7q7nj.jpg

20151015_192904_zpsf0gmj8se.jpg
 
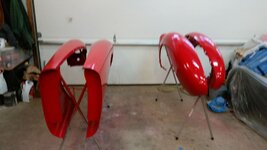
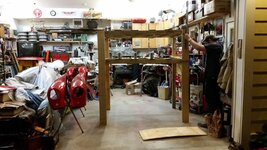
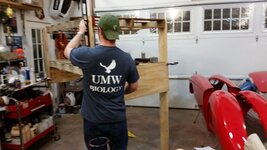
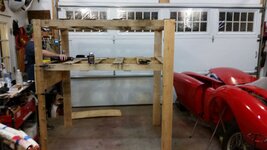
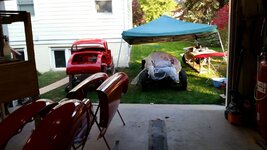
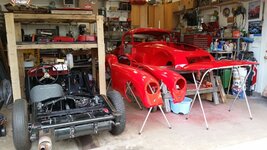
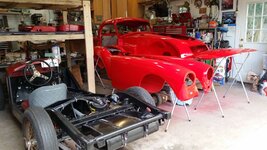
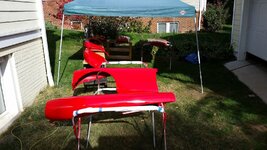
i seem to have big body panels scattered all over my garage......I need to get them up and out of the way before I scratch them, so we scrounged together 3 2x6s, 1 2x4 and 18" piece of 5 ply 1/2" plywood and two scrap oak 4 x 6 pallets that were being saved for the oak....

20151016_214808_zps7ka6bviy.jpg

20151016_220024_zpsf7iqg6kk.jpg

20151016_214948_zpsrnjp8dp1.jpg


this will let me get at least the doors , boot and bonnet up and maybe even the two rear fenders, I have some moving blankets I can put down on the pallets....the car will fit under the shelf


ok now this is just folly......I sanded my nice bonnet with 600 and I am going to try a different painting technique to see if I like it, the boot is perfect and I will compare the two against each to decide which I like the best. lacquer will always melt into the previous layers and adhere very well, the technique is called intermixing , its intermixing the base coat and clear coat in diminishing ratios.....first is base coat, then a 50/50 base/clear, then 25/75 base/clear then 100% clear. its suppose to make the paint really deep. we will see.....

20151016_224424_zpsubaecn7g.jpg
 
I love the part of the project where everything starts getting permanently hung on the car.... a few more months for mine and I'll be doing the same :bounce:
 
As an Amazon Associate we earn from qualifying purchases. Product prices and availability are accurate as of the date/time indicated and are subject to change.
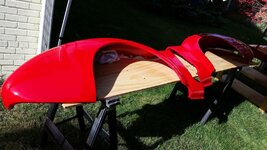
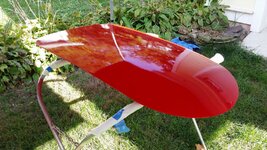
I love the part of the project where everything starts getting permanently hung on the car.... a few more months for mine and I'll be doing the same :bounce:

I agree I was looking at the fender piping in the catalogs deciding which to buy and that's a good sign.....

the day starts early......its cool but low humiditiy and a huge difference between dew point and temperature. this is important since if the temperature and dew point are close to each other the solvent flashing drops the temperature down a lot and if the temperature on the body part is less then the dew point you get "blushing" and it looks cloudy, that's because the moisture in the air is trapped in the clear coat. sometimes it evaporates away sometimes it doesn't.

20151017_083425_zpsp8lq14bi.jpg

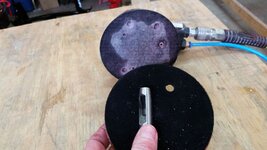
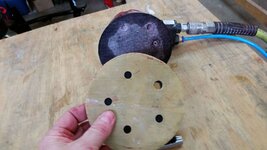
I use an intermediate soft pad and I put a hole in it for the water to come out. I use a gasket punch

20151017_123941_zpszh6wq57j.jpg

20151017_123946_zpsaswpb0jz.jpg

and the body gets wet sanded with 600 and 4 more coats of clear, due to the cooler temps I paint it half in the garage and half outside and then push it in side and close the garage door for the 10 minute flash time.

20151017_151747_zpsb9r1rvzo.jpg

I chickened out on the intermix paint on the bonnet, I am too close to change things up

20151017_151755_zpssooaszyf.jpg

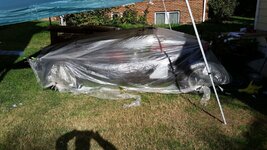
keep this covered so theres no overspray

20151017_151806_zpspemoarzk.jpg

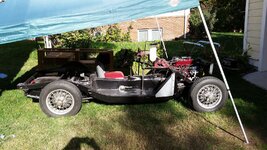
theres a drivable chassis just begging to get a body on it

20151017_154030_zpsxxmxveby.jpg

tucked away for the night, I think every thing needs to harden for about one week.

20151017_160146_zps6oaur5wi.jpg

20151017_160211_zps3hk4tgti.jpg
 
Have you considered turning this into a series of articles, or a book? "How To Turn a Pile of Rust and Junk Into a Classic Car." :1st:
 
Have you considered turning this into a series of articles, or a book? "How To Turn a Pile of Rust and Junk Into a Classic Car." :1st:

well I write it journal style and its on two other forums that I frequent an MG forum and Hotrodders.com.

its as much for me as it is for others, I learned alot from others and had a particuarly good mentor named Mr Ginther that i liked alot and he taught me alot. so hopefully theres some one out there thats get some courage to tackle a project based on what they see me doing. thats really what i am aiming for, to show people that it is doable in your back yard with your own hands......and you can do anything if you bring the project size down small enough and eat it one bite at a time, most of the guys here can do this and better.....i know because i see it in the threads
 
Last edited:
I see those builds where people build a camper or a car out of Legos - I point them to you, Bob, and say "that's great, but can you build a car out of MIG wire?" Wisely, they hang their heads in shame, kick a rock and walk away mumbling about not being good for anything. While I think they must be good for something, they do have a point :)
 
it was the first time I ever had to get the big MIG spool....

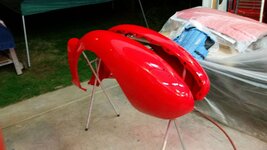
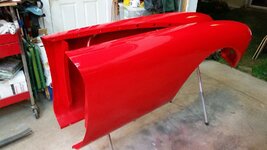
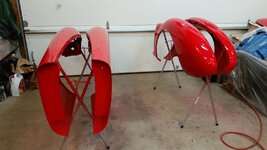
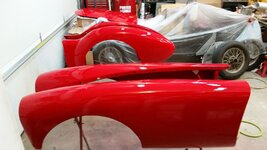
got home early today and it was surprisingly warm......lets bring everything up to 10 coats of clear....

20151020_150932_zps9s3uwa9q.jpg

20151020_152550_zpsb8pniqnj.jpg

20151020_152508_zpsytdskci2.jpg

20151020_152519_zpsyf4weife.jpg

20151020_152540_zpspayl2hdo.jpg
 
another 73* degree day what should I do????????????????

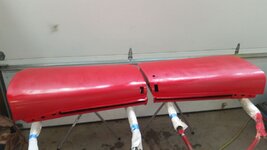
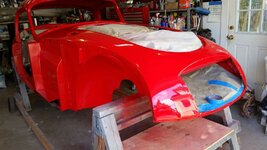
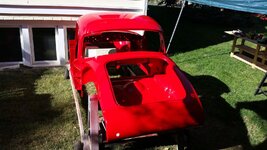
I know you guys must be wondering when the painting will possibly be over........here the last three coats of clear on the body making it 10 coats for the top side and 6 for the engine bay boot and sides of the car. next comes clear coat sanding and final buffing, I will let paint sit for a while before I do that.


any where there was over spray got scuffed with 800 soft pad, the car got tacked rag down and then prep wiped down then painted.

20151021_142636_zpsfwonaszk.jpg

20151021_142712_zpsvzoikmly.jpg

20151021_142727_zpswboyh2pj.jpg

20151021_145935_zpsnzlwxykq.jpg
 
lets push on since we have another nice day....three coats of color on both sides

20151022_143907_zps4ol8q2iw.jpg

20151022_150730_zpseebynxqu.jpg


three coats of clear, maybe 5 on the top side of the battery tray


20151022_161214_zpsft4nvnwo.jpg
 
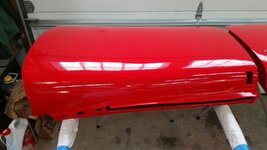
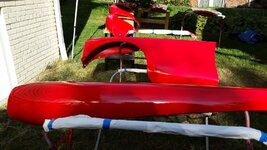
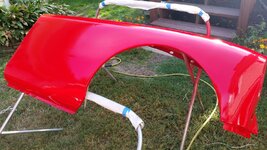
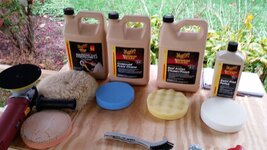
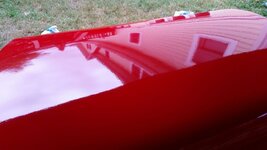
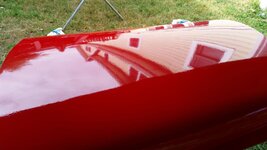
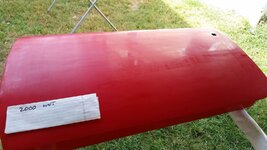
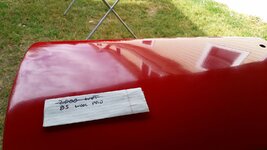
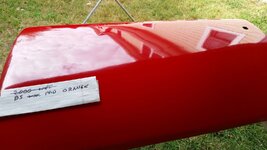
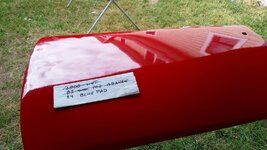
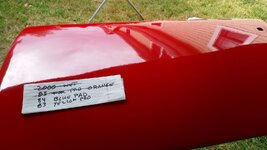
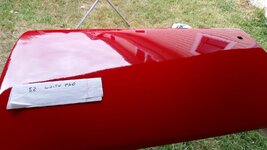
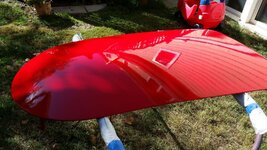
I have been waiting to sand the clear coat and buff for what seems like and eternity......the boot has been in my heated garage for 10 days now since the last clear coat was applied.....so its time to play around, I am not being too aggressive because I know the clear will still evaporate a little more. so a quick hit with 1000 paper and then followed a little more with 2000 paper, then buffing with an orange foam pad, blue foam pad and lastly a white pad with 4 different meguiar mirror glaze compounds (85, 84 83 and 82) on a DA polisher set to a slower speed. I don't want to push the polishing just nice and gentle and the paint can hardened on its own. tomorrow the doors hit 9 or 10 days too so they are next on the to do list....

20151024_141654_zpser6ao6xf.jpg


theres no glaze or wax on this

20151024_152122_zpsxkzvkuje.jpg

20151024_152106_zpsolgtppbu.jpg
 
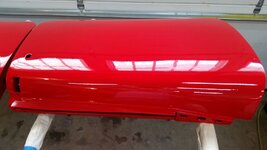
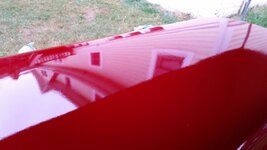
now to the doors...the paint is 10 days old which is not old for lacquer so I am going light on the buffing. look at the clarity in the upside down gable and the window

the starting point

20151025_114703_zpss3ac6082.jpg

20151025_112148_zpsu6utswmq.jpg

sanded with 2000

20151025_113023_zpsljmroor9.jpg

first hit with wool pad and #85

20151025_114033_zpsiheexvhm.jpg

then orange pad and # 85
20151025_114505_zpsmwpwm0ji.jpg

then #84 and blue pad
20151025_115334_zpsqgihid52.jpg

then #83 and yellow waffle pad
20151025_120106_zpsqg3kpsm6.jpg

then #82white pad
20151025_121422_zpsdwuynqdw.jpg

next door
20151025_122755_zpsi5nlvwk6.jpg
20151025_123918_zpsfqonsne6.jpg
20151025_124628_zpsvgluxjem.jpg

20151025_125405_zpsgwnglfyz.jpg
20151025_130222_zpspy6yibxz.jpg

20151025_131158_zpsjsbwozzk.jpg
 
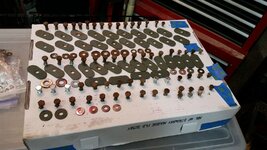
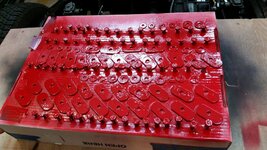
just wrapping up loose ends ......not hard just takes time, I am not getting these coated with zinc again and I am not replacing them, so one option left is to clean prime and paint. luckily I had sanded and primed the big fender washers previously.

20151025_201356_zpsyuhxodrm.jpg

20151025_203151_zpskroihvyy.jpg
 
I think I'm a Bob's MGA thread junkie. Is there a support group for us? ;-) Keep up the awesome work!
 
I'm thinking that buff/polish routine might salvage a R&R paint job (Roller & Rattlecan)!
Nice - very nice.
Cheers - Jim
 
Bob

It's probably way too late now, but do you know about Parkerizing? It's a rustproofing process of very old school which I learned about from old Harleys. I never used it but it can be done at home. Basically, you cook oil into the metal parts with heat and electrolysis. I think. I tried to look it up in some of my old books with limited success. I tried to scan some info from a book I have with no success. The internet only talks about it for guns. A lot of old machinery has it done, it creates a flattish black finish--like cooked oil. I probably have the details wrong, but it is a legitimate and authentic finish for small parts like you are dealing with now and would not be too out of place on a project like yours.
Plus I think it just the kind of thing you would like!
 
Bob

It's probably way too late now, but do you know about Parkerizing? It's a rustproofing process of very old school which I learned about from old Harleys. I never used it but it can be done at home. Basically, you cook oil into the metal parts with heat and electrolysis. I think. I tried to look it up in some of my old books with limited success. I tried to scan some info from a book I have with no success. The internet only talks about it for guns. A lot of old machinery has it done, it creates a flattish black finish--like cooked oil. I probably have the details wrong, but it is a legitimate and authentic finish for small parts like you are dealing with now and would not be too out of place on a project like yours.
Plus I think it just the kind of thing you would like!


http://www.m1-garand-rifle.com/parkerizing/

http://www.projectguns.com/parkerizing.html

http://www.brownells.com/gunsmith-tools-supplies/metal-prep-coloring/parkerizing/index.htm
 
thanks guys

Bob

It's probably way too late now, but do you know about Parkerizing? It's a rustproofing process of very old school which I learned about from old Harleys. I never used it but it can be done at home. Basically, you cook oil into the metal parts with heat and electrolysis. I think. I tried to look it up in some of my old books with limited success. I tried to scan some info from a book I have with no success. The internet only talks about it for guns. A lot of old machinery has it done, it creates a flattish black finish--like cooked oil. I probably have the details wrong, but it is a legitimate and authentic finish for small parts like you are dealing with now and would not be too out of place on a project like yours.
Plus I think it just the kind of thing you would like!

yes I have heard about it for restoring old tool finish I will look at those links

I'm thinking that buff/polish routine might salvage a R&R paint job (Roller & Rattlecan)!
Nice - very nice.
Cheers - Jim

it does work on old vettes too....

00000187.jpg

00000189.jpg

00000242.jpg00000248.jpg

00000252.jpg
00000264.jpg


look at the wool pad on the buffer
00000278.jpg

and just keep doing it until

100_0414.jpg


100_0416.jpg


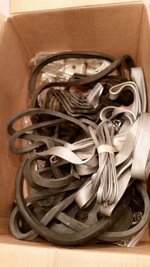
time to inventory a box of parts


20151026_205605_zpsvfsbtnnp.jpg

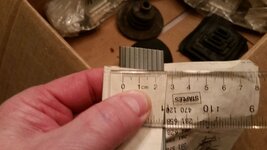
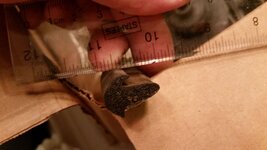
to my surprise it looks like it has the desirable size fender piping
]
20151026_212202_zpsmpihbpov.jpg

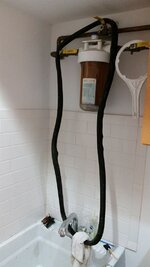
8 feet of this and I don't know where it goes
20151026_220024_zpsmw7sld8j.jpg

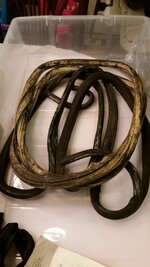
and some really ugly window seals
20151026_220114_zps4krzdiua.jpg

the rear window one had a broken middle window seal so I tossed that one but the front windshield got washed in hot soapy water and is getting brought back into shape

20151026_223835_zpsihm3446u.jpg


a bunch of other stuff in the box like pedal pads, shift boot, brake excluder,4 new chrome bumper overriders, boot seal , rear plinth pads, bumper grommets
 
it looks like since may of 2014 all I have been doing is body work......not much project planning with that just lots of doing.....

well the cars paint is 10 days old and I want at least 2 weeks before I sand and buff so let start project planning getting the chassis 100% done and body 100% so I can mate these babys back together. I am pretty good at project planning and being able to type, edit , copy and paste makes it pretty easy to get organized, throw in some red fonts, and cross out editing and your good to go

20151029_231203_zps1qnsbvhm.jpg


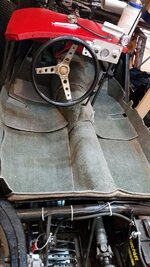
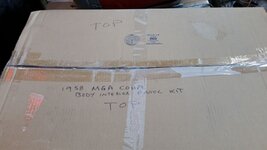
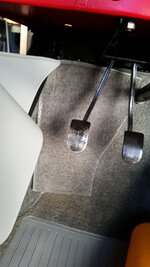
so lets see what in the box of carpeting.....the guy bought a complete carpet and interior kit 30 years ago including the lift the dots (LTD).....I see that I still have 4 LTDs on the top of the toe board. those are going to be fun to get lined up....


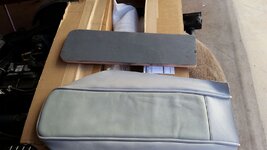
looks like a leather arm rest for the trans tunnel

20151029_223837_zpsuggktf70.jpg

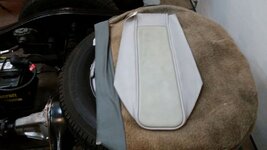
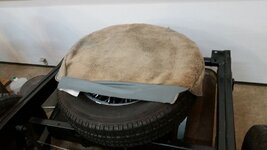
part of the spare tire covering the other side is AWOL
20151029_223830_zpsn0ziyequ.jpg

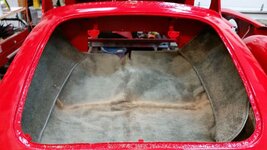
I lucked out the sun fading was on the spare tire cover and boot floor middle crease, I can see fitting this carpeting is going to be a PITA
20151029_223821_zpswwf4jim3.jpg

looks like a boot carpet kit, some fading on the crease where it was folded
20151029_223728_zpsxru8srgg.jpg

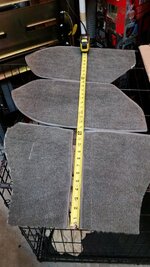
and the carpet parts that I don't know where they go????? can any one identify where these parts go?? I would appreciate it.

20151029_223720_zpsgp0bruxv.jpg


whats missing.......the carpeting for the battery tray and the rest of the spare tire set up
 
what the hell lets open another box and see where it takes us.....

20151030_115244_zpszgrpjwa8.jpg

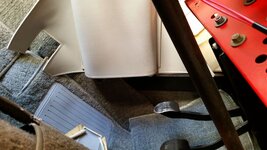
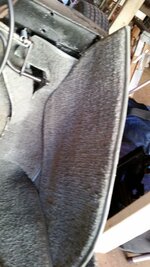
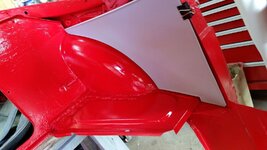
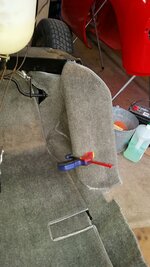
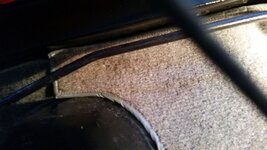
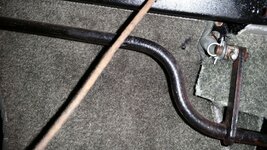
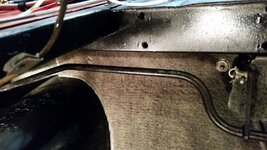
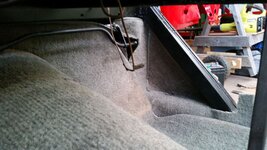
approximate spot where kick panel ends, exposing that goal post angled piece

20151030_121110_zpsqdiyyoqm.jpg

so lets try this piece here

20151030_120601_zps5zqe83dw.jpg

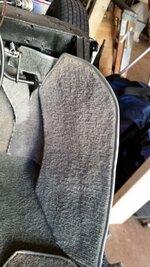
I couldn't figure out all the pre cut areas in the smaller piece, but it had a bound top edge....

20151030_121209_zpsg2htan1c.jpg

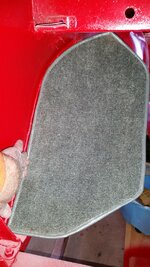
I think this is it
20151030_121241_zps5lggndt3.jpg

this is definitely wrong
20151030_121146_zps8giwvayo.jpg

and nothing fits well here

20151030_120708_zpsanaymfqa.jpg

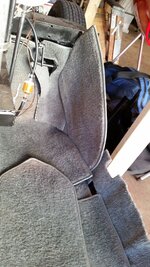
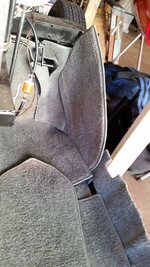
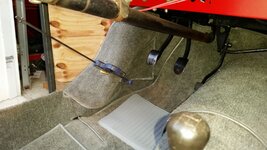
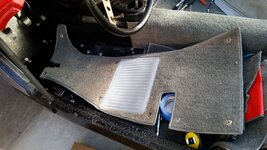
so puzzle solved, in reverse installation order

20151030_120601_zps5zqe83dw.jpg

20151030_121241_zps5lggndt3.jpg
 
I think I have figured it out

20151030_173845_zpsnuiaqzk2.jpg


20151030_174016_zpsyoxaws4q.jpg

20151030_174424_zpsjrmor2xh.jpg

20151030_174712_zpst8lhbodk.jpg

20151030_174938_zpsxeprjwks.jpg

20151030_175014_zps4vfgmz7f.jpg

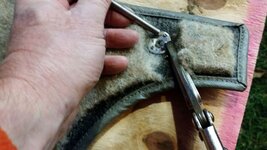
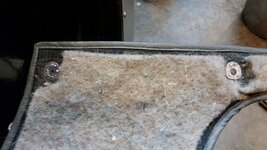
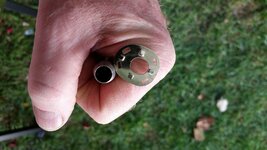
lets do a lift the dot stud fastener
20151030_180647_zpsetbxmjzr.jpg

you can see the stud left hand side
20151030_180939_zpsvrfxgpcw.jpg

20151030_181306_zpsnqgcuntg.jpg

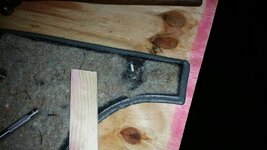
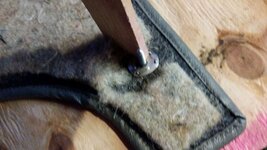
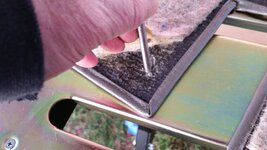
use a screw to center the pieces in the hole
20151030_183015_zpsqmsqnz1d.jpg

tap down the back side
20151030_183130_zps9fsooxnp.jpg

crimp the pieces together, and tap the clamping rings down with a punch
20151030_183313_zps0dglddaz.jpg

20151030_183543_zpssigjygaq.jpg

20151030_190117_zpsudrnlspq.jpg
 
moving to the drivers side

mark the spots for the LTD fasteners

20151031_115534_zpsyy8ngvxb.jpg

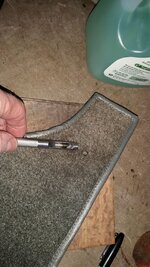
use gasket punch

20151031_115552_zpstv8aug51.jpg

use the screw to locate

and then a punch to get the protrusions to pop through
20151031_125552_zpsk6cmr5cu.jpg

put on the back and compress the tabs

repeat 8 times....
20151031_134411_zpshrnnxxra.jpg

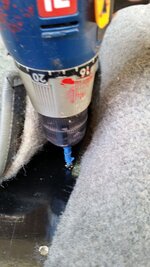
mark the spot for the stud by drill through the LTD fastener and finish the depth with the carpet moved
20151031_121118_zpsoabwho2t.jpg

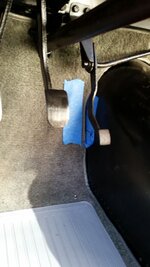
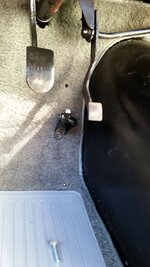
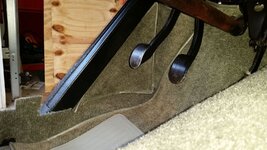
mark the spots for the accelerator stop
20151031_131634_zps7a0dtbcs.jpg

make the holes
20151031_133248_zpswicea7bl.jpg

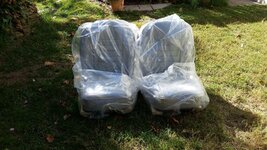
out of the basement
20151031_141736_zpshlooftpz.jpg

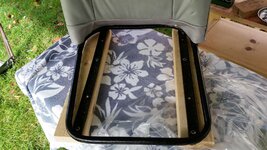
so they can be sat on while on the floor

20151031_143033_zpsqjtoc0wz.jpg


20151031_150929_zpskshfrgss.jpg

20151031_150946_zpsbbry7vb1.jpg

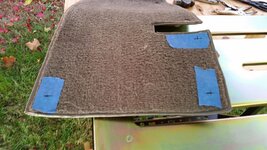
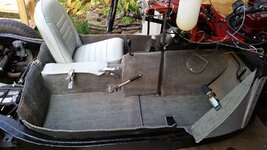
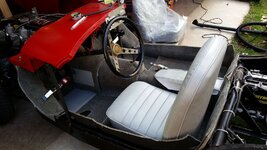
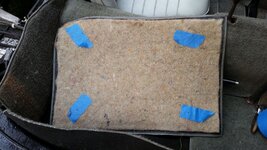
I put blue tape on the back of the carpet that goes under the seat and then poked an awl up through the T fasteners on three of the seat mounting spots, the exhaust pipe got in the way on one. and then poked the holes with the gasket punch then mounted the seat

top LTDs
20151031_151030_zpsok9ozk75.jpg

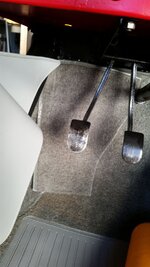
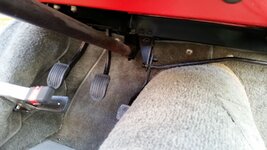
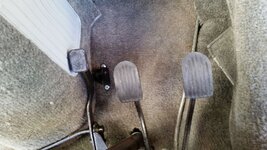
new pedal pads

20151031_151117_zpsdl4kgtrj.jpg

20151031_151614_zpslikwbecz.jpg

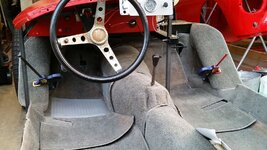
once everything is fitted out it comes for final installation and glue
 
Last edited:
I continued to trial fit everything today

you can see the awl marks on the blue tape, then use the gasket punch to create the hole

20151101_112908_zpslvjhb2zf.jpg

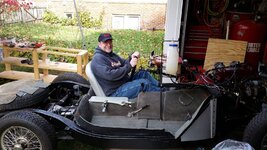
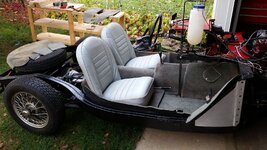
now up to two seats

20151101_115533_zpsp9sud8vb.jpg
 
thanks

one more piece getting sanded and buffed


20151104_131817_zpsibbt6eok.jpg

next victim

2000 grit sanding

20151104_133222_zpsqistmzps.jpg

20151104_133206_zpsbh5t3jql.jpg

20151104_133212_zpswm60kav0.jpg

and lastly the base for my arm rest, this will not be attached just a free floating one.

20151104_133611_zpsbtdxkkie.jpg
 
Back
Top