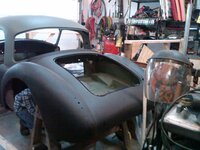
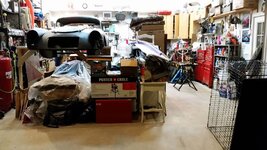
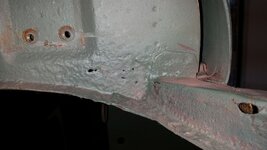
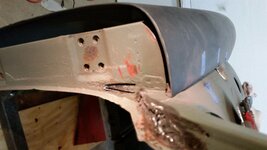
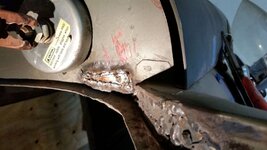
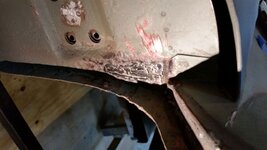
1958 MGA Coupe

VetteMod - Corvette Restoration, Modding & Performance Forum

Help Support VetteMod Forum:

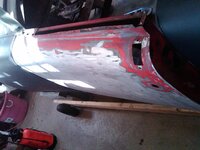
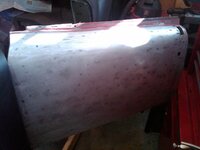
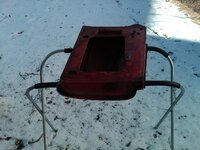
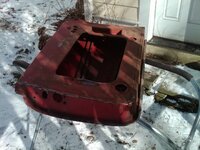
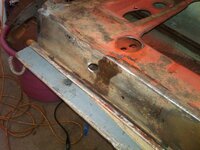
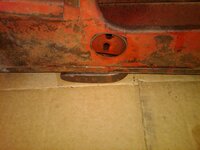
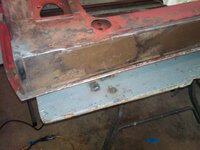
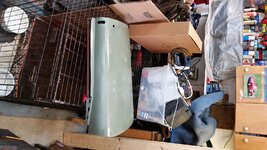
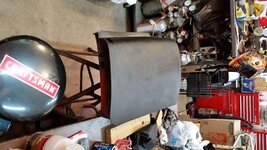
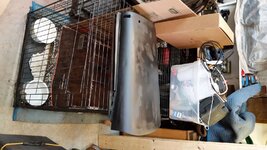
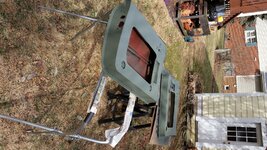
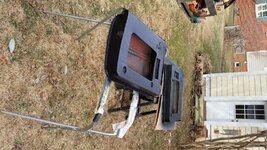
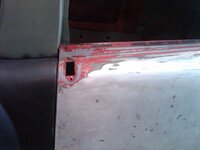
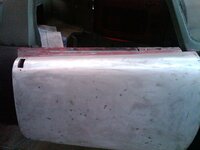
remaining door lock hardware came off today and time to sand the remaining paint off, tomorrow the doors will come off and I will sand the doors out side
IMG05050-20150109-1304_zps7d48460a.jpg

IMG05051-20150109-1357_zpsa94a87a9.jpg

IMG05052-20150109-1357_zpsea64a0c3.jpg

IMG05053-20150109-1411_zps44f4ce94.jpg


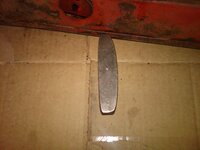
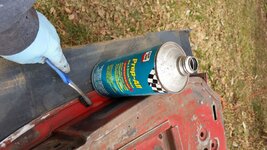
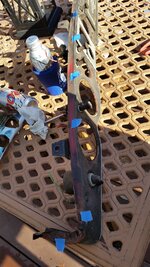
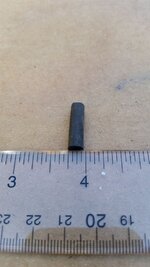
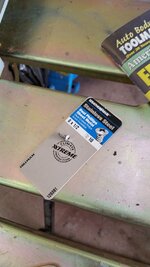
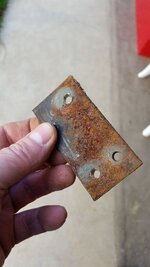
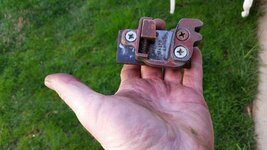
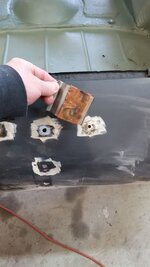
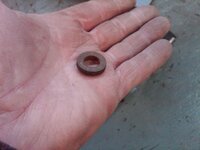
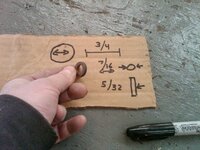
and while cleaning up I found a spacer on the floor???? does any one recognize it. it has flecks of blue paint on it......you know my son just brought over a blue pallet fork lift and it has a broken hand release mechanism and we were turning it over to look at it....any way does any one recognize this? I clean up regularly so it has to be some thing I have done recently worked on.
IMG05054-20150109-1423_zps7563f8fd.jpg

IMG05057-20150109-1427_zps93e8edef.jpg
 
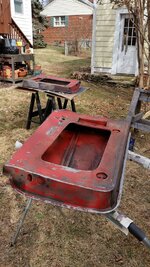
17* outside and a slight breeze.....flannel lined pants, shirt, 2 hooded sweat shirts, jacket, gloves goggles to cover the eyes since they were freezing....it was cold!

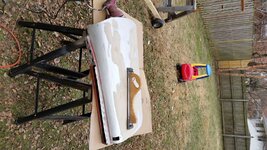
sanded the doors, a little more to do but too cold out side

IMG05058-20150110-1019_zps95cbd75e.jpg

IMG05060-20150110-1208_zps8bb6a65e.jpg

IMG05061-20150110-1213_zpse30705a7.jpg
 
when in doubt take more stuff apart

IMG05063-20150111-1125_zpsdce4b9cc.jpg

IMG05064-20150111-1206_zps6bb822ee.jpg

bottom looks really good

IMG05065-20150111-1206_zpsea0494d7.jpg

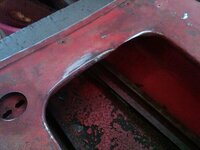
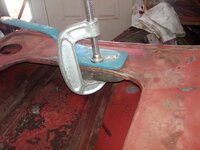
lets take out a crease
IMG05067-20150111-1207_zps35f7e50c.jpg

IMG05074-20150111-1220_zps97eb687b.jpg

crease removed and lip folded back over again
IMG05076-20150111-1238_zpsc7df042a.jpg

just like the other side

IMG05077-20150111-1239_zps9b30eb43.jpg
IMG05078-20150111-1239_zps9b073573.jpg
IMG05079-20150111-1302_zps301ae277.jpg


a few spots to repair on the bottom
IMG05080-20150111-1303_zpsb40736b2.jpg
 
Last edited:
a few spots to repair on the bottom
IMG05080-20150111-1303_zpsb40736b2.jpg

Ya lost a bracket there on that last /img tag. Every time someone takes a car apart, something goes missing and somehow ends up with two extras of something else. :harhar:

added the IMG bracket, I am pretty sure that spacer is off of the pallet jack we were turning over....the blue paint kind of gives it away since the pallet jack is also blue. my car only had some blue paint on the exterior of some of the panels, but no where on any nuts,bolts, engine parts, brackets etc...
 
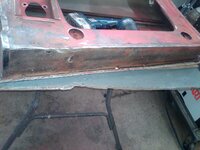
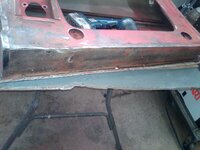
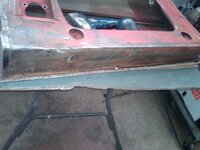
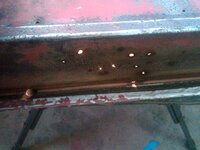
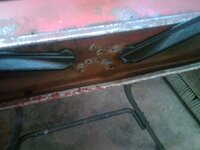
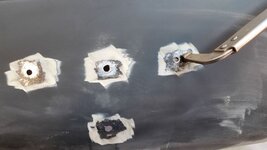
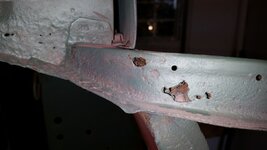
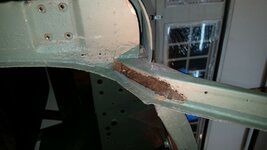
lets take care of some pin holes

the flash light shows the spots, after much deliberation I decide to plug them this is about 1.5 hrs of work

IMG05082-20150117-1217_zps5701a2dc.jpg

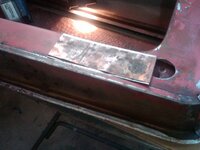
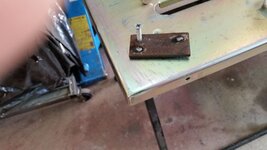
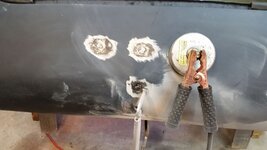
I made a nice big backing plate wrapped in copper

IMG05084-20150117-1222_zpsef960bbf.jpg

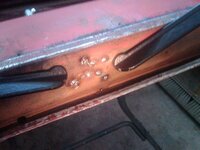
grind the area and plug the holes

IMG05085-20150117-1227_zps96c78a8c.jpg

IMG05086-20150117-1237_zpsff394de9.jpg

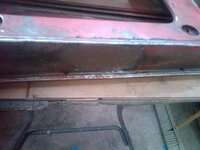
once again after final grinding when you think you are done do the flash light test

IMG05088-20150117-1331_zps6ab18398.jpg

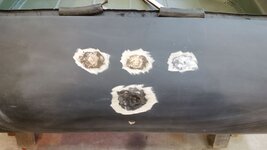
nice skim coat of fiber glass and time to move on to the next spot, I need to remove a bracket to knock that "hole" flat and the screw is frozen on the bracket so its soaking

IMG05090-20150117-1344_zps90f44fb5.jpg
 
As an Amazon Associate we earn from qualifying purchases. Product prices and availability are accurate as of the date/time indicated and are subject to change.
well it was a busy day today


here is the manmade hole surprisingly located underneath the first barrel bolt of the door frame.

IMG05091-20150118-1004_zps1ec36b03.jpg

body dollys come in all different shapes and sizes this has a radius side and a flat side

IMG05092-20150118-1009_zps8252fe79.jpg

hammer from the inside "on dolly', this means the hammer hits the metal on the support dolly, off dolly means the hammer hits the metal but the dolly is not behind the striking hammer

IMG05093-20150118-1009_zps6afea666.jpg

first go around
IMG05094-20150118-1029_zpsa58ef013.jpg

all done

IMG05095-20150118-1041_zpsbee9e82a.jpg

skimmed with fiberglass
IMG05097-20150118-1056_zps88742cf4.jpg


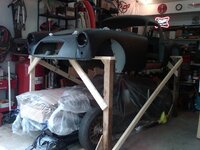
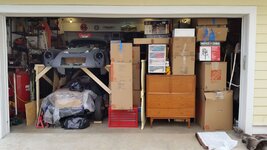
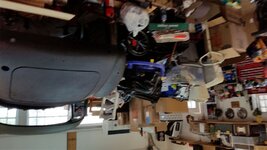
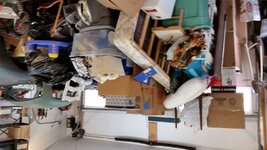
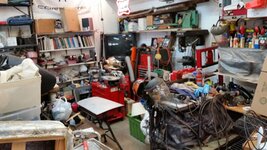
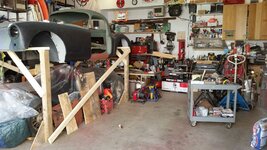
now to the work that got me no where......my son, his wife, granddaughter and dog are in between apartments so they will stay with us for a short time and the garage will be used for storage

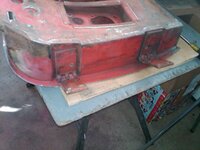
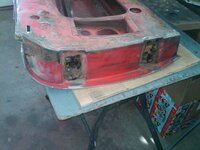
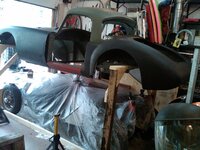
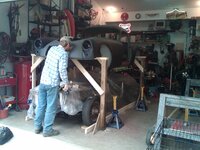
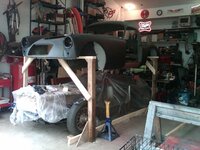
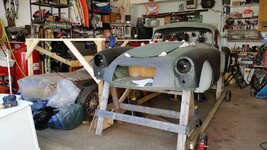
built a frame for storing the body on top of the chassis
IMG05098-20150118-1353_zps9e799af9.jpg

lift the current car body and frame up on to 12 ton jack stands about 24" tall
IMG05099-20150118-1354_zps4ecfe248.jpg

we got the heights with in 1/2" of each other then my son and son inlaw just got on either end and picked it up on to the new frame

IMG05100-20150118-1412_zps20c436ad.jpg
IMG05102-20150118-1413_zps573cba14.jpg

you can see how high up the blue jack stands are these were under the old car frame
IMG05104-20150118-1421_zpsf88456cc.jpg
IMG05107-20150118-1500_zpsab7c9b27.jpg
 
Last edited:
Took me a couple of days to read the 70 pages and look at these pictures of the progress.
Good job Bob!

Thanks for the insight, I just took possession of an '62....you made my life much easier.

Keep it up!

Greetings from North Texas
G-Pete:drink:

m_20150128_130507.jpg
 
Took me a couple of days to read the 70 pages and look at these pictures of the progress.
Good job Bob!

Thanks for the insight, I just took possession of an '62....you made my life much easier.

Keep it up!

Greetings from North Texas
G-Pete:drink:

m_20150128_130507.jpg

nice looking coupe, I figure there are probably 1200-1800 coupes left in existence in the world, but who knows for sure. they only made 10,000 to begin with and racers have always wanted these for race cars and thats a hard life...
 
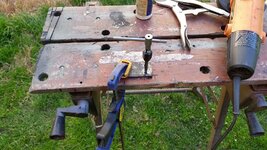
well finally some nice weather, as you can see I need to do as much out side as possible

20150207_123424_zpsoxejclcc.jpg

20150207_123022_zpsfuwdsi6z.jpg

20150207_123132_zpsr81ku03n.jpg

we did save some small work area and a place for the visiting 85lb beast, I mean my sons dog

20150207_124152_zpstiqsnu6d.jpg


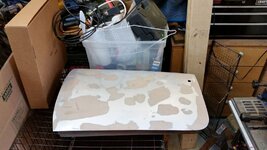
time to do some more sanding on the door skin and put some filler down, since there is no repair here it is just polyester filler

20150207_135304_zpsdeopcbvo.jpg

use a long sanding board so you don't get waves

20150207_140125_zpsn4ybpwc5.jpg

20150207_144936_zpse26osyvp.jpg

after sanding and a wipe down with wax and grease remover it gets the self etching primer. the kids and dog are away for the weekend so the evaporating primer will not bother the beast.

20150207_145826_zpsfktpu397.jpg

20150207_150030_zpsedvcm6py.jpg

and my black primer

20150207_152131_zpslbrmrrti.jpg

20150207_152202_zpszclakjp5.jpg
 
beautiful day today high 60s*

sand the doors one more time

20150208_132006_zpswv8udy9g.jpg

thoroughly clean them, a paint job is only as good as the prep work

20150208_130813_zpsoh1zqif9.jpg


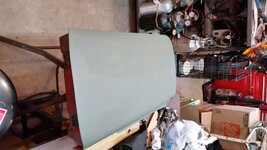
first coat self etching primer

20150208_133253_zpseinvzth6.jpg

and the black higher build primer. funny thing was the doors were not painted under the hinges....so this time around that area will get painted before the door gets hung. that may be the first car part i paint the body color.

20150208_135307_zps1wnp7ybc.jpg

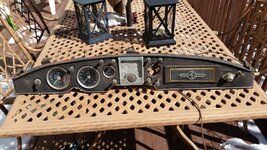
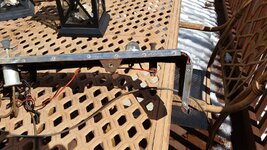
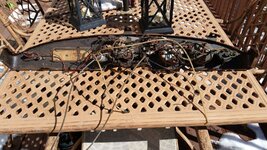
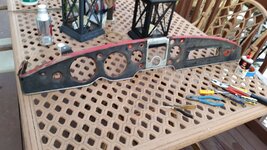
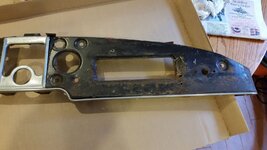
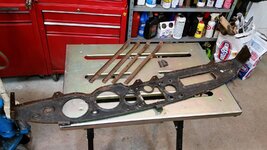
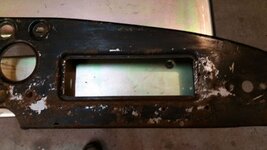
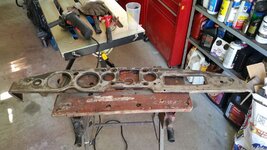
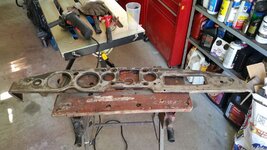
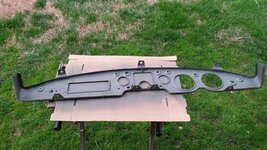
i guess my next task will be to start cleaning up the dash. its still accessible.
 
Last edited:
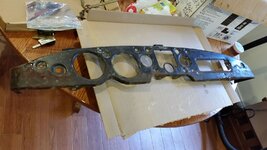
finally another nice day....worked on the dash

20150308_130602_zpstjuwcpac.jpg

these are those small head rivets that are hard to Find. there are some in the mail to me from Gio but they must be stuck in customs some where.

20150308_130646_zps5zn0pwzv.jpg

20150308_130456_zpsqvebzwbr.jpg

I marked the retaining clips

20150308_164517_zpsouyu4n71.jpg


heres the how they make the bead

20150308_164712_zpszmxhwjqt.jpg

heres the thickness of the tube

20150308_165355_zps8lntu9jj.jpg

and where we wound up

20150308_182034_zpsqywal34d.jpg
 
Last edited:
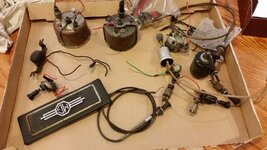
worked on the gauges some today

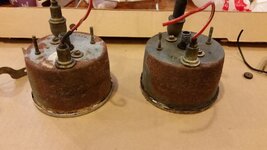
start by cleaning off lots of dirt

20150314_114222_zpsf3lhew6q.jpg

some light rust on the outside really more of an annoyance then anything else

20150314_114410_zps7hzwn4d7.jpg

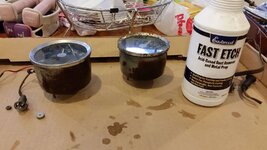
I think the fast etch will clean this up

20150314_120117_zpsmqi55bxp.jpg

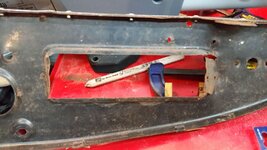
some damage from the previous owner probably installing a radio
20150314_120834_zps8s3spgtz.jpg

20150314_121556_zpsdbcmft2z.jpg

easy way to pop off the clip fasteners

20150314_124740_zpsqbonx0xp.jpg

20150314_124912_zpsbxb1kmb4.jpg


so I have some weld repairs to do and the welder is buried, but the good news is the kids found an apartment so dad gets his garage back in a few weeks. this was a nice break but I am ready to move forward
 
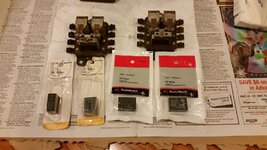
today I found two turn signal relays, but my trip to radio shack was a wasted trip and although the computer showed they had the relays needed to convert these to an electronic relay system. they were no where to be found in the store

the good news is one of the relays internally looks in pretty good shape, if you can judge coils by looking at them. so its time to so some trouble shooting with them. now to take the 12v battery our of the motorcycle and get it charged

20150315_121047_zps9mfzluzq.jpg
 
well another trip to two more radio shacks.....one to a store that is staying open to purchase one of the DPDT (double pole double throw) relays. cost me a whopping $ .97 at this store for one. then to a store that as closing.....to buy 3 relays......for $.17 each. I purchased all they had. I was thinking of you guys when I saw the price but they didn't have more to buy. I still want to test the original turn signal relays to see if they work before I cannibalize them.

20150317_214528_zpsly5w6gu7.jpg

heres Barneys write up that I will be following assuming at least one of these doesn't work.

http://mgaguru.com/mgtech/electric/ts202.htm


and heres the definition of the relay for those wondering "◾A six-terminal switch arrangement which serves to connect one pair of contacts with either of two available pairs of contacts. Its abbreviation is DPDT switch. Also called double-pole switch (2)." if you look at Barneys site it has the schematic diagram explaining how the relays work inside of the turn signal relay.
 
I may repeat myself, but if you want to remove rust without acid or mechanical action, Evaporust will do wonder.
 
I have never tried that stuff I will look for it


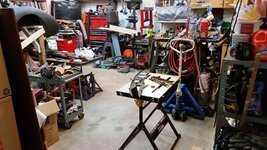
well came back from Easter break and spent some time cleaning up the shop, and making some space for me. didn't leave too much time to play but I managed to smoosh some metal

20150405_211526_zpshycgw5y4.jpg

20150405_211058_zpsczxydbox.jpg


what needs to be corrected
20150405_212436_zpsyrxmhajg.jpg

20150405_212542_zpsvmptepmq.jpg

working it with a hammer on an anvil

20150405_214103_zpsparjrmld.jpg

and we are getting there
20150405_215241_zpsojd8j1kb.jpg


I have the same extension weld marks as every one else. on an MGA coupe then ends that return are hand welded on at the factory

20150405_213435_zpsg8ww06rn.jpg
20150405_213445_zpsqzg2blvo.jpg
 
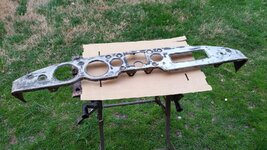
a really quick hit today hopefully I can wrap the dash up tonight, today was wire brushing sanding and painting

20150411_102319_zpsjgmezbp0.jpg

a stainless steel look

20150411_104708_zpscws0yplg.jpg

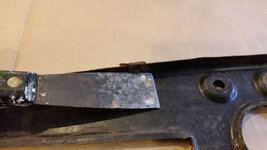
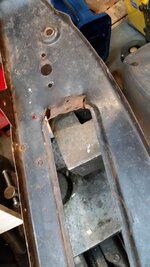
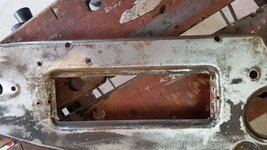
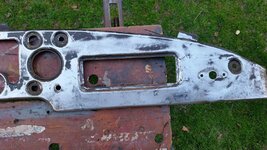
still need to weld up the tears.. afdter wire brushing I sanded it

20150411_155013_zpsheekqpda.jpg
 
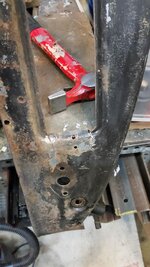
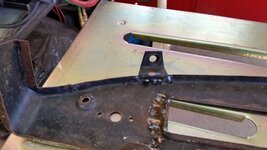
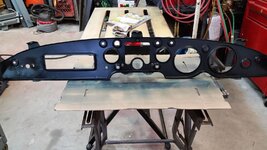
worked on the dash some more to fix the damage from a radio install and to weld the top tab back on. the coupes dash get wrapped in vinyl covering ,so it can be less then a paint quality finish
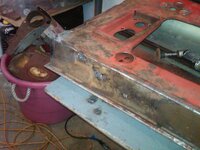
20150411_155013_zpsheekqpda.jpg

20150411_171616_zpsu7zrepwc.jpg

voilla just add some welding magic

20150411_181031_zpsf912nyof.jpg

20150411_174852_zpsi3xl23wb.jpg

20150411_181652_zpsuaowkasl.jpg

20150411_182146_zpsbdu49kcg.jpg
 
well I understand that my garage comes back to me tomorrow and the coupe comes off the high storage frame and back on to the moveable saw horses.
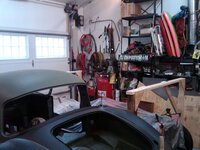
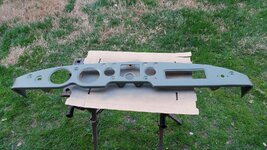
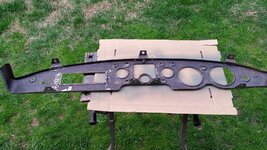
so lets wrap up the dash board, I sanded the back side and self etch primed it and then both sides got primed in black primer. after sanding the back side I don't think the black was anything other then a primer

20150417_181941_zpsxijaqxgl.jpg

20150417_183909_zpsykldbaez.jpg

20150417_184657_zps71sur7hb.jpg

20150417_185938_zpsltxehoqb.jpg
 
almost back in business.....

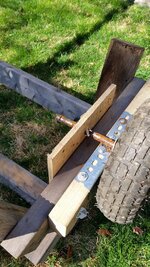
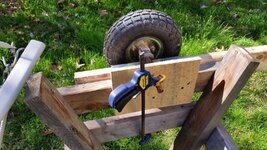
we start by fixing a design flaw in my moveable saw horses and fix the rear part of the axle so it doesn't move down and make the wheels cant

20150418_094030_zpsub4mm2wg.jpg

20150418_094039_zps4ivma0tp.jpg

lets fit the drivers side shut face panel

20150418_095512_zpsuxg3bahv.jpg

20150418_100208_zpswz0iikhs.jpg

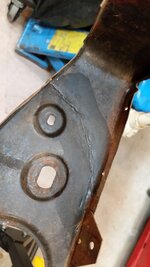
and I find out the bracket that the latch attaches too has been drilled out
20150418_101319_zps8bf47nlz.jpg

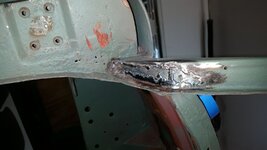
weld up the holes

20150418_101953_zpstmzayzcd.jpg

drill and tap
20150418_105838_zpsdktklsch.jpg
20150418_111302_zpsegzpvpde.jpg

finally
20150418_111647_zpshlyesqjs.jpg

20150418_115048_zps3ibtrozj.jpg

20150418_131017_zpspltvzqef.jpg
 
simply because you're working on an English car, doesn't mean you have to change the proper terms of "door post" .... :mullet:

did you fire the engineer?

since you're all about english authenticity (shut panel :lol:), did you add rust to that hinge plate?
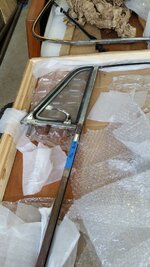
 
i think the rust will come naturally.....the British do have their own names for things thats for sure and compared to Austin Healeys the MGs were well engineered...... i like the British terms for tools...spanners and ring spanners, ( open end wrench and box end wrench). we wont even talk about whitworth vs AF......and I think shut face panel isn't such a bad term since it hides the door pillar post and covers the rear fender (wing) where it attaches to the door post and the rocker sill.

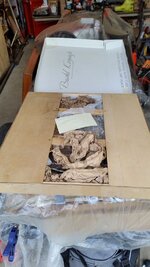
got some parts for the doors today. I can see rebuilding these will be a challenge. but that will be in a while...

20150422_182855_zpsoymfcikg.jpg

20150422_184012_zpsbg3l4atd.jpg

20150422_184139_zps5xr8w4k8.jpg


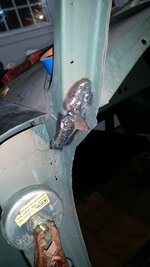
lets take care of 4 holes....use the copper wrapped sheet steel as a backing so you don't get any burn through

20150422_190941_zpsewcjcvbu.jpg

20150422_191336_zpstxhllbm8.jpg

20150422_191517_zpson2vgwxn.jpg

20150422_193049_zps5ko7lp7u.jpg

20150422_193844_zpsbhqkhmpb.jpg
 
Last edited:
I believe I am down to the last several welding jobs

20150423_211046_zpsxxedaf50.jpg

my how the small holes always seem to get bigger

20150423_212832_zpsbphrepfu.jpg

I had to use a tab to hold the top piece, just a small welded tab

b19e1e5e-43f4-4cd3-8fd2-057d03a8cd13_zps5eivmylf.jpg


20150423_221142_zps3wwirurd.jpg

tomorrow nights work the lower holes

20150423_211051_zpst9vp7ezv.jpg
 
Back
Top