1958 MGA Coupe

VetteMod - Corvette Restoration, Modding & Performance Forum

Help Support VetteMod Forum:

First car I ever owned & fell in love with was a little red MG TD. I was 4 years old and it was about 6" long, made of cast metal. I played with it for years, until the wheels literally fell off. I have no idea what became of it, but I still miss it. It was a very great influence in my always & never ending relationship with things that go.
 
funny you mention that, mine was a remote control jag xke coupe with a control box that was atached with wires to the car....circa 1965
 
Wow! I had one of those too! When I was about 10. Red, about 18" long, with a battery/controller box about 5" square. Ran the wheels off of that also. GI Joe totaled it while on leave.....
 
wow , another red one ! Gotta love those handles on the dash board

:friends:Nice find

thanks and yeah it really does catch your imagination from many different perspectives and it totally smells like a british car.....gas and oil. i think i have two keepers


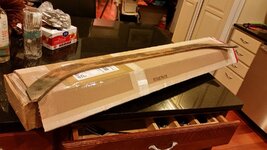
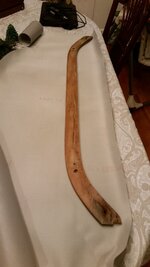
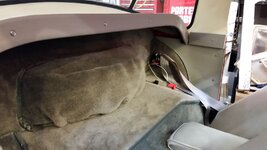
well Tom of TeamEvil fame has come through for me and I now have a fascia trim piece for my rear parcel shelf. this is the last piece interior trim i needed. thanks Tom

20161121_221304_zpsh6zlfmle.jpg


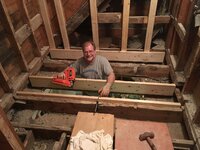
and i still have some ooomff left in the old guy, sistering up some new wood on the old joists that had the concrete set tile floor....in the kids house taking away from MG time.....oh well

IMG_0453_zpsyycx1fe1.jpg
 
love those nailers - I keep trying to convince myself that I'd actually use one enough to make it worth it.... so far no, but I've found the older I get, the more easy it is to come up with excuses :)
 
As an Amazon Associate we earn from qualifying purchases. Product prices and availability are accurate as of the date/time indicated and are subject to change.
you know nailing with hammers is for young guys......

i lost feeling in my arm for several months from nailing about 25yrs ago......so now i just use power tools for that.

i like the Paslode that one has to be 15 yrs old. my other nailers are pneumatic.
 
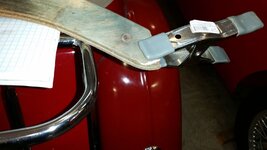
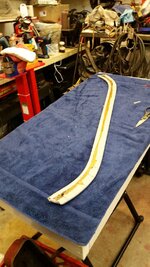
well lets finish the interior took care of some delamination on the parcel shelf front fascia, goal this week is to wrap it in vinyl and screw it in place


20161127_200915_zps2gdnvxbf.jpg
 
the TD is a pretty cool car for sure and it smells like a british car.....gas and oil.

for the last 4 years my garage has not smelled like that with the MGA in it.


I have been looking for a gas leak on the TD but there are none to find. I will have to try sealing the gas tank while its in the garage and see if that does anything.
 
20161214_200615_zpsvjxlivfh.jpg

20161214_213857_zpsgykj3aov.jpg

20161214_215651_zpsbi1eoad6.jpg

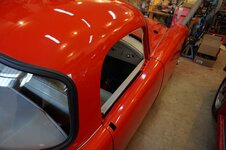
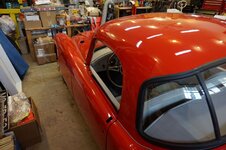
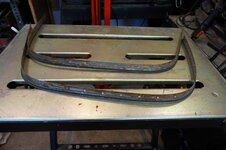
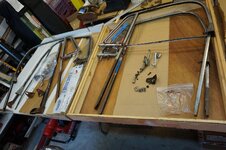
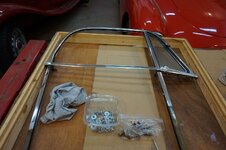
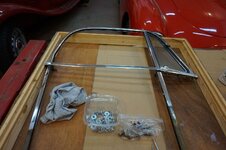
pretty icey here today....so lets clean up the window surrounds and get them into place this weekend.

DSC02094_zpscxw3yjls.jpg

DSC02095_zpsno6ite2f.jpg

DSC02099_zpswzhzycya.jpg

DSC02100_zpsuhu6apwm.jpg

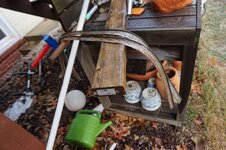
and outside in the iciness with paint stripper on it

DSC02102_zps3saf3qme.jpg
 
Last edited:
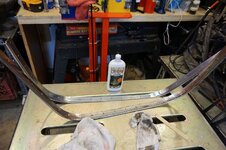
i just went to the auto store and used up a gift card on some chrome and metal cleaning polishes. lets start with this stuff

DSC02106_zpsg4xxiy3v.jpg

DSC02107_zpss7ocg9az.jpg

DSC02108_zpswoucvlj4.jpg

DSC02109_zps2dk5jrww.jpg

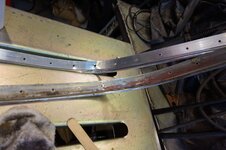
not such a bad start for about 90 minutes of work
DSC02110_zpsbotwtayc.jpg
 
Last edited:
the TD is a pretty cool car for sure and it smells like a british car.....gas and oil.

for the last 4 years my garage has not smelled like that with the MGA in it.


I have been looking for a gas leak on the TD but there are none to find. I will have to try sealing the gas tank while its in the garage and see if that does anything.

Gas cap or carburetor float bowl vent?
 
the TD is a pretty cool car for sure and it smells like a british car.....gas and oil.

for the last 4 years my garage has not smelled like that with the MGA in it.


I have been looking for a gas leak on the TD but there are none to find. I will have to try sealing the gas tank while its in the garage and see if that does anything.

Gas cap or carburetor float bowl vent?

the fuel sender unit as a cap on it that was not tight and was leaking, i cleaned it determined it was the culprit and siphoned the gas and removed the cap cleaned and put some blue RTV sealant on both sides of the gasket and reassembled it....i have been adding a gallon per night and it has not started to leak so i think i fixed it....

my first thought was the gas cap venting was too big but then i found the weeping sender unit
 
thanks and you guys embarassed me into action

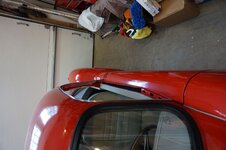
some more polishing and a test fit
DSC02239_zpstpibhnjb.jpg

DSC02240_zpsh4ulpbsi.jpg

DSC02241_zpsrbhmfzbv.jpg
DSC02242_zpsnxlkoht6.jpg

and next is polishing like 50 SS rivets...

I did some neat stuff with the modifying the clutch lever and making the clutch rod adjustable.

Needle bearing design is by Declan Burns, I am just the fabricator the other mod is the Mike Oconnor mod

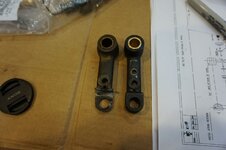
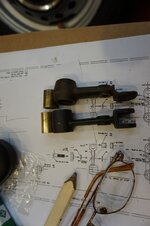
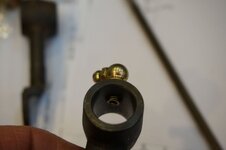
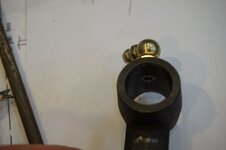
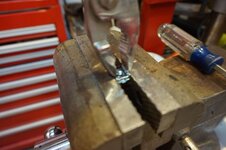
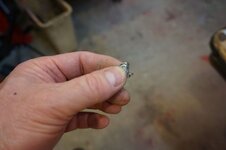
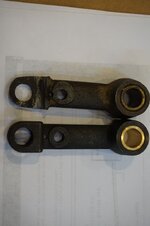
as you can see my clutch sump lever broke when i went to center punch a starter hole for the modification of the clutch sump lever. I have been conversing with Declan Burns about his rose bud clutch linkage set up and he mentioned about adding needle roller bearings in place of the bushing. well one thing lead to another and declan posted pictures of his modified lever with the parts information and instructions on how to do and here we are......

The reason the sump clutch lever broke to begin with is because the holes are off center and it pushed the spring hole into the forked area....you can see the discoloration meaning it was broken for a long time, this would have stranded me sometime in the near future....
DSC02171_zpsofowwjie.jpg

Not the same mistake twice
DSC02172_zpszeoj4jrs.jpg

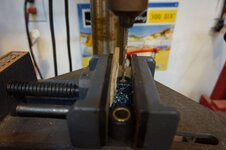
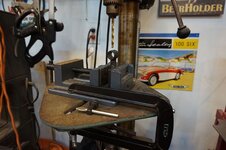
Drill press in action
DSC02173_zpsmbbvzp2o.jpg
DSC02174_zpsnbowausl.jpg
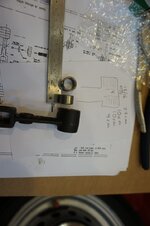
The deisgn
DSC02175_zpswm0rsud1.jpg
Pop out bushing
DSC02176_zps7mbtgifr.jpg

Practice with old one firstDSC02177_zpsttub28tf.jpg

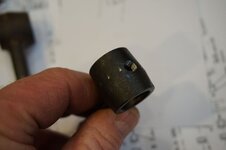
Hole for grease fitting
DSC02180_zps5h3yoysj.jpg
DSC02183_zpsooqcmmue.jpg

DSC02189_zpsykjod8qr.jpg
Too long
DSC02191_zpsejah47kr.jpg

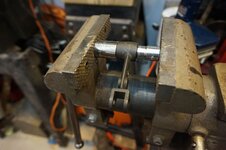
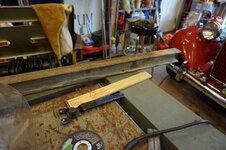
Lets save the face of the vise, I used a grinder with a cut off wheel
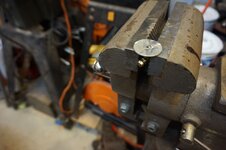
DSC02192_zps8pb8qkfp.jpg
Much betterDSC02201_zpseu36setl.jpg

And enlarge the opening a very little and in they go
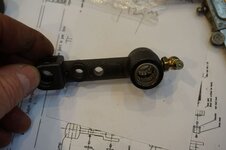
DSC02203_zpsovtzjfph.jpg

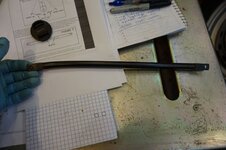
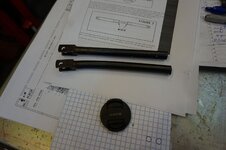
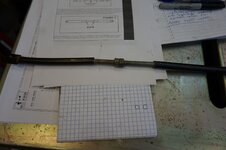
also made my clutch rod adjustable

DSC02123_zpsmtwxbnet.jpg

DSC02124_zpseevws9ki.jpg

DSC02125_zpsjjkfnyhp.jpg

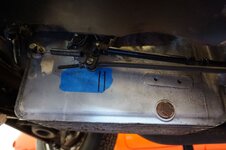
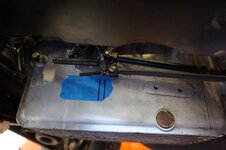
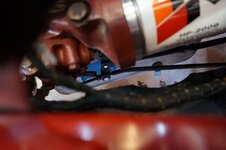
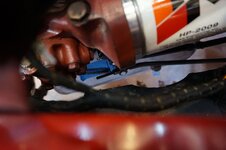
I went out and looked at the motion of the lever arm its really close to being equi distant travel.....its hard to eyeball it when the front is off the ground so i can crawl under it. Those parallel lines are drawn from either side of the bushing lever shaft using a square on the sump pan ribs...
DSC02207_zpsperte2y7.jpg

DSC02208_zpsdzuxcsgy.jpg

DSC02213_zpsdorzgbkv.jpg

DSC02216_zpsksyrhgpn.jpg


the test drive is complete and the terrible biting in first gear is gone and the car has a usable gear......well at least it is somewhat manageable....much better then before.

 
Last edited:
well it happened....the garage is absent all the big wood working tools tehy went to my oldest son, just small stuff left and it has been rearranged to take advantage of some new gained space....., I spent a bunch of time throwing stuff out, and then the mood hit me, time to work on the car again,....some body needed pictures of my door locks, let me go through some emails or send me what you need photographed, and the extra set of window chrome will be available when i am done if some needs it.

DSC02296_zps6rmgokag.jpg

DSC02297_zpscs8inumb.jpg

DSC02298_zpsjulqrqhr.jpg
 
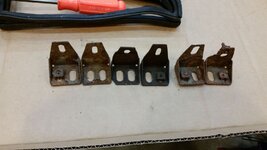
well you have to start some where:

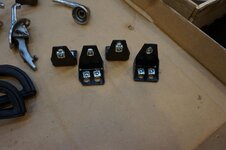
of course i have 6 of them, so lets take the best 4

20170424_162947_zpsnjg1dqx7.jpg


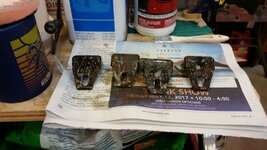
clean them up and paint them with the zinc oxide treatment
20170424_170034%201_zpsqpqzidjl.jpg


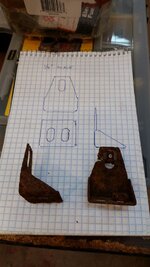
did somebody need these dimensions?

20170424_170554%201_zpsijxnfun9.jpg
 
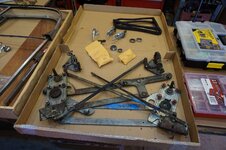
small bites as usual, last night i painted the brackets

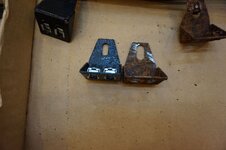
dont ask me why but there are three different hole sizes for the holes for the caged nuts...one size for the bottom and two sizes for the top...of course there is

DSC02300_zpswym4tfql.jpg

so carefully pull the tabs close together or make the small holes on the top bracket bigger

DSC02304_zpsisemwpop.jpg

i did say carefully right?

DSC02310_zpspcccscjk.jpg

no problem I have another one that is an original

DSC02311_zpslp94paxs.jpg

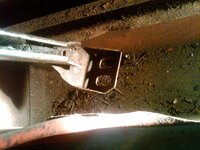
looks like cross slotted on the outside with a washer and hex head on the inside

IMG04997-20141227-1443_zps8482b435.jpg

IMG04983-20141227-1157_zps84127cf7.jpg
 
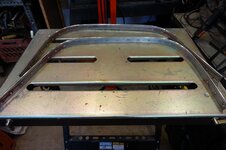
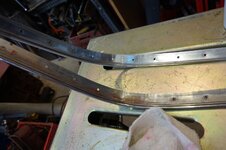
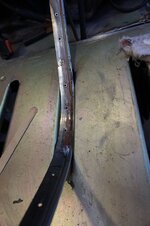
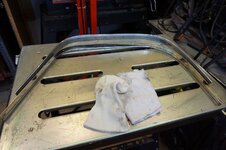
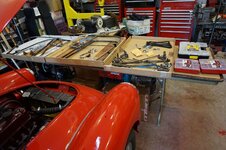
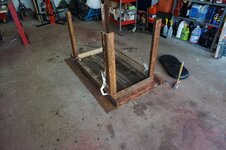
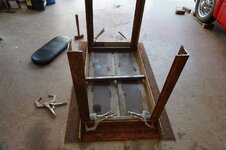
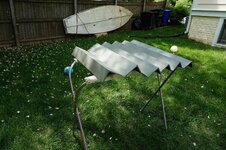
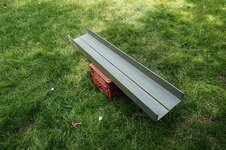
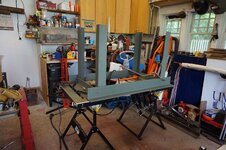
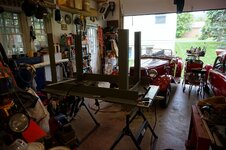
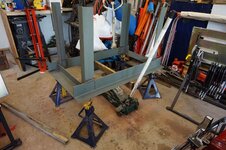
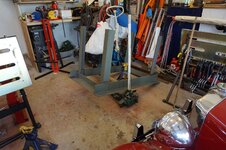
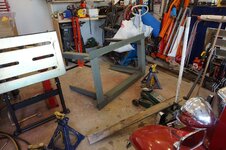
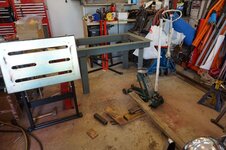
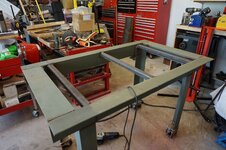
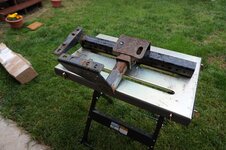
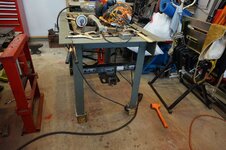
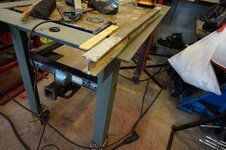
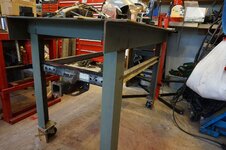
well i gave my welding table to my son along with the wood working equipment......so what is a poor boy to do???? 5 hours worth of work by Grandpa....those 9' pieces were heavy....

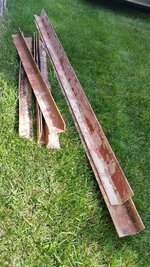
remember this, lintels from old brick houses that are being torn down.....9' x 3x5 x 5/16 USS steel... and 6'x2 1/2 x4x1/4

20150611_095956_zpscvptlh4a.jpg

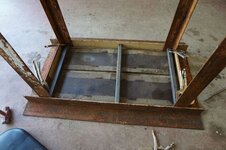
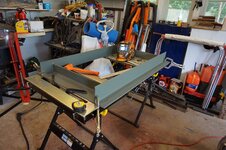
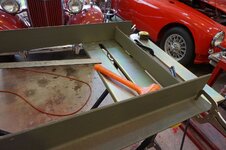
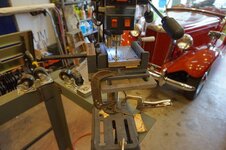
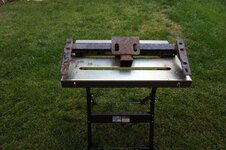
it will have full inner perimeter clamping capabilities and a clampng slot down the middle, top is 11"x 1/4" table size is 35 x 54. depending on how is use the 3x5 angle iron, i may do one side with a 3" spine and and the other with a 5" spine. just to give maximum vesatility. the 5" spine would be good for straightening out metal parts
DSC02315_zpsgfvsthpr.jpg

DSC02316_zpspyrqb0bu.jpg

DSC02317_zpswvorwjps.jpg

DSC02318_zpsbiog6xgc.jpg

wire brushed and wiped down

DSC02321_zpscucytwue.jpg

DSC02322_zpsijilv3mw.jpg

and sprayed with self etching primer, most people don,t paint welding tables but this is really a metal shop assembly/welding table. i need it to be clean so if i brush up against it i dont get all dirty.

DSC02325_zpsjfsmwxvm.jpg

DSC02324_zpsj3bymwkz.jpg
 
another day of having fun!!

DSC02326_zpsvuwlxzcx.jpg

DSC02328_zpskwtydkxf.jpg

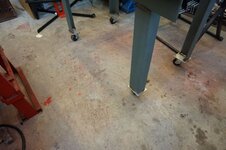
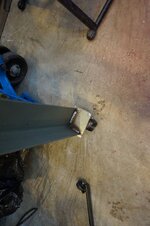
set up the legs

DSC02329_zpsuvmziksi.jpg

trued up

DSC02330_zpsws7t8pyt.jpg

welded up 240v hobart handler 190 set way up high

DSC02331_zpshno1xhxj.jpg

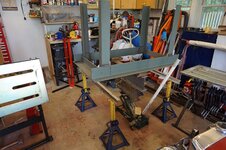
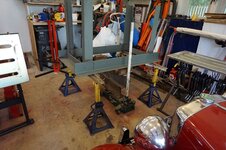
time to lower it it was just me working today....i estimated about 270 lbs

DSC02332_zps90hslgxr.jpg

DSC02333_zpsihmiliyp.jpg

DSC02334_zpsdz5kixt9.jpg

DSC02335_zpsahdt6kdv.jpg
DSC02336_zpsqiwg7i59.jpg

DSC02339_zpskzfrma5h.jpg
DSC02340_zpso9hinenv.jpg

DSC02341_zpsbgrrswe6.jpg

DSC02343_zpsoyv0zp4p.jpg
 
thanks


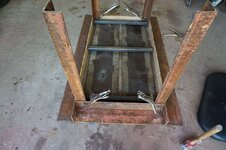
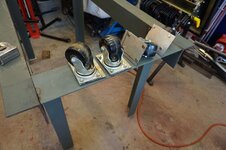
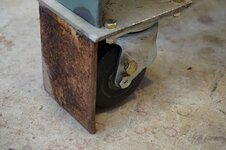
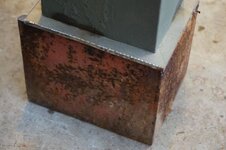
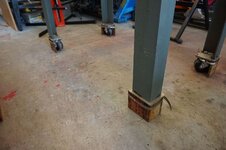
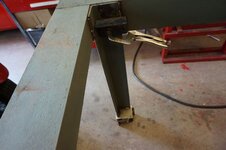
heres the blocking for the casters so its a rigid table....

DSC02345_zpsqhivm0iv.jpg

DSC02346_zpsvy86bjyj.jpg

for now its band clamped on and its rock solid, i think i will make some brackets at some time and bolt them in place.

DSC02348_zpsivlvbqgg.jpg

some bracing for the top supports while i weld it in place

DSC02349_zpsjhuzoo52.jpg

DSC02352_zpsfjvbkwyc.jpg

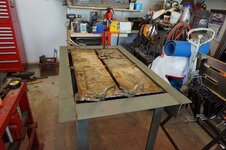
and my recycled top 11" x 1/4 from a parking lot repair that the contractors through in a dumpster at my sons work and he retrieved it for me

DSC02353_zpsy4twnash.jpg

next to incorporate a trailer hitch in to the under side shelf
 
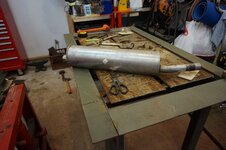
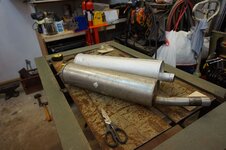
well since I have the MG TD with a relatively new exhaust it really has put the MGAs 40 yr old muffler to shame. i knew i needed a new muffler but with a side by side comparision i had to do something. so i have been watching for a replacement muffler and sure enough one of you guys in NC swapped your new exhaust system for a stainless steel system and your shop sold the replaced new muffler to me with shipping it was $39. the label hadn't even fallen all the way off yet

DSC02354_zpsuzh8znno.jpg

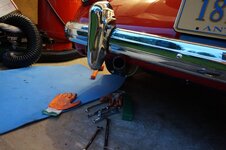
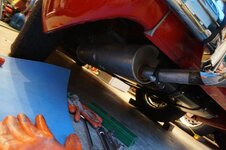
i didnt even jack up the car

DSC02356_zpsmvt8fmy7.jpg

i knew when i installed the exhaust system the old muffler would come off at some point so i never torqued up the clamps to crushing torque levels

DSC02357_zpskxdvosjl.jpg

DSC02358_zpsfscb4qoe.jpg

DSC02359_zpsbbt0bbcd.jpg


and the sound test was fantastic, it took 45mins.from start to finish
 
a left over Hitch from who knows where, it was under my deck

DSC02360_zpsrsmaki82.jpg

i lucked out i now have some receiver tubing
DSC02361_zpszqmjz5j9.jpg

the top will be my storage shelf
DSC02362_zpsturd3qcc.jpg

some i beam from fencing a neigbor was tossing
DSC02365_zpsrqni5iur.jpg
DSC02366_zps1pyqtheq.jpg

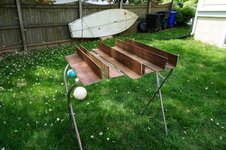
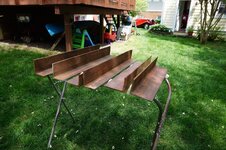
now i need to get some 1 1/2 inch black pipe to bridge the channels and then i can tack the top down and sand the new pieces and prime them and then slip it in place
DSC02367_zpsca16mfhp.jpg

with those pieces i am up to about 380 lbs
 
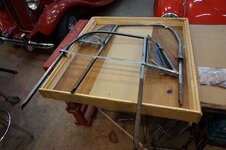
so lets wrap these windows up

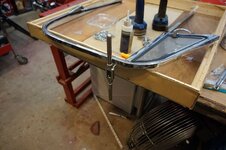
where we start with two now to make one

DSC02390_zpscraggmmq.jpg

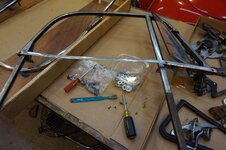
missing some screws

DSC02391_zpsnceualcd.jpg

take off the bottom chrome trim the other frame is the nicest

DSC02392_zps0yxwnvqw.jpg

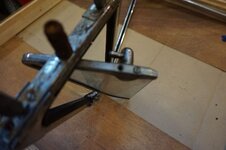
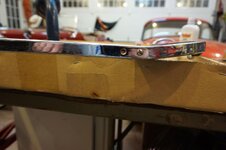
broken screw in the bracket and the other screw was missing but i had one

DSC02394_zpsruaekvy4.jpg

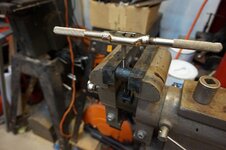
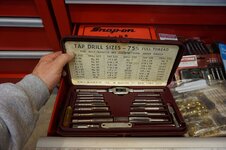
the tap set tells you what size hole to drill to tap new threads, for a #6 screw its number 35 or really close to 7/64 if its not it exactly

DSC02395_zps3u9d8rph.jpg

go slow and use cutting oil , you go backand forth cutting about 1/16 of a turn at a time especially for these small taps

DSC02396_zps5hs7k7h9.jpg

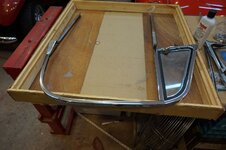
and after hand polishing

DSC02398_zpsjylju41q.jpg

DSC02399_zpsrnhrz0rj.jpg

so the only thing these window frame needs is a new inner liner for the frame. I have a new ventilator gasket but I am not sure if I am going t put that in or not

DSC02399_zpsrnhrz0rj.jpg

about 2hrs of work
 
Back
Top