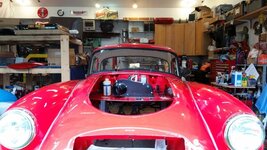
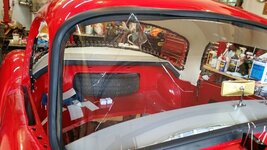
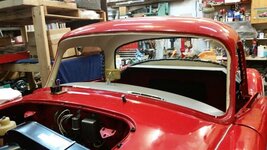
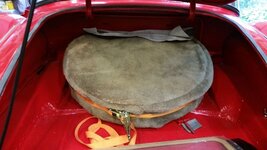
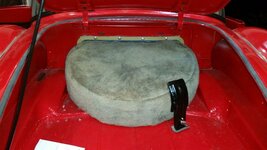
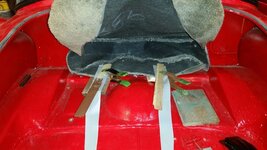
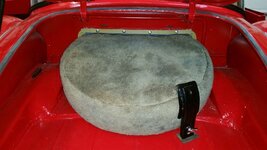
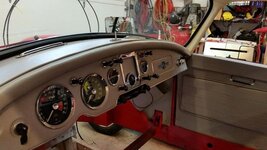
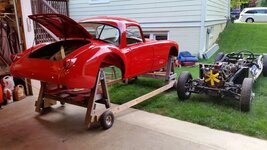
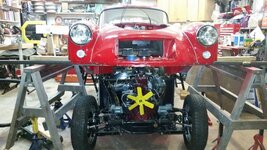
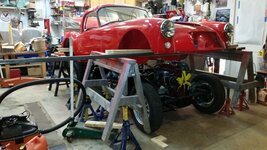
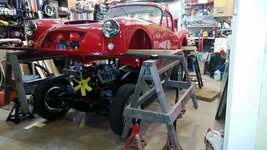
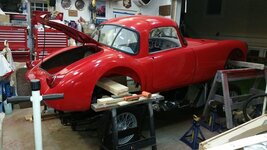
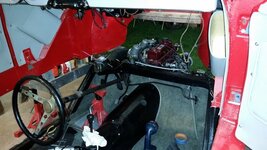
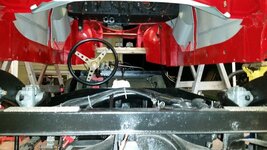
1958 MGA Coupe

VetteMod - Corvette Restoration, Modding & Performance Forum

Help Support VetteMod Forum:

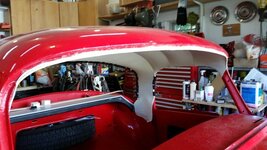
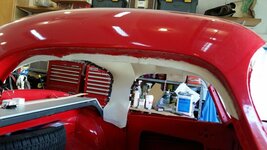
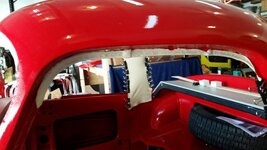
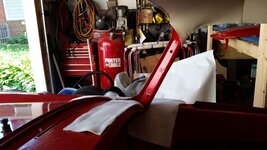
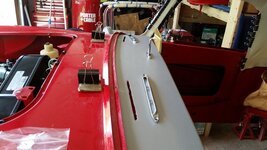
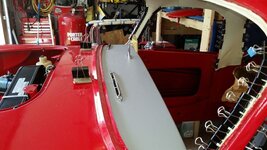
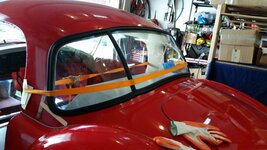
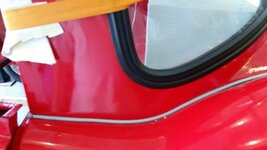
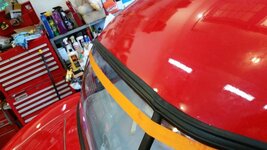
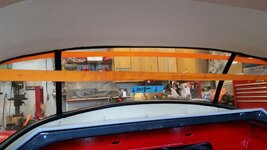
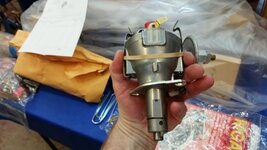
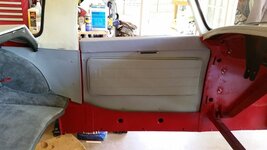
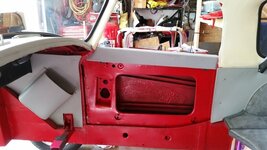
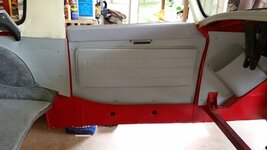
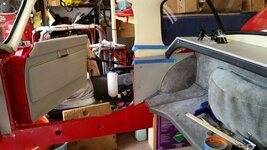
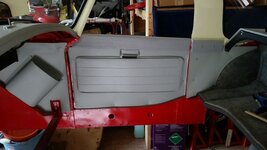
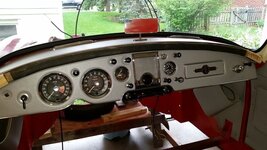
so now i move to the door openings....this gives me the front window and door openings done which allows me to put the vinyl on the scuttle, the mirror and the demister vents and then install the dash board and install the front window....the rear panel can be the last thing i glue down. now all i am waiting on is for my distributor to finish getting rebuilt by Jeff

20160617_085858_zpsxwltasfb.jpg
 
I think we may be done about the same time.... fortunately, since mine is a soft top, I don't 'have' to have it done before beating it like the cross-bred, red-headed stepchild it is
P6160004_zpshorsou4z.jpg[/URL]
 
oh yeah thats sweeeeeeeeeeeeeet, i saw and old style dune buggy that would be fun too


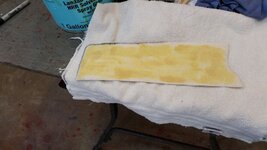
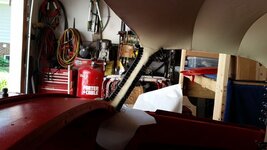
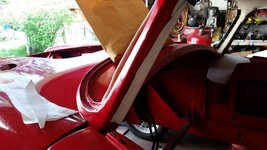
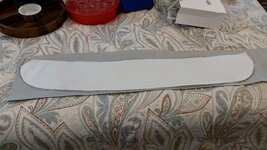
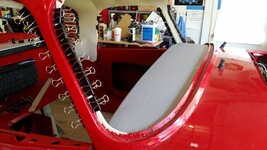
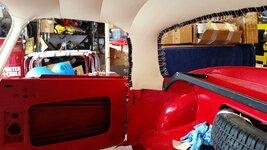
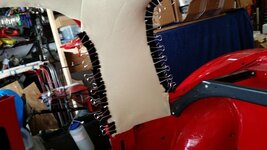
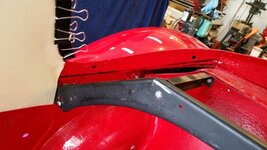
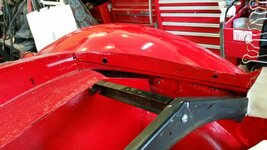
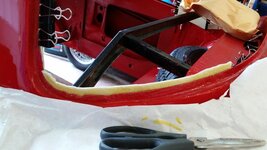
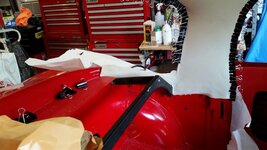
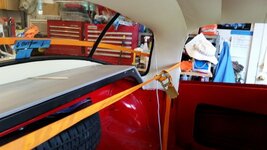
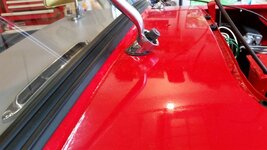
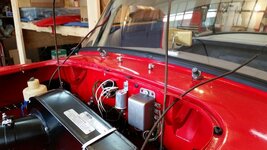
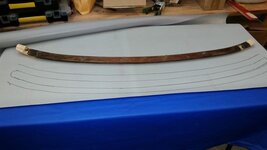
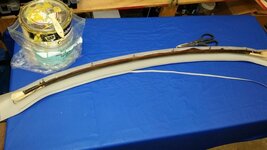
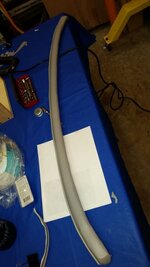
on a coupe the scuttle vinyl and mirror and demister vents have to go in before the windshield and the pillars have to be wrapped with headliner material before the door opening panel goes on.

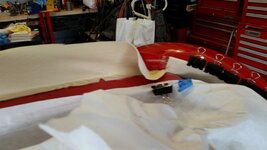
remove clamps and trim material where necessary

20160619_095119_zpszdjy1y9a.jpg

20160619_095123_zpsxvw21vnx.jpg

20160619_095135_zpsmx6adrxy.jpg


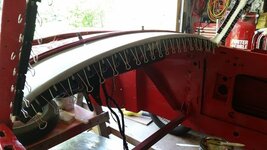
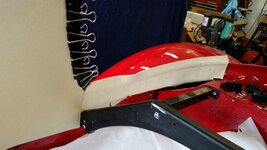
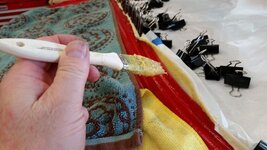
wrap pillar glue both sides
20160619_102939_zps2nyccz8m.jpg
20160619_105523_zpsgc8ck8k3.jpg

20160619_104701_zpsbw0xapwi.jpg

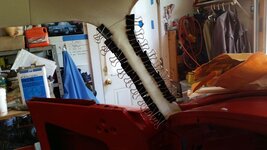
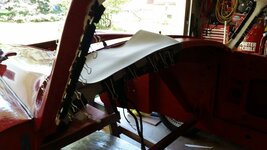
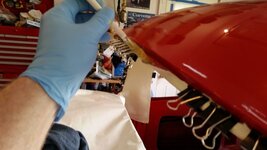
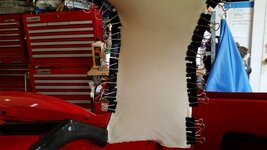
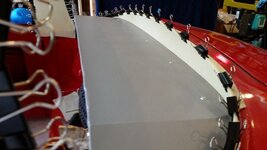
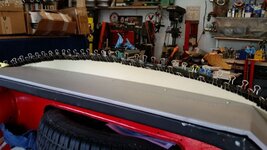
wrap around edge and glue and clamp

20160619_105746_zps5d432baj.jpg

20160619_110235_zpsxxrwoxup.jpg

20160619_132609_zps5k1i5pxw.jpg

20160619_150045_zpsprlmwb6h.jpg
20160619_150113_zpseqjee3hn.jpg

this is how i glued it folded it over
20160619_135012_zpsh1498imz.jpg
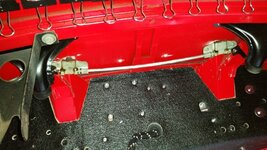
install mirror and cut out demister vents

20160619_155309_zpsfsffdet0.jpg


all stainless steel fasteners
20160619_160646_zpsqaofjuub.jpg
20160619_160716_zpsxqhzvrih.jpg

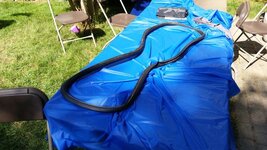
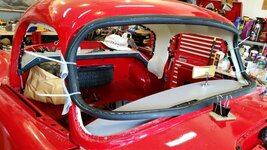
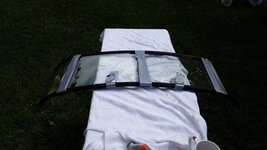
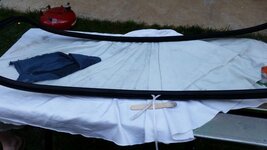
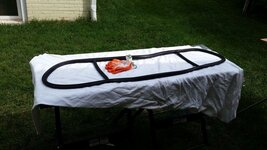
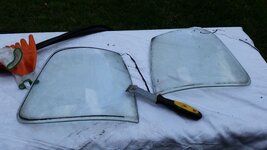
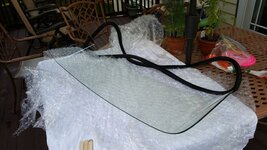
lets see about the windshield gasket.....35 yrs old new and never installed
20160619_161845_zpshpfoupyx.jpg

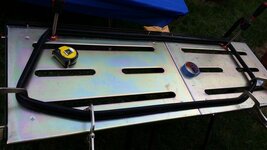
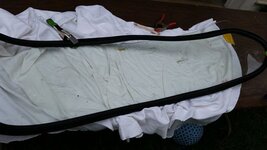
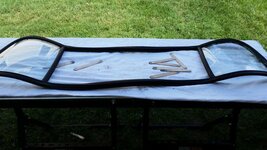
i have to clean off the gasket and lets start the stretch of the old gasket

20160619_174821_zps1mutazay.jpg
 
Last edited:
my rope measurement says i need 119" of circular gasket length, which incidentally is exactly what i have its just under tension and not relaxed lets see what a couple of days of Virginia sun does to loosen it up

20160620_182943_zpswelfpbiw.jpg
 
what a PITA this is turning into.....


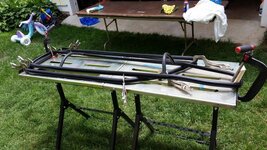
the gasket does not want to stretch over the glass in a one person work environment.....tonight I might put 3 other sets of hands on this


tried for over an hour and it just did not work. there is significant difference between my new rear window seal and the NOS front window seal in there flexibility and stretchability

20160622_123359_zpsw2qboqga.jpg


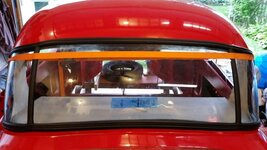
and now I am stretching the rear glass one also...goal this weekend all front/rear glass and dashboard in..

20160622_131703_zpslhqes3k8.jpg
 
I bought a brand new FJ40 windshield seal. Couldn't use it because it was too soft and the wrong size.... don't know what to tell you about why the stock one won't fit, though. The solution for mine was generic rubber seals.
 
As an Amazon Associate we earn from qualifying purchases. Product prices and availability are accurate as of the date/time indicated and are subject to change.
I WIN!!!!!!!!!!!!!!!!!

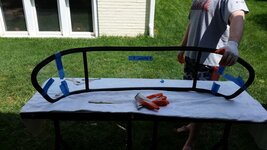
different ball game today.....two of us one extremely stronger then the other....little joe: 23yrs old. 6'3 210+ lacrosse player and old soft me....i can tell you we needed the muscle


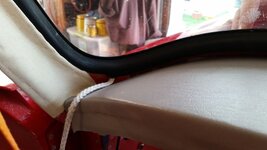
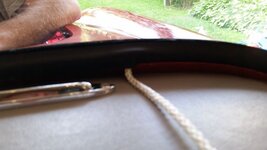
the stretch did the trick.....put the one end side on first taped it down so it would slip off and then moved to the other end, it was obvious from the start the gasket was more flexible. it still was a chore and we tried putting the rope in the glass slot so when we rolled the gasket over the glass from the bottom we could pull it out....that and the Popsicle sticks from Michaels did the trick. i am not sure the rope gave us anything but once or twice it clearly provided a benefit.once we got the second end done we taped it down an moved to the long sides....about 30 minutes of pretty intense work. mostly cause the old gasket was so stiff. the stiffness is dramatically different then
the new gasket for the rear window


20160624_100223_zpsnmf9fdex.jpg

I am going to let it get use to the window for a while in the sun and then as soon as i get another helper it will get installed today.....
 
Last edited:
well it is what it is......read on

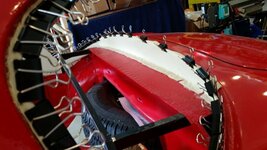
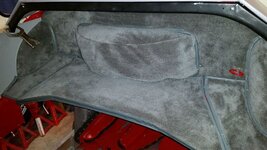
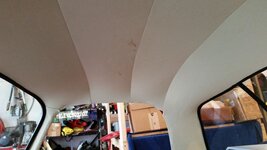
finished headliner install


glue top first then side panel

20160624_132648_zpslfnduyh1.jpg

20160624_115430_zpspzadlxuw.jpg

glue side panel

20160624_125032_zpsr0ncvdzo.jpg
20160624_131306_zpsfilmmknj.jpg

next is the back panel
20160624_134524_zpsfqi83bet.jpg

20160624_134529_zpsggxiyq1d.jpg

20160624_135821_zpsddd087gl.jpg

20160624_142740_zpsac5oqeqe.jpg

20160624_142752_zpsr2ufypyp.jpg

20160624_144105_zpsnwoucqcb.jpg

photo of glued bottom

20160624_151954_zpshon8zkqg.jpg

seam

20160624_151325_zpsc3esf7cy.jpg

20160624_152454_zps3fcdbdmo.jpg

install parcel shelf to act as a "clamp"

20160624_154403_zpspbcqd8xf.jpg

20160624_154958_zpsvyiyjbqf.jpg
 
Last edited:
win some lose some.....

add the string for seating the gasket over the window flange

20160624_163203_zpsu5noso6f.jpg

pull out rope and it seats itself well sort of...

20160624_165721_zps9voz4n1k.jpg

work both sides evenly

20160624_165725_zps2s3ncpft.jpg

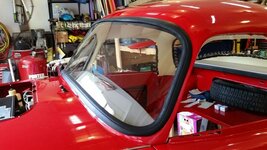
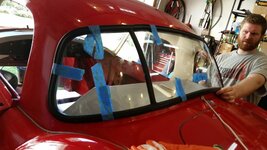
freaking looks awesome

20160624_175957_zpsxqvg4ihh.jpg

not so shabby if i must say so myself

20160624_180005_zpsw5xekij6.jpg

well except for that.....


I never should have tried to use the old gasket or maybe the dead blow hammer either, oh well $185 for the windshield $80 for the gasket

20160624_180019_zpsnxtglmzu.jpg
 
Last edited:
well, that's a bit of a bummer, but frankly with all the magic you made happen so far what did you expect? :rofl:
Seriously, I can totally relate, installing my windshield last weekend was one of the most stressful operation. I hate glass, such a SOB of a material.
Keep it up Mr Wizard.
 
thanks, yeah i had a strong sense to stop but ignored it....oh well, that old gasket was just too stiff, i should have tossed it.

10:34pm......we are just going to pretend it never happened

20160624_223117_zpsg8lwpwwr.jpg
 
wow a nice new fresh gasket makes all the difference....it was like night and day soft and pliable a joy to work with.


NO HAMMERS TODAY... repeat as necessary....but no hammers!!!!!


20160625_095701_zpsabtmz3fu.jpg

clean glass

20160625_100044_zpsq89ttig9.jpg

20160625_101805_zpsllqhv3lx.jpg

maybe 15 minutes
20160625_104744_zpshbytkiuk.jpg

20160625_105943_zpsmmw91kue.jpg

mark bottom and center

20160625_112107_zpsuhahucg7.jpg

some tension

20160625_115503_zpss9cq5pkn.jpg

the window just wasn't centered perfectly the first time...perhaps i didn't do the string pull evenly and pulled it to the right so out it came back to the table and re pack the rope and reinstall

this time it was perfect

20160625_130014_zpsepgm6ypr.jpg

20160625_130040_zpsh2ykln4k.jpg

and still need to do the top but i my son has tests to study for so we will pick it up later, its gone too well to push it alone

20160625_125641_zpskkkklsnl.jpg
 
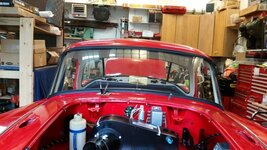
DONE

took a 5 hour break and then just kept using my thumb on the seal to press it in.so by the time my son got home just the inside middle section top was left. he used a popsicle stick in front of my pull and his hand on the seal behind the pull. 10 Minutes later we were done all told maybe 2 hours of work.

20160625_183843_zpsjzyqa2zu.jpg

20160625_183823_zpspvjquqbq.jpg

20160625_183815_zpspihqivne.jpg
 
20160626_100639_zps9ksdvjii.jpg


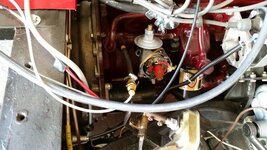
move on to install rebuilt distributor


one of the reasons for the rebuild that and a dead vacuum cannister

IMG03559-20140202-1204_zpsca4545dd.jpg

back from Jeff Schemmel Advanced distributor

20160624_122905_zps2ddserat.jpg

20160624_122911_zpsr0ggh3uq.jpg

20160624_122915_zpsnrvnaj4q.jpg

a thing of beauty
20160626_104042_zpsly3dmx8y.jpg

i thought i painted these before but i guess not

20160626_112546_zpsuwojsoas.jpg


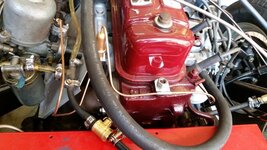
now to let it cool and i will put in the vacuum line


vacuum line done, i wonder if i can find an acorn nut to hold the vacuum line clip, i also think i can do better then a rubber vacuum tube at the carb end

20160626_141448_zpskocxhyht.jpg
 
Last edited:
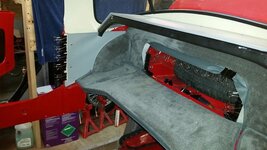
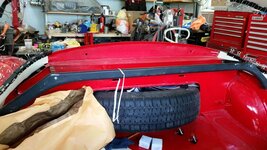
and this week the carpet pieces came for behind the rear seat area..so lets test fit the pieces and see what i have. my goal is to have the coupe interior trimmed out as much as i can before i put the body on the chassis

20160626_100801_zpseepsmgec.jpg
 
i would really like to get the body on the chassis before the summer ends.....


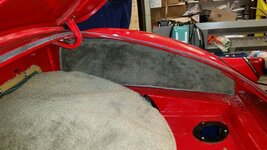
lets trim out the rear area and glue some stuff down...

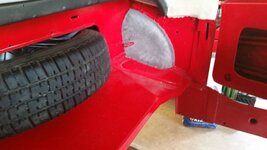
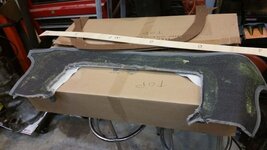
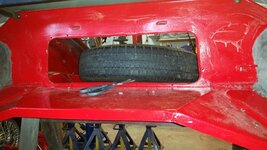
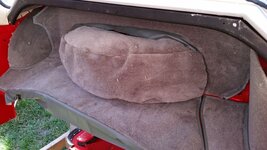
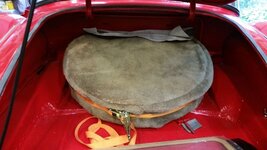
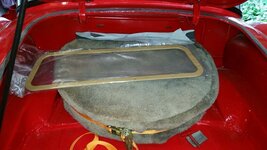
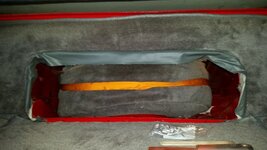
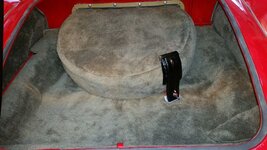
i am not sure how the rear tire opening trim ring is suppose to look any body have any pictures how the fabric is wrapped around it inside the boot?


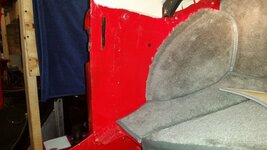
seems to me the battery tray carpet doesnt need to be fully glued since you have to be able to get at the DZUS fasteners and it gets stuck under the tire carpet.

i imagine since the tire doesnt protrude fully through the hole i may need to pad the carpet to get a nice tight fitting look.


holes punched for seat belt hardware
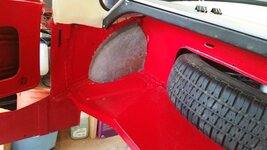
20160628_193843_zpsbikcqebv.jpg

20160628_193859_zps0ujlaevk.jpg

glue bulkhead piece
20160628_200416_zpsbxwar6i0.jpg

20160628_200434_zpsaxygqiyp.jpg


glue leading edge of battery tray cover carpet and vinyl
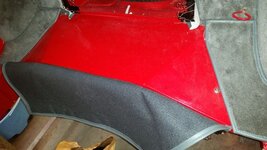
20160628_202258_zpshntvxfe1.jpg

side panels

20160628_204252_zpsj5l5k7pm.jpg

notched for the parcel shelf
20160628_204755_zpsofpbkjxr.jpg

original holes for the #4 screws, i thought i would have to go up to a number 6 but so far the holes are still "tight", the screws are loose and i am letting the trim panel get use to its new shape before i screw them down. you can see my panel hole marker, i am on my second thumb tack the first one was not very well made.

i think i will trim above the panel closest to the bulk head in either headliner material or grey vinyl so the red paint is not visible
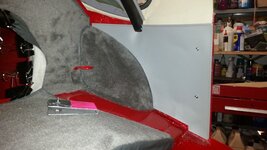
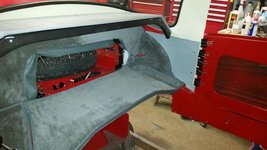
20160628_212311_zpswmv6amzl.jpg

20160628_213754_zpscadzkt43.jpg

20160628_213657_zps0kslbgjv.jpg


20160628_213605_zpshpso4rbz.jpg
 
I need to keep this momentum going.....

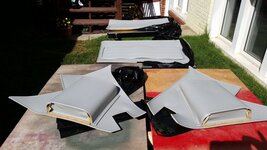
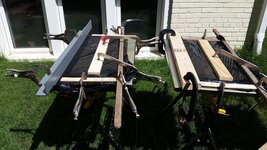
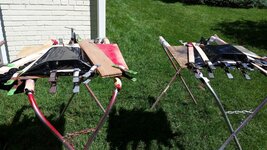
.I think I am going to install the rest of the interior panels it keeps them flat and out of the way and I can always take them out right before the chassis drop if I need to. first to flatten them out.....I did this last year also when I moved the boxes out side and it works pretty well.

20160629_094440_zpsn2paoxno.jpg

I think what happened is the vinyl shrunk and pulled the fiber board out of shape

20160629_094455_zpsbiox2o5v.jpg

you would be surprised how warm stuff gets in black plastic in the sun and then we add compression to stretch every thing into compliance

20160629_105244_zpsquwiv8j7.jpg

20160629_105258_zpskg1kyhzp.jpg
 
Last edited:
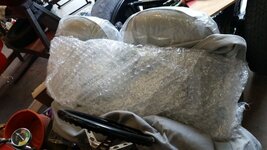
tomorrow nights work...inside the bubble wrap

20160630_185747_zps7vpamyc6.jpg

20160630_185803_zpszbuuti2k.jpg

and tonight's work trying to figure out the rear carpeting area

band clamp helped me see how it would fit

20160630_193706_zpssd1k7zqy.jpg

20160630_193716_zpsrc0grceb.jpg

and that ring to contend with
20160630_193727_zps38gdmwt2.jpg

i dont really know what i am doing but lets go for it

20160630_193958_zps0kv8sigr.jpg

glue vinyl in place
20160630_193958_zps0kv8sigr.jpg

you can see where all the vinyl comes through

20160630_193716_zpsrc0grceb.jpg

almost like a ponzi scheme

the vinly gets glued to bulhead and then the inside tire cover vinyl gets glued to the first vinyl then the boot tire cover gets glued to that

20160630_200549_zpsqfc3nbgg.jpg

then the ring gets put in place
20160630_202621_zpsykbaexjd.jpg

20160630_213712_zpsje8mz2ny.jpg
then trimmed
20160630_215840_zpsxmgf8bru.jpg


but the tires are different sizes and dont protrude as much through the bulk head so some provisions have to me made and we add tails to the bottom of the inside tire cover so you can pull it tight as the tire goes in so the carpet doesnt get pushed through
20160630_221315_zpsfecag48q.jpg

20160630_224955_zpssyvjt0jl.jpg

I think some foam will be added to fill the radius up

20160630_225045_zps79sajjvc.jpg

just pushed in place

20160630_230030_zpso9nsrkum.jpg

20160630_230147_zpsnoscc7sz.jpg
 
win some / lose some part 2

it was a WIN

20160701_183051_zpshiftkcn6.jpg

20160701_184942_zpsmylebz51.jpg

20160701_194605_zpsjomdbmo1.jpg

trim any material thats on the top flange

20160701_185614_zps7ywclhau.jpg

20160701_194007_zps1oybkrre.jpg


carpeting done in the trunk

20160701_200957_zpsuew4qisc.jpg
 
on to test fitting the interior

wrap door cap in vinyl

20160702_112245_zpsaszfloep.jpg

20160702_121448_zpsjaayyu9h.jpg

put in door pulls

20160702_122817_zpswbbij7ov.jpg

fit the door panel

20160702_130847_zpsaucsbp3v.jpg

add the map pockets

20160702_150015_zps0lzngiy3.jpg

20160702_152735_zpsz8jqih5w.jpg

20160702_152819_zpsk7ic8epw.jpg


layout and make some trim pieces, just a guess at what they should look like

20160702_154509_zpsdf5nyyin.jpg

20160702_154616_zps1y1p639w.jpg

20160702_160051_zpsjwzya1mu.jpg

20160702_165407_zpsnqmjugdv.jpg

20160702_165425_zps8jqgxffm.jpg
 
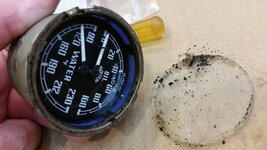
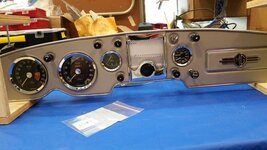
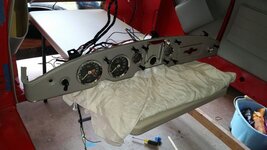
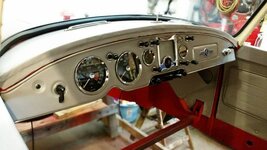
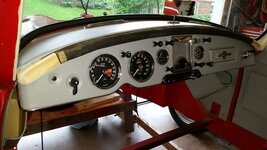
on to dash install


20160703_091724_zps1eoqvigs.jpg


i am not a tool snob but this is one set of tools that you should buy that is Snap on.....line wrenches look at the width of the jaws

20160703_100335_zpsdaych69x.jpg

20160703_100410_zpsbjahxr0p.jpg

20160703_102431_zpsmawqcczd.jpg

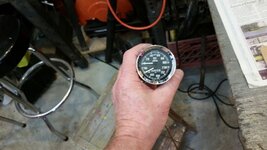
and done, new bezel and cleaned up

20160703_103857_zpsbb9c5ls0.jpg

20160703_105412_zpstxstjzgp.jpg


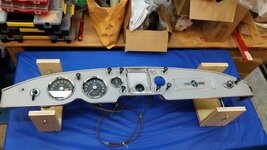
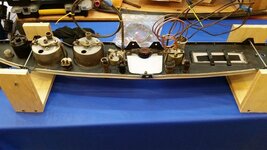
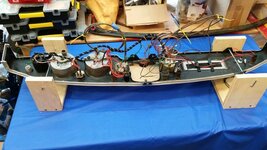
now to wiring you can see the benefit of the stands
20160703_110100_zpszep8uxcb.jpg

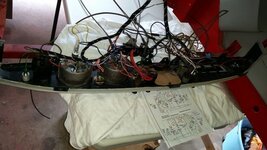
20160703_132016_zpse7gj7nsn.jpg

20160703_132239_zpsjsqaxoaj.jpg

every car should have a table in it
20160703_133208_zpsh8pqv82q.jpg

and done

20160703_142615_zps9p6wsyx6.jpg

put a hole in grommet with a punch

20160703_152946_zps4spg4idr.jpg

pulled this one over with screw driver slipped between the grommet and end

20160703_154312_zpse6odfepu.jpg

20160703_155141_zpsonipohlc.jpg


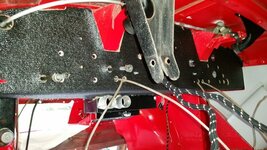
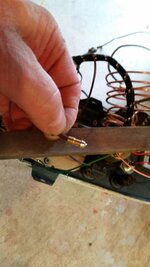
and if you have to solder a bullet connector on and you get too much solder on the end just file it off

20160703_132846_zpswfuwziay.jpg

after dinner the dash gets checked over one more time and then installed.....
 
my 3 day push is catching up with me.....just tying up loose ends today


if there ever was a spot for a box end wrench/ring spanner this is it

20160704_103155_zpsamdhuwti.jpg

20160704_105411_zpsolp5guwy.jpg


make the ends for the front trim piece

20160704_105359_zpsoqts8zre.jpg

20160704_110436_zpscrzv9d3i.jpg

20160704_112608_zpstvceyoql.jpg

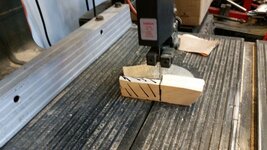
and we have a winner, use the band saw and a stationary belt sander

20160704_113851_zpsx2oxclfs.jpg
20160704_113858_zpsjajvrob5.jpg

glue it up and go get some lunch
20160704_120334_zpsoefhm0mk.jpg


lets see if blood comes off the headliner, i whacked my head on the steering bracket last night

20160704_113050_zps6jbinxlu.jpg
 
more on the trim piece......i should have put it in first....it is possible to put this in with the dash in place and wired if the body is on saw horses and you take the steering bracket out. i dont think you could do it while its on the chassis

test fit

20160704_141021_zpsibwng51h.jpg

20160704_141210_zpsctw8pevb.jpg

make some reference lines for cutting and gluing

20160704_142757_zpslw3ljwhp.jpg

20160704_144803_zpsxsxgqshx.jpg

20160704_160649_zpskfv9gbxq.jpg


two people one seating the piping and me underneath tightening
20160704_164541_zpsl7wldani.jpg

20160704_172121_zpsl69yhkik.jpg

20160704_172215_zpssg8spsnz.jpg
 
took some time off to let the feeling come back in my arms and visited with mom in upstate NY.....yes it was HUMID

i am the good looking young buck in the middle

FullSizeRender_zpsjd0zjmch.jpg

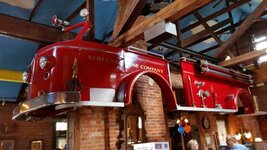
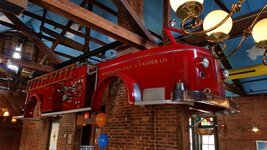
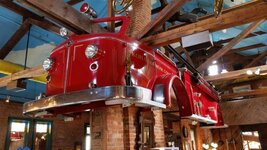
and you dont see this everyday...very nicely done....in a Bar/restaurant in old fire house in downtown Danbury Ct

20160710_125218_zpsnvhqdmuu.jpg

20160710_124849_zpseevvjebz.jpg

20160710_124911_zpsdxuydzhi.jpg

20160710_124946_zpsj2elpsqc.jpg

20160710_125027_zpsgn2jldep.jpg

any way....this weekend is the goal to get the body on the chassis
 
wrapping up loose ends


off comes valance

20160712_202031_zpsjz8cokda.jpg


out come seats

20160712_202039_zpsmihijkb7.jpg


wire fuel pump

20160712_224525_zpsmtoputzh.jpg


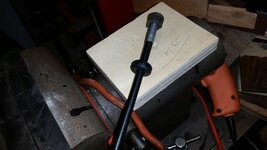
the carpets will glued down when the body is on chassis, using PB blaster on shift lever knob so i can put the rubber boot on it

20160712_224536_zpstcircdn9.jpg


20160712_224549_zps2mpj6mnj.jpg


oil flex line installed and brake switch wiring done

20160712_231132_zps5bwjkfpg.jpg


compression fitting for fuel line...imperial BSF thread size and Metric diameter for tubing....

20160712_231415_zpskamvqpio.jpg


start to run new fuel lines

20160712_234000_zpsrwrhntk3.jpg
 
4 missions tonight ...started out as 3

1. dont bleed all over your self
2. plumb fuel line
3. remove radiator
4. glue down carpet sections that are buried up front

i had to make the two fuel line clamps that hold the fuel line to the insulator blocks and one of them bit me

20160713_191730_zpsfrqvvljx.jpg

those new braided steel lines are tougher to work with then you might expect

20160713_201421_zpsz7j3mczp.jpg


glued down carpet that is up front and not held in place by lift the dot studs

20160713_212819_zpsqrjirry1.jpg

20160713_212835_zpsy1t0jmka.jpg

and removed the radiator..
 
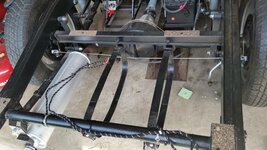
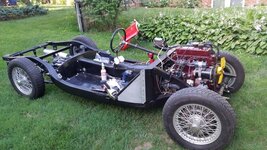
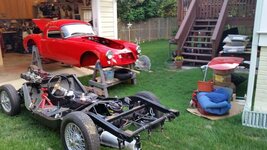
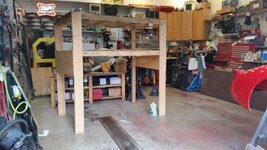
dropped gastank, removed 1/4 scuttle, unbolted M/C, took down storage bunk beds, put body on stands slipped car underneath. two of us and a long frame car jack

20160715_164616_zpsoinsx4ov.jpg

20160715_181855_zpsdaaxk2ge.jpg

20160715_192249_zps2p1tqkrm.jpg

20160715_192306_zpsu9hvaoi7.jpg

20160715_192654_zpsb8vuaxcw.jpg
20160715_231814_zpscjh6mt3p.jpg

20160715_231843_zpsjfyfd6lq.jpg

20160715_231903_zpsrlwgh2u4.jpg

20160715_232010_zpspqoyurnx.jpg

20160715_232126_zps8hlowf7z.jpg

20160715_232338_zps3y8etw9f.jpg
 
Back
Top