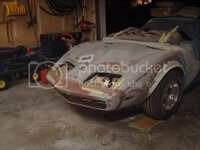
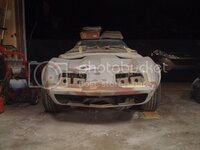
Rookie's First Restoration Attempt...

VetteMod - Corvette Restoration, Modding & Performance Forum

Help Support VetteMod Forum:

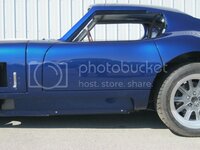
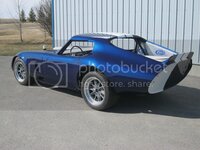
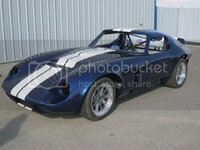
I know the aerodynamic reasons for the back end of the Shelby Daytona Coupe, but it always looked a bit unfinished to me. Some decent-sized brake/stop lights and turn indicators, along with a decent license mount would probably go a long way to giving it a more integrated look. Other than that minor quibble, IMHO it's one of the most beautiful sports cars ever built, right up there with some of Ferrari and Jaguar's best. Can't wait to see how that build turns out!
 
I know the aerodynamic reasons for the back end of the Shelby Daytona Coupe, but it always looked a bit unfinished to me. Some decent-sized brake/stop lights and turn indicators, along with a decent license mount would probably go a long way to giving it a more integrated look. Other than that minor quibble, IMHO it's one of the most beautiful sports cars ever built, right up there with some of Ferrari and Jaguar's best. Can't wait to see how that build turns out!

We finished it yesterday!
 
I know the aerodynamic reasons for the back end of the Shelby Daytona Coupe, but it always looked a bit unfinished to me. Some decent-sized brake/stop lights and turn indicators, along with a decent license mount would probably go a long way to giving it a more integrated look. Other than that minor quibble, IMHO it's one of the most beautiful sports cars ever built, right up there with some of Ferrari and Jaguar's best. Can't wait to see how that build turns out!

We finished it yesterday!

Got more pics?!? :thumbs:
 
As an Amazon Associate we earn from qualifying purchases. Product prices and availability are accurate as of the date/time indicated and are subject to change.
Those things must be a blast to drive.
but that rear end????
Just can get it.

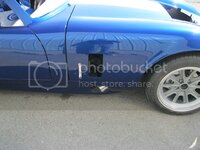
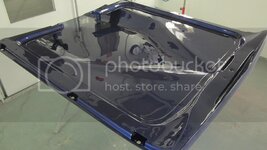
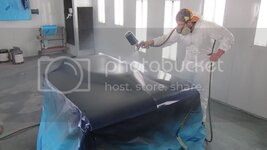
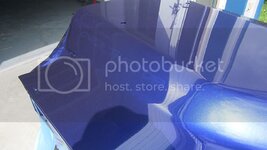
Nice work on the paint

I originally thought they looked funny too. But after working on it day after day, it really grows on you...I actually think it suits the car perfectly. I love it now.
 
I wonder what it would look like to take that basic shape, push the cab forward enough for a mid-engine mount, stretch the butresses to keep the same flowing lines, etc. Basically stretch the upper cab section out to where the windshield base would be about where the first carbs sit on the engine. If I'd kept my drawing skills up, I might try to sketch one.

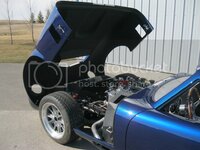
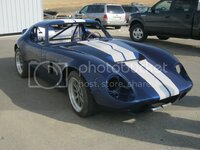
I really like the deep blue on that car. Lovely piece of machinery.
 
I wonder what it would look like to take that basic shape, push the cab forward enough for a mid-engine mount, stretch the butresses to keep the same flowing lines, etc. Basically stretch the upper cab section out to where the windshield base would be about where the first carbs sit on the engine. If I'd kept my drawing skills up, I might try to sketch one.

I really like the deep blue on that car. Lovely piece of machinery.


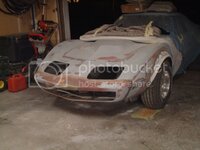
The only thing I don't care for is the bug eyed look on the front due to those antiquated headlights, a hole about 1/2 that size and modern bulbs are just yelling out LOUD for a home, snug as a bug in a rug.....:smash::thumbs::twitch:
 
I wonder what it would look like to take that basic shape, push the cab forward enough for a mid-engine mount, stretch the butresses to keep the same flowing lines, etc. Basically stretch the upper cab section out to where the windshield base would be about where the first carbs sit on the engine. If I'd kept my drawing skills up, I might try to sketch one.

I really like the deep blue on that car. Lovely piece of machinery.


The only thing I don't care for is the bug eyed look on the front due to those antiquated headlights, a hole about 1/2 that size and modern bulbs are just yelling out LOUD for a home, snug as a bug in a rug.....:smash::thumbs::twitch:

The owner is spending a zillion dollars to re capture the apex of muscle car tech from the day. Any modification would destroy that moment in time.
If you ever have a spare zillion dollars, I bet you would do the same thing.
 
I wonder what it would look like to take that basic shape, push the cab forward enough for a mid-engine mount, stretch the butresses to keep the same flowing lines, etc. Basically stretch the upper cab section out to where the windshield base would be about where the first carbs sit on the engine. If I'd kept my drawing skills up, I might try to sketch one.

I really like the deep blue on that car. Lovely piece of machinery.


The only thing I don't care for is the bug eyed look on the front due to those antiquated headlights, a hole about 1/2 that size and modern bulbs are just yelling out LOUD for a home, snug as a bug in a rug.....:smash::thumbs::twitch:

The owner is spending a zillion dollars to re capture the apex of muscle car tech from the day. Any modification would destroy that moment in time.
If you ever have a spare zillion dollars, I bet you would do the same thing.

At least someone gets it!

Yes, the owner did ask us to do a few custom touches to personalize it to his taste...like glass the spoiler in, paint it a specific blue which he thought suited the car...stuff like that.

If I ever have the money, I want to build one of these. I love it!
 
Okay, here is an update.

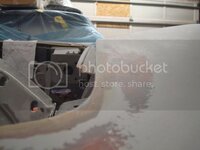
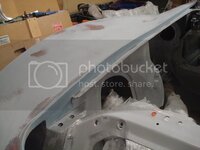
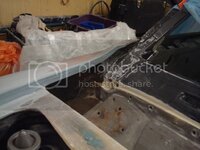
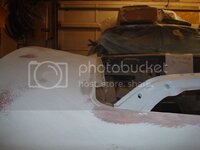
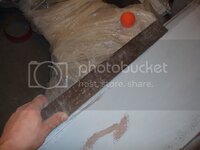
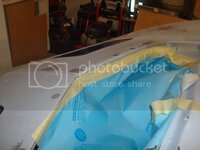
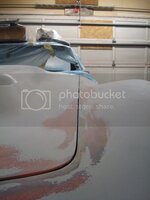
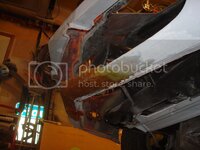
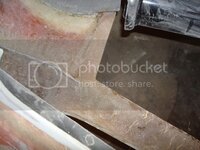
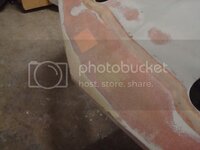
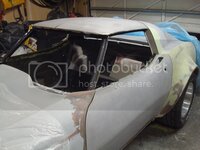
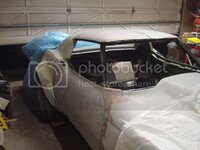
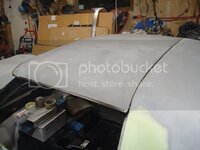
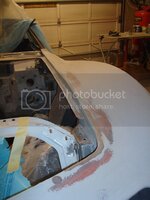
Byron has taught me a lot about fitting parts which I didn't know of before. First thing you have to do is square up all of your edges, and fit your panel to those edges. I got it close with glass, and finished it with everglass. He also taught me how to check gelcoat for cracks, which needs to be done before any filler work. Wipe your panel with wash 'n wipe and use compressed air to blow it dry. The solvent will be soaked up by the cracks and dries slower than the solvent on the top surface of the gelcoat, revealing your cracks. All gelcoat cracks must be glassed to prevent paint failure - grind them out, and glass them in.

DSC09236.jpg

DSC09238.jpg

DSC09237.jpg

DSC09239.jpg

DSC09241.jpg

DSC09240.jpg

Use a straight edge for reference to make the edges perfectly straight.

DSC09242.jpg

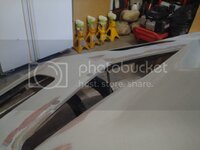
Here is something else he taught me. Always make your "lips" equal side to side. The one on the right was too skinny and needed to be glassed and blocked flat.

DSC09243.jpg

DSC09244.jpg

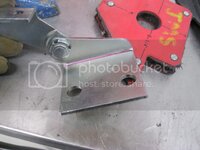
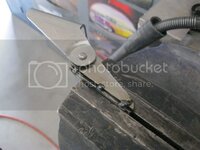
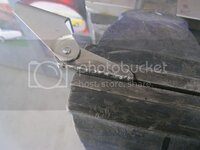
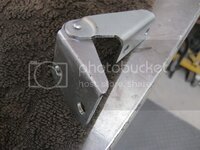
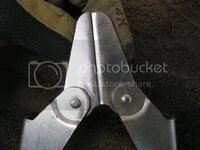
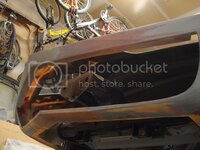
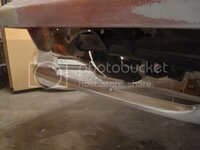
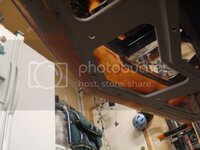
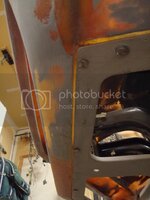
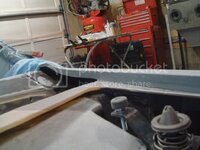
The next step was to mock up my crash bar to support the corners of the bumper. Once that was done I mounted the hood with the new hinges I purchased. I should have fit the hood with these at the beginning, because I ran into a problem (I wasn't planning on replacing them but decided to last moment). The edge of the hinge had no clearance underneath the hood, if you tightened the bolts down it would crush the fiberglass hood skin. I didn't want to grind the edge of it - it would have looked bubba if I did that. This needed to be fixed. The hood was also too high where the hinges bolted to the inner fenders, which is common. I fixed all these issues by modifying my new hinges by cutting both the top and bottom pieces, removing some material, and welding them back together.

IMG_2400.jpg

IMG_2399.jpg

IMG_2401.jpg

IMG_2402.jpg

The modified one is on the left.

IMG_2404.jpg

More than enough clearance underneath the hood skin now.

DSC09266.jpg

I did the same to the bottom part of the hood hinges, but didn't take any pictures of that...but you get the idea. I mounted the hood and did a little more finesse work over the course of the week using straps and weights to reshape the fiberglass.

DSC09255.jpg

Here is what it looks like right now, with all the latches in place and the hinges modified.

DSC09257.jpg

The edges of the hood were now squared to the perfectly straight edges I made on the fenders. They need to be opened up more to allow for primer and paint.

DSC09258.jpg

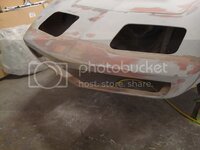
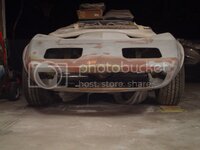
And here is the progess on my front bumper.

DSC09228.jpg

DSC09233.jpg

DSC09234.jpg

DSC09229.jpg

DSC09230.jpg
 
Still here guys...sorry for the lack of updates! Been extremely busy lately. Tomorrow is our annual bbq at Alternative Restoration, and we have been working VERY hard to make it happen this year. My computer is finally up and running again so I will update some photos of the bbq on Sunday. Things are going great at work...couldn't be happier, learning a ton, both on old vehicles, as well as on new vehicles doing collision work. I love it.
 
Your car is looking really good, I haven't had time to check out all your recent updates but since I have a unwanted month off work decided to check it out.

Very nice work to say the least
 
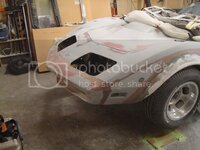
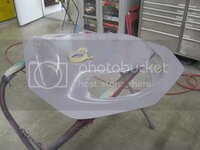
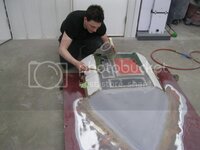
I have been very busy lately with a lot of things, which is why I haven't been posting much. That being said, stuff is still happening. I've been picking away at the front bumper, and its finally starting to come around. Pretty soon I will have to start fabricating the grille.
DSC09268.jpg

DSC09277.jpg

DSC09278.jpg

DSC09269.jpg

DSC09279.jpg

DSC09274.jpg

Here are the bumper brackets permanently glassed into place.

DSC09273.jpg

DSC09272.jpg

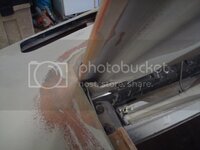
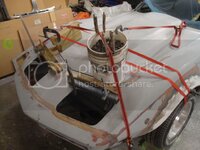
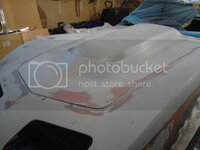
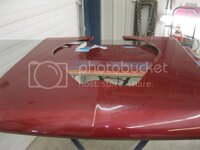
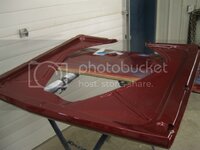
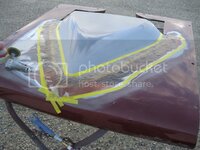
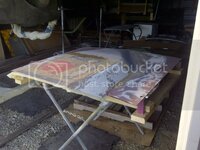
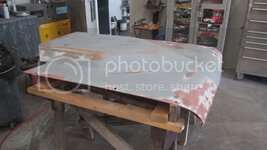
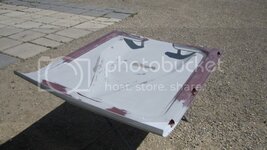
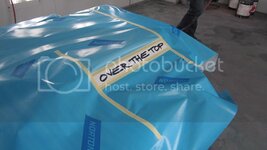
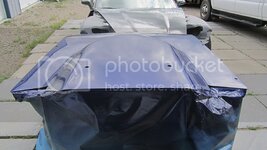
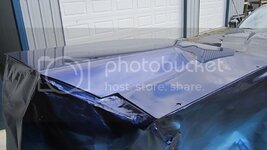
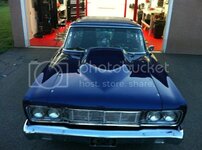
And here is the other project I have been working on. Rick's 65 Fairlane race hood. I'm doing the entire build on it from start to finish. Its a cross between an old ford hood scoop and a cowl induction hood. This is the race car which won best paint, along with a bunch of other awards, back in February at World of Wheels...one of our creations at Alternative Restoration. Rick rented the race track up in Edmonton a few weeks back to test the waters on his new twin turbo setup. His best time was 8.40...that's just motor (NO BOOST)! Add 35 pounds of boost from the turbos and you got yourself a low six second, over the top, show/race car. Here are some pics.

IMG_2495.jpg

IMG_2494.jpg

IMG_2493.jpg

IMG_2501.jpg

IMG_2508.jpg

IMG_2531.jpg

IMG_2545.jpg

The vette will be moved to the shop in the next month or so; Byron will help me get it ready for paint while I work on his 67 Parisienne, which he has been wanting to restore for 12 years now. There's a ton of work left, both on my project and his. Together we will try to get them both done.

Alright, time to get some sleep!
 
Last edited:
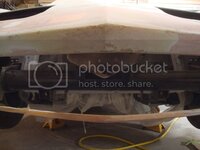
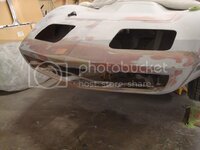
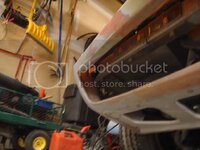
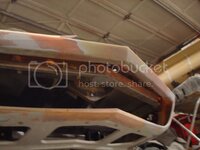
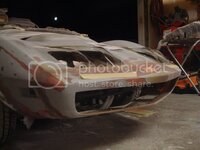
The front bumper should be finished by the end of the week. Then I can start building the grille for it. Everything is the same as factory in regards to the mounting of the front end to the vacuum bar - the only difference is I made my own custom crash bar which is hidden behind the top of the bumper. It is in two pieces like the rear crash bar I made, so you can remove and install it without screwing up the paint job when the car is finished. The corners of the bumper are securely mounted using the factory setup...you can jump on the corners of the bumper and the whole car moves with it.

DSC09280.jpg

DSC09282.jpg

DSC09283.jpg

DSC09284.jpg

DSC09289.jpg

DSC09291.jpg

DSC09296.jpg

I have to raise the left corner of the bumper and bolt it into place...I need a second set of hands to do that. You can see its a little low in the following pic, but it just isn't bolted to the crash bar yet.

DSC09299.jpg

Custom crash bar.

DSC09315.jpg

DSC09314.jpg

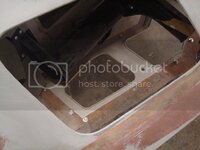
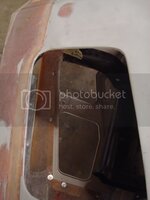
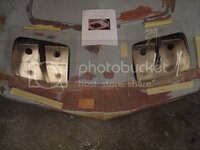
I think I've kept you guys at bay long enough in regards to the headlight situation. Well, I have had my headlights for over 8 months now but kept it a secret...until now. Stay tuned.

DSC09306.jpg

DSC09312.jpg

DSC09309.jpg

DSC09308.jpg

DSC09307.jpg

DSC09304.jpg

DSC09303.jpg

Five years ago I had this image in my head of what I wanted my car to look like. Tonight, I stood back, and took it all in. This is exactly what I had envisioned 5 years ago, and my god was it a lot of work. I am very proud of myself for sticking with it.
 
Last edited:
I have been swamped lately, so I haven't had a chance to really post much...sorry for the delay. I received a lot of messages lately from people wanting to see more posts!

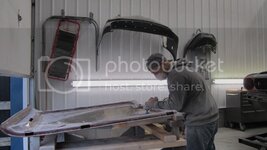
Rick's entering his car in two races next week in Edmonton. I'll be in Winnipeg on vacation during that time, so I need to finish his hood before I leave this upcoming Friday. He can't race without it according to the rules. I have been working my tail off on this thing, but its finally starting to come around. Tomorrow morning I'm spraying the underside, then on Thursday I will be shooting the top. I'm looking forward to it - I have close to 100 hours in this hood.

IMG_2567.jpg

IMG_2725.jpg

IMG_2821.jpg

IMG_2825.jpg

IMG_2824.jpg

IMG_2819.jpg

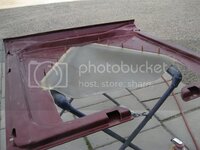
Those are steel tubes bonded to the back of the hood, and at the bottom of each tube is a hidden dzus fastener. There are holes on the top panel for access to them with a screwdriver. Looks really trick I think.

And then there is my project. I haven't got much done on it lately, however I did start finessing the front mouth of the bumper in preparation for the custom grille. I'm getting excited. Byron and I just built a storage shed at the shop for his and my project, so that is another thing I have been doing after hours. I've also been working on our website on and off...lots of work. So, as you can see, I haven't been sitting back relaxing!
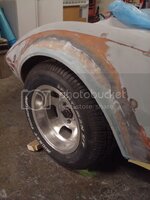
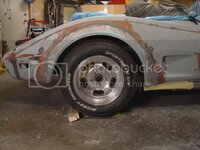
I'll keep you guys posted. Rick's car will hit one of the drag magazines eventually, so when you see that hood, you'll know who did it from start to finish:cool:

check out our site if you have a chance.
www.alternativerestoration.ca
 
Last edited:
Ordered my Hella projectors and my running lights today. I also ordered the materials to build the front grille!
 
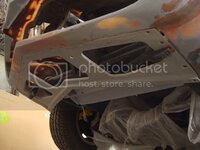
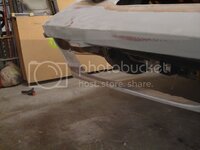
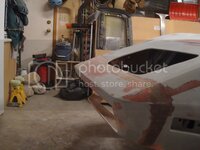
Still chipping away at it. The glass work on the front bumper is completed, and so is the glass work on the left front flare. There is now a full lip on the front left flare.

DSC09316.jpg

DSC09319.jpg

DSC09317.jpg

DSC09318.jpg
 
Back
Top