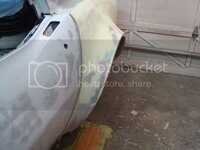
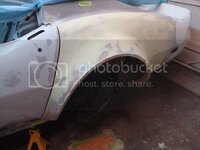
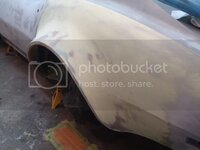
Rookie's First Restoration Attempt...

VetteMod - Corvette Restoration, Modding & Performance Forum

Help Support VetteMod Forum:

Yes, I did at first. But now that I have the body on the frame, and started fitting them for real, I realize that these things are terrible. I'm pulling molds of this car when its done.

I spoke too soon I guess.
 
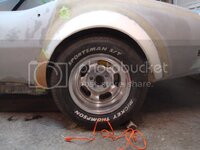
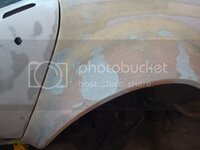
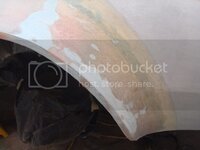
My Vanacor flares needed some work on the front passenger side but other than that they fit great.
Good idea to take molds on yours, are you planning on making quarter panels?
 
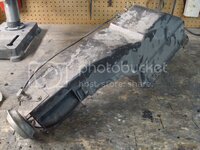
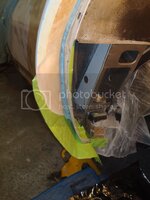
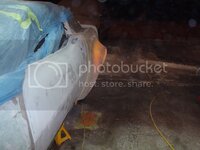
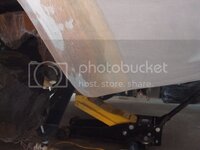
You show a picture of a hot melt glue gun without explanation. Is there something that you used it for?
 
My Vanacor flares needed some work on the front passenger side but other than that they fit great.
Good idea to take molds on yours, are you planning on making quarter panels?

Yes, I am. Since I do this for a living now, I'm looking ahead to the future. One day when I have my own shop, I can use these molds to either sell full quarter panels or install them for customers. Hopefully. I'm taking full fender molds too.
 
You show a picture of a hot melt glue gun without explanation. Is there something that you used it for?

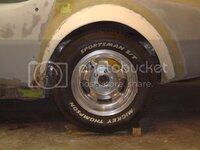
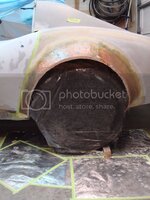
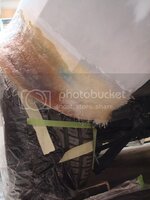
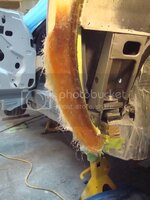
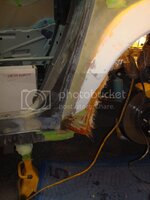
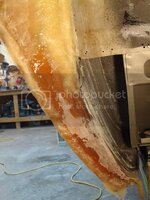
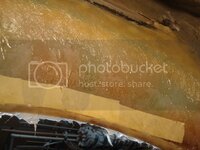
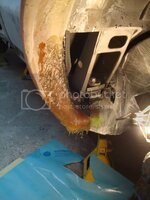
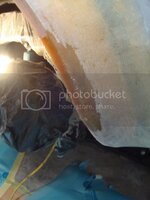
I've found that when you need to use cardboard to support a fiberglass repair (instead of using the bondo and tape method) that a craft glue gun works great to hold the carboard in place. When the repair is done, the hot glue just rolls off of the panel with a push of a screwdriver, without leaving anything behind. Give it a quick scuff with some 80 grit just to be safe, and your panel is unharmed.
 
Last edited:
As an Amazon Associate we earn from qualifying purchases. Product prices and availability are accurate as of the date/time indicated and are subject to change.
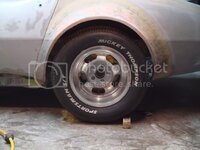
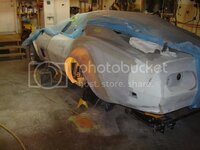
Frame is perfectly levelled, with all 4 tires still on the 4 points I levelled off a year ago. The rear flares are the exact same distance to the ground, and the distance around the tires is relatively the same. The half shafts are dead equal side to side when viewed from the back. It couldn't be more perfect. All of Mike's tips have made this happen!

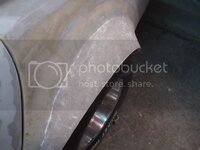
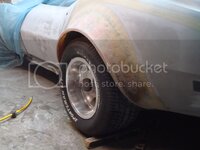
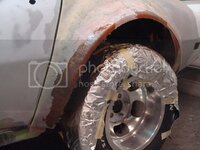
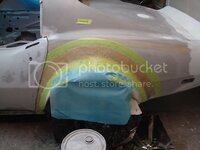
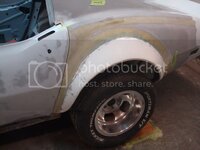
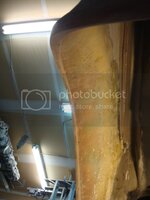
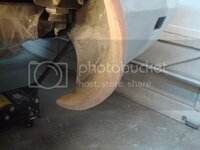
The next step was to make the flare round to the tire, replicating the right side. This is just to get it close. You will see what I am going to do next to match the profile of the right flare when viewed from the front and rear of the car.

DSC08910.jpg

Sanded all the gelcoat off for the next step.

DSC08912.jpg
 
Last edited:
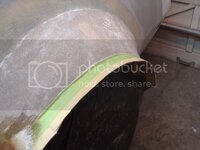
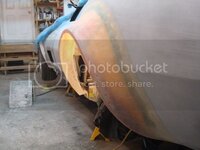
The next step was to build the flare out more to cover the tire, and make it look identical to the right flare.

DSC08914.jpg

DSC08919.jpg

DSC08918.jpg

DSC08925.jpg

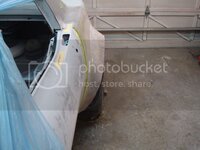
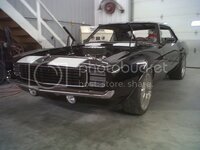
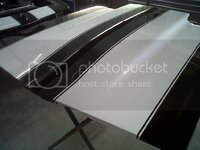
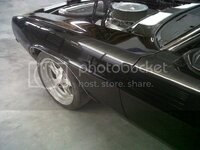
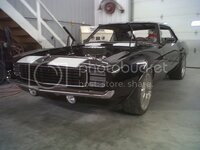
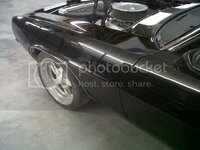
Check out the Camaro we just finished. I prepped the hood, valance, fenders, trunk lid and a few other parts. Between Byron, Trevor, and myself, we knocked this one out of the park. The two of them are teaching me well - I couldn't be happier with my new job!

Foothills_No_31-20111124-00238.jpg

Foothills_No_31-20111125-00245.jpg

Foothills_No_31-20111124-00234.jpg

Foothills_No_31-20111124-00237.jpg

Foothills_No_31-20111124-00242.jpg

Foothills_No_31-20111111-00218.jpg

That's trevor on the left...that guy is effin hilarious.
Foothills_No_31-20111111-00216.jpg
 
Last edited:
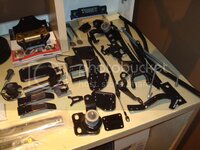
I blasted and painted some more hardware today.

DSC08928.jpg

Its funny but I noticed something Byron is extremely good at - making sure we have every part and the hardware that goes along with it before we actually need it. So I started thinking to myself the other day that I better start doing the same thing, that way when its time to fit the next piece, I already have it on hand. Last night I placed a really large order after months of saving. Unfortunately I don't have the money to buy everything new, so I'm also getting some used parts.

If any of you guys have parts cars and are willing to sell some parts to me, let me know. Ben (chstitans42) is selling me some parts, which is a great help since he lives around the corner from Mike.
 
Last edited:
Just wanted to pay my respect to you and the absolutely astonishing work you have put into your car!!
I have read to page 36 so far and I´m speachless...

Best regards, Daniel
 
It's a fun thread, many are watching. Lots of good stuff going on. I keep meaning to call and stop by [if convenient] on one of my trips to Calgary ...
 
It's a fun thread, many are watching. Lots of good stuff going on. I keep meaning to call and stop by [if convenient] on one of my trips to Calgary ...

**** on that, when it's done, I going 5000 miles to STEAL the damn thing.....

efff en AAAAA man.....


:D:D:crutches::thankyou:
 
Just wanted to pay my respect to you and the absolutely astonishing work you have put into your car!!
I have read to page 36 so far and I´m speachless...

Best regards, Daniel
I read from page 1 a while back and look forward to all the updates
 
That paint job on the Camaro is show quality most people, but not to Byron - it is "his" type of driver paint job. I plan on going for show quality. Trevor might be giving me a hand with the prep work when I'm ready for him.

I glassed all weekend. This flare is really coming along.
DSC08930.jpg

DSC08931.jpg

DSC08933.jpg

DSC08936.jpg

I also spent hours going through every part to see what else I need. Yikes. So much small stuff...if only there was a parts car in my backyard, this would make life so much simpler lol.
 
Last edited:
Any info on the side mirrors on the Camaro?
All I know is that the owner purchased them. They're aftermarket. I'll try and get an real answer for you tomorrow morning.

Lots of grinding to get it to look like this. It's getting closer.

DSC08941.jpg

DSC08942.jpg

DSC08943.jpg

Time to hit the sack and start it all over again tomorrow:rock:
 
Took a break from the bodywork this weekend. I received an order of parts, so I decided to finish some small projects I started a while ago.

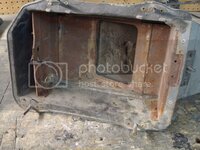
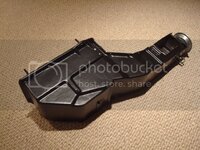
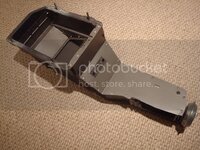
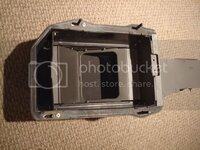
The heater box is finished.

Before...

DSC08526.jpg

DSC08530.jpg

After...
DSC08962.jpg

DSC08964.jpg

DSC08965.jpg

Installed new dash deflectors. These things were a pain to install - the new seals were too tight on the deflectors, so I had to shim them.

DSC08966.jpg

DSC08967.jpg

I also received my new door glass and a bunch of other parts...the stupidest things get me excited.
 
I've been trying to stay away from the body lately, due to the fact that I'm just burnt out doing fiberglass work. So here is what I've been picking away at this week.

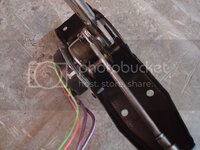
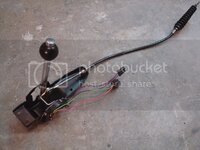
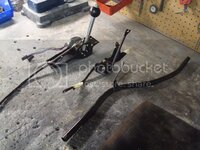
I needed new plastic bushings for my shifter handle. I've only seen the bushings in a large kit from the vendors, and, being that I'm on a budget, I figured I'd try to make something else work. I opened up the bushing holes on the bracket, and installed some bronze hinge bushings I had laying around. I ran a drill bit through them to get a snug fit on the pin. Zero play...and I probably will never have to worry about shifter slop again.

DSC08970.jpg

DSC08969.jpg

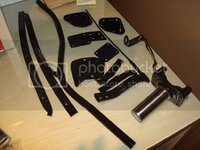
I blasted/painted more parts, and polished the slip yoke.

DSC08973.jpg

DSC08976.jpg

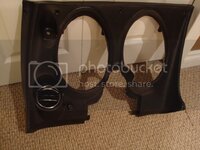
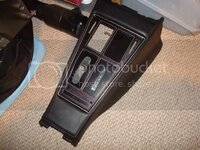
I also received my new center console. Here is the bezel I restored fitted on it. This one piece really turned my attitude around this week, and gave me motivation to keep pushing.

DSC08978.jpg
 
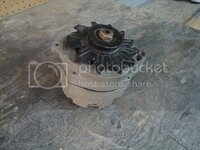
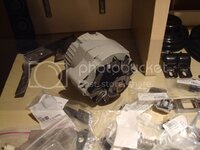
Rebuilt the alternator.

DSC08994.jpg

DSC09001.jpg

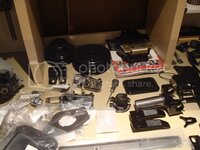
I can't find anymore parts to refinish...no kidding. Well, there are the headers, but I'm probably going to end up wrapping them...so there is no point in refinishing them. The rest of the parts I just don't have and have to buy used or new...so it looks like I'm back on bodywork again. You guys should see all these new shiny parts lined up in my room (the ones I haven't posted pics of)...its insanity.

DSC09000.jpg

DSC09003.jpg

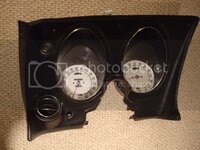
Speedo and tach installed...

DSC08988.jpg

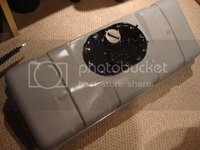
Fuel sender blasted and painted..

DSC08987.jpg

Its kind of an odd feeling knowing that I can touch any part now, WITHOUT getting my hands covered in dirt. Even the little screws behind the dash are refinished now.
 
Last edited:
I've been working hard saving my money, locating parts, ordering parts, going through the AIM to make sure I have every last part which needs to be fit to the body. I have almost all of the interior now too. Mike Smith (mds3013) and Mike Dyer (tracdogg2) are helping a ton with collecting used parts from a wreck down in Texas (thank you Mikes!)...I'm trying to save money wherever I can. Ben (chstitans42) has also been a great help, selling me some parts at a very reasonable price (thank you Ben!). And the other day, forum member Dave J sent me two nuts for the brake switch for free (thank you Dave!). Not to mention all the other members who have helped me over the years (I haven't forgot about any of you who have supplied me with knowledge or parts over the years!). You have no idea how much all this help has meant to me. Mike Dyer especially - if it wasn't for him taking me under his wing, I would not have a career right now, and this project would not have turned out like this.

Here are a couple of pics to keep the ball rolling.

DSC09005.jpg

DSC09006.jpg

I keep looking at pics of the right flare and asking myself how I got it to look so perfect...then I realized what I went through to get it to look like that. I can't wait to take molds of these things...it will be like having the holy grail of mods.
 
Last edited:
I've been working hard saving my money, locating parts, ordering parts, going through the AIM to make sure I have every last part which needs to be fit to the body. I have almost all of the interior now too. Mike Smith (mds3013) and Mike Dyer (tracdogg2) are helping a ton with collecting used parts from a wreck down in Texas (thank you Mikes!)...I'm trying to save money wherever I can. Ben (chstitans42) has also been a great help, selling me some parts at a very reasonable price (thank you Ben!). And the other day, forum member Dave J sent me two nuts for the brake switch for free (thank you Dave!). Not to mention all the other members who have helped me over the years (I haven't forgot about any of you who have supplied me with knowledge or parts over the years!). You have no idea how much all this help has meant to me. Mike Dyer especially - if it wasn't for him taking me under his wing, I would not have a career right now, and this project would not have turned out like this.

Here are a couple of pics to keep the ball rolling.


I keep looking at pics of the right flare and asking myself how I got it to look so perfect...then I realized what I went through to get it to look like that. I can't wait to take molds of these things...it will be like having the holy grail of mods.

Making it sound like an Academy Award acceptance speach LOL
Nice job Jeremy
 
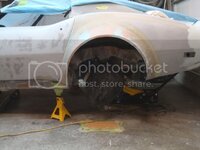
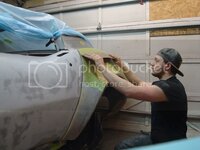
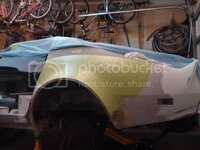
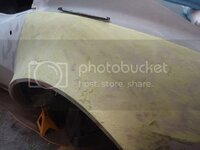
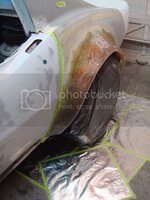
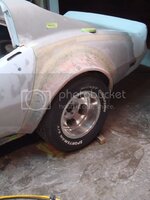
I busted my butt all weekend to get the left flare finished and in filler!

DSC09016.jpg

DSC09017.jpg

DSC09028.jpg

DSC09030.jpg

DSC09026.jpg

DSC09020.jpg

DSC09018.jpg

DSC09034.jpg

DSC09035.jpg

DSC09036.jpg

DSC09033.jpg

DSC09045.jpg

DSC09042.jpg

DSC09046.jpg

DSC09053.jpg

DSC09051.jpg

DSC09052.jpg

Good night!
 
Back
Top